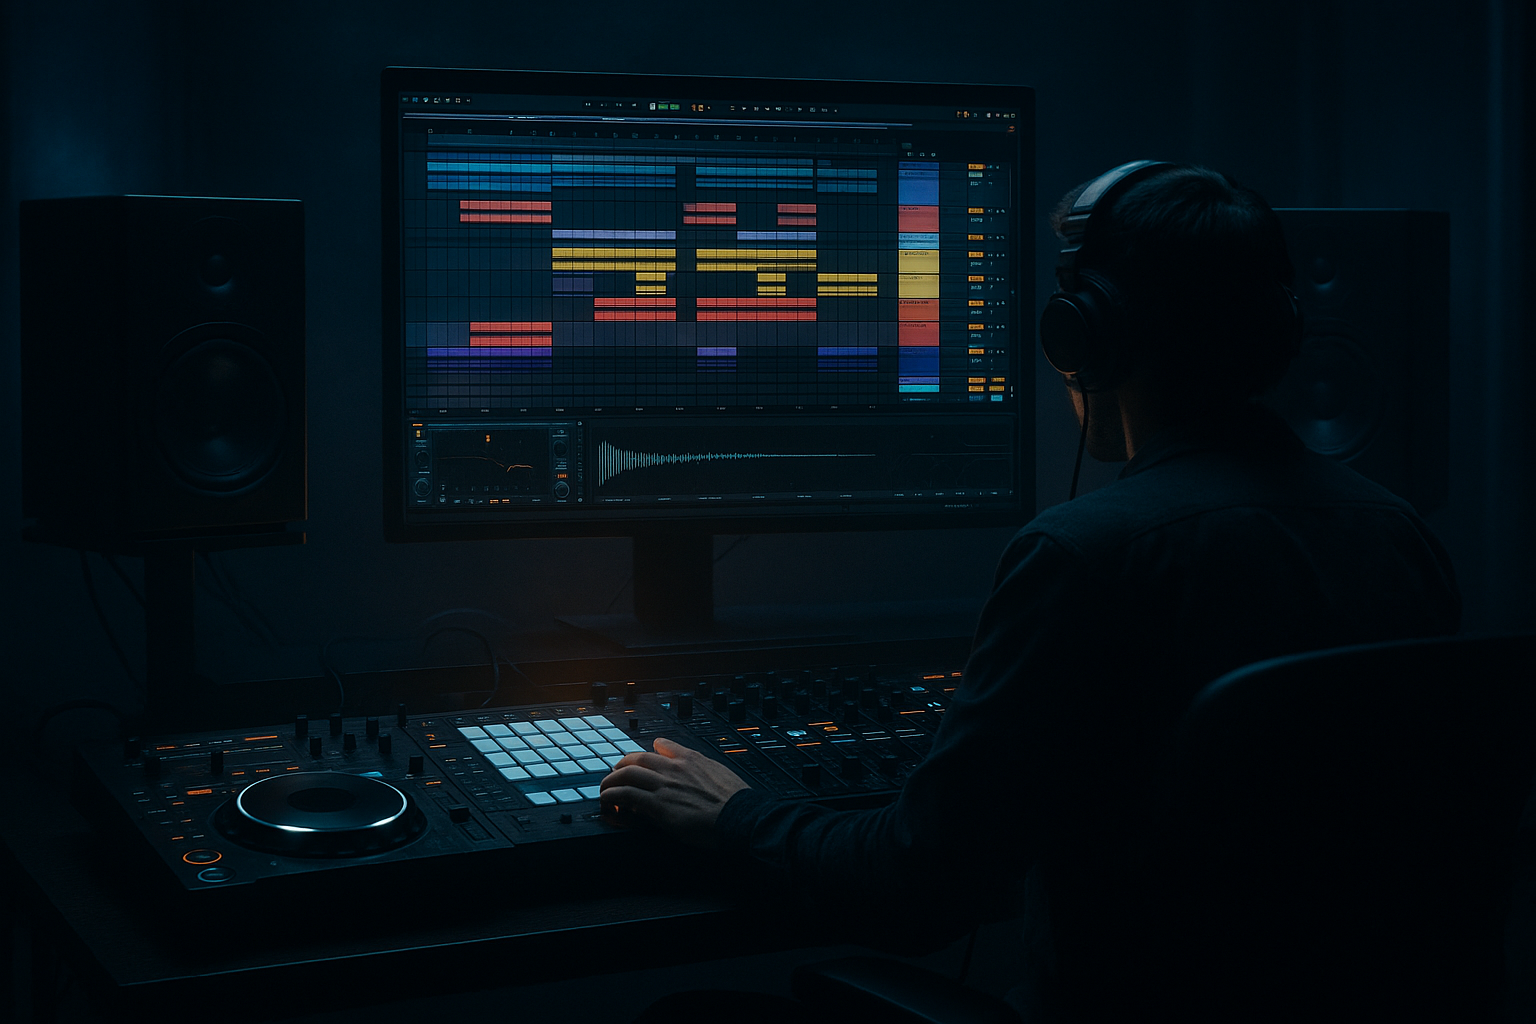
Main tutorial
Brush Hats for Atmospheric Sections (DnB in Ableton Live) 🥁✨
1) Lesson overview
Brushy hats are that soft, airy “shhh” texture you hear in atmospheric intros, breakdowns, and half-time bridges in drum & bass/jungle. They sit behind pads, vocals, and FX—adding motion without stealing focus from the drop.
In this lesson you’ll build a brush-hat layer that:
- feels human + organic (like brushed cymbals),
- stays tight and tempo-locked to DnB,
- can be morphed into darker/heavier vibes when needed.
- Layer A (Main brush hat): soft noise/cymbal “shh” with swing
- Layer B (Ghost ticks): tiny hat taps for detail (optional)
- Layer C (Wide air): subtle stereo high-end wash (optional)
- a device chain to keep it controlled and musical,
- automation moves for arrangement (intro → breakdown → drop).
- Tempo: 172–176 BPM
- Create a drum group or just separate MIDI tracks:
- Drag an organic hat loop into audio (think: top loops, shaker loops, brushed cymbals).
- Warp mode: Complex Pro (usually best for textured loops)
- Set Warp to 1 Bar or 2 Bars loops.
- Load a soft closed hat (or noise hat) into Simpler.
- You’ll program a groove in MIDI.
- Create a MIDI track → add Operator
- Set Oscillator A to Noise White
- Amp Envelope:
- Use 1/16 notes as a base, but don’t fill every step at full volume.
- A good starting pattern:
- In MIDI Velocity Lane, create a repeating swell:
- Select all notes → Groove Pool
- Or do it manually:
- High-pass: 200–400 Hz (12 or 24 dB/oct)
- Gentle dip if harsh: around 6–9 kHz, -2 to -4 dB (Q ~1.5)
- Optional air boost: 12–16 kHz, +1 to +3 dB (wide Q)
- Filter type: High-Pass or Band-Pass
- Set Frequency around:
- Add LFO:
- Mode: Soft Sine or Analog Clip
- Drive: 1–4 dB
- Dry/Wet: 20–50%
- Width: 110–140%
- If your track gets phasey, reduce width or use:
- Place occasional 1/32 or sparse 1/16 ticks, especially before snare hits.
- Keep velocity low: 10–35
- Pan slightly with Auto Pan:
- EQ Eight high-pass to 2–5 kHz
- Reverb very small:
- Brush hats in early, filtered and wide
- Automation:
- Reduce kick/snare energy, let hats carry motion
- Add a tiny chorus feel (optional):
- Pull hats back to create impact:
- Either mute brush hats completely (clean contrast),
- or keep a quieter version high-passed to stay out of the main tops.
- Too loud: brush hats should be felt more than heard in atmospheric parts.
- No high-pass filtering: leaving low-mid noise (200–800 Hz) muddies pads and vocals fast.
- Over-reverb: long reverb without EQ = harsh hissy wash that eats headroom.
- Too static: same velocity, same timing, same tone = “spray can” hats.
- Clashing with main top loop: if you already have a top loop, keep brush hats sparse or more filtered.
- Make it moodier with band-pass filtering:
- Sidechain the hat cloud to snare:
- Distort only the reverb tail (not the dry hats):
- Micro-dropout automation:
- Brush hats in DnB are controlled noise + groove + space.
- Your main tools: velocity shaping, subtle swing, HP filtering, and reverb on a return.
- Use automation to make them serve the arrangement—open up in intros, pull back before the drop.
We’ll do this with Ableton stock devices and a simple workflow you can reuse in any tune. 🎛️
---
2) What you will build
A 2–3 layer hat texture for atmospheric sections:
You’ll also create:
---
3) Step-by-step walkthrough
Step 0 — Session setup (DnB-friendly)
- `Brush Hats`
- `Ghost Hats` (optional)
- `Air Layer` (optional)
Keep hats separate from your main drum bus at first—easier to balance.
---
Step 1 — Choose a brush hat source (3 quick options)
You can get “brush” vibes from a few types of sound:
Option A: Real hat loop (fastest)
Option B: One-shot hat + fast repeats (more control)
Option C: Noise-based brush (super controllable + atmospheric)
- Attack: 5–15 ms
- Decay: 120–250 ms
- Sustain: -inf (0)
- Release: 50–120 ms
This makes a “pshh” that behaves like a brush.
For beginners: start with Option B or C, because it teaches you the technique.
---
Step 2 — Program the “brush motion” pattern (MIDI)
On `Brush Hats` (Simpler or Operator), create a 1-bar MIDI clip.
Core rhythm (DnB atmospheric feel):
- Put notes on every 1/16, then adjust velocity to shape a “wave”.
Velocity shaping (this is the brush magic) 🎚️
- Steps 1–4: 35 → 55
- Steps 5–8: 45 → 65
- Steps 9–12: 35 → 55
- Steps 13–16: 45 → 70
You want it to breathe, not sound like a static machine-gun.
Timing humanization
- Try: Swing 16-65 or MPC 16 Swing-type grooves
- Amount: 10–25%
- Nudge a few offbeats late by 5–12 ms (subtle!)
---
Step 3 — Tighten the sound with a stock device chain (recommended)
Put this chain on the `Brush Hats` track:
#### 1) EQ Eight (remove junk + make space)
#### 2) Auto Filter (movement)
- HP: 2–6 kHz (depending on how airy you want it)
- Amount: 5–15%
- Rate: 1/4 or 1/8 (sync)
This adds gentle evolving texture—great in intros.
#### 3) Saturator (tiny glue + presence)
Goal: bring out the hat detail without turning it brittle.
#### 4) Utility (width + mono control)
- Bass Mono (if available in your Live version) or simply keep this layer high-passed so mono issues matter less.
---
Step 4 — Add “ghost ticks” for jungle realism (optional but powerful)
Create `Ghost Hats` with a different, smaller hat sample in Simpler.
Pattern idea
- Amount: 15–30%
- Rate: 1/8 or 1/16
- Phase: 180°
This creates a “moving air” sensation like classic top loops.
Processing:
- Decay: 0.4–0.9 s
- Dry/Wet: 8–15%
---
Step 5 — Create the “wide air” layer (optional)
This is the “cinematic haze” behind everything.
Method: return track (recommended)
1. Create a Return track called `AIR`.
2. Put on `AIR`:
- Hybrid Reverb
- Algorithm: Plate or Hall
- Decay: 2.5–6 s
- Pre-delay: 10–25 ms
- High Cut: 7–10 kHz (prevents hiss overload)
- EQ Eight after reverb
- High-pass: 400–800 Hz
- Dip 2–4 kHz if it pokes out
3. Send `Brush Hats` to `AIR`:
- Send amount: start -18 to -10 dB (by ear)
This gives you a controllable “atmos hat cloud” that you can automate separately.
---
Step 6 — Arrangement ideas (how DnB producers actually use this)
Brush hats shine when you contrast them with a tight drop.
Intro (8–16 bars)
- Auto Filter frequency slowly opens: ~3 kHz → 8 kHz
- Reverb send rises slightly every 4 bars
Breakdown (8–16 bars)
- Chorus-Ensemble on the air layer
- Mix very low (5–15%)
Pre-drop (1–4 bars)
- Automate `Brush Hats` volume down 1–3 dB
- Reduce width (Utility) toward 100%
- Shorten reverb send
This makes the drop hit harder. 💥
Drop
---
4) Common mistakes
---
5) Pro tips for darker/heavier DnB 🖤
Auto Filter Band-Pass around 4–8 kHz with slight resonance. Darker, less shiny.
Use Compressor on the `AIR` return:
- Sidechain from snare track
- Ratio: 2:1 to 4:1
- Attack: 5–15 ms
- Release: 80–160 ms
This creates a subtle “breathing” around the snare—very pro.
Put Saturator after Hybrid Reverb on the `AIR` return (Drive 2–6 dB). Gives gritty atmosphere without harsh hats.
Every 2 bars, automate a tiny dip in volume (0.5–1 dB) or filter movement—keeps tension in minimal sections.
---
6) Mini practice exercise (10–15 minutes)
1. Create `Brush Hats` with Operator noise.
2. Program a 1-bar 1/16 pattern.
3. Shape velocities into a repeating swell (no two groups of 4 steps identical).
4. Add chain: EQ Eight → Auto Filter (LFO) → Saturator → Utility.
5. Create Return `AIR` with Hybrid Reverb + EQ Eight.
6. Arrange:
- Bars 1–9: filter opens gradually
- Bar 15: quick pullback (volume -2 dB, reverb send down)
- Bar 17: drop starts (mute brush hats or reduce by -6 dB)
Export a quick 16–32 bar bounce and listen on headphones: is the motion smooth and not hissy?
---
7) Recap
If you tell me your target subgenre (liquid, deep/rollers, jungle, neuro-ish) and whether you’re using loops or one-shots, I can suggest a perfect starting pattern and a tighter device chain for your exact vibe.

