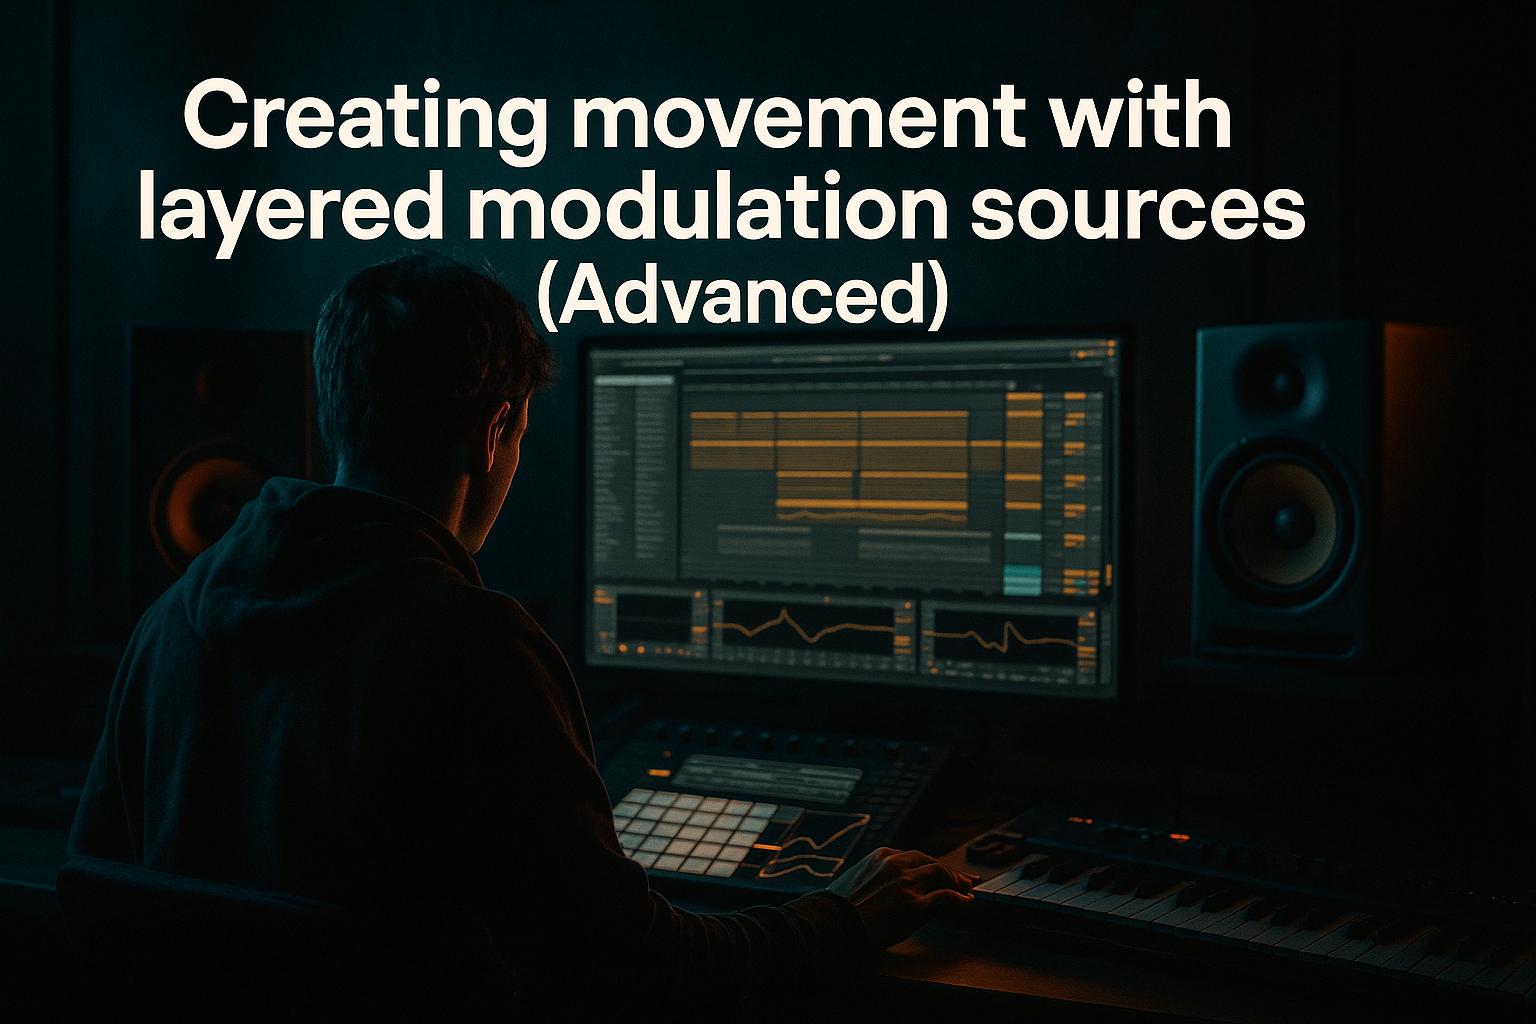
Main tutorial
Lesson Overview
A great jungle or DnB call-and-response riff does two jobs at once: it keeps the groove moving and it gives the drop a memorable musical identity. In this lesson, you’ll build a riff that feels like classic jungle soul — chopped, syncopated, a little ragged — but shaped with modern punch, cleaner low-end control, and tighter arrangement discipline inside Ableton Live 12.
This technique sits right in the core of a DnB track: usually in the main drop, or as the hook that appears after the intro/break build. It can also become the basis for a B-section, switch-up, or a second-drop variation. The reason it matters is simple: DnB often lives or dies on the interaction between drums, bass, and a short memorable motif. If the riff is too busy, it fights the break. If it’s too static, it feels flat. Call-and-response gives you contrast, space, and movement — perfect for rollers, jungle, and darker bass music.
We’ll use Ableton stock devices and a sampling-first workflow: slicing a soulful sample, shaping it with warp and envelope moves, then building a response phrase that lands harder with modern drum/bass discipline. You’ll end up with a riff that feels vintage in source but current in execution 🔥
What You Will Build
You’ll build a 2-bar jungle-inspired call-and-response loop that includes:
- A chopped “call” phrase made from a sampled vocal, horn, piano, or soul stab
- A “response” phrase using a second sample chop, a resampled texture, or a processed stab
- A tight drum-bass pocket underneath with space for sub movement
- Subtle pitch, filter, and send automation for tension and release
- A version that can sit in a drop, loop cleanly, and later be expanded into a full arrangement
- Bar 1: a vocal or piano hit answers the drums on the off-beat
- Bar 2: a sharper, lower, or more distorted reply
- A short gap between the phrases to let the break breathe
- A sub note or reese tail that supports the response without muddying the call
- Drag the sample into an Audio Track
- Switch to Clip View and enable Warp
- Try Complex Pro for full phrases, or Beats mode for percussive chops
- Set the warp markers so the groove feels stable at your project BPM
- Project tempo: 170–174 BPM for classic jungle/roller energy
- Warp Transients: keep them fairly natural unless the sample needs tightening
- Clip Gain: trim the sample so it doesn’t hit the master too hard
- Slice by transient for vocal or percussion-heavy material
- Slice by 1/8 or 1/16 if you want more rhythmic uniformity
- Map slices to a Drum Rack for fast sequencing
- Call: a brighter, more open chop
- Response: a darker or shorter chop
- Optional pickup: a tiny tail, breath, or reverse fragment
- In Drum Rack, group your favorite slices into 2 adjacent pads
- Set pad choke groups if you’re using overlapping hits that should cut each other off
- Shorten pad envelopes so chops feel crisp, not smeared
- Put the call on beat 1 and the “and” of 2
- Leave a rest before beat 3 or 4
- Use a second chop as a reply within the same bar, but keep it lighter
- Use the MIDI Note Editor with grid at 1/16
- Add Groove from a classic drum break if your track needs swing
- Nudge selected notes slightly late by 5–15 ms if the phrase feels too rigid
- MIDI velocity: vary between 75 and 115 so the chops feel played, not stamped
- Clip Transpose: try +3 semitones for brightness, or -2 to -5 semitones for a darker, heavier response
- A second sample chop from the same source, but pitched down
- A resampled version of the first chop, processed through effects
- A complementary stab from another soul sample, reversed or filtered
- Duplicate the call track
- On the duplicate, pitch the clip down 2–4 semitones
- Add EQ Eight and cut a little top end above 8–10 kHz
- Add Saturator with Soft Clip on, Drive around 2–5 dB
- Shorten the tail with an Auto Filter envelope or volume automation
- On a Drum Rack, layer a chopped break with a solid kick and snare
- Use Simpler in Slice mode or Drum Rack for break editing
- Add Glue Compressor on the drum bus with light gain reduction, around 1–2 dB
- Use Drum Buss lightly for punch and low-end shaping
- Snare on 2 and 4, with ghost notes from the break around it
- Kick that avoids the sample’s strongest attack moments
- Hats or ride pattern that fills the spaces left by the riff
- Keep the sample track slightly above the drums in emotional focus, but not in level
- Use EQ Eight to carve a little around 200–500 Hz if the sample clouds the snare/break
- High-pass the sample carefully, usually somewhere between 80–150 Hz depending on source
- Operator for a clean sine sub
- Wavetable for a wider reese-style support if you need movement
- Simpler with a low-passed sample if you want more organic bass tone
- Sine or very clean waveform
- Mono only
- Low-pass around 100–150 Hz for sub-only support
- Envelope decay short enough to stay tight with the drums
- Keep it below the sample’s main body
- Apply Chorus-Ensemble very subtly or use Wavetable unison sparingly
- Filter it so it doesn’t smear the riff’s rhythm
- Let the sub hit on the response, not on every call
- This creates a satisfying answer-and-impact structure
- In darker DnB, less continuous low-end often feels heavier than constant bass
- Auto Filter for sweep and tone control
- Echo for short rhythmic depth
- Simple Delay for bounce on selected chops
- Reverb in a return track for controlled space
- Utility for mono checking and width control
- Automate Auto Filter cutoff up slightly on the last hit of bar 2 to open the response
- Automate Dry/Wet on Echo only for the final word or stab of the phrase
- Increase reverb send briefly on a single chop, then pull it back immediately
- Use Utility Width to narrow the response and widen the call
- The loop feels too clean
- You want more “recorded” glue between drums and sample
- You need a final hook version for the drop or breakdown
- 2-bar intro of drums only or filtered sample tease
- 4 bars of full call-and-response riff
- 2 bars of reduced response only
- 2 bars of drum fill / turnaround
- Repeat with variation in the second 8 bars
- Intro with drums and a filtered hint of the sample
- Drop with full riff
- Small switch-up after 16 bars: remove the call and leave the response
- Use a fill or break edit to transition into the next phrase
- Consolidate your best version of the loop
- Duplicate to separate arrangement lanes for variations
- Automate drum breaks, sample filters, and bass cutoffs to create phrase identity
- Use return tracks for transitional FX instead of cluttering every channel
- Too much sample overlap
- Weak drum-bass separation
- Overly bright chopped samples
- No contrast between call and response
- Arranging the riff like an endless loop
- Too much low-mid buildup
- Make the response lower, shorter, and dirtier than the call. That contrast adds menace without crowding the mix.
- Add Saturator before EQ on the response to create harmonics, then trim the harshness after. This often feels heavier than just turning it up.
- Use a parallel Drum Buss on a return for extra smack, but keep the send subtle so the break still breathes.
- If the riff needs more underground character, resample through a bit of Echo with short feedback, then slice the result again.
- For a neuro-leaning edge, automate tiny filter movements on the response only. Small modulations can feel more alive than obvious sweeps.
- Keep sub notes fewer than you think. In darker DnB, restraint creates pressure.
- Check the whole riff in mono using Utility. If the hook dies in mono, your width is probably hiding imbalance instead of creating depth.
- Use transient control on the break, not just the sample. A punchy break can make even a modest chop feel like a headliner.
- Build the riff from a soulful sample and turn it into two contrasting phrases.
- Keep the call open and memorable, and make the response darker or more grounded.
- Support the hook with disciplined drums, mono sub, and controlled low-mid EQ.
- Use stock Ableton devices like Simpler, Drum Rack, Auto Filter, Saturator, EQ Eight, Glue Compressor, and Utility.
- Arrange it like a DnB section: tension, release, switch-up, and DJ-friendly flow.
- In jungle and modern DnB, space and contrast are what make sampling feel powerful.
Musically, think:
The final result should feel like a jungle loop with enough headroom and punch to survive modern DnB drum programming.
Step-by-Step Walkthrough
1. Choose a sample with soul, not just “good sound”
Start by loading a sample that has clear character: a vocal phrase, Rhodes stab, horn hit, blues guitar lick, or old soul record chop. In DnB, the source doesn’t need to be long — it needs to be rhythmically usable.
In Ableton Live 12:
Good starting ranges:
Why this matters in DnB: the sample is your hook, but the groove has to lock to the drums. A soulful source gives emotional contrast against hard breaks and sub pressure.
2. Chop the sample into musical cells
Now turn the sample into playable material. Right-click the clip and use Slice to New MIDI Track if you want each transient or segment on pads. This is especially useful in sampling-based jungle workflows because you can re-trigger phrases in a more deliberate rhythmic shape.
Recommended slice approach:
For the call-and-response idea, keep just 2–4 slices you really like:
Ableton move:
Practical target: your “call” should be instantly recognisable in one bar, not a full melodic sentence.
3. Build the call phrase with off-beat timing and space
Program the call in MIDI with enough syncopation to let the break speak. In jungle and rollers, the strongest motifs are often short, slightly late, or placed around drum gaps.
Suggested pattern concept:
Useful Ableton workflow:
Two concrete parameter ideas:
If the sample is vocal-based, use Warp mode to preserve formants a bit more naturally. If it’s a horn or stab, you can push transposition harder and make it more synthetic.
4. Design the response as a contrast, not a repeat
The response is where the riff becomes a conversation instead of a loop. In DnB, contrast is king: brighter vs darker, short vs sustained, dry vs wet, upper-mid vs low-mid.
You can create the response in three ways:
Try this response design:
This gives you the “answer” phrase a more grounded, darker energy — very effective for neuro-influenced rollers or modern jungle edits.
Why this works in DnB: the call grabs attention, the response releases tension. That push-pull mirrors the drum programming, where snare placement and break edits keep the listener engaged.
5. Lock the riff to the drums and bass pocket
Now place your drum foundation under the riff. For this lesson, keep it tight and simple enough to support the sample. Use a break-based drum layer with a modern kick/snare backbone.
Ableton stock workflow:
Practical drum approach:
Make sure the riff never sits right on top of every snare transient unless that’s the intention. The best jungle hooks often “lean” around the break, not directly on top of it.
Mix discipline:
6. Add a dedicated sub or reese layer that follows the response
For modern punch, the riff should be supported by a low-end part that doesn’t clutter the sample. This could be a simple sub note under the response, or a restrained reese under both phrases.
Ableton options:
Suggested sub settings:
If using a reese support:
Bass phrasing tip:
7. Shape the movement with filters, auto-pan, and resampling
Now give the riff a little evolution so it feels alive over 8 or 16 bars. This is where sampling becomes sound design.
Good Ableton devices for movement:
Automation ideas:
A strong intermediate move: resample the whole 2-bar loop to audio, then re-chop the printed result. This often creates micro-character, especially if the processing chain includes saturation, delay throws, or filter movement.
Use resampling if:
8. Arrange it like a real DnB drop, not a loop
A loop is not an arrangement. Your job is to turn the riff into a section with movement and payoff.
A practical arrangement shape:
For a DJ-friendly structure:
Ableton workflow suggestions:
A musical context example: imagine a dark roller where the drop starts with a chopped soul vocal, the first response is a crunchy pitched-down stab, and by bar 9 the sub starts answering every second hit. That kind of arrangement keeps club energy up while still feeling musical.
Common Mistakes
Fix: shorten clips, reduce release times, and leave actual gaps between call and response.
Fix: high-pass the sample more aggressively, and keep sub parts mono and simple.
Fix: use EQ Eight to tame harsh top end, or reduce the Warp mode brightness if the source gets brittle.
Fix: change pitch, register, filter, or space so the second phrase clearly answers the first.
Fix: create drop sections, switch-ups, and reduced versions for bar 9–16.
Fix: carve 200–500 Hz carefully on the sample bus, especially if the break and bass are already dense.
Pro Tips for Darker / Heavier DnB
Mini Practice Exercise
Spend 10–20 minutes building a 2-bar call-and-response loop from one soul sample.
1. Find one short sample with clear personality.
2. Warp it and slice it into at least 4 playable chops.
3. Program a call phrase in bar 1 and a contrasting response in bar 2.
4. Add a simple snare-led break and a mono sub supporting the response.
5. Apply one saturation move and one filter automation.
6. Resample the result and re-chop one tiny part into a fill or pickup.
Goal: make the loop feel like a real drop hook, not just a sample replay. If it doesn’t make you nod after 2 listens, reduce the number of chops and increase the contrast.

