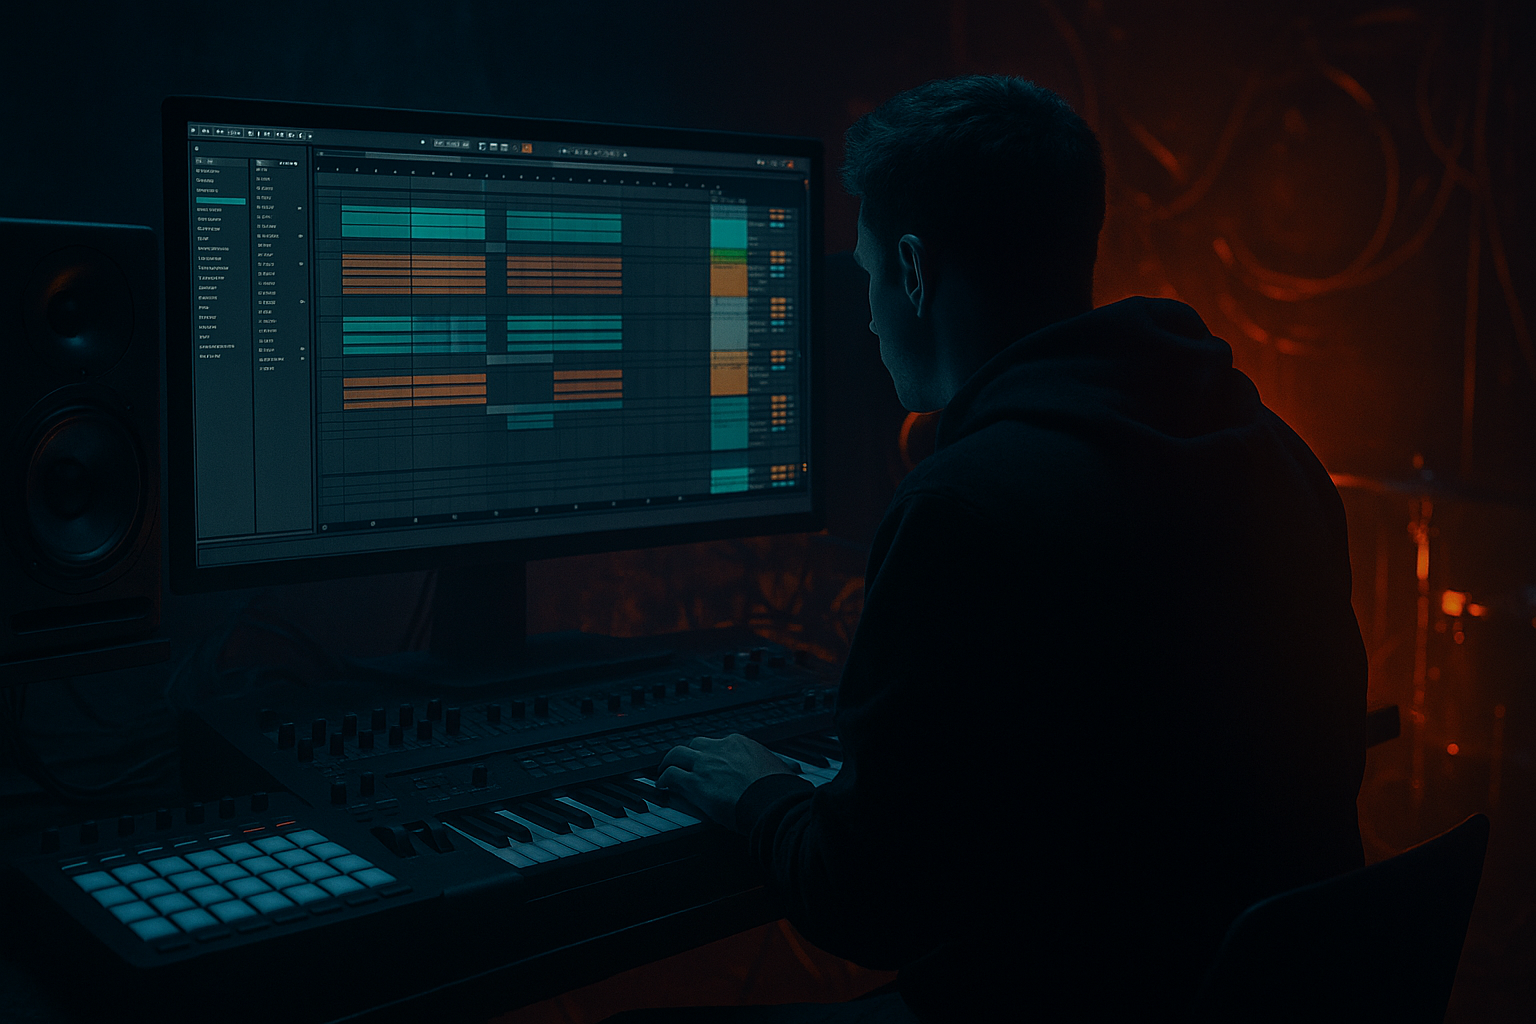
Main tutorial
Build Jungle Kick Weight Using Resampling Workflows in Ableton Live 12
1. Lesson overview
In jungle and drum and bass, the kick needs to do more than just “hit” — it has to feel heavy, controlled, and musical alongside fast breaks and deep bass. One of the best ways to get that weight in Ableton Live 12 is by using resampling: printing your kick to audio, processing it, then resampling again to build density and impact.
This tutorial will show you a beginner-friendly workflow to make a bigger jungle kick using:
- Audio resampling
- Automation
- Ableton stock devices
- Simple layering and arrangement tricks
- A clean kick source
- A resampled kick layer with more body
- An impact layer for extra attack
- Automation that changes the kick over the arrangement
- A simple kick bus chain that keeps the low end tight
- A short acoustic-style kick
- A punchy electronic kick
- A clean breakbeat kick from a sample pack
- High-pass gently only if needed
- Boost around 50–80 Hz if the kick lacks sub weight
- Cut muddy area around 200–400 Hz if it sounds boxy
- Mode: Analog Clip
- Drive: 2–6 dB
- Output: reduce to match level
- Drive: 5–15%
- Crunch: very light, around 5–10%
- Boom: use carefully
- Use it only if the kick feels uneven
- Try a slow attack to keep the punch
- Fast-ish release so it recovers before the next beat
- Commit processing
- Capture saturation and transient shaping
- Make the kick easier to edit like audio
- Layer and reprocess without endless plugin chains
- Trim the clip tightly
- Add a tiny fade-in if there’s a click
- Make sure the tail doesn’t clash with the bass
- If needed, consolidate it into a neat one-shot
- Clip View
- Warp off
- Consolidate (`Cmd/Ctrl + J`)
- Utility for gain trimming
- Saturator: Drive 4–8 dB
- Drum Buss: Drive 10–20%, Crunch 5–15%
- EQ Eight:
- Harmonics
- Density
- Perceived loudness
- More “chest” in the kick
- Layer 1: Original kick = attack + definition
- Layer 2: Resampled processed kick = body + weight
- Layer 3: Optional click layer = extra punch
- Use a short transient sample
- High-pass it heavily with EQ Eight
- Keep it very quiet
- Start with the body layer lower than you think
- Bring up the original kick until the attack is clear
- Blend the body layer until the kick feels thick, not blurry
- Saturator Drive
- Drum Buss Drive
- EQ Eight low-end gain
- Utility Gain
- Reverb send for transition moments
- Auto Filter cutoff for build-ups and drops
- Keep the kick lighter
- Less saturation
- Less sub emphasis
- Increase Saturator Drive by 2–3 dB
- Add a touch more Drum Buss Drive
- Slightly raise low-end gain with EQ if needed
- Automate the kick down or filter it out
- Save the heavy version for the drop
- Less weight before the drop
- More weight on the first 8 or 16 bars
- Slight variation in later phrases so the groove stays alive
- Attack: 10 ms
- Release: Auto
- Ratio: 2:1
- Aim for just a few dB of gain reduction
- Drive: 1–3 dB
- Soft Clip: On if needed
- Cut mud if the stack sounds cloudy
- Gently shape the low end rather than over-boosting
- Play the kick with your bassline
- Check if the sub ranges overlap too much
- Listen for masking around 40–100 Hz
- Shorten the kick tail
- Cut some low-mid mud from the kick
- Sidechain the bass slightly using Compressor or Shaper
- Let the bass occupy the space after the kick transient
- It bakes in the bus processing
- It gives you a new, simpler waveform to edit
- It can sound more unified and aggressive
- Saturator
- Drum Buss
- Overdrive very lightly
- Clip the kick a bit
- Add harmonic grit
- Then print it back to audio
- Start with a strong kick sample
- Shape it with stock Ableton devices
- Resample it to audio
- Create a second heavier version
- Layer attack and body
- Automate processing over the arrangement
- Glue the stack on a kick bus
- Check it against the bass and the break
- a 3-part Ableton Live 12 exercise plan
- a rack preset template
- or a matching snare/bass resampling tutorial for jungle production.
You’ll learn how to create a kick that works in dark jungle, rolling DnB, and aggressive halftime sections ⚡
---
2. What you will build
By the end of this lesson, you’ll build:
The goal is not just loudness — it’s weight, punch, and translation on club systems.
---
3. Step-by-step walkthrough
Step 1: Start with a simple kick source
For jungle and DnB, begin with a kick that is already close to the sound you want.
Good starting options:
In Ableton:
1. Drag the kick into an Audio Track
2. Set the clip to Warp = Off if it’s a one-shot
3. Trim silence tightly so the kick starts immediately
Why this matters
If your source kick is weak or too long, resampling will only exaggerate the problems. Start with something solid and focused.
---
Step 2: Build a kick layer with stock devices
Before resampling, shape the kick with a simple device chain.
Suggested device chain:
1. EQ Eight
2. Saturator
3. Drum Buss
4. Optional: Compressor or Glue Compressor
Suggested settings:
#### EQ Eight
#### Saturator
#### Drum Buss
- Tune the Boom to your track key or the kick’s fundamental
- Keep it subtle for jungle, unless you want a modern-heavy sound
#### Compressor
DnB tip
At fast tempos like 170–174 BPM, a kick can feel huge without being long. Tightness matters more than duration.
---
Step 3: Resample the kick to audio
Now we print the processed kick to a new audio track. This is where the magic starts. 🎛️
How to do it:
1. Create a new Audio Track
2. Set Audio From to:
- Resampling, or
- The track containing your kick
3. Arm the new track
4. Record a few hits of the kick
If you use Resampling, Ableton records the full output of what it hears.
Why resample?
Resampling lets you:
---
Step 4: Edit the resampled kick for more weight
Once recorded, zoom in and clean up the sample.
Do this:
Useful Ableton tools:
Practical trick
If the kick tail has a nice low-end body, keep it.
If it gets muddy, shorten it slightly and let the bass own the sub region.
---
Step 5: Layer a second resampled version for body
This is a great jungle workflow: make one resampled version for the main hit, then make another version with heavier processing.
Create a “body” layer:
1. Duplicate the kick track
2. On the duplicate, add:
- Saturator
- Drum Buss
- EQ Eight
3. Resample that version too
Suggested body-layer chain:
- Low-pass slightly if it gets too clicky
- Keep the fundamental area strong
What this does
The second resampled layer adds:
This is especially useful if your original kick is too polite for jungle.
---
Step 6: Build a kick stack with attack + body
Now combine the layers.
Simple layer structure:
To make a click layer:
Balance tips:
---
Step 7: Use Automation to make the kick evolve
Since this lesson is about automation, let’s make the kick change over the track instead of staying static.
Great automation targets for kick weight:
Example automation idea:
#### In the intro:
#### At the drop:
#### In a breakdown:
How to automate in Ableton:
1. Press A to show automation
2. Choose the device parameter
3. Draw smooth curves, not sudden jumps unless you want a deliberate effect
DnB arrangement idea
Use automation to make the drop hit harder by contrast:
---
Step 8: Create a kick bus for final glue
Group your kick layers into a bus so you can process them together.
On the kick group, try:
1. EQ Eight
2. Glue Compressor
3. Saturator or Drum Buss
4. Optional: Limiter for safety
Starting settings:
#### Glue Compressor
#### Saturator
#### EQ Eight
Important
Do not squash the kick bus too hard. In jungle, the kick still needs snap and movement to sit with the break.
---
Step 9: Check the kick against the bass
A jungle kick can sound huge alone and still fail in the mix if it fights the bass.
Do this:
Fixes:
Beginner rule
If the kick gets bigger but the whole drop feels smaller, the low end is probably overcrowded.
---
Step 10: Resample again if needed
This is the classic “print, process, print again” workflow.
Why a second resample can help:
Workflow:
1. Record the full kick bus to audio
2. Trim the best section
3. Replace the old stack with the new resampled hit
4. Keep the original layers hidden as backups
This is very useful in DnB because it helps you commit to a sound and move forward fast.
---
4. Common mistakes
1. Making the kick too long
In fast jungle, a long kick can smear into the bass and break the groove.
2. Overusing sub boost
Too much low-end EQ can make the mix bigger on headphones but weaker on speakers.
3. Resampling a bad source
Resampling won’t fix a weak kick. Start with a strong sample.
4. Too much compression
Over-compressed kicks lose punch and feel flat.
5. Forgetting arrangement contrast
If the kick is always huge, the drop loses impact. Use automation to create contrast.
6. Not checking the bass relationship
The kick and bass must work together. That’s the real low-end battle in DnB.
---
5. Pro tips for darker/heavier DnB
Tip 1: Tune the kick to the track
If your tune is in a key like F minor or G minor, experiment with kick fundamentals that sit nicely in the track. Even a small tuning change can make the low end feel more musical.
Tip 2: Use subtle distortion instead of huge EQ boosts
For darker DnB, harmonics often work better than raw sub boosts.
Try:
Tip 3: Resample through “ugly” settings
A little dirt can be perfect in jungle.
Tip 4: Use automation to make the drop hit harder
A clean intro and heavier drop create perceived impact without needing extreme levels.
Tip 5: Leave room for the break
If you’re using chopped breaks, make sure the kick doesn’t fight the snare or ghost notes. The groove should feel tight, not crowded.
Tip 6: Keep mono low end
Use Utility on the kick bus if needed and keep the low end centered. Heavy DnB kicks work best when the sub is focused.
---
6. Mini practice exercise
Try this in a new Ableton Live set:
Exercise:
1. Load a kick sample onto an audio track
2. Add:
- EQ Eight
- Saturator
- Drum Buss
3. Resample the processed kick to a new audio track
4. Duplicate the sample and make a second version with more drive
5. Blend the two versions into a kick stack
6. Automate the Saturator Drive over 8 bars:
- Bar 1–4: lower drive
- Bar 5–8: slightly higher drive
7. Compare the drop impact before and after automation
Goal
Build a kick that starts controlled and becomes heavier as the section develops.
---
7. Recap
Here’s the core workflow:
This is one of the most useful beginner workflows for jungle and DnB because it teaches you to think like a producer: commit, resample, refine, and automate 🔥
If you want, I can also turn this into:

