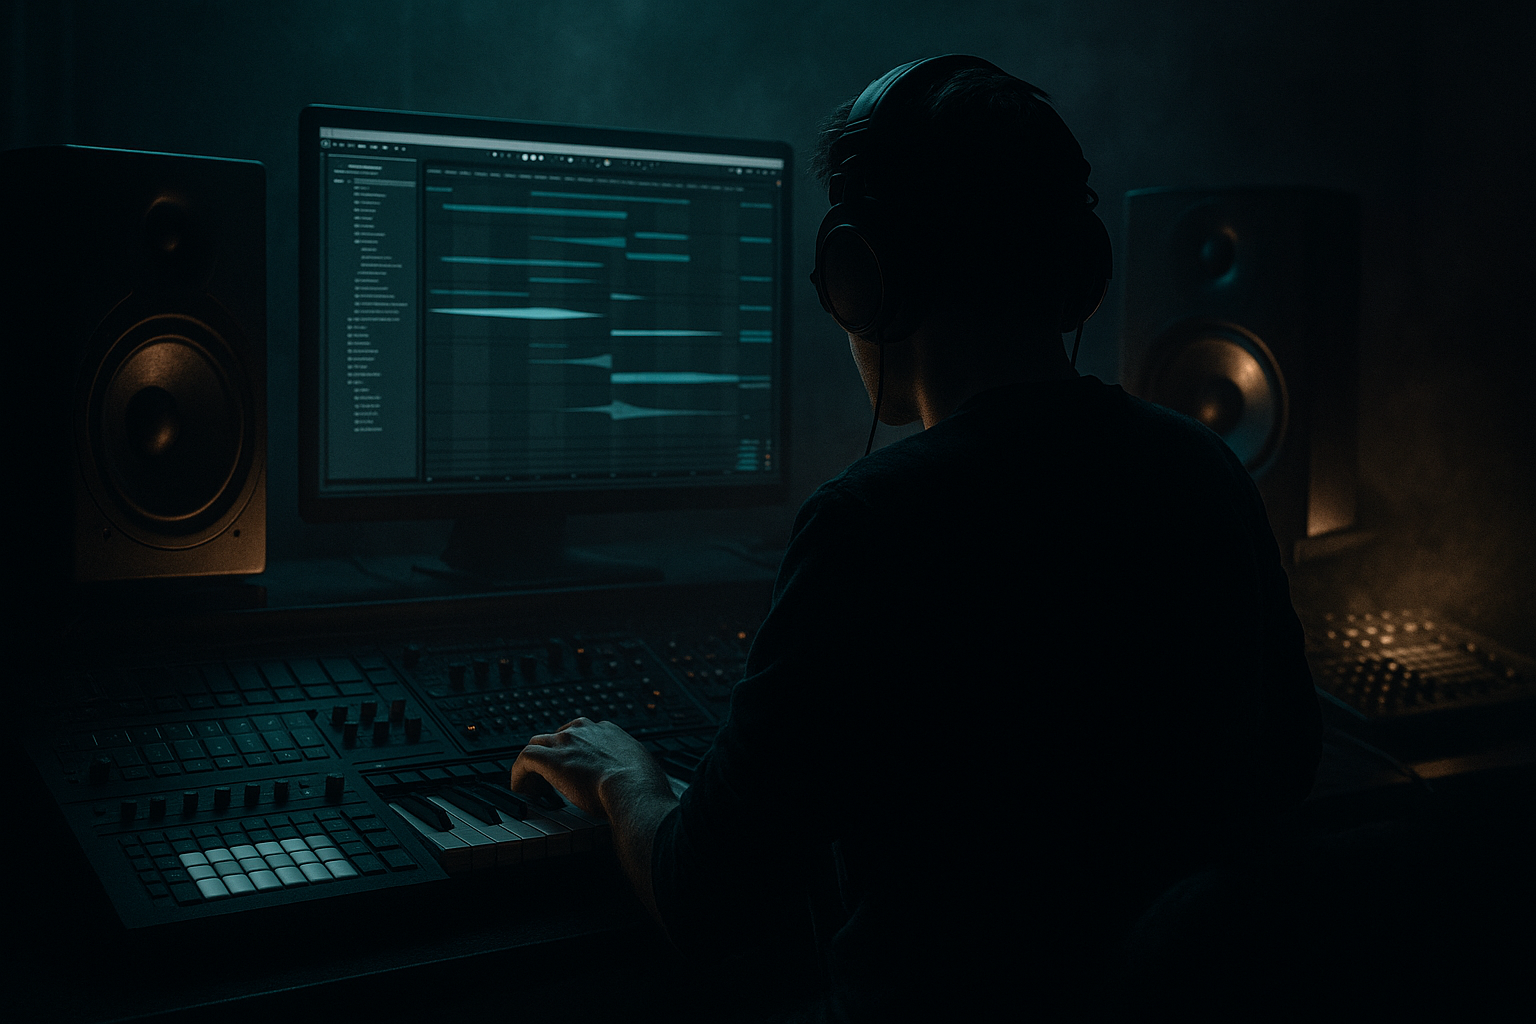
Main tutorial
Build Jungle Vocal Texture (Stock Devices Only) — Ableton Live 12 (Advanced Automation)
1. Lesson overview
You’re going to turn a plain vocal (or even a spoken one-liner) into classic jungle/DnB vocal texture: chopped, time-stretched, band-limited, dubby, and constantly evolving via automation. The goal isn’t “a lead vocal”—it’s movement, atmosphere, and rhythmic glue that sits inside a rolling drum and bass mix. 🔥
Core focus: automation as sound design
Tools: Ableton Live 12 stock devices only (Sampler/Simpler, Auto Filter, Grain Delay, Reverb, Echo, Saturator, Redux, Utility, EQ Eight, Compressor/Glue, Gate, Shifter, Beat Repeat)
---
2. What you will build
A 3-layer jungle vocal system:
1. Rhythmic Chop Layer (tight, synced, “ragga/jungle” stabs)
2. Ghost Texture Layer (washed, granular, wide, moving behind the drums)
3. Dark Drone/Resample Layer (pitched, distorted, filtered—like a vocal “reese fog”)
All three layers will be driven by clip automation + arrangement automation + resampling—the jungle way. 🧪
---
3. Step-by-step walkthrough
Step 0 — Prep your source like a pro
1. Drag a short vocal phrase into a new Audio Track (8–24 bars is plenty).
2. Warp it:
- Set Warp mode to Complex Pro (good for vocals).
- Adjust Formants slightly if needed (start at 0; try -10 to -30 for darker).
- Set the clip tempo to your project (170–174 BPM typical DnB).
DnB mindset: you’re not preserving realism—you’re creating texture that obeys the groove.
---
Step 1 — Make the Rhythmic Chop Layer (classic jungle vocal hits)
Create MIDI track → drop in Simpler (Slice mode)
1. Right-click your vocal clip → Slice to New MIDI Track…
- Slicing preset: Built-in or Transient
- Choose Warp slicing if your timing is already tight to grid.
2. In Simpler (Slice):
- Trigger mode: Gate (more playable)
- Voices: 1 (monophonic chops keep it punchy)
- Filter: ON
- Type: MS2 (or clean if you prefer)
- Freq: ~4–8 kHz starting point
- Res: 0.30–0.60
3. Program a 2-bar chop pattern:
- Put hits on offbeats (classic jungle feel): try 1.2, 1.4, 2.2, 2.3.3, 2.4
- Keep some gaps—air is groove.
Device chain (on the MIDI track):
1. EQ Eight
- HP at 150–250 Hz (vocals don’t need sub in this layer)
- Gentle dip around 2–4 kHz if harsh
2. Saturator
- Mode: Analog Clip
- Drive: 2–6 dB
- Soft Clip: ON
3. Auto Filter (for movement)
- Type: Band-Pass or Low-Pass
- Res: 0.8–1.4 (don’t be scared—jungle likes resonance)
4. Compressor (or Glue Compressor)
- Aim: consistent hits, not squashed life
- Ratio: 2:1–4:1, Attack 10–30 ms, Release Auto or 80–150 ms
#### Automation moves (this is the lesson 🔧)
In Arrangement View, automate Auto Filter Freq:
- Over 8 bars: slowly sweep from ~2 kHz → 8 kHz
- Add quick dips right before drum fills (like a DJ filter tease)
- Push +2 to +4 dB on every 4th bar (subtle “hype” accent)
- Grain Size: 80–160 ms
- Flux: 10–30 (more flux = more smear)
- Bars 1–4: 15%
- Bars 5–8: ramp to 30–40%
- Drop back on the drop-downbeat for impact 🎯
- Pre-drop: increase decay from 3s → 6s
- At drop: snap back to 2.5–3s (keeps mix tight)
- Narrow (90–110%) during dense drum sections
- Wide (150–170%) in breakdowns / intros
- Transpose: -12 (one octave down) for weight
- Formants: -20 to -50 (darker, more “monster”)
- Auto Filter Freq: draw fast “talking” moves every 1/2 bar (like vowel sweeps)
- Redux Dry/Wet: bump it in fills (last 1/4 bar before snare fill)
- Clip Gain automation: push the drone slightly up during drum gaps
- Ghost layer only, wide, filtered low-pass slowly opening
- Add occasional chop hits (every 2 bars)
- Increase Grain Delay wet + Reverb decay
- Add more chop rhythm (call-and-response with snare)
- Kill long reverb tail (automation snap)
- Bring in chop layer tighter + less wet effects
- Drone layer low in the mix for menace
- Introduce different automation “scene”: higher filter, more Redux, different chop rhythm
- Add a 1-bar “tape-stop style” moment by automating Warp/Transpose? (Instead: automate Clip Transpose down quickly for a dive)
- Macro 1: Filter Freq
- Macro 2: Grain Delay Dry/Wet
- Macro 3: Reverb Decay
- Macro 4: Saturator Drive
- Macro 5: Width
- Macro 6: Redux Dry/Wet
- Leaving low-end in vocal textures → mud with sub/reese. High-pass aggressively (often 200–400 Hz on ghost layers).
- Too much reverb during the drop → your drums lose punch. Use automation snaps at key moments.
- Over-chopping without groove → random isn’t swing. Place chops around the snare and offbeats like percussion.
- Harsh sibilance + distortion → de-ess manually with EQ dips around 6–9 kHz, or filter before saturating.
- Everything wide → makes the mix feel unfocused. Keep the main rhythmic chop layer more center; let ghost layers be wide.
- Sidechain the Ghost layer to the kick/snare (stock Compressor sidechain):
- Make “vowel bass” illusions with Auto Filter automation:
- Parallel dirt:
- Break-focused call-and-response:
- Use Shifter for haunted harmonics:
- You built a 3-layer jungle vocal texture system: chops + ghost wash + resampled drone.
- You used stock devices only and treated automation as the main instrument.
- You shaped the vocal to behave like a DnB element: rhythmic, filtered, controlled in low-end, and arranged for impact.
Automate Saturator Drive:
---
Step 2 — Build the Ghost Texture Layer (washed, wide, rhythmic haze)
Duplicate your original vocal audio track (not the chops). Name it: Vox Ghost.
Warp mode: switch to Texture
Device chain (Vox Ghost):
1. EQ Eight
- HP at 250–400 Hz
- LP at 8–12 kHz (keep it “behind”)
2. Grain Delay (the jungle secret sauce)
- Dry/Wet: 15–35%
- Delay Time: 10–30 ms (short = thickness)
- Feedback: 10–25%
- Random Pitch: 3–10
- Frequency: 2–6 kHz (aim where sibilance lives)
3. Reverb
- Size: 35–70%
- Decay: 2.5–6.0 s
- Pre-Delay: 15–30 ms
- Low Cut: 300–600 Hz
- High Cut: 6–10 kHz
- Dry/Wet: 10–25%
4. Utility
- Width: 130–170% (ghost layer = stereo support)
- Gain: pull down so you feel it more than hear it
#### Automation moves
Automate Grain Delay Dry/Wet:
Automate Reverb Decay on transitions:
Automate Utility Width:
---
Step 3 — Create the Dark Drone/Resample Layer (vocal becomes “fog bass texture”)
This is where you turn vocal into DnB atmosphere that can sit under a reese and drums.
1. Create a new audio track: Vox Resample
2. Set its input to Resampling
3. Solo your Vox Ghost + Chop Layer for a moment (or just Ghost if you want cleaner)
4. Record 8–16 bars of output audio.
Now process the resampled audio.
Warp mode: Complex Pro or Texture (try both; choose the nastier one)
Device chain (Vox Resample):
1. Auto Filter
- Low-Pass, 24 dB
- Freq: 200–2,500 Hz automated
- Drive: 3–8 (filter drive adds grit)
2. Redux (controlled digital dirt)
- Downsample: 2–8 (start 4)
- Bit Reduction: 10–14 (don’t obliterate unless you want breakcore edge)
- Dry/Wet: 10–30%
3. Saturator
- Drive: 4–10 dB
- Soft Clip: ON
4. Gate (rhythmic “chop without chopping”)
- Use sidechain if desired (see Pro Tips), or manually set:
- Threshold so it opens on peaks
- Return: short
5. EQ Eight
- HP: 80–120 Hz (leave sub for bass)
- Notch out harshness: 2.5–5 kHz if it bites
#### Automation moves (big jungle energy)
- Example: 400 Hz → 1.2 kHz → 700 Hz → 2 kHz
---
Step 4 — Glue it into a DnB arrangement (where it actually works)
Here’s a practical 32-bar structure idea:
Bars 1–9 (Intro):
Bars 9–17 (Build):
Bar 17 (Drop):
Bars 25–33 (Second phrase):
---
Step 5 — Macro control (optional but deadly)
Group each vocal layer chain (Cmd/Ctrl+G) and map key parameters to Macros:
Then automate macros in Arrangement for clean, performable movement. 🎛️
---
4. Common mistakes
---
5. Pro tips for darker/heavier DnB 🕶️
- Ratio 4:1, Attack 2–10 ms, Release 80–160 ms, reduce 2–5 dB.
Keeps jungle haze from smearing drum transients.
- Combine Band-Pass sweeps + saturation after filter.
- Fast automation curves = talking motion.
- Send Vox Resample to a Return track with Redux + Saturator + EQ Eight and blend lightly.
- Automate vocal chops to hit right after snare (classic amen energy).
- Insert Shifter (Frequency Shifter) on Ghost layer:
- Mode: Frequency Shift, Amount: +10 to +60 Hz, Dry/Wet: 5–15%
Automate Amount slowly for unsettling motion.
---
6. Mini practice exercise (15–20 minutes)
1. Pick a 1–2 bar vocal phrase.
2. Build only the Chop Layer with Simpler Slice.
3. Create two different 8-bar automation passes:
- Pass A: subtle (filter opens slowly, small drive changes)
- Pass B: aggressive (fast filter vowel moves, drive spikes on fills)
4. Resample Pass B into Vox Resample and make it a low drone under a 16-bar loop.
5. Bounce both versions and compare: which supports the groove more?
---
7. Recap
If you want, tell me what type of vocal you’re using (ragga shout, spoken word, soulful phrase) and your drum style (amen-heavy, steppy, techy rollers), and I’ll suggest an exact 16-bar automation script and device settings tailored to it.

