Main tutorial
1. Lesson overview
You’re an advanced DnB arranger in Ableton Live. This lesson teaches how to create a powerful, musical contrast between the first and second drop so the second one hits harder and feels different — not just louder. You’ll learn concrete Ableton workflows, device chains, automation tactics, and arrangement moves that preserve the low-end while introducing new mid/high energy, rhythmic variation, and drama. Expect practical, actionable steps you can do in a single session. Let’s make those drops land. ⚡️🥁
Target Live features referenced: Arrangement View automation, Drum Rack, Drum Bus, Wavetable/Operator/Simpler, Instrument Racks, Audio Effects (EQ Eight, Saturator, Overdrive, Compressor, Glue Compressor, Multiband Dynamics, Utility, Auto Filter, Redux, Echo, Reverb), sends/returns, routing, sidechain.
---
2. What you will build
A standard DnB section with:
- Drop 1: tight, focused, sub-dominant; drums sharp but slightly restrained; fewer layers so the groove breathes.
- Breakdown/interlude: creates contrast with rhythmic reversal / half-time or sparse pads and a riser.
- Drop 2: fuller, darker, heavier — added mid-range grit, extra percussion, wider stereo interest, and a different drum/break pattern to create impact while the sub remains solid.
- Bars 1–8: Intro / groove build
- Bars 9–24: Build / pre-drop
- Bars 25–40: Drop 1 (16 bars)
- Bars 41–56: Breakdown / reset
- Bars 57–64: Pre-drop 2 (8 bars)
- Bars 65–96: Drop 2 (32 bars)
- Sub (Operator): Osc A sine, Octave -2, Volume -3 dB; EQ Eight: lowpass ~140 Hz slope 24 dB.
- DirtyGrowl (Wavetable): Osc A: basic saw-ish wavetable pos 0.15; Unison 3, Detune 0.08; Filter: Lowpass 12/24 dB cutoff 900–1.8 kHz; Saturator: Soft Clipping, Drive 4–8 dB; EQ Eight boost 300 Hz +2 dB (bell 0.6).
- Bass sidechain: Compressor on Wavetable chain: Ratio 4:1, Attack 4 ms, Release 80–120 ms, Sidechain input = Drum Kick.
- Drum Bus (Glue): Threshold -8 dB, Ratio 3:1, Attack 10 ms, Release 200 ms (or Auto).
- Drum Buss: Drive 4, Transient knob +10–15%, Boom 3–5 (taste).
- Parallel comp return: Compressor ratio 10:1, attack 2 ms, release 80 ms, threshold -15 to -20 dB; blend 10–20%.
- Work with scenes: set up Drop 1 and Drop 2 as two distinct clips in Session View first for quick A/B'ing, then consolidate into Arrangement View.
- Use group-level Macro automation for big changes (Grit, FilterCut, Width) rather than automating dozens of individual tracks.
- Freeze/Flatten alternate break layers if CPU spikes when auditioning different breaks.
- Making Drop 2 just “louder”: raising master fader makes it feel forced and flattens dynamics. Use frequency/content changes instead.
- Replacing the sub between drops: changing the sub timbre or phase kills continuity and physical impact. Keep sub anchor unchanged.
- Overcrowding mids: adding too many midrange elements in Drop 2 causes masking and mud. High-pass non-sub bass/mid layers and carve space with EQ Eight.
- Overuse of reverb/width on low elements: results in phase/mono collapse on club systems. Keep sub mono and wet elements in higher bands.
- No clear transition: if the pre-drop doesn’t create tension (automation or rhythmic change), the second drop won’t feel earned.
- Not checking in mono: heavy stereo effects can disappear; always check the mix in mono to ensure sub and key elements are intact.
- Keep the sub as a consistent anchor and change everything above ~120 Hz. That’s the secret to perceived heaviness without losing punch.
- Use harmonic distortion on the mid-range bass (Saturator > Soft Clip, then EQ out under 100 Hz). Harmonics make the bass audible on club systems without raising sub level.
- Parallel distortion: send a copy of the bass to a return with heavy Saturator/Overdrive and a Multiband Dynamics that compresses mids — blend to taste to add bite.
- Layer “bite” sample hits: tight, distorted saw stabs triggered alongside sub notes (high-passed at 200 Hz). Automate them to appear more in Drop 2.
- Drum aggression: route a transient-enhanced copy of snares to a FX return, apply transient shaping via Compressor (fast attack, fast release) and a touch of Redux for grit.
- Use mid-side EQ (EQ Eight in M/S) to boost presence in the sides without killing mono compatibility. Example: side boost 2–4 kHz +1.5 dB for air on hats.
- Dynamic automation: use Multiband Dynamics to compress only the mid band during drop 2 for a “thicker” feeling without touching sub or highs.
- Perceptual “size”: use longer pre-delay and tailored reverb on a single percussion element during drop 2 to create the illusion of a bigger room — but keep decay short (0.4–0.9s) so it’s still rhythmic.
- Use rhythm swapping: keep the same BPM but change the drum pattern’s emphasis (e.g., move snares or add swing) to create cognitive contrast.
- Core idea: preserve a single sub anchor; create contrast by adding mid/high content, drum variation, stereo changes, and dynamic automation — not by simply raising loudness.
- Use Instrument Racks with mapped macros to morph basses between drops. Keep sub in mono and low-passed while adding grit in the mid-range on a separate chain.
- Drum Bus + parallel compression = punch. Swap or layer drum breaks and snares for distinct drum identities between drops.
- Dramatic transitions make Drop 2 feel earned: half-time beats, silence/gap, risers, filter automation and macro-driven sound morphing.
- Always check in mono and prioritize spectral clarity — avoid masking the mid bass.
Outcome: two drops that feel like distinct events — Drop 1 establishes the idea, Drop 2 elevates it.
---
3. Step-by-step walkthrough
Overview of the example arrangement length (editable):
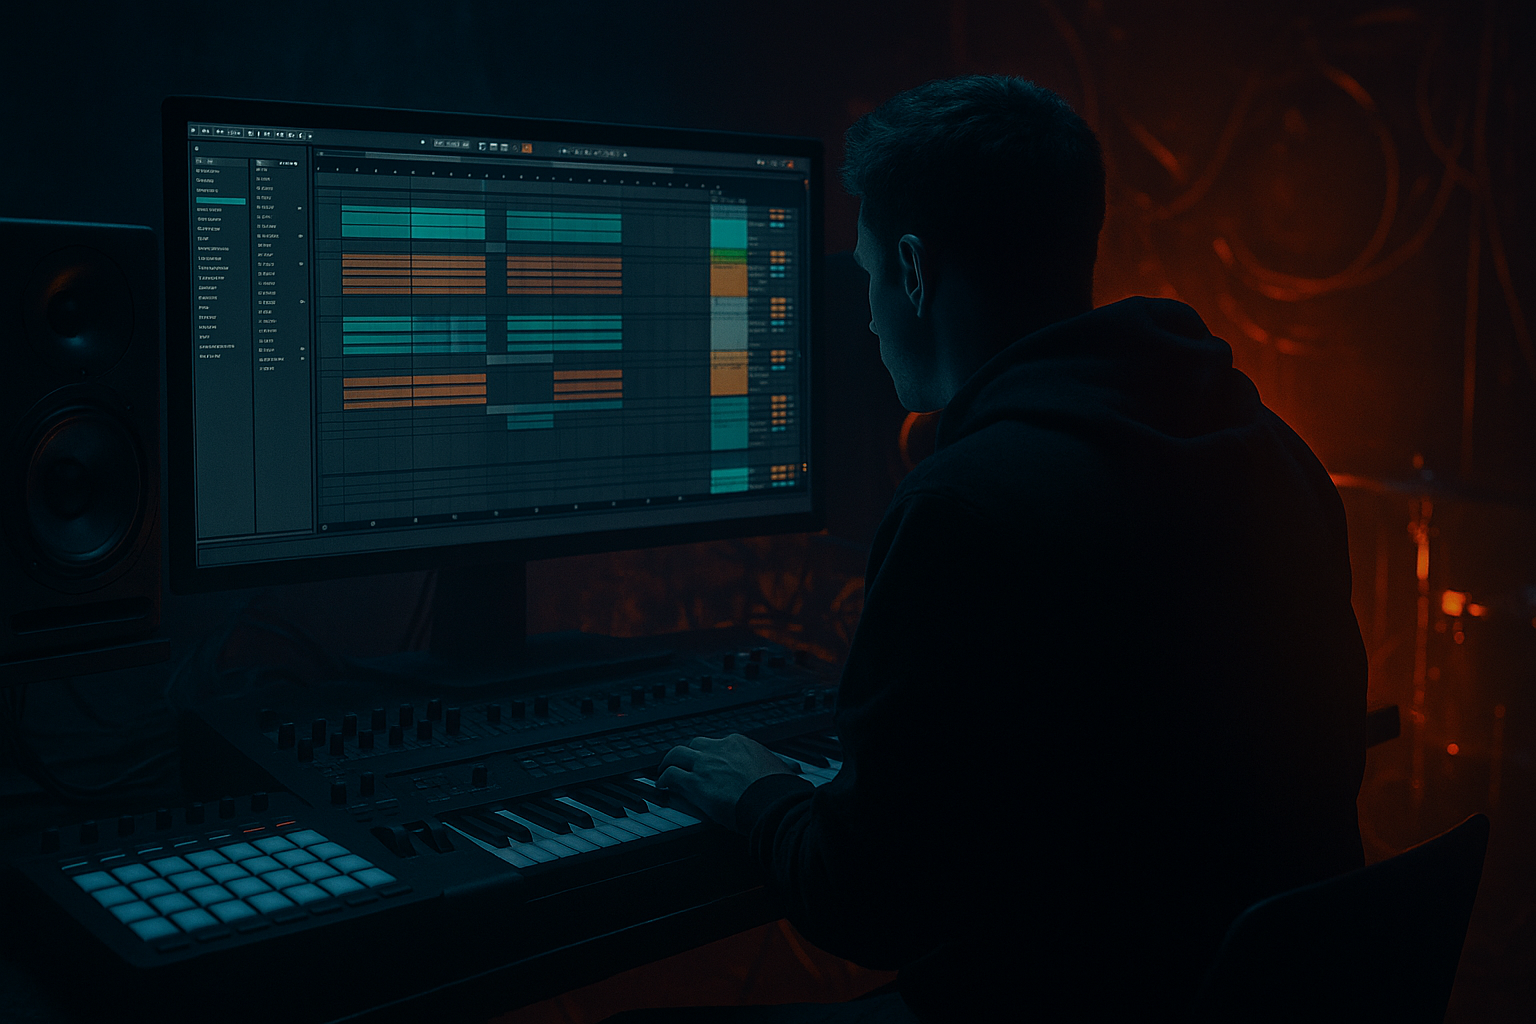
I’ll cover concrete device chains, routing, and automations. Work in Arrangement view.
A. Prepare your core elements (do this first)
1. Sub anchor (Keep this unchanged between drops)
- Create a dedicated Sub track (Instrument track) using Operator or Wavetable.
- Patch: Operator — sine on Osc A; no detune; lowpass -> clean sub.
- Chain: Operator → EQ Eight (high cut around 100–140 Hz) → Utility (gain adjust).
- Why: a single, phase-locked sub keeps physical energy consistent when you add midrange grit later.
2. Main mid-bass / growl (morphable between drops)
- Create an Instrument Rack with two chains: “CleanSubmerged” and “DirtyGrowl”.
- CleanSubmerged: Wavetable (sine+soft saw), low-pass filter, light Saturator.
- DirtyGrowl: Wavetable or Sampler with a wavetable/multi-oscillator growl; add FM or ring-mod via Operator in the chain, more unison and filter resonance.
- Add EQ Eight to the Rack output: high-pass at 30–40 Hz on DirtyGrowl chain (preserve sub), low-pass on CleanSubmerged to keep it blended.
- Macro mapping:
- Macro 1 = “Grit” → controls DirtyGrowl chain volume and a Saturator Drive on that chain (+4 to +8 dB).
- Macro 2 = “FilterCut” → global low-pass cutoff for first-drop filtering.
- Workflow: Automate Macro 1 and Macro 2 across arrangement to morph from clean to dirty.
3. Drum Rack and Drum Bus
- Build a Drum Rack with:
- Kick (layered), Snare/clap stack, Hat patterns, ride/perc layers, one or two break samples for rolls.
- Group the Drum Rack into a Drum Bus (Group Track).
- Drum Bus chain (suggested order):
- EQ Eight (HP @ 30 Hz)
- Drum Buss (stock): Drive 4–7, Boom 2–5 — sets character; use sparingly
- Saturator: Soft Sine, Drive 2–4 dB
- Glue Compressor: Threshold -6 to -10 dB, Ratio 2–4:1, Attack 10 ms, Release Auto
- Parallel compressed bus:
- Send drums to a return track with Compressor (heavy): Ratio 10:1, Attack 1–3 ms, Release 50–150 ms, Threshold to taste. Blend ~10–25% back for punch.
B. Arrange Drop 1 (tight + restrained)
1. Drums
- Use a tighter drum pattern: trimmed tails, tighter ghost notes, and fewer percussive layers.
- Plate or short Reverb sends low (10–20%) to keep drums dry.
- Slightly reduce high-frequency energy: on Drum Bus EQ Eight, gently attenuate 6–12 kHz by -1.5 dB compared to Drop 2.
2. Bass & groove
- Sub anchor plays full; DirtyGrowl Macro 1 set low (-10 to -12 dB). CleanSubmerged is main audible body.
- FilterCut Macro: set to partially closed — cutoff around 1.2–2 kHz so the bass is thick but not abrasive.
3. FX & ambiance
- Minimal reverb/delay tails. Keep details tight.
- Add small percussive fills every 8 bars, but nothing too dense.
C. Create a breakdown that resets expectation
1. Bars before drop 2: use a half-time pocket or a 1–2 bar silence (gap) to create tension.
- Example: Bars 56–57: remove drums for half a bar, let a long reversed cymbal and a tuned riser sweep to a short mute — then snap into drop 2.
2. Automate macro or filter to reduce energy quickly then open.
- Automate Macro 2 (FilterCut) + Utility Width and send levels to fall to zero and come back for a dramatic pre-drop opening.
3. Add a modulation trick: pitch-shifted vocal chop that rises in pitch and then cuts to the low octave a beat before drop 2 (use Simpler transpose).
D. Arrange Drop 2 (heavier & contrastive)
1. Bass morphing (concrete)
- Automate Macro 1 (“Grit”) to increase across pre-drop 2: from -12 dB in Drop 1 to +2 to +6 dB in Drop 2.
- Use EQ Eight on the DirtyGrowl chain: boost 200–800 Hz by +2 to +4 dB (careful with masking).
- Add Multiband Dynamics after the Rack: compress mids lightly to glue growl while keeping sub unaffected.
- Keep Sub anchor level identical to Drop 1 (no big changes) to retain punch.
2. Drum changes
- Swap to a different break or alternate snare sample for Drop 2: the attack should be harder; try a rawer snare or layer a clap + snare with transient emphasis.
- Add extra percussive elements: shuffled hats, rimshots, or metallic percussion with decay longer than Drop 1.
- On Drum Bus: increase Drive by 1–2 points, add a tiny amount of Redux (bit reduction) on a send for extra grit on fills.
3. Stereo and FX
- Increase Utility Width of mid/high percussion to near 100% on Drop 2. Keep sub in mono (Utility width 0% on Sub track).
- Add a dedicated Send to Echo (stereo delay) and Reverb (Hybrid Reverb or Reverb) — on Drop 2, bump send from 0–12% to 20–40% on specific elements (hats/elements for space).
- Use a short gated reverb on one-shots to create a darker tail.
4. Arrangement energy techniques
- Introduce a counter-melody or lead stab that was absent in Drop 1.
- Change drum pattern swing/humanization: slightly shift ghost notes or add a triplet fill to catch the ear.
- Replace or layer the break with an “amen-style” or more complex breakbeat in Drop 2 — reversed hits and manipulated transient processing can make it aggressive.
5. Master/Group level
- On the master bus, avoid large automation that simply raises level for Drop 2 — prefer spectral and dynamic changes.
- Use Glue Compressor gently: threshold -3 to -6 dB less negative than in Drop 1 if you want to glue the louder arrangement, but don’t squash dynamics.
E. Exact device/parameter starting points (use these and tweak by ear)
F. Implementation workflow tips
---
4. Common mistakes
---
5. Pro tips for darker/heavier DnB 😈🔥
---
6. Mini practice exercise (30–90 minutes)
Goal: Make two contrasting drops for an 8-bar loop.
1. Setup (10 min)
- Create a 64-bar Arrangement: mark bars 1–16 (intro), 17–32 (Drop 1), 33–44 (break), 45–64 (Drop 2).
- Make a Sub track (Operator) and a Bass Rack with two chains (clean vs dirty). Map macros: Grit and FilterCut.
2. Drop 1 (10–15 min)
- Program a tight drum pattern (kick + snare, hats) in Drum Rack; group into Drum Bus with Drum Buss & Glue.
- Place sub + clean bass. Set FilterCut macro so mids are closed a bit.
- Keep reverbs/delays minimal.
3. Build/Break (5–10 min)
- Create a 2-bar riser, reverse cymbal, and 1-bar silence or half-time drum to create tension.
4. Drop 2 (10–20 min)
- Automate Grit macro to open on pre-drop 2.
- Swap or layer a harsher snare/break; add shuffled percussion and increase Drum Buss drive slightly.
- Add Echo send on hats and longer tail reverb on a new top-line stab.
- Check mono compatibility and sub consistency.
5. Evaluate (5 min)
- Compare both drops: is Drop 2 different emotionally? Does it feel earned without just being louder?
Record the result, take notes on what element change made the biggest perceived impact, and repeat focusing on varying one parameter (drums, mids, stereo) at a time.
---
7. Recap
Go make Drop 2 the moment everyone remembers. If you want, send a short stems bundle (Sub / MidBass / Drums) and I’ll give targeted notes on how to increase contrast while preserving low-end power. Let’s get those speakers rattling. 🎛️🔥

