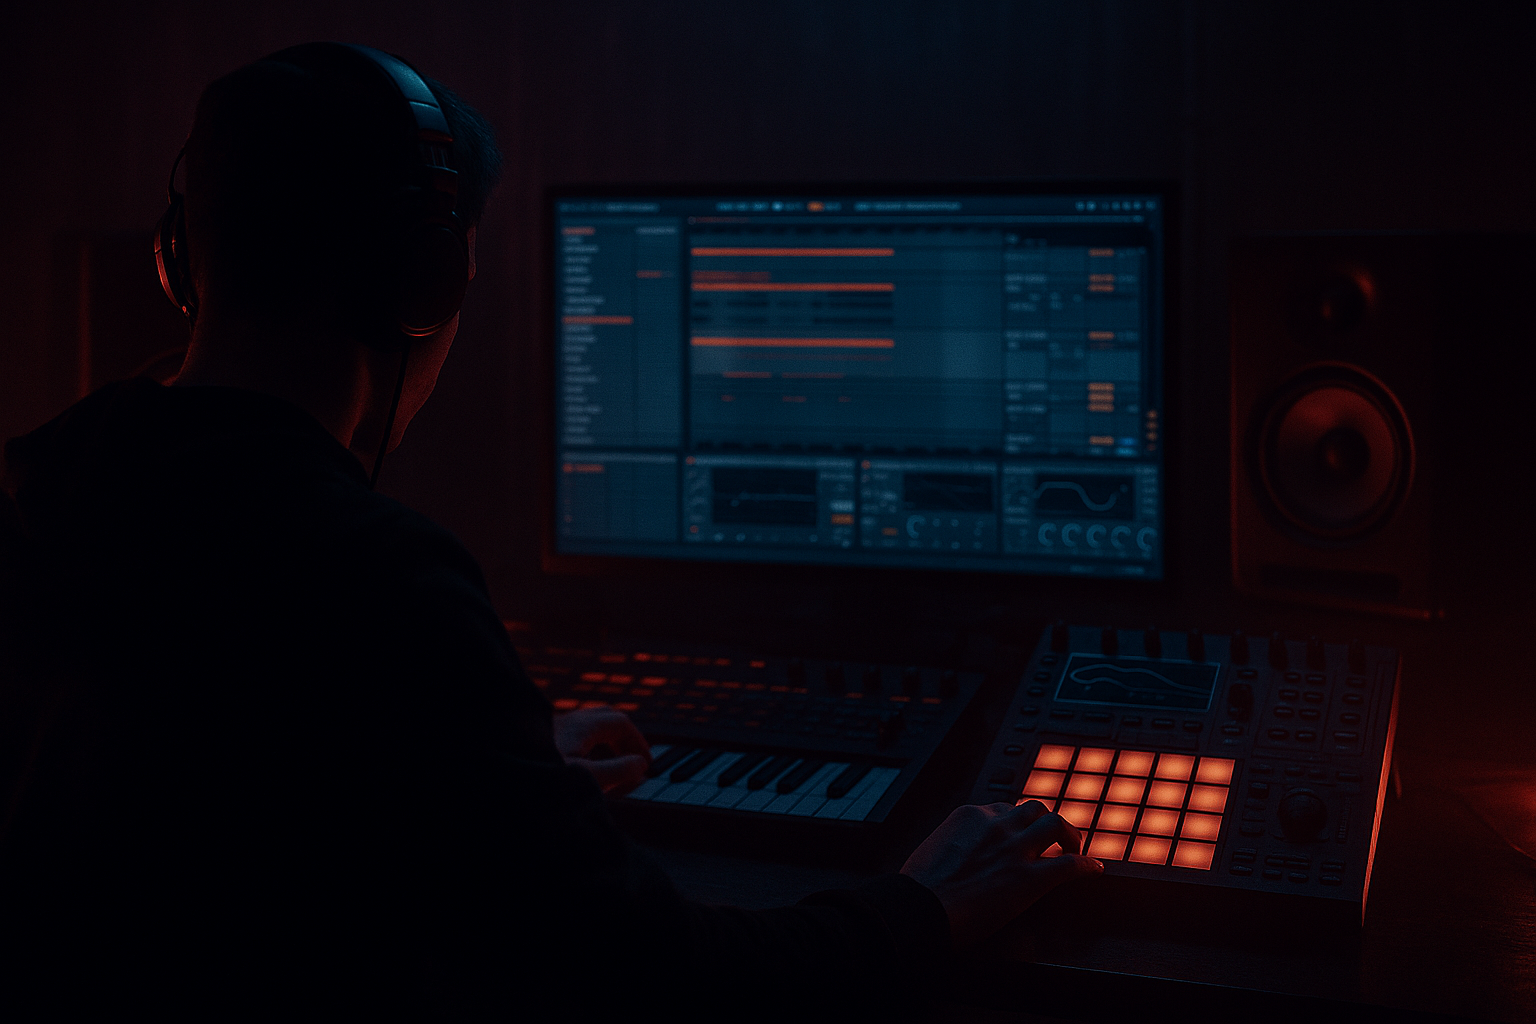
Main tutorial
```markdown
Building Reusable Automation Skeletons (DnB in Ableton Live) 🧠⚡️
Skill level: Intermediate
Category: Workflow
Goal: Build “drop-in” automation frameworks you can reuse across Drum & Bass projects (rollers, jungle, neuro-ish) to move faster and get consistent energy arcs.
---
1. Lesson overview
Automation is where DnB turns from “loop” into “record.” The problem: doing the same filter sweeps, reverb throws, tension ramps, and drop impacts from scratch every project wastes time and makes arrangement feel random.
In this lesson you’ll create automation skeletons—pre-built automation lanes (and macro mappings) that you can copy into any new project. You’ll have:
- A consistent 8/16/32-bar energy curve
- Pre-wired build → drop → aftermath transitions
- One-touch macros for movement (filter, distortion, reverb, width, and impact)
- Arrangement templates for rollers + jungle-style switches
- Dedicated FX return for reverb throws
- Dedicated Delay return for dubby fills
- A master “Hype” chain (subtle, controllable)
- Build-up (8 or 16 bars): rising filter, increasing noise, widening, transient tightening
- Drop impact (1 bar): quick dip, punch restore, reverb cut
- Switch / fill (1–2 bars): delay throw, tape stop, HP sweep
- Outro (8 bars): controlled energy decay
- Return A send amount from snare/vocal stab/fx
- Hybrid Reverb Decay for “swell” moments
- Utility Width for widening throws in transitions
- Echo Feedback for ramping repeats
- Echo Dry/Wet (leave return wet; automate send instead if possible)
- Echo time for stuttery fills (use sparingly)
- Macro 1: Drum Tone (LP/HP tilt) → Map EQ Eight filter freq (or two filters if you’re fancy)
- Macro 2: Drum Crunch → Drum Buss Drive + Crunch (range-limit!)
- Macro 3: Glue Amount → Glue Threshold (small range)
- Macro 4: Drum Width → Utility Width (100–140%)
- Macro 1: Bass Filter → Auto Filter Frequency (Min e.g. 80–150 Hz, Max e.g. 2–6 kHz depending on style)
- Macro 2: Bass Drive → Saturator Drive (0–6 dB)
- Macro 3: Bass Width (Mids only) → Utility Width (keep low mono; consider placing Utility after an EQ that cuts lows in side—advanced)
- Macro 4: Sub Safety → Utility Bass Mono / Gain (or map to EQ Eight low shelf)
- Intro: 16 bars
- Build: 8 bars
- Drop 1: 32 bars
- Switch: 16 bars
- Drop 2: 32 bars
- Outro: 16 bars
- DRUMS MACRO → Drum Tone, Drum Crunch
- BASS MOVEMENT → Bass Filter, Bass Drive
- Return A (REV THROW) → (usually automate sends per track, but you can automate return width/decay)
- Return B (DLY THROW) → (feedback/time occasionally)
- Master Utility (subtle width moves, but be careful)
- Bass Filter: gradually opens (e.g. 25% → 70%)
- Drum Tone: slightly brighter (e.g. 40% → 60%)
- Reverb Throw send (snare/fx): increase on last 2 bars
- Delay Throw send: tiny bump on bar 8 for a “call-forward”
- DRUMS: Drum Width down slightly (tighten)
- Master Utility Gain: tiny dip (e.g. -1 dB) right before drop
- Reverb return: cut abruptly (or automate send to 0) to make drop hit dry
- Bass Drive: quick bump then settle (e.g. +15% then back)
- Drum Crunch: quick bump then back
- Reverb/Delay sends: near zero for first beat (clean punch)
- Delay Throw on snare hit at bar 16
- Bass Filter quick dip (like a “question mark”) then open
- Drum Tone quick LP sweep for one bar (classic roller tension)
- File → Save Live Set as Template
- Name: `DnB_AutoSkeleton_174_Template`
- Save DRUMS Group (with its rack + automation-ready macros) as a Group preset
- Save Return tracks as Return presets (or drag into User Library)
- Put a dummy MIDI clip on an “AUTOMATION” MIDI track
- Map clip envelopes to Macros (via automation in Arrangement doesn’t translate, but you can build Session clip modulation for some parameters)
- Use follow actions to test energy arcs quickly
- Use saturation automation as “aggression” control
- Create a “Dark Air” noise riser channel
- Sidechain your reverb return to the snare or kick
- Width automation: widen the aftermath, not the drop
- Make a “Clipper moment” without third-party tools
- Build returns for reverb/delay throws so transitions are instant and consistent.
- Use group-level racks + macros to make automation portable across projects.
- Write automation in musical blocks (8/16/32 bars) to match DnB phrasing.
- Store the system as a template + presets so you’re always one session away from a finished arrangement.
- Keep it controlled: ranges, cleanup EQ, minimal master moves.
---
2. What you will build
A reusable Ableton Live template containing:
A) “Automation Bus” return + utility tracks
B) Group-level macro rack(s) with mapped controls
You’ll build Audio Effect Racks on key groups (Drums, Bass, Music) so that 1–8 macros control the most common automation targets.
C) Automation skeleton clips/lanes
Pre-made automation for:
---
3. Step-by-step walkthrough
Step 1 — Set up a DnB-ready session skeleton (10 minutes) 🥁
1. Tempo: 172–176 BPM (start at 174).
2. Create and group tracks:
- DRUMS (Group)
- Kick
- Snare
- Hats
- Break
- Perc
- BASS (Group)
- Sub
- Mid Bass
- Reese/Neuro Layer (optional)
- MUSIC (Group)
- Pads/Atmos
- Stabs
- FX
3. Add Return tracks:
- Return A – REV THROW
- Return B – DLY THROW
- Return C – PARALLEL CRUSH (optional)
Why: Automation on groups and returns is reusable across songs even when the sound sources change.
---
Step 2 — Build reusable Return FX for throws (stock devices) (10–15 minutes) 🎛️
#### Return A — REV THROW (clean but big)
Add:
1. EQ Eight
- HP filter at 200–350 Hz (24 dB/oct)
- Optional gentle dip around 2–4 kHz if harsh
2. Hybrid Reverb
- Algorithm: Hall
- Decay: 2.5–5.5 s (DnB throws love longer tails)
- Pre-delay: 15–35 ms
- Wet: 100% (returns should be fully wet)
3. Compressor (sidechain-ready later)
- Ratio: 2:1
- Attack: 10–30 ms
- Release: 80–200 ms
4. Utility
- Width: 120–160% (be careful with mono compatibility)
- Bass Mono: On, set around 120 Hz if needed
Automation target ideas:
#### Return B — DLY THROW (sync’d and surgical)
Add:
1. Echo
- Sync: On
- Time: 1/8 or 1/4 (try dotted 1/8 for jungle bounce)
- Feedback: 25–45%
- Filter: HP around 250 Hz, LP around 6–10 kHz
2. EQ Eight (post)
- Tighten resonances; cut mud around 300–600 Hz
3. Limiter (optional safety)
Automation targets:
---
Step 3 — Make “Macro Automation Racks” on your groups (15–20 minutes) 🔧
You want automation that survives sound swaps. Racks + Macros = repeatable control surfaces.
#### On DRUMS Group: create an Audio Effect Rack called DRUMS MACRO
Chain suggestion (stock):
1. EQ Eight (for tone tilt)
2. Drum Buss
- Drive: 5–15%
- Crunch: 0–20%
- Boom: 0–20% (freq around 45–60 Hz if used)
3. Saturator
- Soft Clip: On
- Drive: 1–5 dB
4. Glue Compressor
- Ratio: 2:1
- Attack: 3 ms
- Release: Auto
- GR target: 1–3 dB
5. Utility
Map Macros (example):
Key: Click Map, select parameter, map to macro, then set Min/Max ranges so it’s hard to ruin your mix.
#### On BASS Group: create BASS MOVEMENT
Chain suggestion:
1. EQ Eight (cleanup)
2. Auto Filter (main movement target)
3. Saturator (edge)
4. Amp (optional) or Overdrive
5. Utility (mono control)
Macros:
---
Step 4 — Create your reusable automation lanes (Arrangement view) (20–30 minutes) 🧩
This is the “skeleton.” You’ll automate macros, send levels, and a few key master utilities.
#### A) Decide on a standard DnB arrangement grid
Try this repeatable structure:
Create locators: Intro / Build / Drop / Switch / Drop2 / Outro.
#### B) Add automation targets you’ll reuse constantly
Open automation lanes for:
##### Suggested automation curves (copy/paste friendly)
1) Build (8 bars)
2) Pre-drop “suck” (last 1/2 bar)
3) Drop impact (first 1 bar)
4) Switch / Fill (1–2 bars every 16)
Pick one:
> Workflow tip: Make a “Switch automation” pattern you paste every 16 bars. Consistency = pro.
---
Step 5 — Store skeletons as reusable assets (the real payoff) 💾
You have 3 great ways to reuse this:
#### Option A: Save as a Template Set (best for full workflow)
#### Option B: Save Track/Group presets (best for modular reuse)
#### Option C: Save “Automation clips” for Session view triggering
For live-ish arrangement building:
---
4. Common mistakes 🚫
1. Automating too deep (device parameters everywhere)
If you automate 15 device knobs per track, you can’t reuse it. Automate macros, not chaos.
2. No min/max macro limits
Without ranges, one bad move = destroyed mix (ice-pick highs, flabby lows, smashed drums).
3. Over-automating the master
Keep master automation minimal (tiny gain dips, subtle width). Do most movement on groups/returns.
4. Reverb throws with low-end left in
That’s how you get muddy drops. Always HP your throw returns (EQ Eight first).
5. Not anchoring changes to 8/16/32-bar logic
DnB listeners feel phrasing hard. If your automation ignores structure, it feels “un-DnB.”
---
5. Pro tips for darker/heavier DnB 🖤🔊
Automate Saturator Drive on the BASS group on the last 2 bars before a switch. Tiny moves (1–2 dB) can feel massive.
- Add an Audio track with a noise sample or Operator noise
- Chain: Auto Filter (bandpass), Saturator, Hybrid Reverb
- Automate filter freq + reverb decay into builds
Save this track as `DnB_DarkAir_Riser`.
On Return A Compressor: Sidechain input = Snare (or Kick)
- Ratio 4:1, fast attack, medium release
Keeps throws big but not swampy.
Drops often hit harder slightly narrower; widen after 8 bars for “expansion.”
Use Saturator with Soft Clip On on DRUMS group.
Automate Drive up briefly for impacts—watch headroom.
---
6. Mini practice exercise (20 minutes) 🧪
1. Start a new set at 174 BPM.
2. Load:
- A basic drum loop (kick/snare hats) + a break
- A sub bass (Operator sine) and a reese (Wavetable or simpler sample)
3. Build:
- Returns A + B exactly as above
- DRUMS MACRO + BASS MOVEMENT racks
4. Create an 8-bar build → 16-bar drop section.
5. Automate only these 6 things:
- Bass Filter (build opens)
- Drum Crunch (tiny bump pre-drop)
- Snare send to REV THROW (only last 2 hits before drop)
- One Delay throw on a fill
- Master gain dip -1 dB for last 1/2 bar pre-drop
- Bass Drive impact bump for first bar of drop
6. Save it as:
- Template set and
- DRUMS group preset
Deliverable: You should be able to start a new project and get “arrangement energy” in under 5 minutes.
---
7. Recap ✅
If you want, tell me your preferred DnB lane (liquid, roller, jungle, neuro, jump-up) and I’ll suggest a specific macro set + automation curve pack tailored to that style.
```

