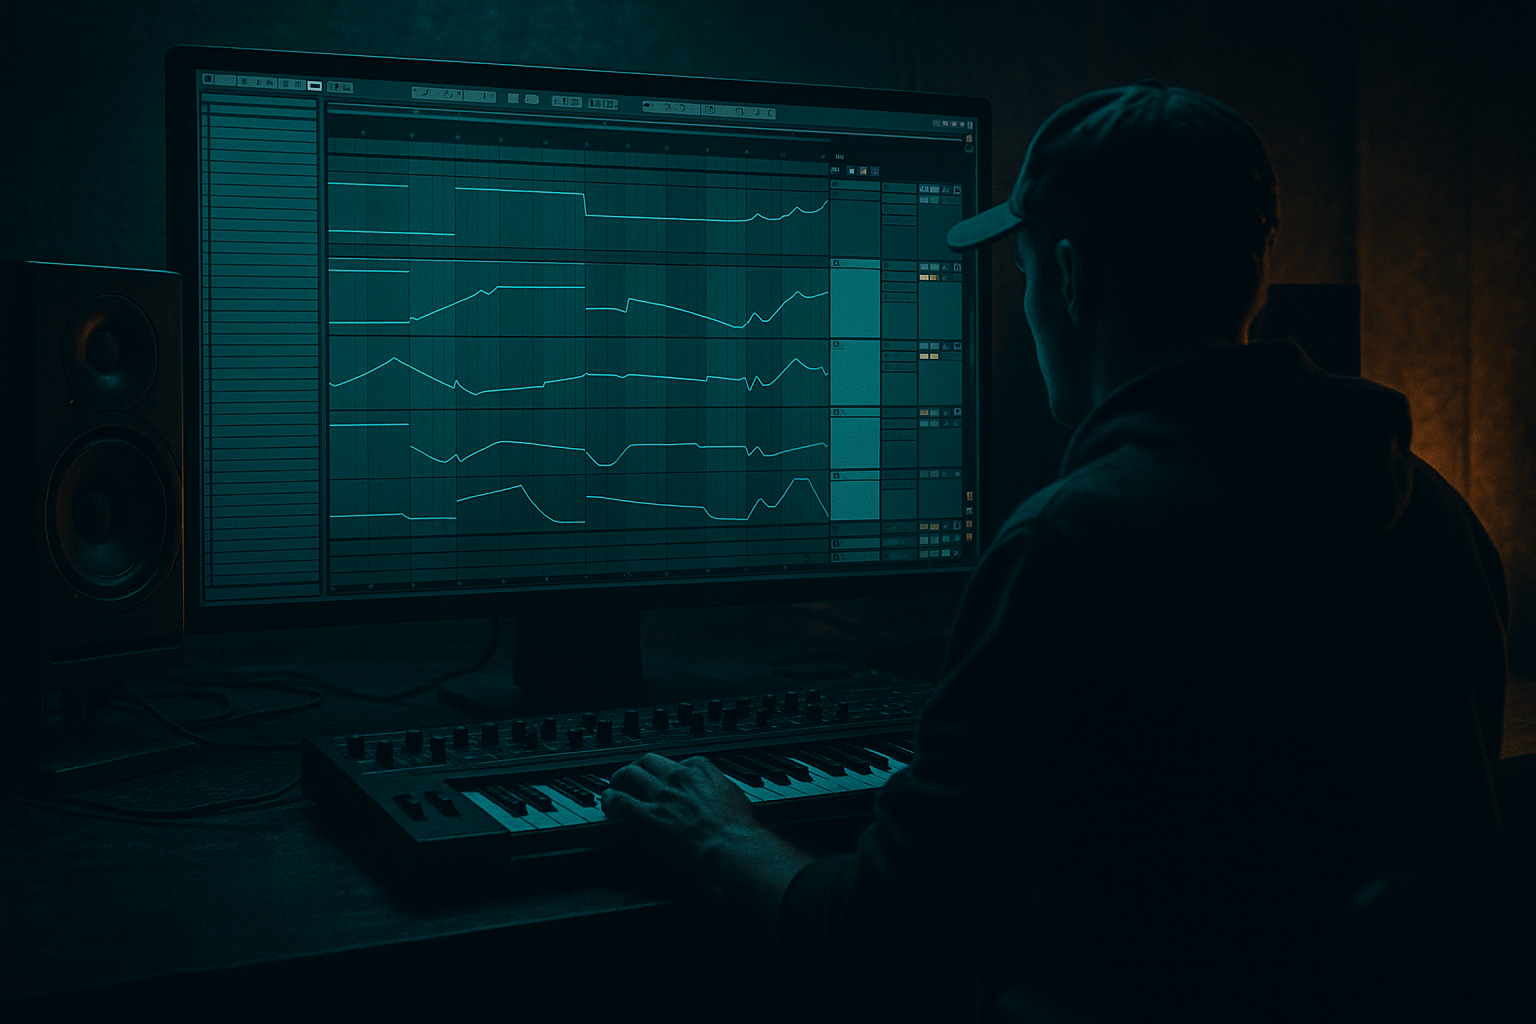
Main tutorial
Building Tension Before the Drop (Drum & Bass) — Ableton Live Beginner Lesson 🎛️🔥
1) Lesson overview
Tension is what makes a DnB drop feel inevitable. In rolling DnB/jungle, the build isn’t just “a riser + drum roll”—it’s a controlled escalation of energy, density, brightness, and expectation.
In this lesson you’ll learn a practical, repeatable Ableton Live workflow to create a 16-bar pre-drop that feels professional and hits hard when the drop lands.
---
2) What you will build
A classic 16-bar build into a 1-bar pre-drop gap (or “fake-out”) that works for:
- Rolling DnB (steppers/rollers)
- Jungle-inspired breaks
- Dark/minimal DnB
- A layered riser + noise sweep
- A snare build that ramps correctly
- Automation that increases intensity (filter, reverb, pitch, width)
- A clean pre-drop moment that makes the drop punch 💥
- Bars 1–17: intro / DJ-friendly
- Bars 17–33: tension/build
- Bar 33: drop
- Draw a note that lasts the whole 16 bars (e.g., A2 or A3).
- Then automate pitch rising:
- `Wavetable`
- `Auto Filter` (LP filter)
- `Echo`
- `Reverb`
- `Utility`
- Auto Filter cutoff: start ~200–400 Hz, end ~8–12 kHz
- Reverb Dry/Wet: start 10%, end 35–50%
- Utility Gain: gradually +2 to +5 dB (don’t clip)
- `Wavetable (Noise)`
- `Auto Filter` (Band-Pass is great)
- `Auto Pan` (subtle)
- `Reverb`
- Auto Filter mode: Band-Pass
- Q/Resonance: medium-high (around 0.7–1.2 if using Live’s scale)
- Automate cutoff: low-mid → high over 16 bars
- Auto Pan amount: 10–25% (slow rate like 1/2 or 1 bar)
- Bars 17–21: 1 hit per bar (on beat 3)
- Bars 21–25: 2 hits per bar (beats 2 and 4)
- Bars 25–29: 1/8 notes
- Bars 29–33: 1/16 notes (or 1/16 with gaps)
- Keep it snare-led, not giant clap rolls.
- Add small ghost notes (lower velocity hits) to create groove.
- `EQ Eight` (high-pass)
- `Saturator`
- `Drum Buss` (optional)
- `Reverb` (automated)
- `Utility`
- EQ Eight: High-pass around 150–250 Hz (keeps low-end clean)
- Saturator: Soft Clip ON, Drive 2–6 dB
- Reverb: start small, automate bigger near the end:
- Last 1/4 beat before the drop: dead silence (or near silence).
- `Auto Filter` (gentle)
- `Utility`
- Auto Filter cutoff slowly rising across the 16 bars
- Utility gain small ramp (+1 to +3 dB)
- Utility Width: 80–90% → 110–130% (wider near the end)
- Reverse crash into the drop (audio clip reversed)
- Vocal “callout” (short phrase, heavily processed)
- Tape stop vibe (use Pitch automation on an audio clip, or Redux + filter sweep)
- Short fill using an Amen slice (keep it tasteful)
- Redux (grit + tension)
- Frequency Shifter (metallic risers)
- Grain Delay (weird tension textures—use subtly)
- Pitch down tension FX: instead of always rising, try rising filter + falling pitch. It feels ominous.
- Use Frequency Shifter on noise sweeps:
- Add distorted “air”:
- Keep the build mono-ish, then widen:
- For heavy drops, avoid huge uplifters—go for pressure and dread: filtered breaks, distant impacts, gritty textures.
- Start with a clear 16-bar build section
- Layer tonal risers + noise
- Drive tension with snare density + automation
- Use filters, reverb, width, and contrast
- Create impact with a pre-drop gap
- Keep low end clean so the drop owns the sub
You’ll end with:
---
3) Step-by-step walkthrough
Step 0 — Set up your build section (arrangement first)
1. Set tempo to 170–175 BPM.
2. In Arrangement View, mark your drop at bar 33 (example).
3. Create a build from bar 17 → 33 (16 bars).
DnB arrangement tip:
A super common structure is:
---
Step 1 — Create a dedicated “Build FX” group (clean workflow)
1. Create 3 MIDI tracks and 1 audio track, then group them (`Cmd/Ctrl + G`) as BUILD FX:
- MIDI: `Riser (Synth)`
- MIDI: `Noise Sweep`
- MIDI: `Snare Build`
- Audio: `Impacts / Vox / FX`
Keep all build-related stuff in one group—this makes automation easy later.
---
Step 2 — Riser synth (simple but effective)
Track: Riser (Synth)
1. Add Wavetable (stock).
2. Choose a bright wavetable (e.g., Basic Shapes).
3. Set:
- Osc 1: Saw-like wave (bright)
- Unison: 3–5 voices (keep it tasteful)
4. Add Amp Envelope:
- Attack: ~50–150 ms
- Release: ~300–800 ms (so it doesn’t click)
MIDI pattern (16 bars):
- Add MIDI Pitch Bend automation or use Wavetable’s Transpose automation.
- Go from 0 → +12 semitones over 16 bars (classic one-octave rise).
Device chain (recommended):
Key automations:
(This “reveals” brightness as you approach the drop.)
✅ Result: a clean, rising tonal energy bed.
---
Step 3 — Noise sweep (adds urgency + movement)
Track: Noise Sweep
Option A (quickest): Wavetable noise
1. Load Wavetable
2. Turn Osc 1 down, turn Noise up.
3. Use Auto Filter after it.
Option B (more “whoosh”): Operator
1. Load Operator
2. Choose Noise as the oscillator (if available in your version), or use a high harmonic waveform and filter it aggressively.
Device chain:
Settings / automation:
Keep it subtle—this adds motion without chaos.
✅ Result: a “pressure” layer that feels like air being sucked into the drop.
---
Step 4 — Snare build (the backbone of DnB tension) 🥁
Track: Snare Build
1. Load a tight snare (or rim/snare layer). Use:
- Simpler (One-Shot mode)
2. Program a rhythm that increases density:
Example density ramp:
Make it feel DnB, not EDM:
Processing chain:
Suggested settings:
- Dry/Wet: 5–10% → 25–40%
✅ Result: rhythmic tension that tells the listener “something is coming.”
---
Step 5 — “Pull the floor out” with a pre-drop gap (impact trick)
The drop hits hardest when you remove energy right before it.
At 1 bar before the drop (bar 32 → 33):
1. Cut the drums (or mute most of them).
2. Keep a tiny hint:
- a vocal chop,
- a short reverse cymbal,
- or a filtered bass tail.
Classic DnB move:
Even a tiny pause adds massive perceived weight.
---
Step 6 — Automate your master tension (group automation)
Now we “glue” the build using group-level moves.
On the BUILD FX group, add:
Automate:
⚠️ Keep the actual sub (your drop’s bass) not playing yet—or heavily filtered. The drop needs contrast.
---
Step 7 — Add one “signature moment” (DnB personality)
Pick one:
Ableton stock tools that help:
---
4) Common mistakes (and how to fix them)
1. Everything gets louder, but nothing changes
- Fix: automate brightness (filter), density (snare rate), and space (reverb), not just volume.
2. Build is too busy and kills the drop
- Fix: strip low end from build elements (EQ Eight HPF), and leave the “real bass weight” for the drop.
3. Reverb washes out the pre-drop
- Fix: automate reverb up then cut it right before the drop (or shorten decay at the last moment).
4. Snare roll sounds robotic
- Fix: vary velocities + add occasional gaps. Groove is tension.
5. No pause before the drop
- Fix: try a 1/4–1 bar reduction of energy. DnB loves negative space.
---
5) Pro tips for darker/heavier DnB 🖤
- Add subtle shift automation (0 → 200 Hz) for unsettling movement.
- Noise → Saturator (Soft Clip) → EQ (boost 4–8k a bit) → Reverb
- Start build FX around 80–100% width, end at 120–140%, then snap the drop back tighter (or vice versa depending on drop design).
---
6) Mini practice exercise (15 minutes) ⏱️
1. Create a 16-bar build into a drop (any DnB drum loop + bass you already have).
2. Use only stock devices and only these elements:
- 1 riser (Wavetable)
- 1 noise sweep
- 1 snare build
3. Must include:
- Filter cutoff automation on at least two tracks
- Reverb automation on snare build
- A 1/4-beat silence right before the drop
4. Export a quick bounce and listen on low volume:
- Can you feel the tension increase even quietly?
---
7) Recap ✅
To build tension before a DnB drop in Ableton Live:
If you want, tell me what subgenre you’re aiming for (roller, jump-up, jungle, neuro-ish) and I’ll suggest a specific 16-bar build blueprint with exact bar-by-bar events.

