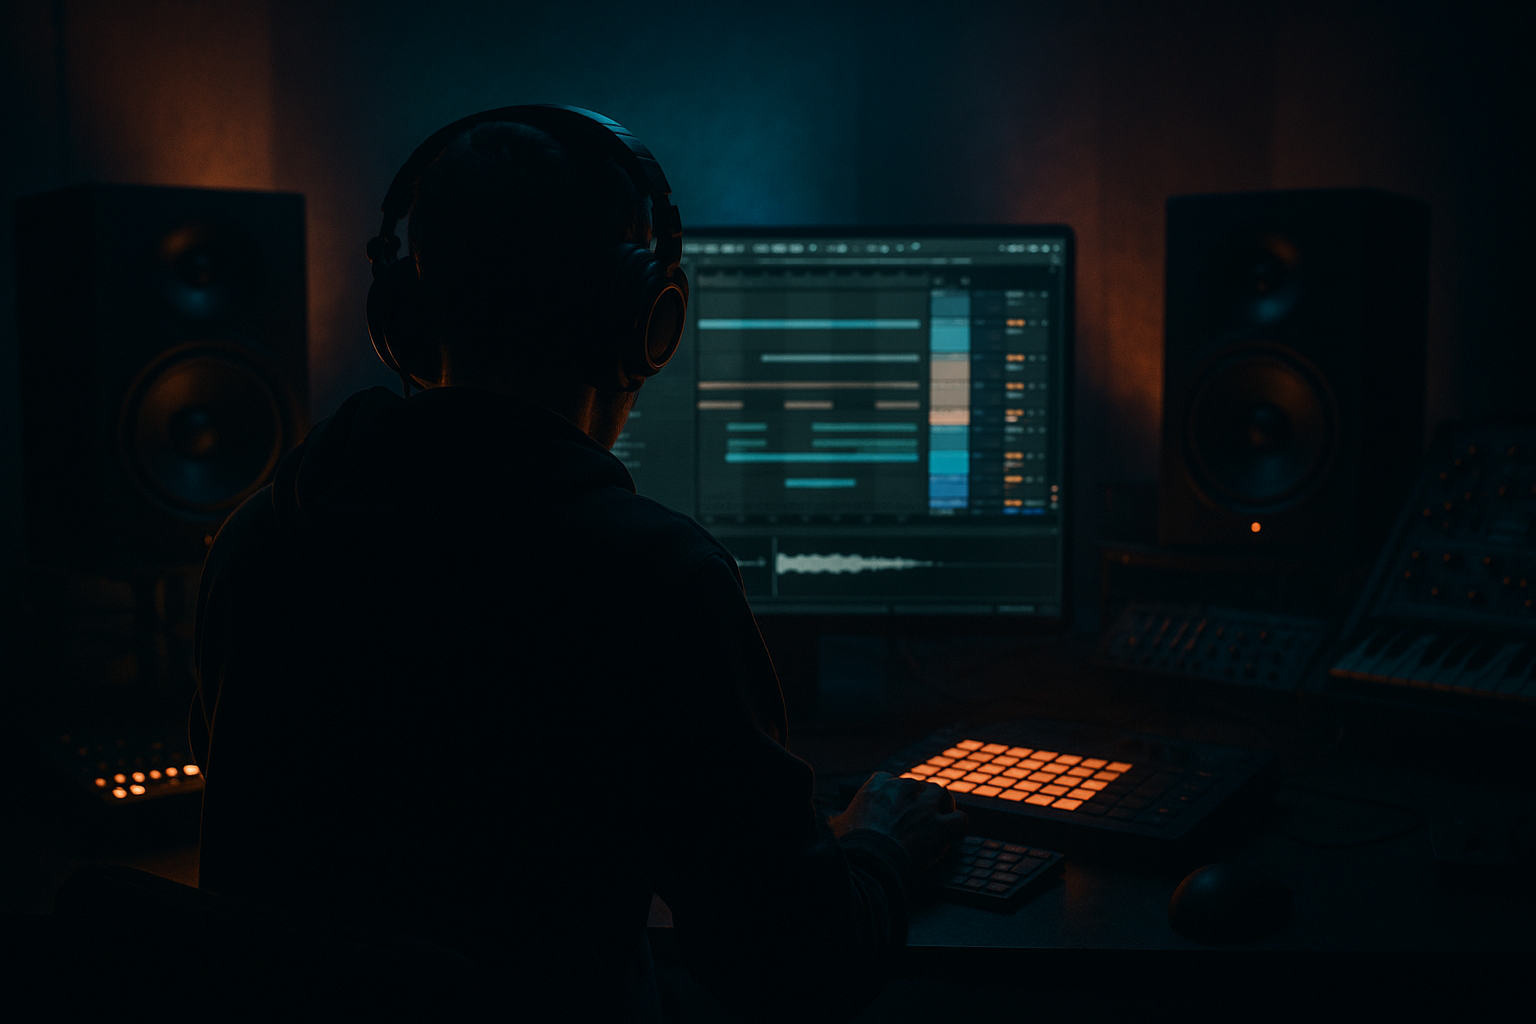
Main tutorial
```markdown
Building Tension Before the Drop (Faster Workflow) — DnB in Ableton Live 🚀
1. Lesson overview
In drum & bass, the drop only hits as hard as the tension before it. This lesson gives you a repeatable, fast workflow to build pre-drop energy using Ableton Live stock devices, clean arrangement moves, and classic DnB/jungle techniques (risers, drum edits, filter automation, fills, and “the stop”).
Goal: You’ll be able to build a strong 8–16 bar pre-drop in minutes, not hours.
---
2. What you will build
A 16-bar pre-drop section (or 8-bar if you want it punchier) that includes:
- A riser layer (noise + tonal)
- Drum tension edits (hat acceleration + snare roll)
- Filter + reverb throws that open into the drop
- A 1-beat / 1-bar “gap” right before the drop
- A quick downlifter and impact to glue it together
- Tempo: 172–176 BPM (try 174 BPM).
- In Arrangement View, mark sections:
- A Riser Group
- A Build Drums Group
- A FX Return (Big Verb)
- A Master “Tension” Macro track (optional)
- EQ Eight
- Auto Filter
- Saturator
- Reverb
- Utility
- Downsample: 2–6
- Dry/Wet: 10–25%
- Interval: 1 Bar
- Grid: start 1/16, then automate to 1/32
- Chance: 20–40% (or 100% if you want it guaranteed)
- Variation: 0–10
- Filter: ON, set to brighten slightly
- EQ Eight
- Saturator
- Reverb
- Compressor (optional)
- Put a reverse crash or reverse noise leading into bar 1 of the drop.
- EQ Eight: HP at 200 Hz to keep subs clean.
- Layer:
- Use Utility to keep impact centered:
- Too much low-end in the build: Subs + risers = muddy. High-pass your build FX (often 200–400 Hz).
- Overlong risers that peak too early: Save the biggest change for the final 2 bars.
- No contrast at the drop: If everything is loud and wide before the drop, the drop feels smaller.
- Reverb tails masking the first kick/snare: Hard cut returns or reduce tails right on the drop.
- Random edits that don’t relate to the groove: Keep fills rhythmically “DnB logical” (1/16, triplet bursts, classic snare placements).
- Use distortion as tension, not just loudness:
- Dissonant tonal risers:
- Add a “metal air” layer:
- Short tape-stop fake (without plugins):
- Pre-drop kick removal:
- Version A: 8-bar build (more punch)
- Version B: 16-bar build (more gradual pressure)
- Tension in DnB is about motion + contrast: filtering, density, pitch rise, widening, then a stop.
- Use stock devices (Auto Filter, EQ Eight, Reverb, Saturator, Beat Repeat, Utility) to build a reliable pre-drop toolkit.
- For speed: Group your build elements and control them with macros—one automation curve can drive the whole build.
- Always protect the drop: cut low-end in FX, control reverb tails, and create a moment of space.
All using Ableton stock: Auto Filter, Reverb, Delay, Saturator, Utility, EQ Eight, Redux, Drum Rack, and audio warping.
---
3. Step-by-step walkthrough
Step 0 — Set your canvas (fast template mindset)
- `Break / Intro`
- `Build (16 bars)`
- `Drop`
Workflow tip: Save a template project that already has:
---
Step 1 — Start with the simplest tension curve (volume + filtering) 🎚️
You need a clear “opening up” feeling.
1. Pick 1–2 key musical elements from before the drop:
- Pads, atmos, a drone, or your bass but simplified
2. Add Auto Filter to that element (or to a Group containing them):
- Filter type: LP24
- Start cutoff: 200–500 Hz
- End cutoff (at drop): 12–18 kHz
- Add a bit of resonance: 10–20% (don’t whistle)
3. Automate cutoff across 16 bars (or 8).
4. Optional: automate Utility Gain +1 to +2 dB over the build (subtle ramp).
DnB reality check: Don’t open the filter all the way too early—save the last 2 bars for the biggest movement.
---
Step 2 — Create a fast noise riser (stock, reliable, always works) 🌪️
Track: Audio Track named `Noise Riser`
1. Drop an audio sample of noise (if you don’t have one):
- Use any short “noise” or even a recorded vinyl hiss.
- Or generate noise using a synth if available, but audio is fastest.
2. Warp mode: Complex (or Complex Pro if it’s tonal)
3. Stretch it to 8 or 16 bars
4. Add this device chain:
Noise Riser Chain (stock):
- HP filter at 200–400 Hz (remove rumble)
- Optional small dip at 3–5 kHz if harsh
- HP12, automate cutoff from 200 Hz → 6–10 kHz (yes, HP opening upward)
- Drive 2–6 dB
- Soft Clip ON
- Decay 3–6 s
- Dry/Wet 15–30%
- Automate width: 80% → 140% towards the drop (careful with mono compatibility)
Automation move: In the last 1 bar, automate Utility Gain down slightly (like -1 dB) so the drop feels louder by contrast.
---
Step 3 — Add a tonal riser (classic “pitch up” energy) 🎯
Track: MIDI Track named `Tonal Riser`
Use Operator (stock, perfect for DnB utility sounds):
1. Operator preset: start with a basic sine or saw.
2. Set Amp Envelope:
- Attack: 10–30 ms
- Decay: 2–4 s
- Sustain: -inf (or low)
- Release: 200–500 ms
3. Play a note matching your key (or the root of your bass).
4. Automate Transpose (or Pitch Bend) up over the build:
- Example: 0 → +12 semitones over 8–16 bars
- For more intensity: last 2 bars go +12 → +19 (a bit “out” = more tension)
Add Redux lightly for grit:
DnB/jungle vibe: A slightly dirty tonal riser feels more “rave” than a clean EDM one.
---
Step 4 — Build drum tension with hat acceleration (fastest win) 🥁
Track: `Build Hats` (MIDI or audio)
Option A (MIDI hats in Drum Rack):
1. Program hats at 1/8 for the first half
2. Switch to 1/16 in bars 9–14
3. Switch to 1/32 bursts (tiny fills) in bars 15–16
Option B (audio loop slicing):
1. Take a closed hat loop.
2. Consolidate to 1 bar (Cmd/Ctrl + J).
3. Duplicate.
4. In the last 2 bars, add Beat Repeat:
Beat Repeat settings (last 2 bars only):
Key: Keep hats building, but don’t drown the mix—tension is about motion, not just loudness.
---
Step 5 — Add the snare roll + classic DnB “push” 🧨
Track: `Build Snare`
1. Use a snare that relates to your drop snare (same family).
2. Pattern idea (16-bar build):
- Bars 1–8: sparse (snare on beat 3)
- Bars 9–14: add extra hits (e.g., 3 and 4&)
- Bars 15–16: roll (1/8 → 1/16 → 1/32 in the final half-bar)
Snare Roll processing chain:
- HP at 120–200 Hz
- Small boost 180–250 Hz if body needed
- Drive 3–8 dB, Soft Clip ON
- Decay 1.2–2.5 s, Dry/Wet 10–20%
- Ratio 2:1, Attack 10–30 ms, Release 60–120 ms
- Just 2–4 dB gain reduction on peaks
Automation trick: Increase the Reverb Dry/Wet slightly in the last 2 bars, then hard cut the reverb right before the drop (see next step).
---
Step 6 — The “Stop” (silence + tail = maximum impact) ✂️
This is one of the biggest DnB drop enhancers.
1 bar before the drop (or last 1 beat):
1. Mute the drums for 1/2 bar to 1 bar, except maybe a tiny vocal/FX tail.
2. Add a Reverb throw on a single snare or vocal:
- Put Reverb on a Return Track (recommended).
- Send the last snare hit into it heavily (send to -3 to 0 dB temporarily).
3. Cut everything (including returns) right before the drop:
- Automate Return track volume down to -inf on the last 1/16 right before drop.
- Or automate Reverb Dry/Wet to 0%.
Why it works: Your ears reset, and the drop feels physically louder.
---
Step 7 — Downlifter + impact for glue (quick FX that “explain” the drop) 💥
Downlifter (reverse cymbal/noise) into the drop:
Impact on the drop:
- short sub hit (optional)
- punchy kick-like thump
- noisy click
- Width 0–50% (mono-ish)
Important: Keep impacts short. DnB drops need space for the drums + bass to speak.
---
Step 8 — One macro approach (fast automation workflow) ⚡
To speed up arrangement, group your tension elements.
1. Group `Noise Riser + Tonal Riser + Build Hats + Build Snare` into a Group called `BUILD`.
2. Add Audio Effect Rack on the Group.
3. Create 4 Macros:
- Macro 1: Filter Open (map Auto Filter cutoff on key elements)
- Macro 2: Reverb Amount (map Reverb send or Dry/Wet)
- Macro 3: Drive (map Saturator Drive lightly)
- Macro 4: Width (map Utility Width)
Now you can draw one automation curve per macro instead of 12 separate lanes.
---
4. Common mistakes
---
5. Pro tips for darker/heavier DnB 🖤
Automate Saturator Drive on risers/snare roll in the last 4 bars (e.g., +2 → +6 dB).
Automate pitch to land slightly sharp, then stop before resolving—gives a nasty neuro feel.
High-passed metallic foley (keys, chains, hits) with Corpus (stock) very subtly can add menace.
- Duplicate the last 1/2 bar of your mix to audio.
- Warp it.
- Automate segment BPM feel by stretching it quickly (or use Complex Pro and stretch aggressively).
- Cut to silence → drop.
Remove kicks for the last 1 bar so the drop kick feels like it “arrives.”
---
6. Mini practice exercise (15 minutes) ⏱️
1. Create a 16-bar build at 174 BPM.
2. Add:
- Noise riser (Auto Filter + Reverb)
- Tonal riser (Operator + pitch automation)
- Hat acceleration (1/8 → 1/16 → bursts)
- Snare roll (in last 2 bars)
3. Add a 1/2 bar silence right before the drop with a reverb throw.
4. Bounce the build to audio and listen:
- Does it feel like it’s opening?
- Does the drop feel bigger than before?
Challenge: Make two versions:
---
7. Recap
If you want, tell me your subgenre (liquid, jump-up, neuro, jungle) and whether your drop is 2-step or break-heavy, and I’ll suggest a pre-drop pattern that matches the groove.
```

