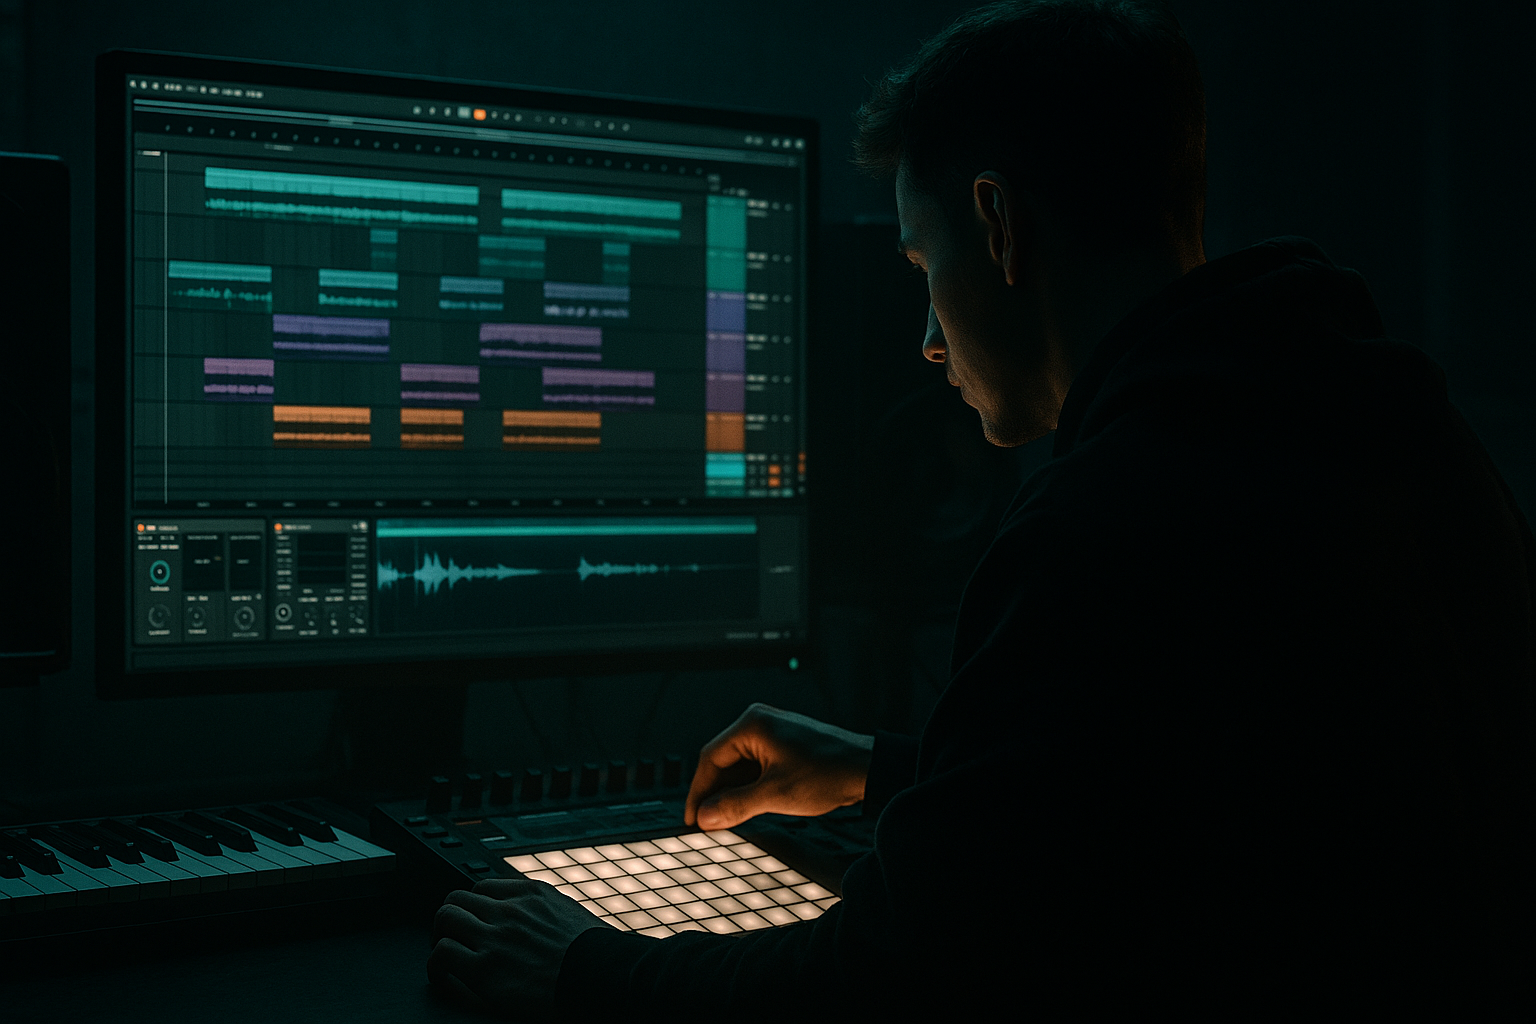
Main tutorial
1. Lesson overview
Energetic, punchy, and clear: this lesson teaches you how to arrange call-and-response bass parts for drum & bass in Ableton Live. You’ll learn concrete sound-design chains, MIDI/clip workflow, arrangement layouts, and mixing tips to make two or more bass parts interact like a conversation — not a muddy argument. Focus is on rolling DnB / jungle vibes around 170–175 BPM, with practical Ableton (stock devices) steps you can implement right away. 🎛️🔥
Target level: Intermediate — you should already be comfortable with MIDI clips, Ableton instruments (Wavetable/Operator/Simpler), grouping tracks, and basic mixing.
Tempo suggestion: 174 BPM (classic DnB feel).
2. What you will build
A small arrangement blueprint and device chains for two complementary bass parts:
- Call (the lead/attack): midrange, harmonically-rich, rhythmic, and punched-up. Designed to sit above the sub and grab attention.
- Response (the sub/roll): deep, rolling, sustaining low-end that answers the call rhythmically and dynamically.
- Two grouped bass tracks (Call + Response) with processing, sidechain and routing.
- An 8-bar loop demonstrating call/response interplay and automation to vary tension.
- Arrangement ideas for intro / drop / breakdown using the call/response relationship.
- New Live Set, tempo = 174 BPM.
- Use Ableton Live Suite (Wavetable, Operator, Sampler) or Standard (Operator, Simpler).
- Name and color your tracks: “Bass — Call” (orange), “Bass — Response” (blue). Group them into “Bass Group”.
- Create MIDI track → Instrument: Operator.
- Init patch: Sine oscillator only (Operator Osc A = Sine).
- Settings:
- Device chain (insert after Operator):
- Important: keep the sub clean and mono. Avoid widening this track.
- Create MIDI track → Instrument: Wavetable.
- Start with a saw or pulse + a second oscillator slightly detuned for width.
- Wavetable settings:
- Filter:
- Device chain (after Wavetable):
- Important: carve out low frequencies for the sub; the Call breathes in the 200–2500 Hz range.
- Bar 1–2: Call phrase (2-bar rhythmic motif)
- Bar 3–4: Response phrase (2-bar sub roll/hold)
- Bar 5–6: Call variation (change last note or add staccato)
- Bar 7–8: Call+Response overlapping (call on the off-beats, response holds sub; combine for maximum energy)
- Call: create rhythmically punchy 1/16 and syncopated 1/32 note accents. Use ghost notes (very low velocity hits) to imply groove.
- Response: program longer notes (sustained sub root notes) with occasional short 1/8 or 1/16 "rolling" fills — pitch-modulate them ±1–3 semitones for movement.
- Add sidechain compression (see next) so the sub ducks under the kick/snare for pocket.
- Create a return or use group compression:
- Alternatively, use Ableton’s Utility > Gain and create manual volume automation for tight pumping.
- On Call track: EQ Eight — High-pass at ~50–80 Hz, cut around 200–400 Hz if it sounds boxy (-2 to -6 dB), boost around 700–1200 Hz (+1.5–3 dB) for presence.
- On Response (Sub): EQ Eight — Low-pass at 180–220 Hz for a dedicated sub-only response or allow a little upper harmonic if you used saturation.
- Use Multiband Dynamics on Bass Group to tame mid-band buildup: compress mid-range more heavily if it's masking drums.
- Make Response mono below 120 Hz: Utility Width 0% and place high-pass/low-pass splits if you want stereo tails above 300 Hz.
- Call can be stereo: add chorus or small reverb/delay on a send. Use Auto Filter with an LFO for subtle width movement.
- Automate Filter Cutoff on Call across bars: e.g., open cutoff from 600 → 1200 Hz over 2 bars for build.
- Automate the Response’s saturation drive for tension: +1–3 dB drive into Saturator during drops.
- Mute/unmute the Call or Response for contrast (breakdown: keep sub only; next drop: both).
- Bass Group devices (order):
- Map 2 macros: “Call Presence” (maps filter cutoff on Call + delay dry/wet), “Sub Weight” (maps Saturator drive on Response + Bass Group low gain).
- Intro (0:00–0:16): Low-pass everything; light sub Response playing half-notes; Call muted or highpassed.
- Build (0:16–0:32): Introduce Call stabs, automated filter opening.
- Drop (0:32–0:48): Full Call + Response + drums; sidechain aggressively, raise Bus Saturator/drive via automation.
- Breakdown (0:48–1:00): Remove Call, leave Response + atmos; use Resampling to create a twisted sub loop.
- Second drop: swap Call pattern (variation) and response fills for interest.
- Overlapping low frequencies: both Call and Response occupying 40–250 Hz → mud. Fix: HPF Call at 50–80 Hz; low-pass Response if it’s covering upper mids.
- Stereo widening of sub: Don’t widen low frequencies. Use Utility to mono below 120 Hz.
- Not sidechaining enough: bass and kick fight; compress/duck the sub to the kick/snare.
- Too many harmonics in both parts: if both are saturated heavily, you’ll lose clarity — use parallel processing.
- Static arrangements: keep at least one element (filter, LFO, delay) automating to avoid monotony.
- Overusing gate/reverb on the sub: reverb on sub kills low-end; keep reverb on high-mid tails only.
- Reese stacking: create 2–3 detuned oscillators (Wavetable or Operator), detune slightly (0.02–0.08), run through heavy distortion (Saturator then Drum Buss), then low-pass to control the rumble. Use spectral EQ to scoop conflicting bands.
- Parallel heavy distortion: duplicate the Response → on duplicate add Drum Buss with Drive 8–12, high saturation → low-pass and blend under the dry sub for weight without ruining the low-end.
- Frequency shifting & micro-pitch automation: apply Frequency Shifter (subtle detune ±0.1–2 Hz) on the Call at transient moments for metallic harshness.
- Use FM in Operator: modulate a sine sub with an LFO or another oscillator for gnarly harmonic content that’s still sub-linked. Map a Macro to increase FM amount for the drop.
- Automate macro for “Aggro” : map multiple parameters (Saturator drive, Filter resonance, Compressor ratio) to one macro to jump from clean to brutal immediately.
- Use transient shaping: Ableton’s Drum Buss has a “Transient” knob to accentuate pick or use Compressor with fast attack to shape attack. For darker tone, slightly reduce attack for thicker transients.
- Resample and reverse: record a short Call phrase, pitch shift down one octave and reverse to create eerie tails under the main response.
- Sub is mono and present.
- Call sits above 200 Hz and is audible on headphones/speakers.
- When both play, you can hear the “conversation” (not a wash).
- Call-and-response in DnB is about spectral and rhythmic separation: call = mid/high character, response = mono sub/low roll.
- Use Ableton stock devices (Operator/Wavetable, EQ Eight, Saturator, Glue Compressor, Utility) to craft tight chains.
- Arrange on an 8-bar loop: alternate call and response, then overlap to increase energy.
- Duck the bass to the drums with sidechain compression and carve frequencies to avoid masking.
- For darker/heavier twists, use parallel distortion, FM, reese stacking, and macro-driven aggression.
You’ll finish with:
3. Step-by-step walkthrough
Setup notes:
A. Patch ideas (fast sound-design)
1) Response — Sub foundation (use Operator or Sampler)
- Osc A Level: 0 dB
- Octave: -2 to -3 (tune to track key)
- Envelope (A): Attack 0 ms, Decay 100–400 ms, Sustain ~0.8–1.0, Release 50–150 ms.
- EQ Eight (High-pass above 40 Hz? Typically leave low open) — set high-pass to 20–30 Hz if needed.
- Saturator — Drive 2–4 (Soft Sine curve). This adds harmonic content for clipping-friendly upward folding.
- Glue Compressor — Threshold -10 to -20 dB, Ratio 4:1, Attack 5–10 ms, Release 0.2–0.6 s. (Just glue sub dynamics)
- Utility — Width 0% (mono the lows). Use Frequency parameter: set to mono below 120 Hz if using Multiband? If not, manually ensure track is mono.
2) Call — Mid/high character (use Wavetable or Simpler)
- Osc A: Saw (or complex wavetable)
- Unison: 2–4 voices, Detune 0.05–0.12
- Osc B: Subtle second wavetable pitched -12 or +7 semitones for movement (mix A/B ~30/70)
- Filter type: Lowpass (24dB), Cutoff ~500–1500 Hz depending on brightness, Resonance 0.5–1.5 (taste)
- Modulate cutoff with an envelope or LFO slightly: Envelope amount 20-40%, Attack 5–20 ms
- EQ Eight — High-pass at 40–60 Hz to clear subs (you want the Call to occupy mid/high).
- Saturator — Drive 3–6 with “Analog Clip” or “Soft Sine” for grit.
- Frequency Shifter (subtle) or Chorus (small) to add movement.
- Compressor or Glue Compressor — attack fast 1–10 ms, release 0.2–0.5s, ratio 3–4:1 for punch.
- Optional: Ping Pong Delay (dry/wet low to taste) to give sense of space on the call.
B. MIDI pattern & arrangement (call/response phrasing)
1) Basic 8-bar layout (example)
2) Programming tips
C. Ducking & dynamics (punch & clarity)
- Place a Compressor on the Bass Group or the Response track.
- Set Sidechain input to your Kick/Drum bus (or a transient trigger channel).
- Compressor settings: Ratio 4:1, Attack 0.1–1 ms, Release 80–160 ms, Threshold adjusted so you get 3–6 dB of gain reduction on hits.
D. Frequency carving (avoid clashes)
E. Stereo & imaging
F. Automation and variations
G. Glue together: Group chain example
- Utility (gain staging)
- EQ Eight (final corrective cuts)
- Saturator (parallel subtle drive — keep dry/wet < 30%)
- Glue Compressor (bus glue: Attack 10 ms, Release 0.4 s, Ratio 2:1, Threshold -6 to -12 dB)
- Multiband Dynamics (lightly tame mids/lows)
H. Arrangement ideas (how to place these parts across a track)
4. Common mistakes
5. Pro tips for darker/heavier DnB
6. Mini practice exercise (15–30 minutes)
Goal: Build an 8-bar DnB loop at 174 BPM that showcases call-and-response with clear separation.
Steps:
1. Create two MIDI tracks: Operator (Response) + Wavetable (Call).
2. Program Response:
- Bars 1–8: Root note sustained on each bar, then add a 1/8 note sub-fill at bar 3 and bar 7.
- Keep notes long and mono.
3. Program Call:
- Bars 1–2: 2-bar rhythmic motif using 1/16 and 1/32 notes.
- Bars 3–4: leave rests to make space for Response.
- Bars 5–6: variation of motif (change rhythm or pitch).
- Bars 7–8: both play together, call plays shorter stabs.
4. Add processing chains from section 3A/B:
- Response: Operator → Saturator (Drive ~3) → EQ Eight (Low-pass 180–220 Hz) → Utility (Width 0%).
- Call: Wavetable → EQ Eight (HPF 60 Hz) → Saturator (Drive ~4) → Glue Compressor.
5. Sidechain the Response to Kick:
- Compressor on Response sidechained to Kick with 4:1, Attack 0.5 ms, Release 120 ms, Threshold for ~4–6 dB GR.
6. Automate Call filter: open cutoff from 600 → 1.2k over bars 5–8.
7. Listen and adjust: ensure sub is audible on small speakers (it should be felt) and the call is clear and present.
Outcome checklist:
7. Recap
Get these fundamentals in place, then experiment: resample phrases, flip timing to a half-time measure, and use macro-driven automation to make each drop hit harder. Want a project file walkthrough? Send me your Live Set and I’ll annotate the chain and arrangement suggestions. Let’s make that bass talk — and make people move. 🥁🔊

