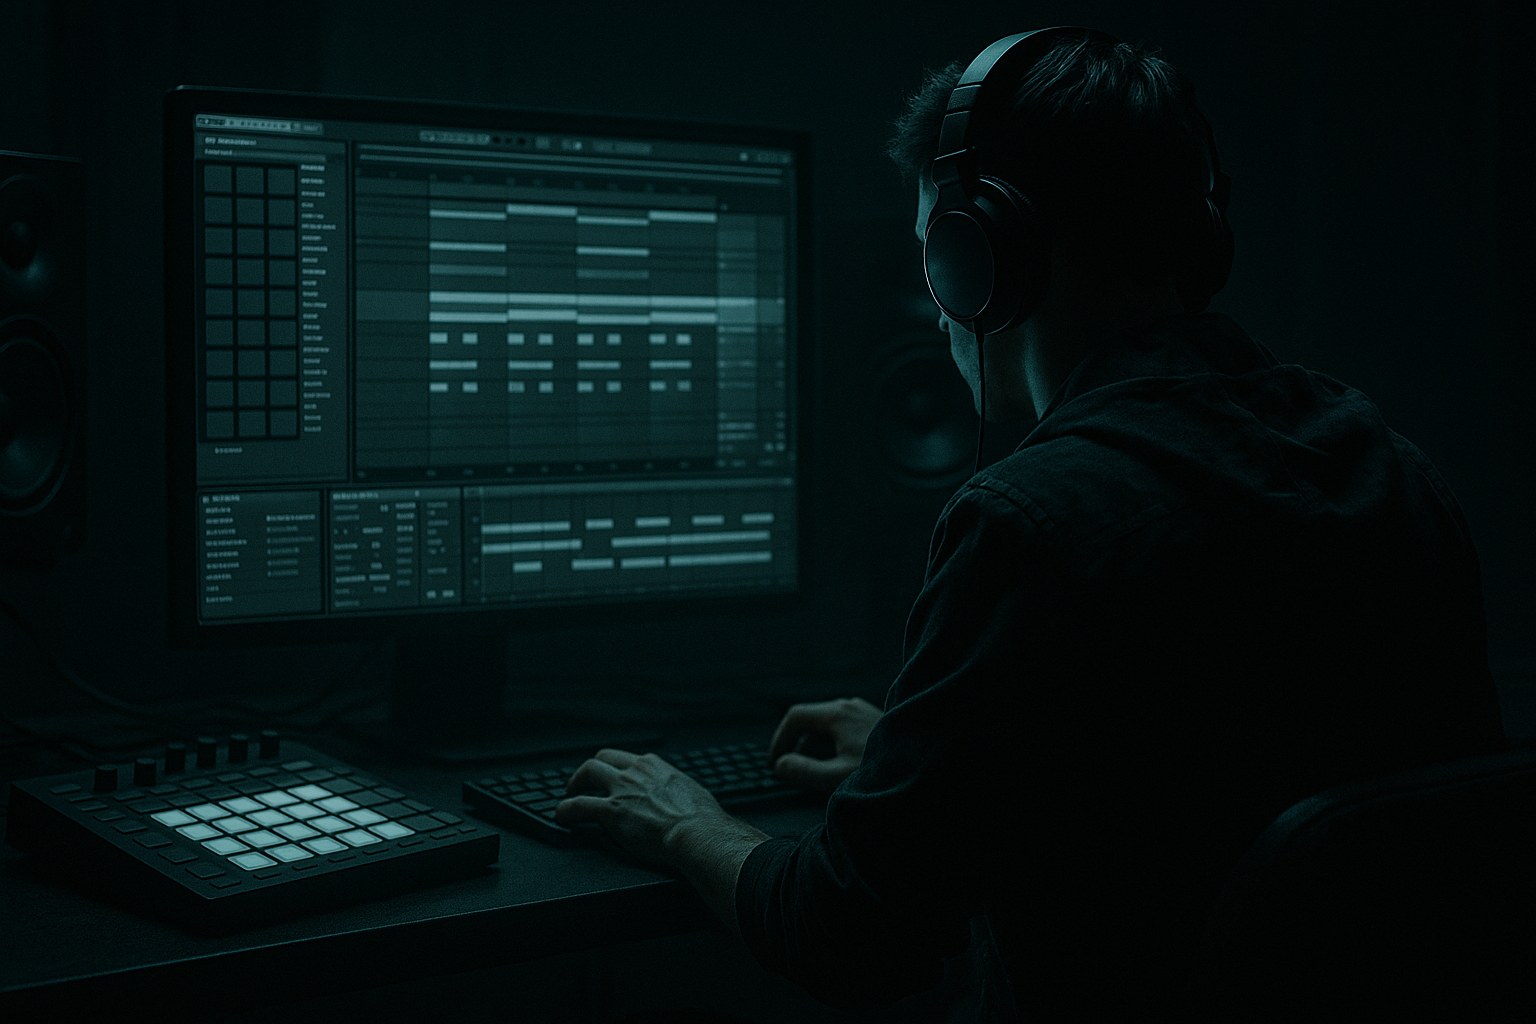
Main tutorial
Call-and-Response Filter Motion (Resampling Only) in Ableton Live
Intermediate • Automation • Drum & Bass / Jungle 🎛️🔁
---
1) Lesson overview
In rolling DnB, movement = energy. One of the fastest ways to create that movement—without drowning your mix in tons of automation lanes—is to print (resample) filter motion, chop it, and arrange it as call-and-response.
This lesson shows you how to build two contrasting “voices” (call + response) using filter motion from scratch, and commit everything with resampling only—so you end up with clean, editable audio that’s easy to arrange and mix. ✅
---
2) What you will build
You’ll create:
- A “Call” phrase: brighter / opening motion (e.g., lowpass opening into a bite)
- A “Response” phrase: darker / tighter / more aggressive motion (e.g., bandpass or comby notch)
- Both will be resampled to audio, chopped into 1/8–1 bar chunks, and arranged into a DnB groove (think 174 BPM rollers with 2-step drums).
- Reeses, neuro stabs, jungle chords, bass mid layers, even breaks.
- Write a 1-bar loop with syncopation:
- Keep it in a bass-friendly key: F / F# / G are common.
- Filter: Bandpass
- Frequency around `600 Hz – 2 kHz` (automate small moves)
- Resonance: `25–45%`
- Add LFO in Auto Filter:
- Filter: Notch
- Automate Frequency with small “talking” movements
- Resonance: moderate-high
- Bar 1: Call (open / brighter)
- Bar 2: Response (tighter / darker)
- Beat 1: Call stab
- Beat 2: space
- Beat 3: Response stab
- Beat 4: tail / fill
- Call = phrase starter
- Response = phrase finisher
- Bars 1–2: Call/Response basic
- Bars 3–4: Same but remove a hit (variation)
- Bars 5–6: Add an extra response chop on 1/16 (tension)
- Bars 7–8: Hard mute for 1/4 bar → big return (drop energy trick)
- Utility (gain staging, mono below ~120 Hz using Bass Mono if needed)
- EQ Eight (carve space around snare crack ~200 Hz or presence ~3–5 kHz)
- Drum Buss (very light for density)
- Split bands before filtering (still resample-friendly):
- Use Auto Filter drive like a tone shaper
- Post-print “shadow” layer
- Create “answer” with rhythm, not only tone
- Dark jungle chord version
- You built filter motion from scratch using Auto Filter automation/LFO.
- You committed it with Resampling so your movement becomes audio you can chop.
- You arranged it into call-and-response phrasing that fits rolling DnB energy.
- You learned how to keep it musical: contrast, space, warp choices, and clean printing. 🎛️🔁
You can apply this to:
---
3) Step-by-step walkthrough
A. Session setup (fast + DnB-ready)
1. Set tempo: `172–176 BPM` (pick 174 BPM as a standard).
2. Create tracks:
- `MIDI Track` → name it SOURCE
- `Audio Track` → name it RESAMPLE
3. Routing for resampling only:
- On RESAMPLE, set Audio From: `Resampling`
(This captures master output—classic Ableton print workflow.)
4. Loop a region: 8 bars to build ideas, then print.
> Tip: Keep your master clean while printing—avoid limiter pumping unless you want it baked in.
---
B. Build a solid SOURCE sound (simple but effective)
You can do this with stock devices quickly:
SOURCE device chain (starter Reece / mid bass):
1. Instrument: `Wavetable`
- Osc 1: Saw (default is fine)
- Osc 2: Saw (detune slightly)
- Unison: `2–4 voices`, Amount `20–40%`
2. Amp Env:
- Attack: `0–5 ms`
- Decay: `300–600 ms`
- Sustain: `-6 to -12 dB`
- Release: `80–160 ms`
3. Add grit: `Saturator`
- Drive: `3–8 dB`
- Soft Clip: On
4. Control subs: `EQ Eight`
- High-pass at `~30 Hz` (gentle)
- Optional dip around `250–400 Hz` if boxy
MIDI pattern (DnB feel):
- Notes on `1`, the “&” of `2`, and `4` (or try a 2-step bass bounce)
---
C. Create the filter “Call” motion (automation, then print)
You’ll automate filter movement on the SOURCE, but the final result is audio via resampling.
1. Insert Auto Filter after EQ Eight.
2. Set:
- Filter type: Lowpass 24
- Frequency start: `~200–500 Hz` (closed)
- Resonance: `15–30%` (don’t overdo yet)
- Drive: `2–6 dB` (for bite)
3. Create Call automation:
- In Arrangement view, automate Frequency to open over 1 bar.
- Example curve (per bar):
- Start: `250 Hz`
- Mid: `1.2 kHz`
- End: `3–6 kHz`
- Add a slight Resonance rise near the end for “speech” character:
- `20% → 35%` in last 1/4 bar
Record the Call:
4. Arm RESAMPLE.
5. Hit record and print 4–8 bars of your loop with this motion.
Now you have a printed audio take of the call phrase. 🎚️➡️🎧
---
D. Create the filter “Response” motion (different flavor, then print)
Now we make a contrasting voice. The trick: different filter type + rhythm.
1. Duplicate the SOURCE track (or just change automation and reprint).
2. On Auto Filter change to one of these “response” styles:
Option 1 (tight + dark): Bandpass
- LFO Rate: `1/8` or `1/16` (sync)
- Amount: small, `5–15%`
- Phase: try `0°` and `180°` for different push/pull
Option 2 (edgy / metallic): Notch
3. Create Response automation:
- Make it shorter and more “answered”
- Example: 1/2 bar gesture:
- Frequency wiggle: `1.5 kHz → 900 Hz → 2.2 kHz`
4. Print it:
- Arm RESAMPLE
- Record 4–8 bars again.
Now you’ve got Call audio and Response audio printed. ✅
---
E. Chop + arrange the call-and-response (the fun part)
1. Drag your resampled recordings into new audio tracks:
- CALL AUDIO
- RESPONSE AUDIO
2. Warp settings (important for DnB tightness):
- Warp Mode: Complex Pro for chordy material, Beats for gritty bass stabs
- If using Beats mode:
- Preserve: `1/16`
- Transient Loop: `Off` (usually cleaner)
3. Slice structure ideas (pick one):
Classic 2-bar DnB phrasing
Micro call-response inside 1 bar
4. Editing workflow (fast):
- Use Split (`Cmd/Ctrl + E`) on 1/8 or 1/16 lines.
- Add short fades on clips to avoid clicks.
- Create holes—DnB needs negative space for drums to punch.
---
F. Glue it into a rolling DnB arrangement
Use these as arrangement “roles”:
- Often on bar 1, or before a snare to “lead in”
- Often after snare hits, or on offbeats
Simple 8-bar plan (roller):
Optional stock devices after audio (still valid—your motion is printed):
---
4) Common mistakes
1. Too much resonance = “whistle city”
Keep resonance musical. If it’s piercing, reduce resonance or low-pass your highs post-print.
2. Call and response are too similar
Change filter type, timing, or range. If both open upward, it won’t read as dialogue.
3. Printing with a limiter smashing everything
If you print through heavy limiting, you lock in pumping and lose mix flexibility.
4. No space for drums
If your chops are constant 1/16, your groove will feel overcrowded. Leave air.
5. Warp artifacts from wrong mode
Bass stabs often like Beats mode; sustained chords often like Complex Pro.
---
5) Pro tips for darker/heavier DnB 🖤
Duplicate SOURCE into:
- SUB (clean, minimal processing)
- MIDS (filter motion + distortion)
Print the mids motion while keeping sub steady (or print them separately). This is how heavier rollers stay solid.
Drive at `4–9 dB` can add “front” without needing extra distortion.
Duplicate the printed response, transpose down `-12` semitones, low-pass it, tuck it quietly. Makes the response feel ominous.
Make response shorter and more syncopated—like it’s “talking back” to the call.
If SOURCE is a stab chord: print a call with LP opening, response with bandpass + faster LFO wobble at `1/16`.
---
6) Mini practice exercise (15 minutes)
1. Make a 1-bar bass MIDI loop at 174 BPM.
2. Print two 4-bar resamples:
- Call: LP24 opening over 1 bar
- Response: Bandpass with subtle LFO at `1/16`
3. Chop into 8th-notes and create a 2-bar call-response pattern.
4. Variation challenge:
- In bar 2, remove one chop before the snare.
- Add a tiny response “tick” on the last 1/16 of bar 2.
Deliverable: a looping 2-bar phrase that clearly “speaks” in two voices.
---
7) Recap
If you want, tell me what your source is (Reece, chord stab, vocal, break) and whether you’re aiming for liquid, rollers, or neuro, and I’ll suggest a tailored call/response filter plan (types + rates + arrangement pattern).

