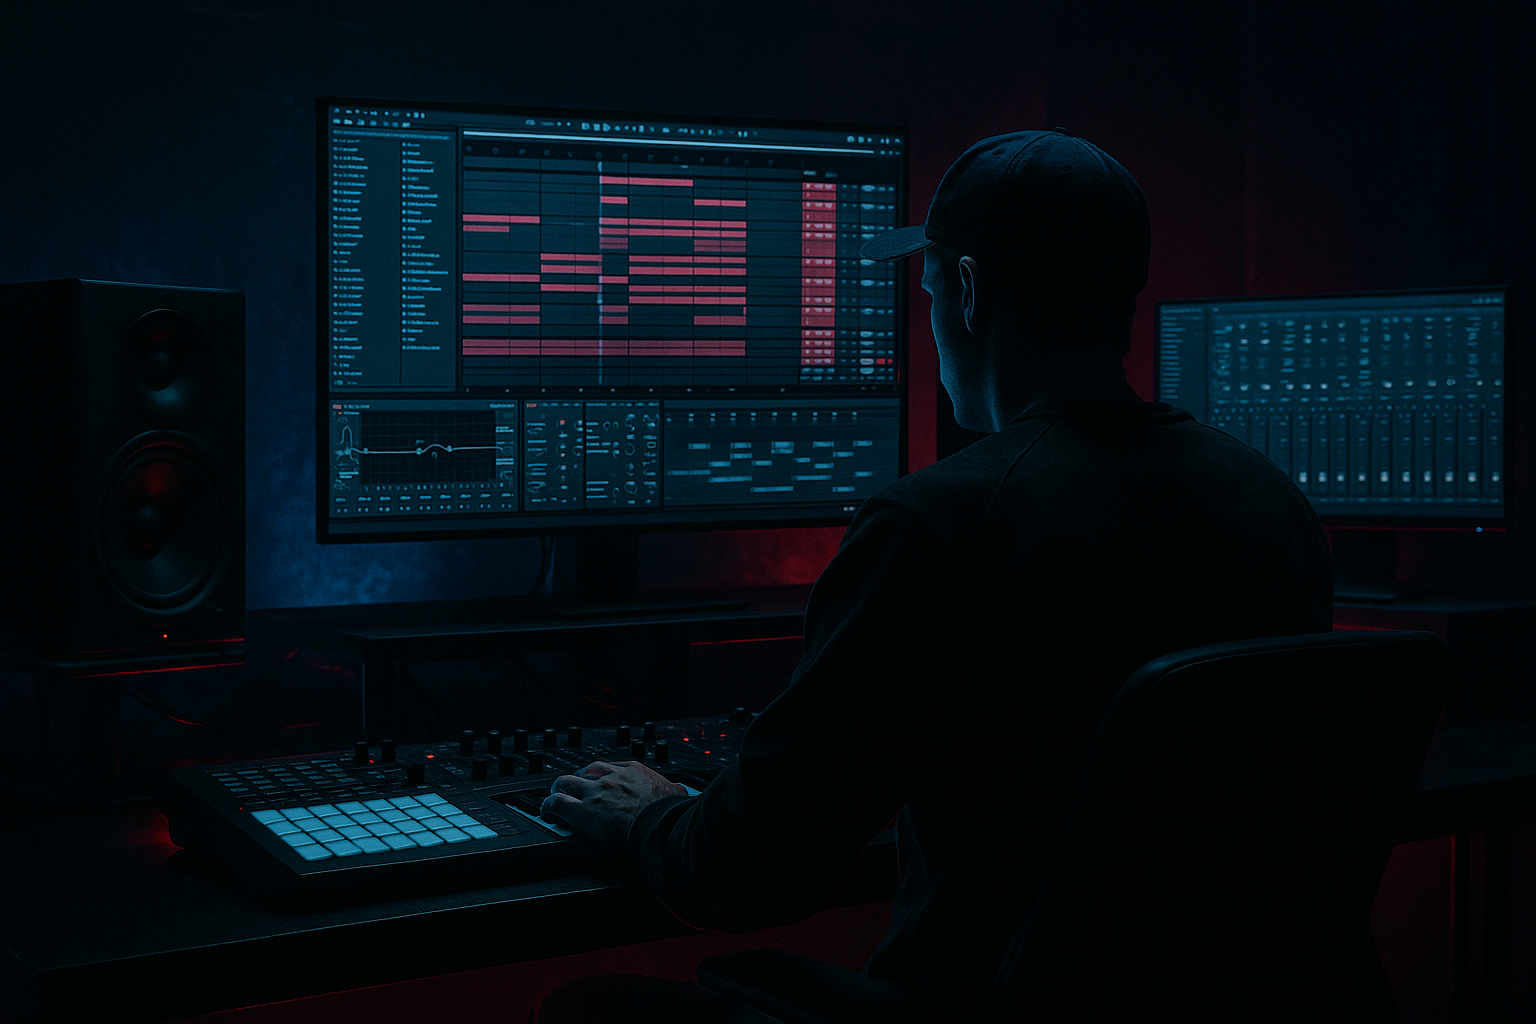
Main tutorial
Call-and-Response Riff in Ableton Live 12: Resample It Using Stock Devices Only for Jungle / Oldskool DnB Vibes 🥁⚡
1. Lesson overview
In this lesson you’ll build a call-and-response riff in Ableton Live 12, then resample it to create a more authentic jungle / oldskool DnB character using only stock devices.
The goal is not just to make a melody. The goal is to create a rhythmic, bass-led phrase that feels like it can sit in a 160–175 BPM breakbeat track with weight, movement, and that chopped, “bounced-off-the-sampler” energy.
You’ll learn how to:
- Program a short call phrase and a contrasting response phrase
- Design both parts with stock Ableton instruments and effects only
- Resample the riff into audio for more grit and vibe
- Chop, re-pitch, and reprocess the audio into a more jungle-flavored result
- Shape the part so it works in a real DnB arrangement
- A 2-bar call-and-response riff in a minor key
- A second version that’s been resampled to audio
- A tighter, rougher, more oldskool-sounding loop
- A method you can reuse for:
- Tempo: 170 BPM
- Key: F minor, G minor, or A minor
- Feel: Syncopated, space-aware, slightly aggressive
- Style references: jungle, early Ram/Moving Shadow-era energy, modern darker DnB with oldskool texture
- Wavetable for a modern but controlled bass stab
- Operator for a cleaner, FM-ish digital edge
- Analog for a thicker oldschool tone
- Drift for a rawer, more characterful synth source
- Oscillator 1: Saw or square
- Oscillator 2: Saw, slightly detuned
- Filter: Low-pass 24 dB
- Envelope: Short decay, low sustain
- Amp Envelope: Fast attack, short decay, medium release
- Attack: 0–5 ms
- Decay: 180–350 ms
- Sustain: 0–20%
- Release: 80–150 ms
- Filter cutoff: around 200–700 Hz depending on brightness
- Filter envelope amount: moderate, so the note opens then closes
- Starts on the root note
- Moves to the minor 3rd or 5th
- Uses rhythmic stabs rather than long notes
- Leaves space for drums and response
- F1 on beat 1
- Ab1 on the “and” of 1
- C2 on beat 2
- Eb2 short stab on beat 3
- Rest on beat 4
- lower
- more nasal
- more percussive
- more chopped
- more filtered
- Operator for a more focused bass response
- Wavetable with a different wavetable or octave
- Simpler with a short synth stab sample if you want a more sample-based vibe
- Start with Operator
- Use a simple sine or triangle on one operator
- Add a slightly brighter operator for bite
- Keep the patch short and punchy
- Amp envelope attack: 0 ms
- Decay: 120–250 ms
- Sustain: 0%
- Release: 50–120 ms
- Add Saturator with modest drive
- Add Auto Filter with a higher cutoff than the call, or automate it down for a darker answer
- answer later in the bar
- use a lower rhythmic density
- land on a different note from the scale
- create tension before resolving
- Beat 3: low note stab
- “and” of 3: quick fill note
- Beat 4: short cutoff hit
- Select your MIDI clip
- Open Groove Pool
- Try a subtle swing groove, such as:
- Keep the amount low: 10–25%
- Nudge certain notes slightly off-grid
- Shorten some notes so they “snap”
- Leave rests between phrases
- chop it more creatively
- pitch it around
- reverse pieces
- process it like an old sample
- create texture that MIDI alone won’t give you
- one clean pass
- one with filter movement
- one with extra effects or automation
- one version dry and punchy
- one version filtered and distorted
- Rearrange the slices into a new pattern
- Repeat one slice for a stutter effect
- Drop out the end of the phrase for space
- Put one slice an octave down for a darker answer
- cut the phrase into pieces
- move one piece earlier or later
- reverse a small section
- shorten a note tail to make it more percussive
- Saturator
- Overdrive
- Redux
- Vinyl Distortion
- Drum Buss
- Amp
- Cabinet
- Pedal
- Glue Compressor
- back off the Redux
- reduce drive
- high-pass unnecessary low end
- tame the 2–5 kHz region if it gets scratchy
- Bars 1–4: Call phrase only, filtered
- Bars 5–8: Call + response, more open
- Bars 9–12: Resampled chopped version
- Bars 13–16: Filter automation + extra stutter fill before drop transition
- filter cutoff
- resonance
- Saturator drive
- reverb send amount
- pitch on one or two response notes
- loop length or clip gain for variation
- drop it out before a drum fill
- bring it back with a different octave
- let a single tail ring out into the snare roll
- Keep the riff rhythmically aligned with:
- Avoid too much energy exactly where the snare crack lives unless it’s intentional
- Use the spaces between break hits for the riff’s answers
- a basic Amen-style break
- a rolling kick-snare pattern
- a sub under it if needed
- dry
- filtered
- distorted
- chopped
- minor 2nd
- minor 3rd
- tritone
- 5th with octave displacement
- Call rises slightly
- Response drops down and ends abruptly
- Drive: low to moderate
- Boom: very controlled
- Crunch: subtle
- an intro
- a breakdown
- a drop variation
- a pre-drop tension section
- Start with a simple call and contrasting response
- Use short, rhythmic notes and leave space
- Resample early to get audio flexibility
- Chop, reverse, and re-pitch the printed audio for character
- Use stock devices like:
- Keep the riff locked to the breakbeat and the sub space
This is a very practical workflow that producers use to move from “clean MIDI idea” to “finished chopped loop with character” 🎛️
---
2. What you will build
By the end, you’ll have:
- Reese stabs
- Mid-bass riffs
- Plucky synth hooks
- Dark rolling bass call/response patterns
Musical target
---
3. Step-by-step walkthrough
Step 1: Set the project up for DnB workflow
1. Open Ableton Live 12
2. Set tempo to 170 BPM
3. Create:
- MIDI Track 1 = Call
- MIDI Track 2 = Response
- Audio Track = Resample / print
4. Turn on the metronome
5. Set the loop region to 2 bars to keep the idea focused
Why this matters
DnB ideas often work best when they are tight and loopable first. You want something that can lock with drums and evolve later.
---
Step 2: Create the “call” sound
For the call phrase, use a sound that cuts through but doesn’t fill too much space.
Good stock device choices
Try one of these:
Example call patch in Wavetable
Start with a simple, punchy patch:
Suggested starting values
Add stock effects
Put these after the instrument:
1. Saturator
- Drive: 2–6 dB
- Soft Clip: On
2. Auto Filter
- Use a low-pass or band-pass movement if needed
3. Erosion or Redux
- Very lightly for digital grit
4. Utility
- Use to control width and gain staging
Programming the call phrase
Write a short phrase of 1 bar or 2 bars.
A good DnB call phrase often:
#### Example in F minor
Try to make the rhythm conversational. Don’t overload it.
---
Step 3: Create the “response” sound
The response should contrast the call. It can be:
This is where the “question and answer” feeling comes alive.
Good stock device choices
Use one of these for contrast:
Example response patch
Try this:
Suggested settings
Programming the response phrase
The response should not mirror the call exactly. Instead, let it:
#### Example rhythmic shape
If the call is busy on beat 1–2, put the response on beat 3–4 or the offbeats:
This push-pull is what makes the riff feel alive.
---
Step 4: Add groove and human feel
DnB and jungle thrive on rhythm. Even if the notes are simple, the pocket matters.
Do this:
- MPC 16 Swing
- A light shuffle feel
Also try:
Important
Don’t over-swing bass riffs in DnB. Too much swing can fight the breakbeat. You want the riff to dance with the drums, not lag behind them.
---
Step 5: Design a resampling chain
Now comes the important part: print the riff to audio.
Why resample?
Because once the riff is audio, you can:
Set up resampling
1. Create an Audio Track
2. Set the input to Resampling
3. Arm the track
4. Play the MIDI riff and record 2–8 bars
Tip
Record a few variations:
That gives you options for arrangement later.
---
Step 6: Turn the resampled audio into jungle-style material
This is where the oldskool flavor starts to appear.
Basic resample processing chain
On the recorded audio track, try this chain:
1. EQ Eight
- High-pass very low rumble if needed
- Cut muddy low mids around 200–400 Hz if boxy
2. Saturator
- Drive: 3–8 dB
- Soft Clip: On
3. Redux
- Bit reduction lightly for grit
- Reduce sample rate subtly, not destructively
4. Auto Filter
- Automate cutoff for movement
5. Echo
- Very short delay or filtered throw
6. Utility
- Adjust width and mono compatibility
More oldskool-style move
Duplicate the audio clip and create a second version:
Then layer them quietly together.
This mimics the kind of layered sampler behavior you hear in older jungle productions.
---
Step 7: Chop the audio like a sampler
Now that you have audio, you can create a more chopped, urgent feel.
Method A: Slice to new MIDI track
1. Right-click the audio clip
2. Choose Slice to New MIDI Track
3. Slice by:
- Transients, or
- 1/8 notes if the riff is rhythmically consistent
This creates a Drum Rack or sampled instrument with individual slices.
What to do next
Method B: Warp and manually edit
Keep it on the audio track and:
This is especially effective for jungle-style tension.
---
Step 8: Make it more “oldskool” with processing
Oldskool DnB and jungle often sound like they’ve been pushed through a sampler, mixer, and tape path. You can fake a lot of that vibe in Live.
Useful stock devices for character
A practical “grit chain”
Try this on the resampled audio:
1. EQ Eight
2. Saturator
3. Drum Buss
- Drive modestly
- Crunch lightly
4. Redux
- Very subtle
5. Glue Compressor
- Slow attack, medium release
- Just a few dB of gain reduction
This can give the riff more density and attitude.
Be careful
If it starts sounding washed out or harsh:
---
Step 9: Arrange it like a DnB phrase
A good call-and-response riff should evolve in the arrangement, not repeat identically forever.
Arrangement idea for 16 bars
Simple automation ideas
Automate:
DnB-friendly arrangement trick
Take the response phrase and:
That kind of tension is very effective in breakbeat music.
---
Step 10: Lock it to the drums
The riff must work with the drum break, not compete with it.
Good practice
- kick
- snare on 2 and 4
- ghost notes in the break
Check in context
Loop the riff with:
If the riff fights the drums, simplify the rhythm before adding more processing.
---
4. Common mistakes
1. Making the riff too melodic
DnB riffs often work better when they are rhythmic and memorable, not overly complex.
Fix: Use 2–4 notes and strong syncopation.
2. Filling every gap
If the call and response are both too busy, the groove loses impact.
Fix: Let one part breathe while the other speaks.
3. Overprocessing before resampling
If you distort and layer too much before printing, the riff can become muddy fast.
Fix: Build a decent sound first, resample, then add character in stages.
4. Ignoring the low end
Your riff can clash with the sub or kick if it sits too low for too long.
Fix: Keep the musical riff mostly in the mid-bass range and leave true sub to the bassline/sub layer.
5. Too much swing
Excess swing can make the riff lag behind the breakbeat.
Fix: Use subtle groove only.
6. Resampling only once
One pass is rarely enough for jungle vibes.
Fix: Print multiple versions:
---
5. Pro tips for darker/heavier DnB
Tip 1: Use minor intervals that feel tense
Try:
These give a darker, more ominous energy.
Tip 2: Let the response descend
A downward response phrase often feels heavier and more threatening.
Example:
Tip 3: Saturate before and after resampling
A little saturation on the synth, then again on the audio, gives a richer layered distortion.
Tip 4: Use Drum Buss for weight
A light amount of Drum Buss can make a bass riff feel more like it belongs in a DnB mix.
Suggested start:
Tip 5: Make the response more filtered and mono
For a darker vibe, keep the response narrower and less bright than the call.
Tip 6: Use reverses and tiny stutters
Tiny edited reverses before a hit can sound very jungle when used sparingly.
Tip 7: Resample with automation movement
Print a version where the cutoff, resonance, or distortion changes over time. That gives you “performance” inside the audio.
---
6. Mini practice exercise
Exercise: Build a 2-bar jungle call-and-response loop
Do this:
1. Set project to 170 BPM
2. Make a 2-bar MIDI riff in F minor
3. Create:
- a bright call
- a darker response
4. Use Wavetable or Operator plus:
- Saturator
- Auto Filter
- Utility
5. Resample it to audio
6. Slice the audio into a Drum Rack
7. Rebuild a new version with:
- one repeated slice
- one reversed slice
- one octave-down slice
8. Add EQ Eight and Glue Compressor
9. Play it over a breakbeat loop and refine the rhythm
Goal
Make the loop sound like it could sit in:
---
7. Recap
You now have a practical DnB workflow for creating a call-and-response riff and turning it into a more jungle / oldskool-inspired audio part using only stock Ableton devices.
Key takeaways
- Wavetable
- Operator
- Analog
- Saturator
- Auto Filter
- Redux
- Drum Buss
- Glue Compressor
- EQ Eight
If you want, I can also turn this into:
1. a Live 12 device chain template, or
2. a bar-by-bar MIDI example for an actual jungle DnB riff.

