Main tutorial
1. Lesson overview
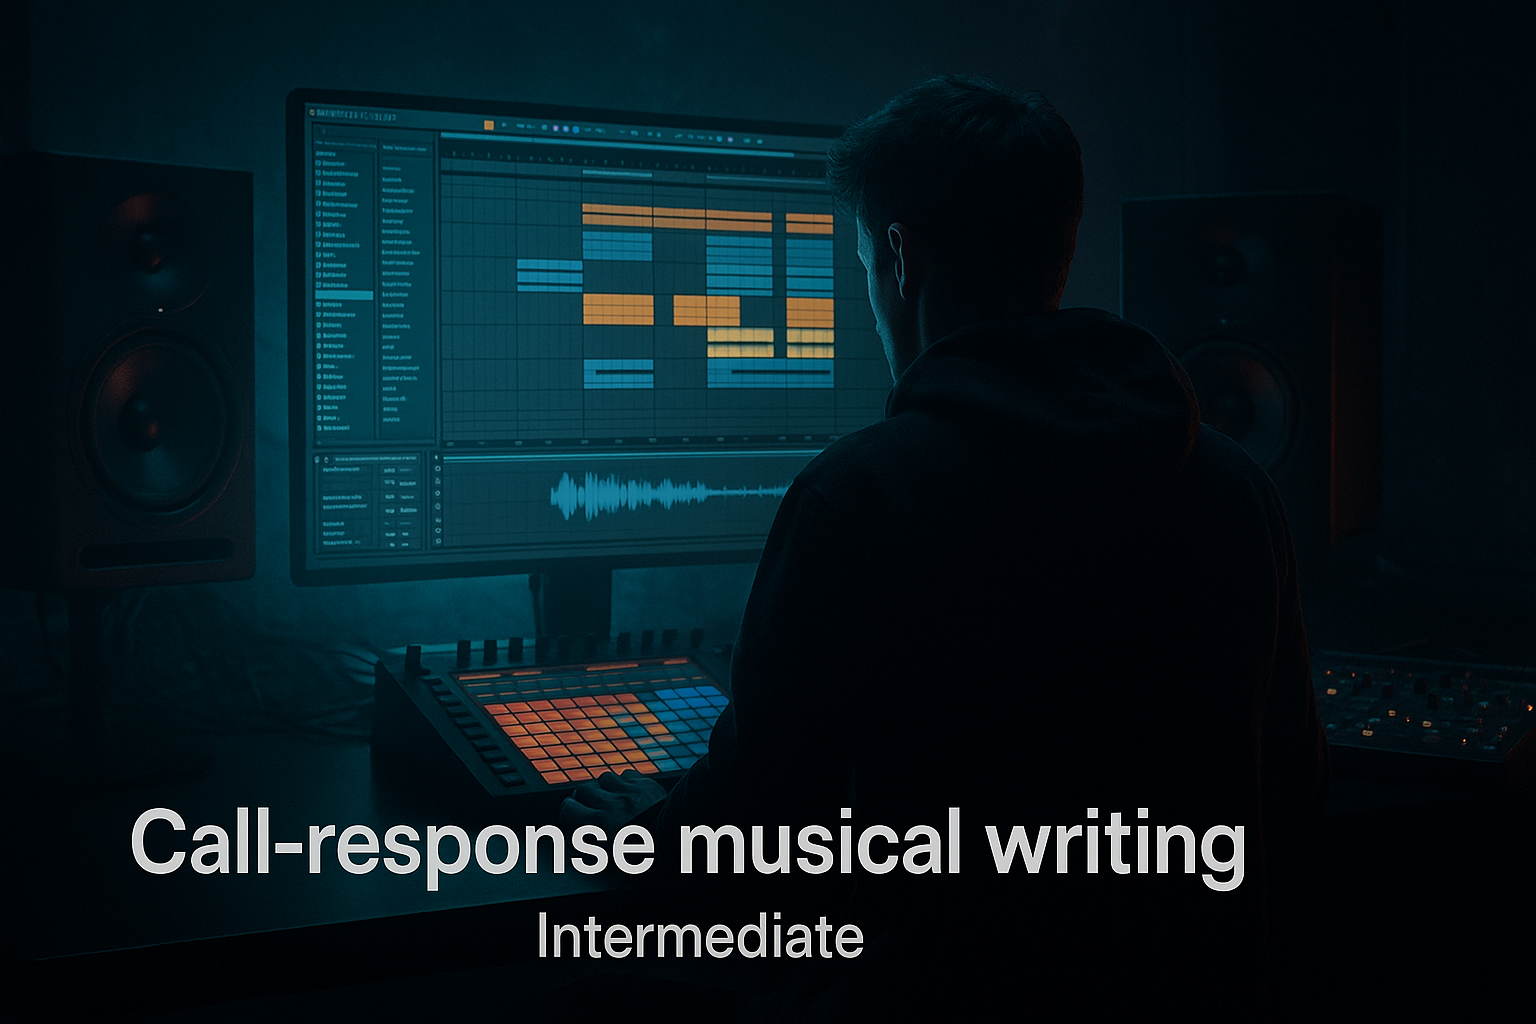
Energetic, punchy, and functional — in this lesson you’ll learn how to write call-response phrases specifically for drum & bass (jungle / rolling DnB) inside Ableton Live. Call-response is a compositional technique where one musical idea (the “call”) is answered by another (the “response”). We’ll take that concept and apply it to breakbeats, basslines, stabs, and percussion so your tracks breathe, groove, and feel like they’re talking to the listener. Expect concrete Ableton workflows, device chains, clip-level tricks, and arrangement templates you can drop into your projects. ⚡️
Target: Intermediate producers who are comfortable with MIDI, Drum Rack/Simpler, basic routing, and Ableton stock devices (Operator, Wavetable, Simpler, Drum Rack, Compressor, EQ Eight, Saturator, Glue Compressor, etc.).
Tempo: 170–174 BPM typical for rolling DnB. Use 174 for a heavier jungle feel.
2. What you will build
A compact 8–16 bar drum & bass loop that demonstrates call (motif) and response across multiple elements:
- A sliced breakbeat/drum pattern with micro call-response (rolls vs. rests).
- A two-layer bass patch (sub + mid-grit) that answers drum calls.
- A stab/lead motif that calls and is answered by a filtered/processed stab response.
- Arrangement structure ideas for expanding the loop into a whole track.
- A working Ableton Live set with Drum Rack slices, a Wavetable/Operator bass chain, and MIDI clips arranged to illustrate call-response across time and timbre.
- Macro mappings and clip automation to control the responses.
- Create “call” motif (short, distinct) — 1–2 bars.
- Create “response” — 1–2 bars that contrasts in rhythm, register, timbre or dynamics.
- Layer elements so calls are heard clearly and responses are recognizably different.
- Use processing, sidechain, filtering, and arrangement to emphasize contrast.
- Tempo: set to 174 BPM (classic heavy DnB).
- Set Global Quantization to 1 Bar for clip launching.
- Create 4 tracks: Drums (Audio or MIDI), Bass (MIDI), Stabs (MIDI), FX/ambience (Audio or MIDI).
- Device chain: Wavetable (or Operator) → EQ Eight → Utility.
- Wavetable settings:
- EQ Eight: clean below 30 Hz (use high-pass if you want to avoid rumble), boost 60–90 Hz slightly for presence.
- Utility: Width 0% (mono sub) for club translation.
- Device chain: Wavetable → EQ Eight → Saturator → Glue Compressor → Multiband Dynamics (optional).
- Wavetable settings:
- Saturator: Drive 2–5 dB, Mode: Analog Clip.
- Glue Compressor: Threshold -8 to -12 dB, Gain Make-up 2–4 dB, Attack 10 ms, Release 0.2–0.4s (adjust to taste).
- Place both chains inside an Instrument Rack and macro-map:
- Clip structure: Make an 8-bar MIDI clip.
- Sidechain: Add Compressor after Instrument Rack on bass, set to sidechain from the kick/snare bus (threshold so bass ducks ~3–6 dB on impacts). Settings: Ratio 3:1–4:1, Attack 1–5 ms, Release 80–200 ms for quick pumping.
- Use Simpler (Slice mode) or a sampled stab (chord stab):
- Composition:
- Use an Instrument Rack to create two stab layers: bright stab (call) and filtered/echoed stab (response). Map a chain selector or velocity zone so louder velocities trigger the bright stab; quieter velocities trigger the filtered one. That allows single-MIDI-note control yielding natural call/response via playing dynamics.
- Program small percussive hits (rimshots, clicks) precisely on off-beats to answer bass stabs.
- Use clip automation envelopes for pitch/transposition to quickly pitch a percussive sample up 3–7 semitones as a “response” flourish.
- Build fills: program a 1/16 roll (use duplicate + 1/32 pushes) as a response to a sustained call phrase.
- Bars 1–8: Establish call/response in drums + bass + stab (first statement).
- Bars 9–16: Variation — make responses more aggressive (open filter, more saturation), reduce calls (create space).
- Bars 17–24: Breakdown — remove bass call, keep airy filtered responses to leave space.
- Bars 25–32: Drop with full response layer (heavy mid-grit bass + full drum breakback).
- Use clip envelope (MIDI clip) to slightly shift note timing (nudge notes for human feel) and randomize velocity.
- Use automation lanes for rack macros (cutoff, sat) at clip level so responses can be triggered per-clip.
- For rhythmic variation, duplicate clip and apply Groove (Groove Pool) — try 16-swing or set a groove extracted from a classic Amen break.
- Create a Bass Bus: Route both Sub and Grit chains into a Bus. On the bus place:
- Drum Bus:
- Return FX:
- No contrast: Calls and responses that are too similar (same register, same dynamics) don’t read as conversation. Make one quieter, filtered, or rhythmically simplified.
- Frequency masking: Let sub-bass (call) sit mono and clear; don’t let mid-grit response drown sub frequencies. Use EQ to carve space.
- Over-automation: Automating every parameter kills intention. Automate only 1–2 macros per phrase to emphasize the answer.
- Rigid timing: DnB benefits from micro-timing changes. Avoid perfectly quantized dynamics — use slight swing/groove and nudge velocities.
- Overdoing effects: Big reverb on a call can muddy the immediate response. Use short rooms and delay sends instead of long reverb tails during call-response interplay.
- Aggressive mid-bass: Run your mid-grit chain through Saturator → Overdrive (clip mode) → EQ Eight. Use Multiband Dynamics to squish upper mids (600–2k) to make the presence fat but controlled.
- Add FM bite: Use Operator as an FM carrier for mid-grit — modulate a saw with a sine at a low ratio for metallic edge (mod amount 20–40%).
- Harmonic distortion chain: Saturator (Drive 3–6) → Redux (bit reduction) 8–12 bits at low mix → EQ to taste. Keep sub chain untouched to preserve low-end.
- Use Resampling: Create a 2–4 bar audio render of your bass response, re-import, pitch it down/up, lowpass, and then slice to create deadly one-shot answers — great for heavy drops.
- Long reverb tails as contrast: For darker textures, use a long but very filtered reverb (EQ Eight on the return cutting above 800 Hz and below 400 Hz) so the tail adds atmosphere without smearing transients.
- Subtle modulation: Map a Macro to a tiny pitch LFO (±5–10 cents) on the mid-grit chain to add an unsettling, alive feel during responses. If you have Max for Live LFO, map it to pitch; otherwise use small envelope modulation via Simpler/Operator.
- Layer glitchy top-end: Add a high-frequency “scrape” sample triggered as a micro-response — highpass it at 6–8 kHz and use a short transient enhancer (Transient Shaper) to cut through mixes.
- Call-response is about contrast: rhythm, register, timbre, and dynamic space.
- In DnB, use the drums and bass as the primary conversationalists: drum hits as calls, bass stabs/slides as responses.
- Build layered instruments (sub + mid-grit) and map macros for expressive responses.
- Use Ableton stock devices: Wavetable/Operator/Simpler, Drum Rack, EQ Eight, Saturator, Compressor/Glue Compressor, Ping Pong Delay, and Utility for routing and shaping.
- Arrange phrases into 8/16/32 bar sections with deliberate automation to make call and response evolve across the track.
- For darker/heavier DnB, emphasize distortion, FM, resampling, and tightly controlled multiband shaping.
By the end you’ll have:
3. Step-by-step walkthrough
Prerequisites: Live 10/11 (Standard or Suite). If you have Suite, Max for Live adds more modulation options; I’ll note when that’s useful.
Overview of the approach:
Step 1 — Project setup
Step 2 — Make the drums: sliced break + programmed top
1. Grab a breakbeat (Amen, Funky Drummer, etc.) — a 2–4 bar drum loop with character.
2. Drop it into a new MIDI track and right-click → Slice to New MIDI Track:
- Slicing preset: Transient (or 1/16 for fine control).
- Slice to: Drum Rack (creates Drum Rack with Simpler per pad).
3. Set the Drum Rack master chain:
- On the Drum Rack return chain add a Drum Buss (optional) for glue.
- Add an EQ Eight after each important drum pad for cleanup (or use an Audio Effect Rack to group).
4. Program a structural call-response in the break:
- Call (bars 1–2): play the full break with a short open hi-hat stab on beat 2.5 → makes a clear “call”.
- Response (bars 3–4): chop the break and insert a snare + quick double roll on the snare pad (use Simpler’s Start/End to tighten), then mute the hi-hat — the contrast becomes the “answer”.
5. Use the Drum Rack macro or velocity to map different sample layers for the response:
- Example: use a second snare sample on high velocity mapped to same pad (Simpler’s Chain Selector in a Drum Rack or layer using an Instrument Rack).
Tip: use small extra percussion (congas, clave) as micro-responses to the bass rhythm.
Step 3 — Build the bass: sub + mid layers (call-response friendly)
We’ll create a two-layer instrument rack: Sub (call anchor) + Grit (response).
Sub chain (Operator or Wavetable):
- Osc 1: Sine (full width), Osc 2: Sine / Triangle an octave lower for sub thickness (detune 0).
- Filter: Lowpass 24 dB, Cutoff around 200 Hz (tweak to taste).
- Amp Envelope: Attack 8–12 ms, Decay 200–300 ms for short punch, Sustain ~0.3–0.5, Release 18–30 ms.
Grit/Mid chain (Operator or Wavetable + Saturator):
- Osc1: Saw or PWM (mix ~50%), Osc2: Noise or FM-ed sine to add grit.
- Filter: Band- or Lowpass with drive: Cutoff ~900–1500 Hz, 12–24 dB slope.
- Envelope: Slightly longer decay and higher sustain for mid sustain.
Routing and macros:
- Macro 1: Filter cutoff of Grit chain (for responses).
- Macro 2: Distortion amount / Saturator Drive for “angry” response.
- Macro 3: Sub level (volume) to duck the response when necessary.
Step 4 — Compose the bassline call-and-response
- Bars 1–2 (Call): Play a simple sub hit on 1 and a slight octave flick on the “&” of 2 (short).
- Bars 3–4 (Response): Add a mid-range rhythm with a syncopated triplet or two 16th notes (use glide/portamento for slides).
- Bars 5–6: Variation of call (change octave or velocity).
- Bars 7–8: Bigger response — automate Macro 1 to open filter + Macro 2 to increase saturation, and add a pitch slide into bar 8 for emphasis.
Step 5 — Stabs / melodic calls
- Load a short stab sample into Simpler set to Classic mode, reduce attack to 0, decay 150–300 ms.
- Add Auto Filter after Simpler for movement. Map cutoff to a macro for quick automation.
- Call (bar 1): Play a high-register stab on beat 1 and beat 3 (two short hits).
- Response (bar 2): Filtered stab with delay: automate Auto Filter cutoff down and enable Ping Pong Delay (Sync 1/8 dotted, feedback 30%, dry/wet 15%). This creates an echo’d “answer”.
Step 6 — Percussive micro-responses & transitions
Step 7 — Automate & arrange the phrase
Arrangement approach for a 32-bar section:
Clip automation tips:
Step 8 — Bussing and processing for clarity
- EQ Eight: high-pass everything above 20 Hz if needed, notch any clashing resonance.
- Saturator (subtle) after EQ to glue mid presence.
- Glue Compressor: slow attack ~20 ms, release 0.2–0.6s, ratio 2:1 to glue.
- Drum Buss (stock) -> EQ Eight -> Glue Compressor.
- Add transient shaping: use Drum Buss “Boom” knob sparingly, “Transient” for snare punch.
- Reverb (small room for snares or mapped to returns), Ping Pong Delay for stabs (set to 1/8 or 1/16 dotted), and a subtle Grain Delay for atmospheric responses in breakdowns.
4. Common mistakes
5. Pro tips for darker/heavier DnB
6. Mini practice exercise (20–40 minutes)
Goal: Build an 8-bar loop that demonstrates clear call/response between drums and bass.
Steps:
1. Set project to 174 BPM.
2. Drag a 2-bar Amen (or chosen break) into Live; right-click → Slice to New MIDI Track (Transient).
3. Create a 8-bar MIDI clip in that Drum Rack:
- Bars 1–2: Play the break straightforward with a small open hat on the off-beat (call).
- Bars 3–4: Mute hat; add a snare double (16th roll) as the response.
- Bars 5–6: Repeat call but pitch a kick transient up +3 semitones for variation.
- Bars 7–8: Big response — add a 1/16 snare roll + extra tom hit.
4. Create a Bass Instrument Rack:
- Sub chain: Operator -> EQ Eight -> Utility (mono).
- Grit chain: Wavetable -> Saturator -> Glue Compressor.
- Macro 1 = Grit cutoff; Macro 2 = Saturator drive; Macro 3 = Sub volume.
5. MIDI Bass clip (8 bars):
- Bars 1–2 (Call): Sub hit on 1 and a small octave leap on the “&” of 2.
- Bars 3–4 (Response): Add two mid-range notes (syncopated) and open Macro 1 + Macro 2 slightly during bar 4 for aggression.
- Duplicate & vary bars 5–8 with small rhythmic fill at bar 8 (pitch slide).
6. Add a Simpler stab:
- Bar 1: bright stab on beat 1.
- Bar 2: filter the stab and add Ping Pong Delay as the response.
7. Bounce to audio (Ctrl/Cmd+Shift+R) and listen back. Adjust EQ so bass sub and mid-grit don’t clash; tweak sidechain so the bass breathes with the drums.
Challenge: Make your response less obvious by inverting polarity of the hi-frequency call or shifting the response by 1/16 note — see if listeners still perceive call-response.
7. Recap
Go make something that feels like a conversation — let your drums ask the question and your bass answer with attitude. If you want, send me one of your loops and I’ll give specific tweaks to the call/response balance. 🎛️🔥

