Main tutorial
Call-Response Musical Writing in Drum and Bass with Stock Plugins 🎶
1. Lesson Overview
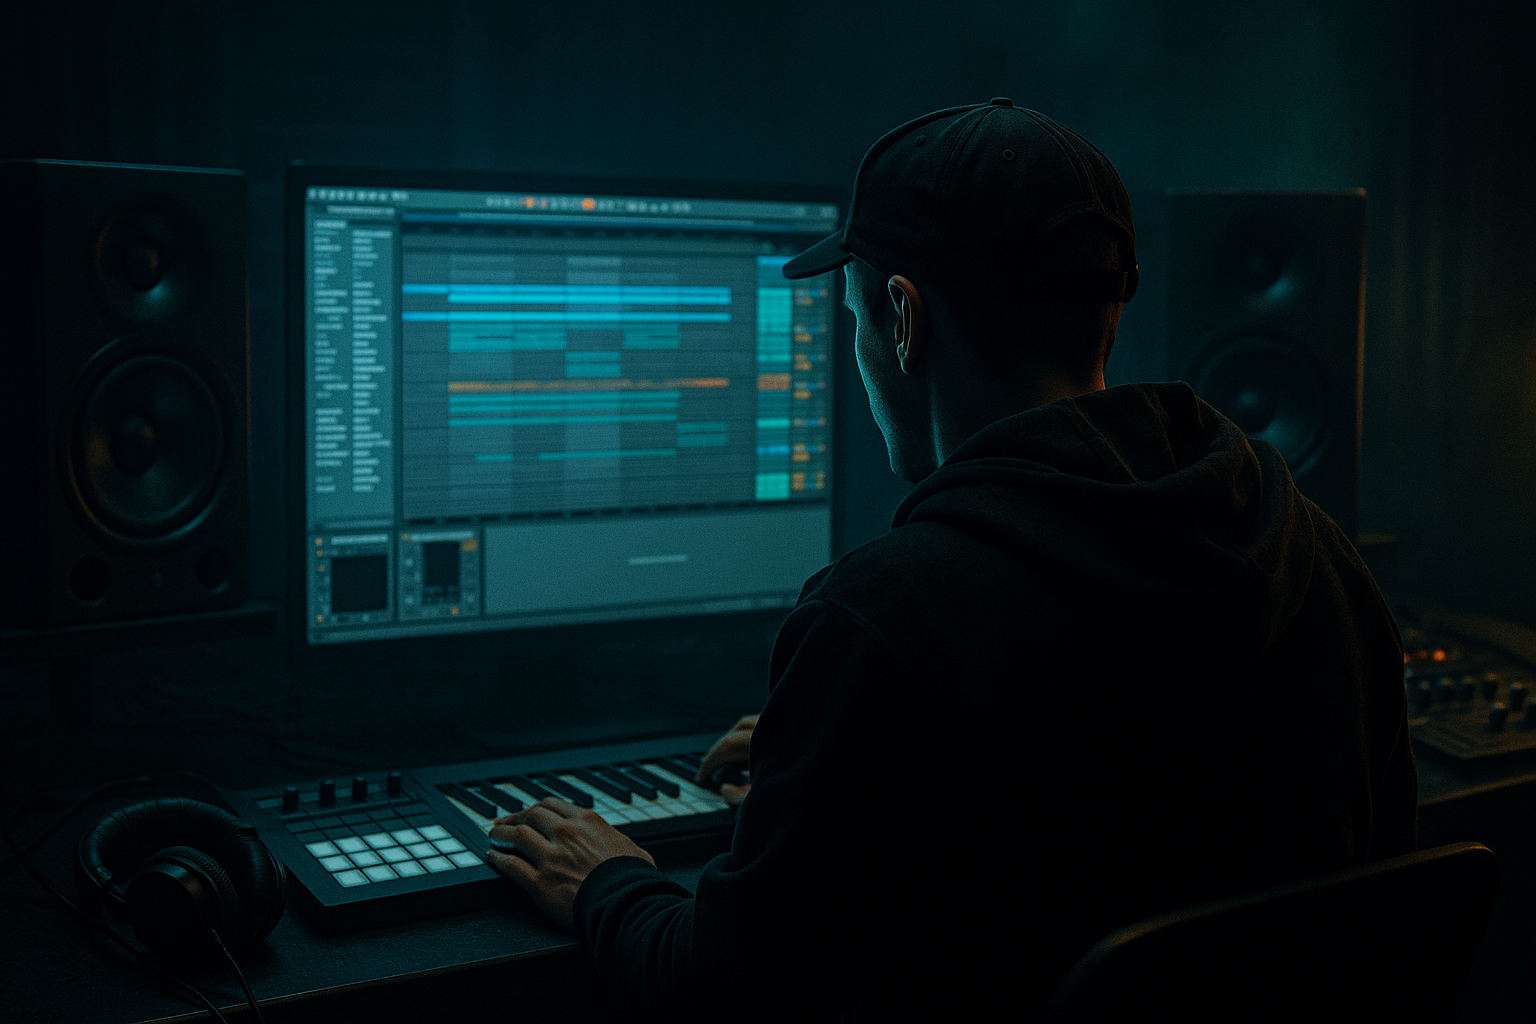
Welcome, aspiring DnB producer! 💥 In today’s lesson, we’ll dive into the concept of call-response musical writing, a fundamental technique that can elevate your drum and bass tracks. This technique creates a dialogue within your music, weaving together elements that complement and build off one another. Using only stock plugins in Ableton Live, we’ll develop a vibrant DnB piece that showcases this technique effectively.
---
2. What You Will Build
By the end of this lesson, you will have created a DnB loop that utilizes call-response techniques in both melodic and rhythmic components. We’ll work with:
- A pulsating bassline that responds to a melodic phrase.
- Drum patterns that create rhythmic variations and accents.
- A structured arrangement that highlights the call-response dynamic.
- Overcomplicating the Call-Response: Keep it simple! The call should feel connected to the response.
- Ignoring Dynamics: Ensure both parts have a clear dynamic difference. The call should be slightly softer, and the response should have more impact.
- Neglecting Rhythm Variation: Add variations in the response to maintain interest.
- Use Saturation strategically to add warmth to your bass and drums.
- Experiment with Low-Pass Filters; set the cutoff lower for a darker tone.
- Explore vocal samples for added texture in your melodies, enhancing the call-response feel.
---
3. Step-by-Step Walkthrough
Step 1: Setting Up Your Project
1. Open Ableton Live and set your BPM to around 170, the typical tempo for DnB.
2. Create a new MIDI track for your bassline and another for your melody.
Step 2: Crafting a Bassline
1. Select an empty MIDI clip on your bassline track and draw in 1 bar of MIDI notes:
- Use the C1 note for a solid and deep sound.
- Create a rhythmic pattern (e.g., C1 – C2 – C1 – pause).
2. Use Ableton's Operator:
- Select the Sine Wave for a smoother tone.
- In the Filter section, set to Low Pass with a cutoff around 130 Hz.
- Add some Saturation using the Saturator for thickness.
Step 3: Melodic Call
1. On your melody track, create a new MIDI clip with notes that create a “call”:
- Write a simple 2-bar melody in C Major (e.g., C4 – E4 – G4).
- Use Analog for sound design:
- Choose a Saw Wave for a bright texture.
- Use a High Pass Filter with a cutoff around 200 Hz to keep it bright and crisp.
2. Experiment with Reverb for depth. Set the size to 40%, decay to 2 seconds, and mix at 20%.
Step 4: Creating the Response
1. Add another MIDI clip in the same melody track for the “response.”
- Write a contrasting melody that harmonizes with your first melody (e.g., D4 – E4 – C4).
2. Use Chorus to add width to the response:
- Set the Depth to 30% and Rate to 2.0 Hz.
Step 5: Drums Layout
1. Create a new Audio Track for your drums or use a MIDI track with a drum rack.
2. Program a classic DnB beat:
- Kick on beats 1 and 3.
- Snare on 2 and 4.
- Hi-hats playing 1/16 notes with occasional ghost notes.
3. Use the Drum Buss effect for punch:
- Set the Drive to 3, and the Compression to 50%.
Step 6: Arranging
1. Structure your piece to emphasize the call-response dynamics:
- Intro: 1 bar of bass + 1 bar of call melody.
- Build: Introduce the response melody.
- Drop: Full drum implementation while alternating between call and response.
---
4. Common Mistakes
---
5. Pro Tips for Darker/Heavier DnB
---
6. Mini Practice Exercise
1. Create a 1-bar bassline pattern.
2. Write a contrasting 1-bar melody that interacts with the bassline.
3. Integrate a simple drum pattern. Play around with adding fills at the end of every fourth bar.
---
7. Recap
Today, you've learned how to harness the powerful call-response writing technique using stock plugins in Ableton Live. By layering melodic and rhythmic elements, you created a DnB loop that inherently speaks to itself—futuristic and fresh!
As you move forward, remember to experiment with different sounds and arrangements. Keep refining your call-response ideas to enhance your compositions.
Happy producing! 🎉

