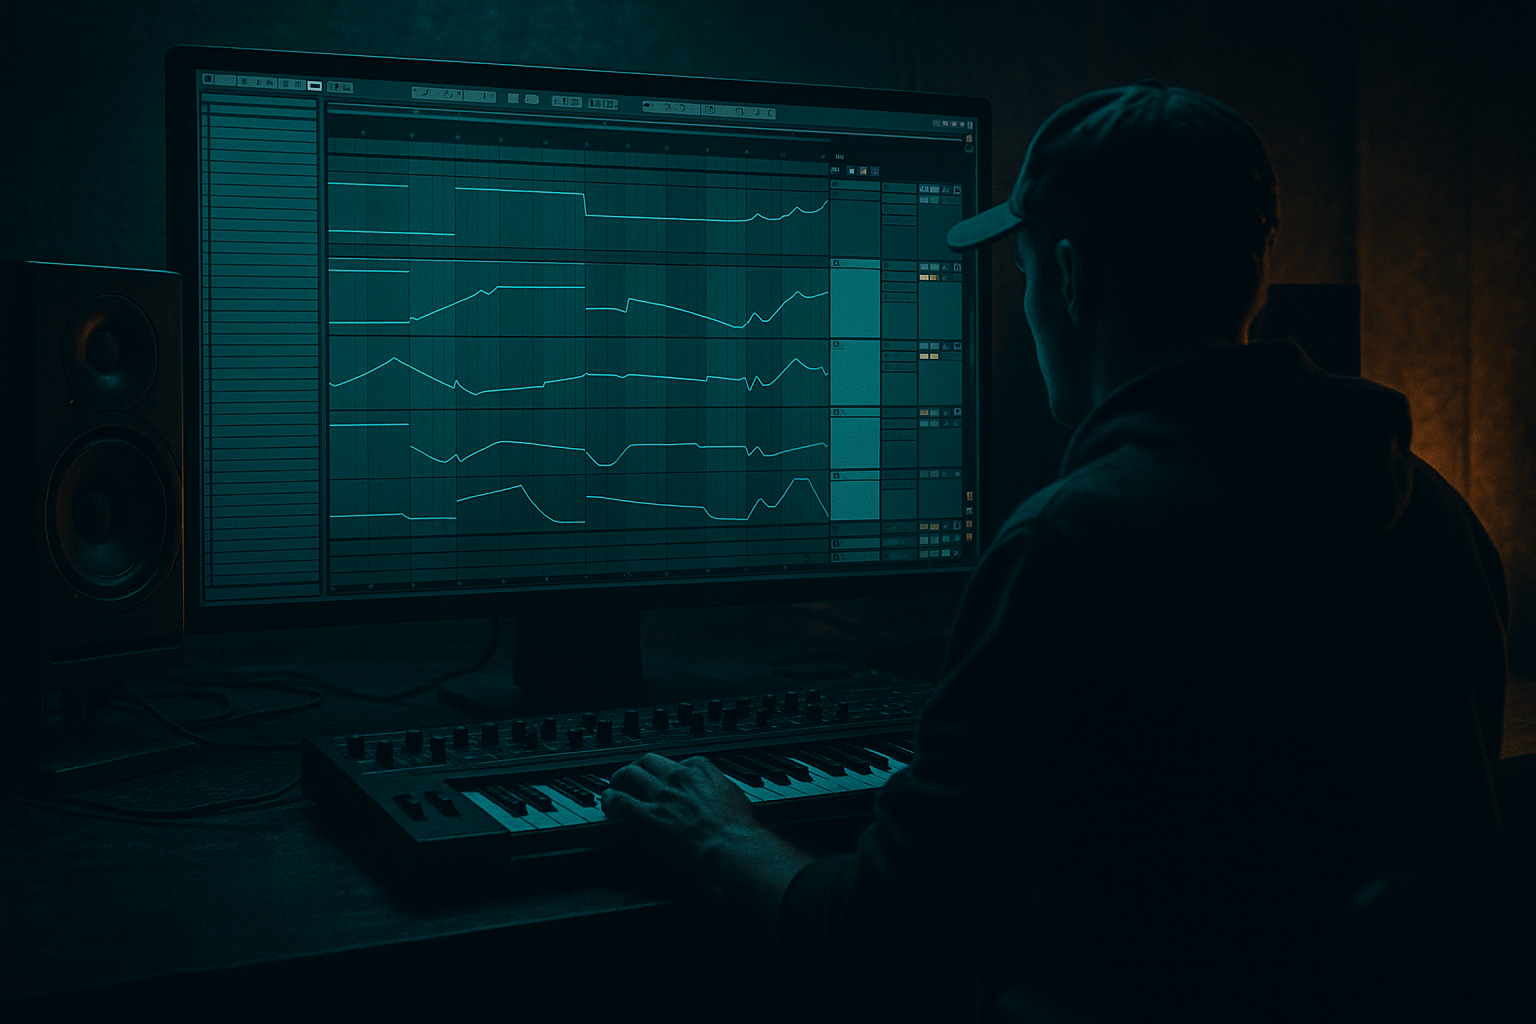
Main tutorial
Lesson Overview
This lesson is about building a DnB riser that actually earns the drop inside Ableton Live using stock tools. We are staying focused on FX design and transition energy, specifically a riser that creates tension, width, forward motion, and a clean handoff into the next section.
In Drum & Bass, a riser is not just “some noise going up.” It sits in the final 4, 8, or 16 bars before a drop, switch-up, or second-drop variation, and its job is to tell the listener and the DJ system that something important is about to happen. A good riser makes the section feel larger without masking your drums, washing out your bass entry, or turning the pre-drop into white-noise mush.
This matters musically because DnB lives on phrasing and payoff. If your riser is too weak, the drop feels smaller than it should. If it is too loud, too bright, or too busy, it steals impact from the first kick-snare hit. Technically, this is about frequency build-up, stereo management, automation shape, and arrangement timing.
This approach best suits dancefloor, neuro, and modern rollers where transitions need to feel deliberate and club-ready. It also works in liquid if you soften the aggression and shorten the spectral build.
By the end, you should be able to build a riser that sounds like a real pre-drop device: it starts controlled, grows in width and tension, lifts the perceived energy, and then gets out of the way so the drop hits harder. A successful result should feel like the room is being pulled upward and inward at the same time—tense, exciting, and clearly leading somewhere.
What You Will Build
You will build a layered DnB riser FX made from stock Ableton sources and processing, designed to live in the final 8 bars before a drop.
The finished result should have:
- a bright, noisy upper layer for air and lift
- a pitched tonal layer for musical ascent
- a controlled low-cut build so it adds energy without clouding the drop
- stereo growth that widens as the section approaches impact
- a clean final cutoff or suction into silence right before the drop
- Set Attack around 10–30 ms
- Set Release around 200–500 ms
- Keep Sustain high
- Put an Auto Filter after Operator
- Start the filter around 1.2 kHz
- Automate it up to around 10–14 kHz over the 8 bars
- Use 12 dB or 24 dB high-pass mode
- rise by 7 semitones for a restrained lift
- rise by 12 semitones for a classic full-octave rise
- keep the tonal layer low in level—usually 6 to 12 dB quieter than the noise layer
- Auto Filter high-pass from 300 Hz to 2.5 kHz
- Reverb with Decay 2.5–4.5 s
- Dry/Wet 15–30%
- Utility to narrow the start and widen the end
- A: Smooth octave rise — cleaner, more modern, better for dancefloor and liquid
- B: Dissonant 7-semitone or layered detuned rise — more tension, better for neuro or darker transitions
- EQ Eight
- Saturator
- Utility
- Limiter
- In EQ Eight, roll off below 180–250 Hz
- Add a gentle high shelf of 1–3 dB above 6–8 kHz if needed
- In Saturator, use light drive around 2–5 dB
- In Utility, automate gain up by about 1.5–3 dB over the riser
- In Limiter, only catch peaks; don’t squash the movement
- Start around 50–70%
- End around 120–140%
- a hard silence
- a suction effect
- a short washed tail that vanishes before impact
- Reverb
- Auto Filter
- Utility
- Increase Reverb Dry/Wet in the final bar from around 15% to 35–45%
- Automate Auto Filter low-pass downward fast in the last 1/4 to 1/2 bar
- Optionally automate Utility gain down by 3–inf dB right before the drop
- automate a faster filter opening in the last 2 bars
- add a short repeated noise stab every 1/2 beat in the last bar
- gate the tonal layer into 1/8 notes in the final bar
- automate a small volume pulse with Auto Pan set to phase for amplitude modulation only
- set Phase to 0
- set Amount 20–40%
- speed around 1/8 or 1/16
- automate it in only near the end
- Use EQ Eight and cut 2–4 dB where conflict appears
- If a vocal is present, dip the riser around 3 kHz
- If hats disappear, reduce the riser top shelf or automate the riser down 1–2 dB when hats intensify
- trim the start cleanly
- add a short fade in
- add a precise fade out before the drop
- reverse a small tail section if you want extra suction
- nudge timing by a few milliseconds if needed
- bars 1–6 of the pre-drop: riser builds gradually
- bars 7–8: width, brightness, and urgency increase more noticeably
- final half-bar: suction or cutoff
- bar 1 of the drop: no riser overlap on the first main impact unless it is a deliberate stylistic choice
- one “full” version for the main drop
- one shorter, less bright version for a mid-track switch or fakeout
- mute the riser and ask, “Does the build lose excitement?”
- then unmute it and ask, “Does the drop lose impact?”
- Use only Ableton stock devices
- Use exactly 2 source layers: one noise, one tonal
- The riser must start at bar 41 and end at bar 49
- Remove low end below at least 200 Hz
- The riser must cut or vanish before the first drop hit
- filter automation
- width automation
- one reverb-based final pull-in
- a clean end before the drop
- Does the final 8 bars feel more urgent with the riser on?
- Can you still hear your snare clearly?
- Does the drop hit harder because of the final cutoff?
- If you bypass the riser group, does the transition feel flatter?
Rhythmically, it should feel like a continuous tension device rather than a melody. Its role is to support the arrangement, underline bar phrasing, and increase anticipation.
It should be polished enough to sit in a near-finished arrangement: shaped, EQ’d, automated, and balanced against drums, sub, and lead elements. Not a random placeholder—something you could keep in the final track.
Success here means this: if you mute the riser, the pre-drop should feel flatter and less exciting. When it is on, the section should build naturally, but the actual drop should still feel bigger than the riser.
Step-by-Step Walkthrough
1. Set the transition target before you make the sound
First, decide exactly where the riser starts and where it resolves. In DnB, the most reliable format is an 8-bar riser into bar 1 of the drop, though 4 bars can work for tighter arrangements and 16 bars for cinematic intros.
In Arrangement View, mark the final 8 bars before your drop. If your drop lands at bar 49, your riser starts at bar 41. This matters because your automation curves, filter movement, and final tail all need to serve phrasing—not just exist in isolation.
Why this works in DnB: listeners are locked into strong 16- and 32-bar structures. A riser that follows exact bar phrasing reinforces that structure and makes the drop feel intentional, not accidental.
Context check: soloing the riser while you design it is fine, but keep returning to the full track. In DnB, FX are judged by how they push the section, not by how impressive they sound alone.
2. Build the core noise layer
Create a new MIDI track and load Operator. Set Oscillator A to Noise White. This gives you a controllable, stock noise source without needing a sample.
Now shape it:
This is your main “air lift” layer. The high-pass movement is critical. Instead of simply getting louder, the sound feels like it is climbing because the spectral center shifts upward.
What to listen for: you want the riser to feel like it is opening and accelerating, not just getting hissier. If the top end becomes painful early, your filter has opened too fast or your layer is too loud.
3. Add a tonal ascent so the riser has musical direction
Noise alone gives energy, but a tonal layer gives the ear something to follow. Create a second MIDI track with Wavetable or Operator. Use a simple waveform: saw or sine-plus-harmonics works well.
Program a single long MIDI note over 8 bars, then automate pitch upward. The cleanest stock approach is to automate the synth pitch or transpose the clip gradually if you prefer to commit later.
Useful targets:
Add processing:
This tonal layer should not become a lead. It is there to create a psychological sense of “upward arrival.”
A versus B decision point:
Choose A if the drop is already very busy. Choose B if the transition itself needs more drama.
4. Group the riser layers and create one master FX macro path
Select both riser tracks and group them. Now you can automate the whole riser as one object.
On the group, add this stock chain:
Chain 1: Group tension shaping
Suggested moves:
Why: grouping stops you from fighting two separate automations later. It also lets you shape the riser as a transition device rather than as individual sounds.
Workflow tip: color the group clearly and label it by function, not just “FX 7.” Something like “8bar Drop Riser.” When you revisit the arrangement later, you’ll know exactly what it is doing.
5. Add stereo growth, but protect mono focus near the drop
A common DnB move is making the riser widen over time. Done well, it feels like the track is expanding. Done badly, it makes the drop feel smaller because the pre-drop is already too wide and too loud.
Use Utility on the riser group and automate Width:
Then use a second Auto Filter or EQ Eight to keep the sides from getting harsh. If needed, tame a brittle zone around 7–10 kHz.
What to listen for: by the final 2 bars, the riser should feel bigger in the room, but the center should still feel available for the drop’s kick, snare, vocal, or lead stab. If the pre-drop already feels “maxed out,” your width automation is probably too extreme.
Important DnB context: because drops often hit with centered kick, snare, sub, and a more focused lead statement, your riser should expand the edges without stealing center authority.
6. Build the final pull-in using reverb and a cutoff move
This is where many risers become professional instead of generic. In the final half-bar or quarter-bar before the drop, you want either:
Create this with a dedicated send or direct chain.
Chain 2: Pre-drop suction / vanish
Method:
This makes the riser bloom, then disappear. The contrast is what makes the drop hit. The trick is timing: too early and you lose momentum, too late and the reverb smears over the first snare.
A strong starting point is muting or sharply fading the riser 1/16 to 1/8 note before the drop.
Stop here if the riser already creates enough tension and the transition reads clearly in context. More layers do not always mean more impact.
7. Add rhythmic punctuation in the last 2 bars
A sustained riser can feel flat if nothing changes in the final approach. Without leaving FX territory, add subtle rhythmic punctuation.
Options inside the riser group:
If using Auto Pan as a tremolo:
This gives the riser forward motion without turning it into percussion. In DnB, this kind of final tightening works well because the genre thrives on acceleration and bar-line pressure.
8. Carve space around drums and vocal elements
Now check the riser against the rest of the section. Bring back your drums, any pre-drop vocal, and any tonal pad or lead.
Three things to check:
1. Is the riser masking the snare body around 180–250 Hz?
2. Is it crowding vocal clarity around 2–5 kHz?
3. Is it making the hats feel smaller by overfilling the top end?
Ableton fixes:
This is where many producers overrate solo design and underrate arrangement. A good riser is not the brightest thing in the session. It is the thing that makes the drop feel expensive.
9. Print or resample the riser for tighter editing
Once the shape is right, consider committing it to audio. Resampling is useful because you can edit micro-fades, reverse tails, and exact pre-drop cutoffs faster in audio than with a stack of live automation.
Flatten the riser group or resample it to a new audio track. Then:
Commit this to audio if your CPU is climbing, if your automation is getting messy, or if you want absolute confidence in the transition timing. In real sessions, this is often the faster and cleaner move.
10. Place it in arrangement with DJ-friendly discipline
Now judge the riser not as a sound, but as a phrase. In DnB, your transition should support mixability and section readability.
A reliable arrangement example:
If this is a DJ-friendly intro or second build, don’t let your riser obliterate countability. The listener should still feel the bars. Too much wash makes transitions feel “produced” but less playable.
Successful result test: the final 8 bars should feel like they are lifting, the final beat should create expectation, and the first hit of the drop should sound larger because the riser got out of the way.
Common Mistakes
1. Making the riser too bright too early
If the top end is fully open by bar 2 of an 8-bar build, there is nowhere left to go. The section peaks too soon.
Fix in Ableton: slow the Auto Filter automation. Keep the high-pass or spectral opening more restrained until the final 2 bars, then increase the curve more steeply.
2. Letting low frequencies stay in the riser
Low-end in risers often muddies the pre-drop and weakens the first sub hit of the drop.
Fix in Ableton: use EQ Eight or Auto Filter to remove everything below roughly 180–250 Hz on the riser group. In heavier tracks, cut even higher if needed.
3. Using one static noise layer and calling it done
A flat white-noise sweep often sounds placeholder-level because it has no phrasing, tonal guidance, or end-shape.
Fix in Ableton: layer a tonal rise, automate width, and create a clear final cutoff or suction moment. Think in stages, not just one sweep.
4. Reverb washing into the drop
Long tails can blur the first kick, snare, and bass statement.
Fix in Ableton: automate Reverb Dry/Wet and the channel gain down before the drop, or resample and hard-trim the tail. Use a shorter decay if the drop entry is dense.
5. Over-widening the riser
If the build gets extremely wide, the drop may feel narrower even if the drop itself is strong.
Fix in Ableton: automate Utility Width more conservatively, and compare the final pre-drop bar against the first drop bar. If the drop feels smaller, reduce width or level in the riser.
6. Making the tonal layer act like a melody
If the pitch rise is too loud or too distinct, the ear latches onto it as a lead instead of reading it as tension.
Fix in Ableton: lower the tonal layer, high-pass it more aggressively, and increase reverb so it blends into the riser rather than sitting in front.
7. Not checking the riser with drums playing
A riser that sounds huge in solo can trample the snare crack or hat energy in context.
Fix in Ableton: loop the final 8 bars with full drums on. Use EQ Eight to carve around snare and top percussion zones, and automate level if the last bar gets crowded.
Pro Tips
Use different automation curves for different functions. Pitch can rise linearly, but filter opening often feels better with a slow start and faster end. Volume usually wants a gentler curve than either. That contrast creates a more natural build.
If your track is already harmonically dense, make the tonal riser follow the key center loosely rather than tracking chord changes. In DnB transitions, stable tension is often better than harmonic complexity.
For a more aggressive neuro-style lift, duplicate the tonal layer, detune one copy very slightly, then high-pass both hard and keep them quiet. The beating between them adds stress without turning into a lead.
For cleaner arrangement control, create two riser versions:
This keeps your biggest transition feeling reserved for the most important moment.
If the riser is fighting a vocal phrase, let the vocal own the center and push the riser outward. In Ableton, that usually means a small midrange EQ dip and a slightly wider Utility setting later in the build.
A subtle Saturator on the group often helps the riser read on smaller speakers. It adds harmonics so the build still feels present on earbuds or laptops, even if the real excitement is on a club system.
When in doubt, compare two mute tests:
A great riser improves the first answer without harming the second.
Mini Practice Exercise
Goal: Build one 8-bar DnB drop riser that creates clear tension and exits cleanly before impact.
Time box: 15 minutes
Constraints:
Deliverable:
One grouped riser in your arrangement with:
Quick self-check:
If you can answer yes to all four, the exercise worked.
Recap
A proper DnB riser is an FX transition tool, not just noise going upward.
Keep it locked to phrasing: usually 4, 8, or 16 bars.
Layer noise for lift and tone for direction.
Automate filter, width, and level so tension grows in stages.
Cut the lows so it does not weaken the drop.
Use a final suction, fade, or silence moment so the first impact lands clean.
Always judge the riser against the full track, especially drums and drop entry.
If it builds excitement, stays out of the way, and makes the drop feel bigger, you nailed it.

