Main tutorial
Lesson Overview
In this lesson, you’ll build a carved top loop: a chopped, atmospherically treated loop that sits above the kick, snare, and bass in a jungle / oldskool DnB track without muddying the drop. The goal is not to make a full breakdown pad or a busy melodic lead — it’s to create a moving upper texture that feels like it came from a dusty sampler, a dubplate, or a haunted tape loop.
This technique lives in the top end of the arrangement: intro, build, drop support, and especially those moments where the drums and bass are doing the main work but the track still needs a sense of history, depth, and motion. In oldskool jungle and deeper DnB, a top loop can turn a simple drum section into something cinematic and unmistakably atmospheric.
Why it matters musically and technically:
- Musically, it gives your track identity and “world.”
- Technically, it fills the upper-mid space without stealing the sub or the snare.
- In a club context, it helps the track feel alive during long DJ transitions and stop-start arrangement sections.
- a dusty, atmospheric character
- a tight rhythmic chop that works with jungle breaks
- a carved frequency shape so it doesn’t clash with kick, snare, or bass
- a controlled stereo width that stays usable in mono
- enough polish to sit in a drop or intro without sounding unfinished
- Darken the source before you add space. A filtered sample with a little grit often sounds more expensive than a bright sample buried in reverb. In Ableton, use Auto Filter before Echo or Reverb so the ambience inherits the darkness.
- Let the loop “lean” rather than flood. If the track already has a strong break and bassline, the top loop should occupy the edges of the groove. Keep the center clear so the kick, snare, and sub can punch.
- Use slight timing contrast for menace. A loop that lands just before or just after the snare can create tension without sounding off-grid. Even a tiny nudge can make the rhythm feel more human and more sinister.
- Keep stereo width out of the low mids. If the loop has stereo ambience, protect the core with Utility or a high-pass before widening. Wide top air is useful; wide muddy mids are not.
- Resample a version with intentional degradation. If the loop feels too clean, bounce it and process the printed audio with light saturation or filtering. Resampling often gives you that worn, sampled feel that belongs in jungle.
- Use one “dry truth” layer and one “wet ghost” layer. The dry layer carries rhythm; the wet layer carries atmosphere. Keep the wet layer quieter so it supports rather than smothers.
- Build tension with subtraction. In heavier DnB, removing one chop before a drop can hit harder than adding a fill. Silence around the loop is part of the impact.
- Use only one sampled source
- Use only Ableton stock devices
- Keep the loop to 1 or 2 bars
- Use no more than three processing devices on the main version
- a clear chop pattern
- high-passed low end
- one atmospheric effect
- one variation for a later section
This suits jungle, oldskool DnB, dark rollers, and dubby atmospheric DnB best. By the end, you should be able to hear a loop that feels grainy, tense, and rhythmically locked, with enough movement to carry a section but not so much that it fights your drums. A successful result should feel like a ghostly top layer that breathes with the groove, not a melody pasted on top.
What You Will Build
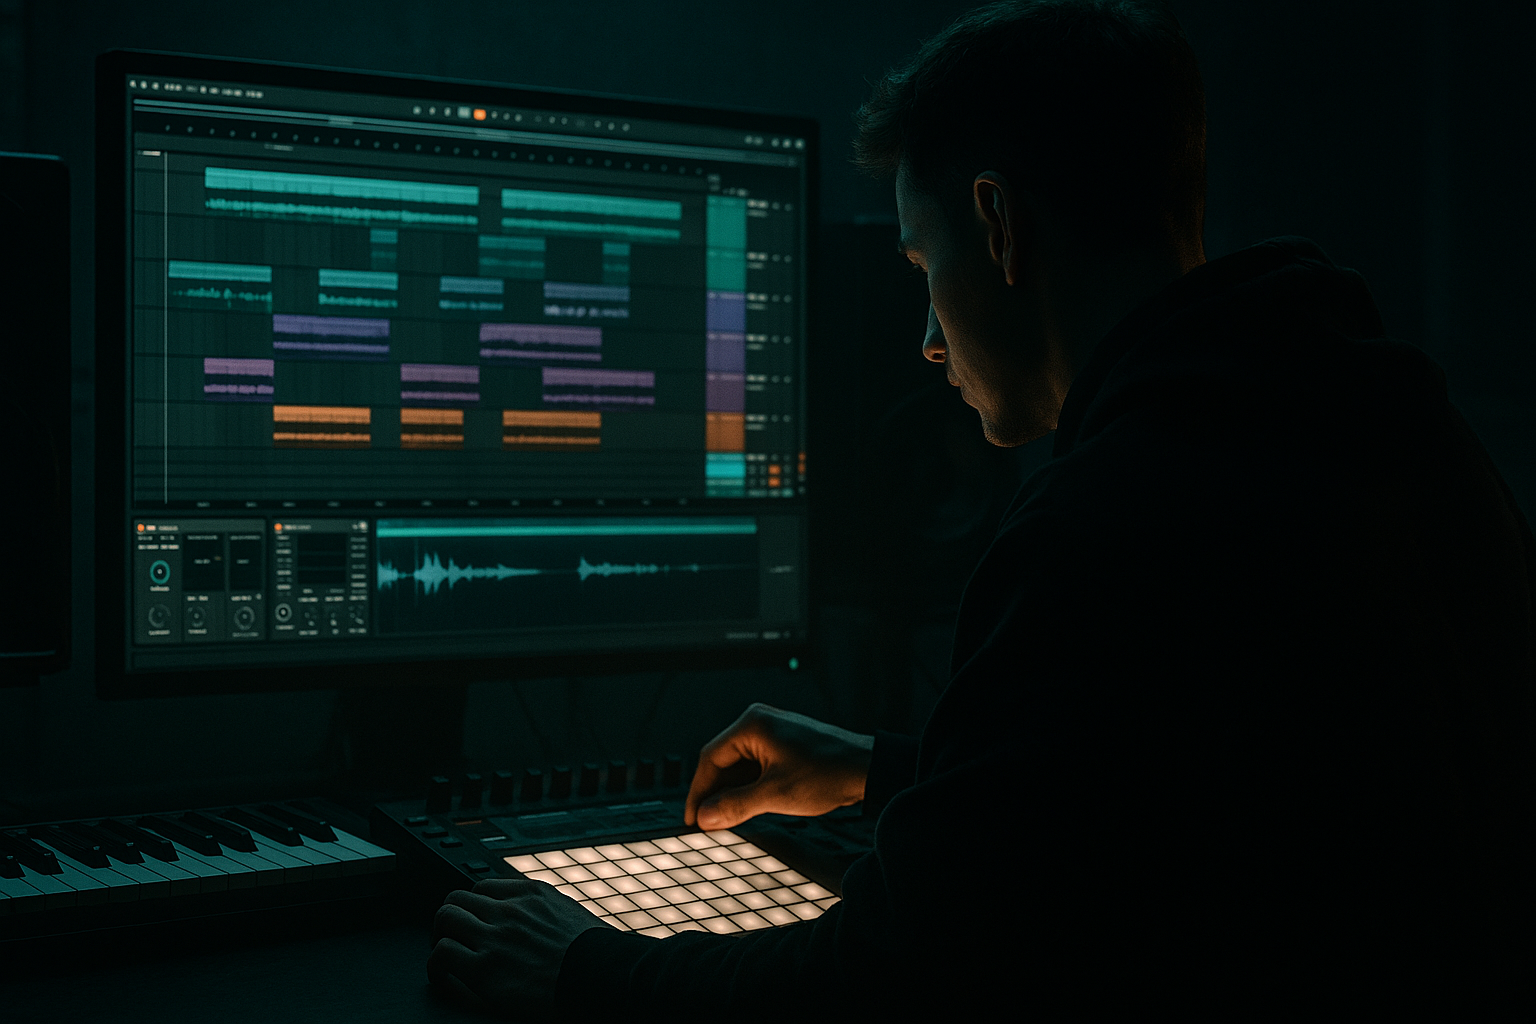
You’ll build a short sampled top loop in Ableton Live 12 that has:
The finished loop should feel like a mysterious texture with rhythmic intent: a chopped sample, filtered and shaped, with a little movement from time-based or modulation processing. It should be mix-ready enough to sit under a drum break and bassline, but still raw enough to feel authentic.
Success means: when you mute it, the track feels flatter; when you unmute it, the groove gains depth and atmosphere without losing punch.
Step-by-Step Walkthrough
1. Choose the right source: short, characterful, and not too musical
Start with a sample that already has texture. In a jungle context, that could be:
- a dusty vocal phrase
- a few bars from a soul or soundtrack break
- an old film texture
- a percussion-and-noise section from a break
- a washed-out instrumental fragment
For a beginner, the easiest win is a sample that already contains air, hiss, room tone, or a grainy tail. You do not want a bright clean choir hit or a full chord progression unless you plan to heavily carve it.
Drag the sample into an audio track in Ableton and listen for 5–10 seconds. If it has a strong low end, it can still work, but you’ll need to cut more aggressively later. If it has a clear rhythmic pulse or spoken phrase, even better: that gives you natural chop points.
What to listen for:
- A texture that stays interesting when looped
- No obvious sub-bass that will fight your kick and bass
- A tone that feels “old,” “wet,” or “dusty”
2. Trim the sample into a usable loop section
In Ableton’s Clip View, find a section that lasts around 1 to 2 bars. For jungle and oldskool DnB, loops often work best when they are short enough to repeat but long enough to feel human. If the sample has a phrase, choose a portion with a clear rise, fall, or ending that can be cut into a loop.
Warp it only if necessary. If the sample already sits well at your project tempo, don’t over-process it. If you need to align it, use a simple warp mode and make sure the transients still feel natural.
A good starting point:
- loop length: 1 bar or 2 bars
- keep a little tail if it sounds musical
- avoid making the loop start on a dead-sounding moment
Why this works in DnB:
Jungle and oldskool drum programming already creates a lot of motion. A top loop should support that motion, not add a giant new event every bar. Short, repeatable loops feel authentic because they behave like sampled fragments from the era.
3. Chop the loop into rhythmic slices
Now turn the sample into something that behaves rhythmically. You can do this in two beginner-friendly ways:
Option A: Keep it in one audio clip and use manual cut points
This is simplest if the loop already has good timing. Split the clip at useful spots and rearrange the slices into a repeating pattern.
Option B: Load it into Simpler and play with slices
Put the sample into Simpler and switch it to slice behavior if you want a more performable, chopped feel. This is ideal if the sample has multiple usable transient points or vocal syllables.
For a beginner, Option A is usually faster. Use a pattern like:
- a held texture on beat 1
- a shorter cut before beat 3
- a little tail or pickup into the next bar
Aim for a loop that creates syncopation, not constant motion. If every slice is busy, the atmosphere becomes clutter.
What to listen for:
- Does the loop leave space for the snare?
- Do the chop points feel like they “answer” the drums?
- Is the rhythm recognisable after 2–3 repetitions?
4. Carve out the low end first
Before any fancy effects, remove the parts that will ruin your mix. Insert EQ Eight on the loop and shape it like this:
- high-pass around 120–250 Hz depending on the source
- if it is muddy, pull a little around 250–450 Hz
- if it sounds boxy, test a narrow cut around 500–800 Hz
Don’t high-pass blindly until the loop sounds tiny. The goal is to keep the presence and texture, not the weight.
If the loop contains too much low-mid bloom, the drums will lose definition and the bassline will stop feeling clean. In jungle, the kick and sub are sacred; the top loop must respect them.
Mix-clarity note:
If the loop has stereo room or wide reverberation, check it in mono. If it vanishes or gets phasey, reduce width later with Utility or simplify the processing chain.
5. Create the oldskool atmosphere with simple stock processing
Now give the loop that dusty, deep jungle edge using a stock Ableton chain. Two very usable chains:
Chain 1: EQ Eight → Saturator → Echo
- EQ Eight: keep the high-pass in place
- Saturator: try 2–6 dB of Drive, then back it off if the transients get too sharp
- Echo: low feedback, subtle mix, short delay times for space rather than obvious repeats
This chain adds grit and depth without making the loop too glossy.
Chain 2: Auto Filter → Drum Buss → Reverb
- Auto Filter: low-pass or band-pass to darken the source
- Drum Buss: use lightly for crunch; don’t crush it
- Reverb: small-to-medium space, short decay, low mix
This chain is better if you want the loop to feel like it came from a sample stack or a worn tape layer.
A versus B decision point:
- Choose Chain 1 if you want a loop that stays more rhythmic and sharp.
- Choose Chain 2 if you want a darker, more submerged, haunted texture.
6. Shape the envelope so it locks to the drums
A top loop in DnB often sounds wrong because its note lengths are too long. Tighten the tail.
If you’re using Simpler, shorten the volume envelope or use the sample start/end carefully. If you’re staying in audio, use clip fades or split the audio and trim tails manually.
Suggested ranges:
- short stab-like slices: 50–200 ms
- medium atmospheric hits: 200–600 ms
- longer haze tails: only if they’re tucked well behind the snare
Your loop should leave room for the snare crack and the break transient. In jungle, the top loop often works best when it feels like it’s “breathing between” the drum hits rather than sitting on top of them.
What to listen for:
- Does the snare still hit forward?
- Does the loop disappear slightly when the drums hit hard, then return between hits? That’s a good sign.
7. Add motion without turning it into a full pad
Use movement carefully. You want atmosphere, not a wash that destroys the loop’s rhythm. Good stock-device options:
- Auto Filter automation for slight opening and closing
- Echo with very subtle modulation or short feedback
- Chorus-Ensemble very lightly if the sample is too static
- Reverb automation on selected phrases only
Keep movement small:
- filter movement in the range of roughly 200 Hz to 6–8 kHz depending on brightness
- reverb mix typically low, often under 15–20%
- if using saturation or distortion, keep it stable rather than modulating everything at once
A good rule: let the loop evolve every 4 or 8 bars, not constantly every beat. That keeps it usable in a club arrangement and prevents ear fatigue.
8. Check the loop in context with drums and bass
This is the point where you stop hearing a loop and start hearing a track. Play it with your kick, snare, break, and bassline.
Ask two specific questions:
- Does the loop leave the snare’s transient intact?
- Can you still read the bassline note movement without the top loop making the whole mix feel smaller?
If the answer is no, fix the loop instead of hoping the mix will solve it later. Try:
- reducing gain by 2–4 dB
- narrowing the stereo image with Utility
- cutting more low-mid around 300–500 Hz
- shortening the decay or tail
Stop here if the loop already creates the right mood and the drums still punch. At this stage, a simple, controlled loop is better than a “clever” one that smears the mix.
9. Make it DJ-friendly and arrangement-ready
Place the loop so it supports the track structure, not just the 8-bar jam. A strong jungle top loop often works in three ways:
- Intro: filtered and sparse, hinting at the sample before the drop
- Drop support: tucked under the break for tension and continuity
- Second-drop evolution: a slightly more open or chopped version to keep the energy moving
A practical arrangement example:
- bars 1–8: loop filtered low, minimal slices
- bars 9–16: full loop enters with drums
- bars 17–24: remove one chop every 4 bars so the groove breathes
- bars 25–32: introduce a variation with a reversed slice or one extra tail for payoff
This keeps the track DJ-usable because the loop gives the intro and drop a recognizable identity without making every section feel crowded.
10. Print it if the sound is working
If you’ve found a version that hits the right mood, commit it to audio. This is especially useful in sample-based jungle work because it forces decisions and stops you from endlessly tweaking EQ and filter shapes.
In practical terms:
- once the loop feels right with drums and bass, bounce or freeze/flatten the track
- keep the audio clip organized and named clearly
- duplicate the track if you want a second version with a different filter or more space
This also makes it easier to create a call-and-response version later. One track can be the dry, rhythmic loop; the other can be the more washed-out echo layer used only at transitions.
11. Create a variation for the second half of the tune
Don’t leave the loop identical for the full track. After 16 or 32 bars, make a small change:
- drop one slice out
- shift a chop slightly earlier or later
- open the filter a little more
- add a reversed tail into the next phrase
The point is not to rewrite the idea, but to make the listener feel section change. Oldskool DnB thrives on recognisable loops that evolve just enough to keep the momentum alive.
If the original loop is the “main character,” the variation is the “scene change.” That’s enough to keep the track moving without losing its identity.
Common Mistakes
1. Leaving too much low end in the sample
Why it hurts: it fights the kick and bass, making the whole track feel smaller and less punchy.
Fix: use EQ Eight to high-pass the loop around 120–250 Hz, then check whether the bassline becomes clearer immediately.
2. Making the loop too busy
Why it hurts: jungle already has dense rhythmic information; a cluttered top loop removes the feeling of swing and impact.
Fix: remove one or two slices, or only let the loop play on selected bars instead of constantly.
3. Using too much reverb
Why it hurts: the loop turns into fog and loses its rhythmic function. In DnB, atmosphere still needs timing.
Fix: shorten decay, lower mix, or automate reverb only on transition moments.
4. Ignoring mono compatibility
Why it hurts: a wide, phasey loop may sound exciting in headphones but disappear or smear in clubs.
Fix: use Utility to reduce width, or check the loop in mono and simplify the stereo effects.
5. Letting the loop clash with the snare
Why it hurts: if the loop occupies the same transient space as the snare, the drop loses authority.
Fix: trim the loop envelope, move chop points away from the snare, or cut a little around the upper mids where the snare crack lives.
6. Over-saturating the sample
Why it hurts: distortion can be great, but too much turns texture into harshness and masks detail.
Fix: back off Saturator drive, and if needed use a small EQ cut after it to tame harsh upper mids.
7. Not varying the loop across the arrangement
Why it hurts: the idea gets stale after 8 or 16 bars, and the track stops feeling like a record.
Fix: create at least one alternate version with a filter change, extra tail, or missing slice for later sections.
Pro Tips for Darker / Heavier DnB
Mini Practice Exercise
Goal: Build one usable jungle top loop that can sit over a break and bassline without muddying the mix.
Time box: 15 minutes
Constraints:
Deliverable:
A looped top layer with:
Quick self-check:
Play it with drums and bass. If the snare loses impact, reduce the loop level or shorten the tails. If the loop feels too static, remove one slice and automate a small filter movement over 4 bars.
Recap
A strong jungle top loop is sampled atmosphere with rhythm discipline. Keep the source characterful, chop it into a short repeatable pattern, carve out the low end, and add movement only as needed. In DnB, the best top loops support the drums and bass instead of competing with them. If it feels dusty, tense, and alive — while the snare still cracks and the sub still reads clearly — you’ve built it right.

