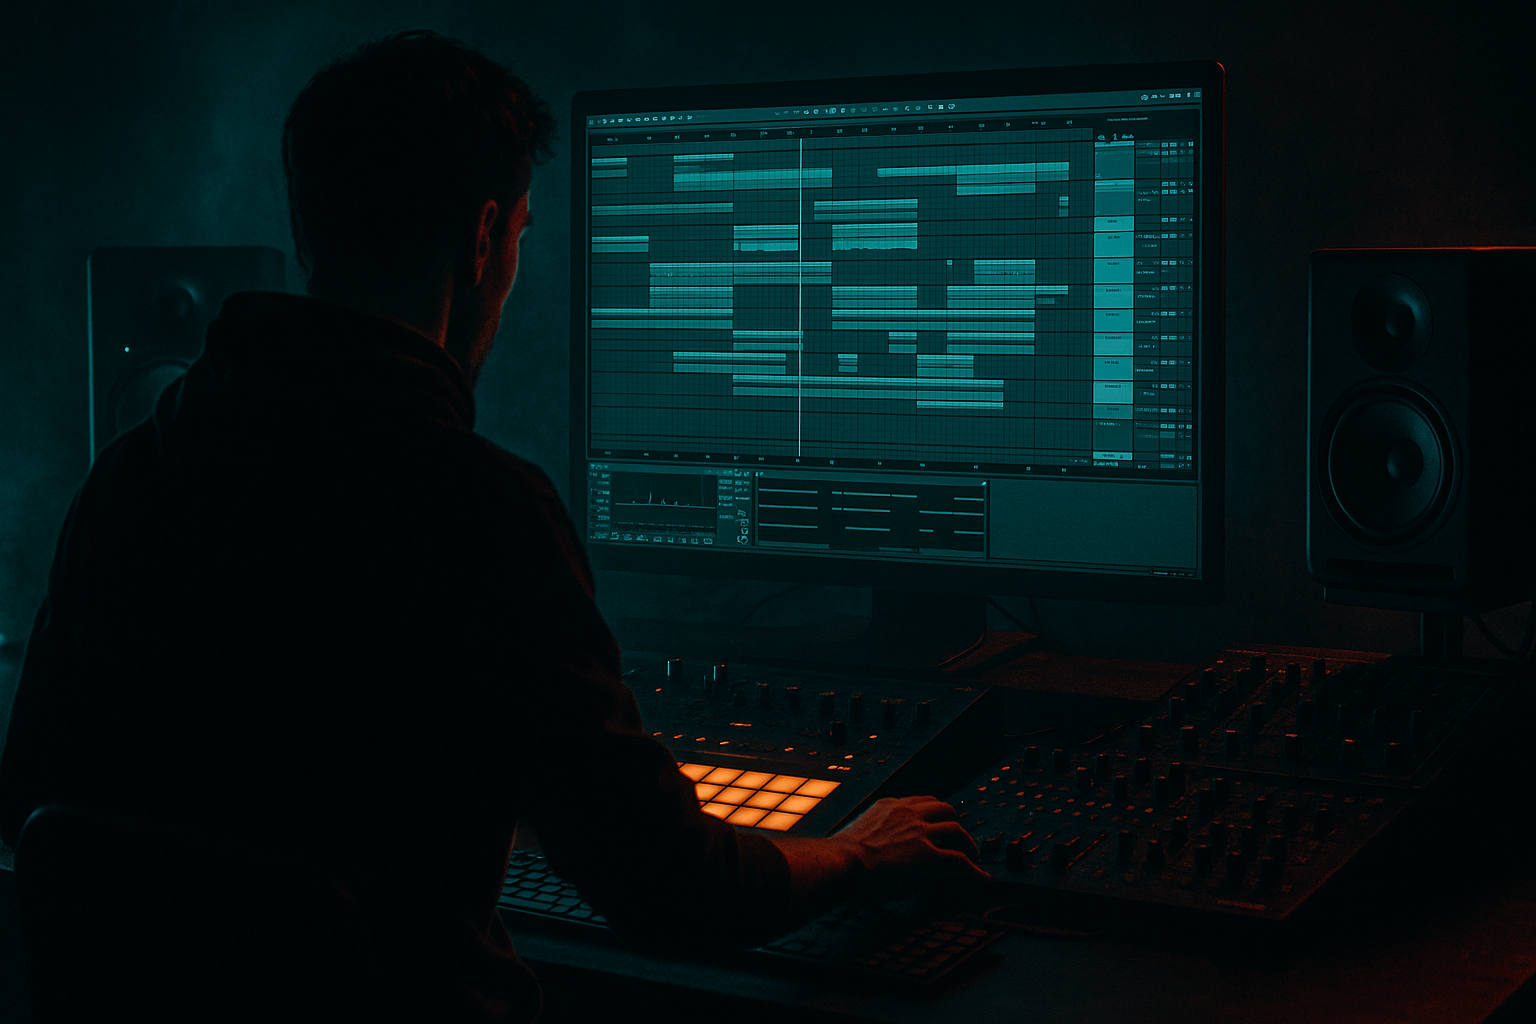
Main tutorial
Carve an Amen-style vocal texture with an automation-first workflow in Ableton Live 12
1. Lesson overview
In this lesson, you’ll build a dark, chopped vocal riser texture inspired by Amen breaks, jungle atmospheres, and rolling DnB tension — but with a modern automation-first workflow in Ableton Live 12.
Instead of starting with a huge chain of effects, we’ll start with:
- a short vocal chop
- careful envelope shaping
- automation on filters, pitch, reverb, and time-based effects
- a layered build that turns a simple vocal into a rising, tense transition element
- build-ups into drops
- 8- or 16-bar transitions
- tension behind snares and fills
- old-school jungle atmosphere with modern clarity 🔥
- EQ Eight
- Auto Filter
- Warp
- Reverb
- Delay
- Saturation / distortion
- Pitch automation
- Filter cutoff automation
- Reverb size / decay automation
- Dry/Wet automation on delay
- Optional frequency shifting / chorus-style widening
- starts tucked into the mix
- becomes increasingly tense
- opens up right before the drop
- feels like a natural part of a DnB arrangement
- a short spoken phrase
- a breathy sung note
- a chopped vocal stab
- an old acapella fragment
- a rough spoken-word sample
- midrange-heavy
- slightly noisy or textured
- short enough to loop cleanly
- emotionally ambiguous or eerie
- a strong attack
- a clear vowel sound
- no huge room reverb baked in
- Warp: On
- Warp mode: `Complex Pro` for smooth pitch/time manipulation
- Transient envelope: keep fairly natural
- Formants: preserve unless you want a more unnatural sound
- Beats mode
- `Preserve` around 1/16 or 1/8
- use Complex Pro
- adjust Formants slightly downward for a darker result
- short phrase
- reverse tail
- stuttered repeat
- filtered swell
- Set Gain so the vocal isn’t too hot
- If the sample is stereo and messy, try Mono temporarily to focus it
- Use Width sparingly if the vocal is meant to feel centered and tense
- High-pass around 120–250 Hz
- Dip harsh resonances around 2.5–5 kHz if needed
- Add a small shelf boost above 8–10 kHz only if the source is too dull
- remove low-end clutter
- leave the vocal midrange present
- avoid making it too shiny too early
- Filter type: Low-pass
- Slope: 12 dB or 24 dB
- Resonance: moderate, around 15–35%
- around 300–800 Hz depending on the sample
- Drive: 2–6 dB
- Soft Clip: On
- Color: slightly darker if the vocal is too bright
- push the drive harder
- use a slightly clipped, crunchy feel
- keep drive subtle
- use it mainly for harmonics
- Decay: 2.5–6 seconds
- Size: medium to large
- Pre-delay: 10–25 ms
- Low Cut: 200–400 Hz
- High Cut: 5–8 kHz
- keep reverb low-cut quite high
- don’t let it cloud the kick/snare region
- Time: 1/8, 1/8D, or 1/4 depending on the groove
- Feedback: 15–35%
- Filter: band-pass or low-pass
- Dry/Wet: automate from low to higher near the transition
- sync the delay to the groove
- automate feedback during the final bar
- Auto Filter cutoff
- Auto Filter resonance
- Reverb dry/wet
- Reverb decay
- Echo dry/wet
- Echo feedback
- Saturator drive
- Clip gain or track volume
- Optional: pitch shift
- vocal is low in the mix
- filter is closed
- reverb is subtle
- delay is barely audible
- open the filter a little
- increase reverb dry/wet slightly
- add a touch more saturation
- bring in a short delay echo
- open the filter more aggressively
- increase reverb size/decay
- raise delay feedback slightly
- automate volume upward by a few dB
- filter opens wide
- reverb blooms
- delay trails become more obvious
- final note or syllable gets pitch-risen or stretched
- last beat drops out or hard-cuts into the drop
- Auto Filter cutoff: from ~500 Hz up to 8–12 kHz
- Reverb dry/wet: from 10–20% up to 35–60%
- Echo feedback: from 10–15% up to 30–45%
- Saturator drive: from 2 dB up to 5–8 dB
- Track volume: ramp up 1–4 dB
- Transpose upward by 1–12 semitones
- use subtle steps at first
- increase faster near the drop
- Bar 1: 0 semitones
- Bar 2: +2 semitones
- Bar 3: +5 semitones
- Bar 4: +7 to +12 semitones
- change start points
- automate filter
- pitch individual slices by interval
- tiny shifts can create unease
- automate the Fine control for detuned movement
- keep it subtle to avoid chaos unless that’s the goal
- slice the vocal to 1/16 or 1/32
- repeat the same vowel on off-beats
- leave space around the snare
- let the vocal answer the break
- ghost snares
- syncopated hats
- rolling bass gaps
- long decay
- high-pass filter
- some modulation if needed
- send amount
- or the return track’s dry/wet if needed
- filtered
- moderate feedback
- tempo sync
- keep control
- avoid clutter
- automate transition energy cleanly
- 8 bars before drop
- 4 bars before drop
- last 2 bars before a fill or drum break
- Bars 1–4: vocal texture enters quietly
- Bars 5–8: automation builds
- Bar 7: snare fill increases tension
- Bar 8: vocal blooms and cuts out right before the drop
- reverse crash
- impact hit
- sub drop
- snare fill
- riser noise layer
- muddy low mids
- harsh 3–5 kHz buildup
- too much reverb cloud
- delay repeats masking the snare
- EQ Eight after reverb/delay if needed
- Compressor sidechained lightly to kick/snare if the vocal is stepping on the groove
- Utility for stereo width control
- Limiter only if you need to catch peaks
- filtered white noise
- vinyl crackle
- amen break ambience
- reverse cymbal
- low resonance during the early build
- more resonance only in the final bar
- Compressor with sidechain input from kick or drum bus
- subtle settings, not EDM pumping
- edit the tail
- reverse sections
- layer extra processing
- create a more unique transition element
- EQ Eight
- Auto Filter
- Saturator
- Reverb
- Echo
- automation
- The vocal must start subtle
- The filter must open over time
- Reverb must grow gradually
- Echo should become noticeable only near the end
- The final bar must feel ready to hit the drop
- pitch automation up 5 semitones
- reverse the last chop
- resample the whole result and re-edit it
- Does the riser support the break?
- Does it add tension without muddying the drums?
- Does the final bar create anticipation?
- filter movement
- reverb bloom
- delay buildup
- pitch rise
- volume tension
- rhythmic
- gritty
- atmospheric
- integrated with the breakbeat
- perfect for jungle, rolling DnB, and darker bass music
This is a great technique for:
The goal is to make the vocal feel like it’s breathing, stretching, and getting pulled upward into the drop.
---
2. What you will build
You’ll create a 2-part riser texture:
Layer 1: The vocal core
A chopped vocal sample processed with:
Layer 2: The movement layer
Automation-driven motion using:
Final result
A gritty, evolving Amen-style vocal rise that:
---
3. Step-by-step walkthrough
Step 1: Choose the right vocal source
For this style, don’t use a polished lead vocal. You want something with character:
Best source traits:
If you’re making jungle/DnB, even a single word can work if it has attitude.
Practical tip
Use a vocal that has:
That gives you more control in Ableton Live 12.
---
Step 2: Put the vocal on its own audio track
Create a dedicated audio track and drop the sample in.
Warp settings
Open Clip View and set:
or `Beats` if it’s a very percussive vocal chop
If the sample is short and rhythmic, experiment with:
If it’s more tonal or atmospheric:
DnB mindset
You want the vocal to feel like a texture inside the rhythm, not a pop vocal floating over it.
---
Step 3: Chop the vocal into a usable texture
If the vocal is long, cut it down to a 1-bar or 2-bar phrase with interesting syllables.
Try this approach:
1. Split the vocal into tiny pieces.
2. Keep only the most musical consonants and vowels.
3. Leave small gaps for rhythm.
4. Duplicate a few slices for consistency.
Good Amen-style texture pattern
A common vibe is:
You can also use Clip Envelopes to make tiny volume dips and ramps if you want the slice to feel more alive.
---
Step 4: Build the base device chain
Here’s a practical stock Ableton chain that works well in Live 12:
Suggested chain
1. Utility
2. EQ Eight
3. Auto Filter
4. Saturator
5. Reverb
6. Echo
7. Limiter or Glue Compressor if needed
Let’s shape each one.
---
Utility
Use this first to manage gain.
---
EQ Eight
Clean up the sample before the effects bloom.
Typical starting points:
For darker DnB, often you’ll:
---
Auto Filter
This is your main motion tool.
Set:
Start with the cutoff fairly low:
Then automate it upward over the riser.
#### Why this matters
A rising filter cut-off gives you that classic tension ramp without needing a huge amount of extra processing.
---
Saturator
Use this for grit and density.
Try:
If you want it more jungle/raw:
If you want cleaner modern DnB:
---
Reverb
Use Ableton’s Reverb device or Hybrid Reverb if you want a more detailed space.
Start with:
For dark DnB:
A reverb tail that grows over time is a classic build trick. ✨
---
Echo
Use this for rhythmic smear and tension.
Settings to try:
If you want a more broken-jungle feel:
---
Step 5: Use automation as the main performance tool
This is the key idea of the lesson: automation-first workflow.
Don’t think of the effect chain as static. Treat it like a live performance.
Primary automation targets
Automate these in the Arrangement View:
---
Step 6: Draw a 4-bar riser automation shape
Let’s build a simple but effective 4-bar rise.
Bar 1
Bar 2
Bar 3
Bar 4
#### Practical automation ranges
These are starting points, not rules:
---
Step 7: Add pitch movement for tension
Pitch automation is a huge part of vocal risers in DnB and jungle.
Option A: Clip transposition
In the clip, automate or manually adjust:
Try:
Option B: Simpler / Slice mode
If you’re using a chopped vocal in Simpler, you can:
This gives a more broken, classic jungle feel.
Option C: Frequency Shifter
For darker tension, use Frequency Shifter:
---
Step 8: Make it feel “Amen-style” with rhythmic chopping
To connect the vocal to Amen aesthetics, make it feel rhythmically broken and syncopated.
Ways to do that:
Try aligning chops so they interact with:
Good jungle trick
Place a vocal chop just before the snare or just after it so it feels like a call-and-response with the break.
---
Step 9: Use return tracks for easier automation
A cleaner workflow is to keep the dry vocal track relatively stable, and push movement via returns.
Return A: Long reverb
Use Reverb or Hybrid Reverb with:
Automate:
Return B: Echo dub
Set up Echo for dub-style repeats:
This lets you automate the send amount instead of overprocessing the source track.
Why this is useful
In DnB, the arrangement gets dense. Returns help you:
---
Step 10: Arrange the riser in context
A riser only works if it supports the arrangement.
Common DnB placement
Example arrangement idea
You can also pair it with:
Important
The vocal should not fight the snare fill or the drop intro. Leave room for the drums to punch.
---
Step 11: Add the final polish
Once the automation is working, do a final check.
Listen for:
Final cleanup tools
---
4. Common mistakes
1. Making the vocal too wet too early
If the reverb is huge from the start, the rise loses impact.
Fix: keep the first bars dry and automate the space upward.
---
2. Over-brightening the texture
A vocal that’s too shiny often sounds less sinister and more pop.
Fix: use low-pass filtering and high-cut the reverb/delay.
---
3. Ignoring the drum arrangement
A riser that sounds cool solo can fail in context if it masks the snare or fills.
Fix: build it while the Amen break or drum loop is playing.
---
4. Too much pitch movement
Huge pitch jumps can sound cheesy if they’re not controlled.
Fix: use gradual steps or subtle semitone changes.
---
5. No contrast before the drop
If everything is already huge, the drop won’t feel big.
Fix: automate down sections too. Let the riser emerge from restraint.
---
5. Pro tips for darker/heavier DnB
Tip 1: Keep the vocal midrange-focused
For darker DnB, don’t overextend the highs. The vocal should feel like a ghost in the break, not a polished lead.
---
Tip 2: Layer with noise or break texture
Blend the vocal with:
This gives the riser more grit and motion.
---
Tip 3: Use resonance carefully
A little resonance on Auto Filter can make the texture scream in a cool way. Too much becomes painful fast.
Try:
---
Tip 4: Sidechain the vocal to the kick/snare lightly
In heavy rolling DnB, the vocal texture should breathe with the groove.
Use:
---
Tip 5: Resample your automation
Once the movement sounds good, resample the riser to audio.
This lets you:
This is a very DnB-friendly workflow because it turns a complex effect chain into a playable audio asset.
---
6. Mini practice exercise
Exercise: Build a 4-bar Amen-style vocal rise
#### Your task
Take a vocal chop and make a 4-bar transition using only:
#### Constraints
#### Bonus challenge
Add one of these:
#### What to listen for
---
7. Recap
You’ve now built an Amen-style vocal texture riser using an automation-first workflow in Ableton Live 12.
Core idea
Start with a simple vocal chop, then use automation to shape:
Why this works in DnB
This approach gives you a riser that feels:
Final mindset
In drum and bass, the best transitions often come from controlled evolution, not giant effects chains. Keep it tight, automate with intent, and let the vocal become part of the groove. 🔥
If you want, I can also give you:
1. a MIDI rack / audio effect rack version of this chain, or
2. a bar-by-bar automation map for a 16-bar DnB arrangement.

