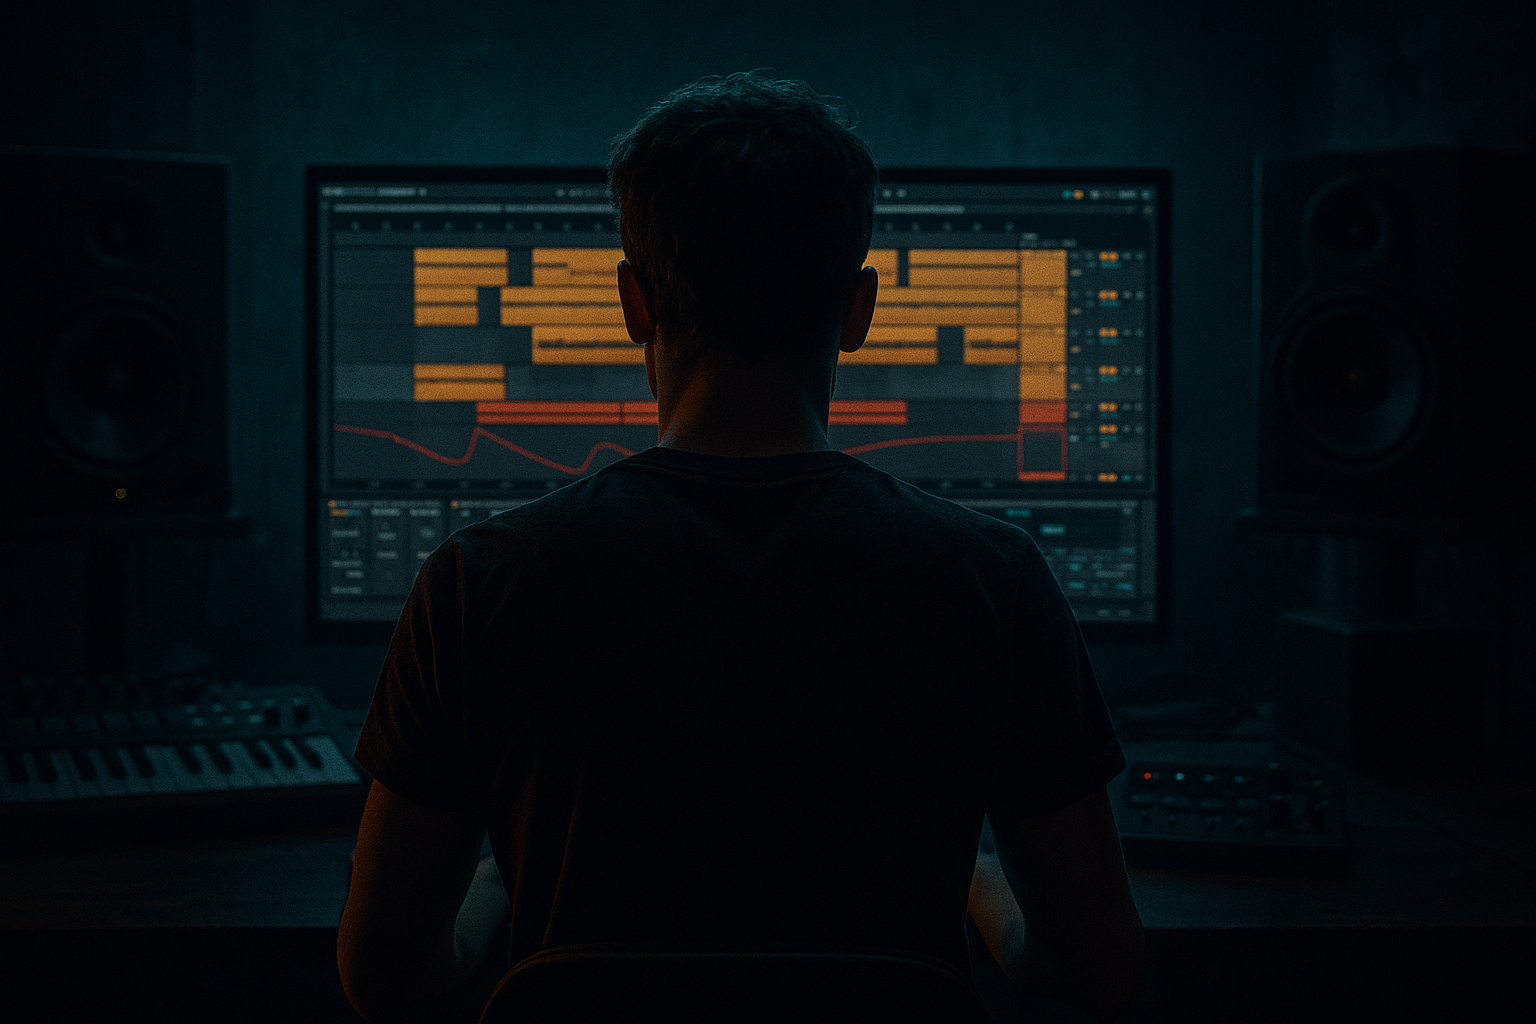
Main tutorial
Carve Oldskool DnB Edit with an Automation-First Workflow in Ableton Live 12
1. Lesson overview
In this lesson, you’ll build a dark, oldskool-inspired drum and bass edit in Ableton Live 12 using an automation-first workflow.
That means instead of starting with a fully arranged loop and then “adding movement later,” we design the edit around filter sweeps, mute drops, drum cuts, bass teases, tape-stop style moments, and FX automation from the beginning.
This approach is perfect for DnB edits because the genre lives on:
- energy shifts
- drum edits
- bass call-and-response
- quick breakdowns
- filtered tension before a drop
- lo-fi, ravey, or jungle-style transitions
- Intro: filtered drums + atmosphere
- Phrase 1: bass teased in small hits
- Breakdown: drum stop / vinyl-style pause / riser
- Main drop: full rolling groove
- Edit section: chopped drums, stabs, reverse FX
- Final drop: heavier variation with extra automation
- Outro: filtered down and stripped back
- Drum rack with oldskool break edits
- Sub bass layer
- Mid bass / reese layer
- Atmosphere / noise layer
- Automation lanes for:
- Drum Rack
- Sampler or Simpler
- Auto Filter
- EQ Eight
- Saturator
- Overdrive
- Drum Buss
- Compressor
- Redux
- Reverb
- Echo
- Utility
- Limiter
- Glue Compressor
- Shaper / LFO if you have Max for Live, optional
- Set the project tempo to 170–174 BPM
- Use 4/4
- Turn on the arrangement loop for a 16-bar section to start
- Kick: a punchy DnB kick or sliced break kick
- Snare/Clap: oldskool-style snare, slightly roomy
- Closed hat
- Open hat
- Perc hit
- Break slice: amen, think, or other jungle break chop
- Bars 1–4: filtered break + light kick
- Bars 5–8: add snare accents and hats
- Bars 9–12: full break energy
- Bars 13–16: edit fill and transition to bass drop
- Oscillator: sine
- Mono: on
- Glide: subtle or off
- Filter: low-pass if needed, but usually keep it clean
- Amp envelope:
- EQ Eight
- Utility
- Saturator
- Oscillator 1: saw
- Oscillator 2: saw
- Detune slightly
- Add a low-pass filter with modulation
- Add subtle chorus or phase movement if desired
- Keep it mono or near-mono in the low end
- 1-bar bass hit
- 2-bar answer
- 4-bar rolling line
- silent gaps for tension
- Auto Filter cutoff on drums
- Auto Filter cutoff on bass
- Reverb send
- Echo send
- Dry/wet on effects
- Volume dips and dropouts
- Saturator drive
- Utility gain
- Reverse-style FX levels
- Put Auto Filter on the drum group
- Set filter type to Low-pass
- Start cutoff around 200–500 Hz
- Open it gradually over 4 or 8 bars
- vinyl noise
- rain texture
- dark pad
- haunted ambience
- reverb tail from a snare hit
- EQ Eight: high-pass around 200 Hz
- Reverb
- Utility
- recording a crash hit
- reversing the audio clip
- fading it into the bar
- bar 5: one hit
- bar 6: silence
- bar 7: two hits
- bar 8: one longer note
- Auto Filter cutoff opening slightly on each phrase
- Saturator drive rising into the drop
- Reverb send briefly on the last bass hit before the break
- automate filter cutoff in the clip
- automate note velocity for punch variation
- shorten certain notes to create stop-start tension
- strip the drums down
- leave only a kick, hat, or atmos
- automate the bass filter fully closed
- add a final echo throw
- insert a one-beat or half-bar pause
- Use track mute automation or clip launching with empty space
- Add Reverb on a send and automate it up for the last snare
- Use Echo with Ping Pong lightly on a last hit
- Add a Utility gain drop on the whole drum group for a fake-out pause
- cut everything for 1/2 bar
- leave only a noise tail or reversed drum
- slam back into the full groove
- full drum loop
- sub bass
- mid bass
- one or two accent FX
- minimal top melody or stab, if needed
- bar 1–2: main groove
- bar 3–4: extra fill or drum cut
- bar 5–6: bass variation
- bar 7–8: snare fill or FX throw
- open the bass filter slightly more on every 4th bar
- add short distortion bursts on bass notes
- automate Reverb Dry/Wet up only on fill hits, then back down
- automate Utility gain for dropouts and punch-ins
- snare rolls
- half-bar break stutters
- chopped amen fills
- ghost snares
- reversed hat pickups
- Beat Repeat
- Redux
- Echo
- Reverb
- Auto Filter
- Resonators if you want sci-fi tension
- Delay with short feedback
- snare hits
- vocal chops
- crash hits
- bass stabs
- set Interval to 1 bar or 1/2 bar
- Grid to 1/8 or 1/16
- Chance low, around 20–40%
- use a short Gate for rhythmic punches
- 1–8 bars: intro / filtered drums
- 9–16 bars: bass tease / rising tension
- 17–24 bars: breakdown / pause
- 25–40 bars: main drop
- 41–48 bars: variation / fill section
- 49–64 bars: final drop / heavier re-entry
- end: stripped outro
- remove a drum layer
- open the filter
- insert a fill
- add a bass variation
- throw in a reversed crash
- keep kick and snare punchy
- trim harsh highs if the break gets spiky
- use EQ Eight to remove mud
- mono the sub
- keep mid bass controlled
- if bass gets too wide, use Utility to narrow it
- use sidechain compression from kick to bass if the low end fights
- Compressor
- Sidechain input: kick
- Attack: 1–5 ms
- Release: 50–120 ms
- Aim for subtle movement, not huge pumping unless you want that effect
- Utility
- maybe Glue Compressor if needed very gently
- Limiter only for safety, not loudness chasing
- Saturator
- Overdrive
- Redux very lightly
- Amp or Pedal if you want gnarlier coloration
- 1/16 slices
- 1/8 stutters
- single-hit pauses before snares
- reversed textures
- low drone
- vinyl hiss
- distant metal hits
- tunnel-like reverb tails
- first impact
- stripped response
- second impact with more layers
- 1 drum break track
- 1 sub bass track
- 1 mid bass track
- 1 FX return
- 1 atmosphere track
- reversed crash into the drop
- stutter fill using Beat Repeat
- snare reverb send automation on the last hit of every 4 bars
- Does the drop feel bigger because of the automation?
- Do the pauses enhance the groove?
- Is the bass movement supporting the drums instead of competing with them?
- drum break movement
- sub and reese bass layering
- filter automation
- effect throws
- strategic dropouts
- evolving 4-bar and 8-bar phrases
- groove
- tension
- movement
You’ll use Ableton’s stock devices to create a tight, gritty edit that feels like a cut from an old tape dub or a rough club promo, while still sounding clean and controlled in a modern mix. 🔥
---
2. What you will build
By the end, you’ll have a short arrangement like this:
Core elements
You’ll build the track using:
- filter cutoff
- send effects
- reverb throws
- delay throws
- volume mutes
- distortion amount
- beat repeat-style stutters
Stock Ableton devices you’ll likely use
---
3. Step-by-step walkthrough
Step 1: Set up the project
Tempo and grid
Oldskool DnB often sits around 160–172 BPM, but if you want a more jungle-leaning edit, 170–174 BPM is a great range.
Color-code and group tracks
Create these tracks:
1. Drums
2. Bass
3. FX
4. Atmos
5. Reference / markers
Group the drums and bass early. This keeps your automation clean and easier to manage.
---
Step 2: Build the drum foundation
For an oldskool edit, start with a breakbeat-driven drum structure, not a four-on-the-floor loop.
Drum rack setup
Create a Drum Rack and load:
Suggested processing chain on the Drum Rack group
Put these on the drum group:
1. EQ Eight
- High-pass around 25–30 Hz
- Small dip if the low mids are muddy around 250–400 Hz
2. Drum Buss
- Drive: 5–15%
- Crunch: light to medium
- Boom: use carefully if the kick needs weight
3. Saturator
- Soft Clip on
- Drive: 1–4 dB
4. Glue Compressor
- Ratio: 2:1
- Attack: 10 ms
- Release: Auto or 0.3 s
- Aim for only 1–2 dB gain reduction
Practical drum arrangement idea
For an oldskool feel, make the drums breathe:
Important DnB detail
Don’t over-quantize every slice. A tiny bit of swing or human feel helps oldskool jungle edits feel alive.
---
Step 3: Design the bass layers
You want at least two bass elements:
1. Sub bass
Use Operator or Wavetable to create a clean sine/sub.
#### Suggested sub settings
- Attack: 0 ms
- Decay: short if it’s a pulsed bass
- Sustain: full if it’s a held sub
- Release: short to medium
#### Processing chain
- Low-pass anything above about 120 Hz if necessary
- Mono the sub completely
- Very gentle drive for harmonics if needed
2. Mid bass / reese
Use Wavetable, Analog, or even Operator detuned oscillators.
#### Classic reese recipe in Ableton
#### Mid bass processing chain
1. Auto Filter
- Use low-pass mode
- Resonance: moderate
- Map cutoff to automation later
2. Saturator
- Drive: 2–6 dB
3. Overdrive
- Amount: light to moderate
4. EQ Eight
- Cut unnecessary sub under 30–40 Hz
- Tame harshness around 2–5 kHz
5. Utility
- Width control if needed, but keep low mids controlled
Bass arrangement strategy
Think in short phrases:
Oldskool edits work well when the bass is not constant. Let the drums carry some bars on their own, then drop the bass back in hard.
---
Step 4: Build automation first
This is the heart of the lesson.
Instead of arranging everything first, create your energy curve using automation from the start.
Key automation targets
Focus on these before anything else:
---
Step 5: Create the intro with filtered tension
Drums
Start with a filtered drum loop or break.
#### Automation idea
This gives you a classic rave build-up feel without needing loads of extra elements.
Atmosphere
Add one of these:
#### Atmos chain
- Decay: 4–8 s
- Dry/Wet: modest
- Reduce gain if needed
FX trick
Automate a short reverse cymbal or reverse crash into the first groove.
You can create this in Ableton by:
Very effective in DnB when you want a quick transition without overdoing it.
---
Step 6: Create the bass tease section
Before the full drop, tease the bass in short doses.
Method
In Arrangement View, place bass notes in a pattern like:
Automation
Automate:
Practical move
Use clip envelopes if the bass is looped, or device automation if you want broader movement across the song.
#### Clip automation tip
For a bass MIDI clip:
That stop-start style is very oldskool and works brilliantly in jungle edits.
---
Step 7: Program the breakdown
A good DnB edit needs a real moment of contrast.
Breakdown structure
At the breakdown:
Ableton techniques
Oldskool edit move
Right before the drop:
This is a classic jungle tension tactic. Silence is a weapon. 🥁
---
Step 8: Create the main drop
Now let the track hit properly.
Drop energy
Bring in:
Keep the arrangement alive
The edit should evolve every 2 or 4 bars:
Automation ideas for the drop
Drum variation
Use:
You can create fill variations by duplicating the drum clip and editing only the last beat of each phrase.
---
Step 9: Add edit-style transitions
This is where the “edit” part becomes obvious.
Useful transition tools in Ableton
Example transition chain on a return track
Create an FX return with:
1. Echo
2. Reverb
3. EQ Eight after the reverb to remove low end
Then automate send amounts from:
Beat Repeat use
If you want a stutter before a drop:
Use sparingly so it feels like an intentional DnB edit, not a glitch demo.
---
Step 10: Shape the final arrangement
A solid oldskool DnB edit often works well in a 16, 32, or 64 bar arc.
Simple arrangement blueprint
Arrangement rule
Every 8 bars, change something:
Even small changes keep the edit moving and stop it from looping too long.
---
Step 11: Mix as you automate
Automation-heavy productions can get messy fast, so mix while you work.
Drum group
Bass group
#### Sidechain starting point
On bass:
Master bus while producing
Keep it light:
---
4. Common mistakes
1. Automating too many things at once
If everything moves constantly, nothing feels important.
Fix: automate only the most musical 2–4 things in each section.
2. Losing the groove with over-editing
Oldskool DnB needs energy, but the rhythm still has to breathe.
Fix: preserve the core break pattern and only cut specific moments.
3. Over-filtering the drums
If the drum intro is too dull, the drop won’t feel exciting.
Fix: keep enough transient detail, especially in hats and snare attacks.
4. Weak sub because of distortion
Too much saturation can flatten the low end.
Fix: distort the mid bass more than the sub. Keep the sub clean.
5. Too much reverb on the bass
This can wash out the groove fast.
Fix: use reverb throws only on selected hits, not the full bass line.
6. Not using mute/pause moments
A continuous loop can feel static.
Fix: add intentional dropouts, especially before major transitions.
---
5. Pro tips for darker/heavier DnB
Keep the bass mostly mono
For dark DnB, the sub should be rock-solid in mono.
If you want width, create it above the sub layer only.
Use gritty harmonics, not just loudness
Try:
A dark bass often feels heavy because of upper harmonic character, not just volume.
Make drum edits more aggressive with micro cuts
Try chopping the break into:
That “cut-up” feeling is very jungle and gives the edit personality.
Automate filter resonance carefully
A little resonance on a filter sweep can make tension feel more alive. Too much can whistle and get annoying fast.
Use short delay throws on snares
A snare hit with a tiny Echo throw can create space without washing out the mix.
Dark ambience matters
Layer:
These details help the edit feel cinematic and nasty in the right way 😈
Let the arrangement hit in waves
Instead of one giant drop, create:
This is a very effective DnB arrangement strategy.
---
6. Mini practice exercise
Build a 16-bar oldskool DnB edit using only stock Ableton devices.
Your challenge
Create:
Requirements
1. Bars 1–4: filtered intro
2. Bars 5–8: bass tease
3. Bars 9–10: breakdown with a pause
4. Bars 11–16: full drop with one variation
5. Automate at least:
- drum filter cutoff
- bass filter cutoff
- one reverb throw
- one echo throw
- one mute or dropout
Bonus task
Add one of these:
When you finish, listen back and ask:
---
7. Recap
You’ve just built an automation-first oldskool DnB edit in Ableton Live 12 by focusing on:
Key takeaway
In drum and bass, especially jungle-leaning edits, arrangement energy comes from motion and contrast.
If you automate the track like a performance instead of a static loop, the edit instantly feels more alive and more professional.
Final mindset
Start with:
Then fill in the extra detail.
That’s how you make an oldskool DnB edit feel raw, intentional, and club-ready. 🚀
If you want, I can also turn this into:
1. a track-by-track Ableton template, or
2. a bar-by-bar arrangement map you can follow directly in Live 12.

