DNB COLLEGE

Drum & Bass Ableton Live 12 Tutorials

LESSON DETAIL

Charlie Tee Ableton Live 12 industrial texture blueprint for late-night roller weight (Beginner · Automation · tutorial)

An AI-generated beginner Ableton lesson focused on Charlie Tee Ableton Live 12 industrial texture blueprint for late-night roller weight in the Automation area of drum and bass production.

Back to lessons
Charlie Tee Ableton Live 12 industrial texture blueprint for late-night roller weight (Beginner · Automation · tutorial) cover image

Narrated lesson audio

The voice track includes the tutorial plus extra teacher commentary.

Open audio file

Main tutorial

1. Lesson Overview

This beginner automation lesson shows you how to create a Charlie Tee Ableton Live 12 industrial texture blueprint for late-night roller weight. We’ll focus on simple, repeatable automation techniques in Live 12 that turn static pads and hits into an evolving, metallic, heavy-rolling texture suitable for late-night Drum & Bass. All techniques use Ableton stock devices and basic automation lanes so you can reproduce and adapt the blueprint in your own projects.

2. What You Will Build

A single 8–16 bar loop (blueprint) composed of:

  • a low, sustained Wavetable pad for sub/body,
  • a mid/high metallic texture layer (gritty industrial character) using Corpus + Grain Delay/Echo,
  • two return effects (Reverb and Echo) for space,
  • a parallel saturation/weight chain on a group bus,
  • mapped Rack macros that are automated to create movement (filter sweep, metallic resonance, wet/dry textures, and transient grit).
  • Result: a loop that breathes, grinds, and pushes weight—ready to sit under drums for a late-night roller vibe.

    3. Step-by-Step Walkthrough

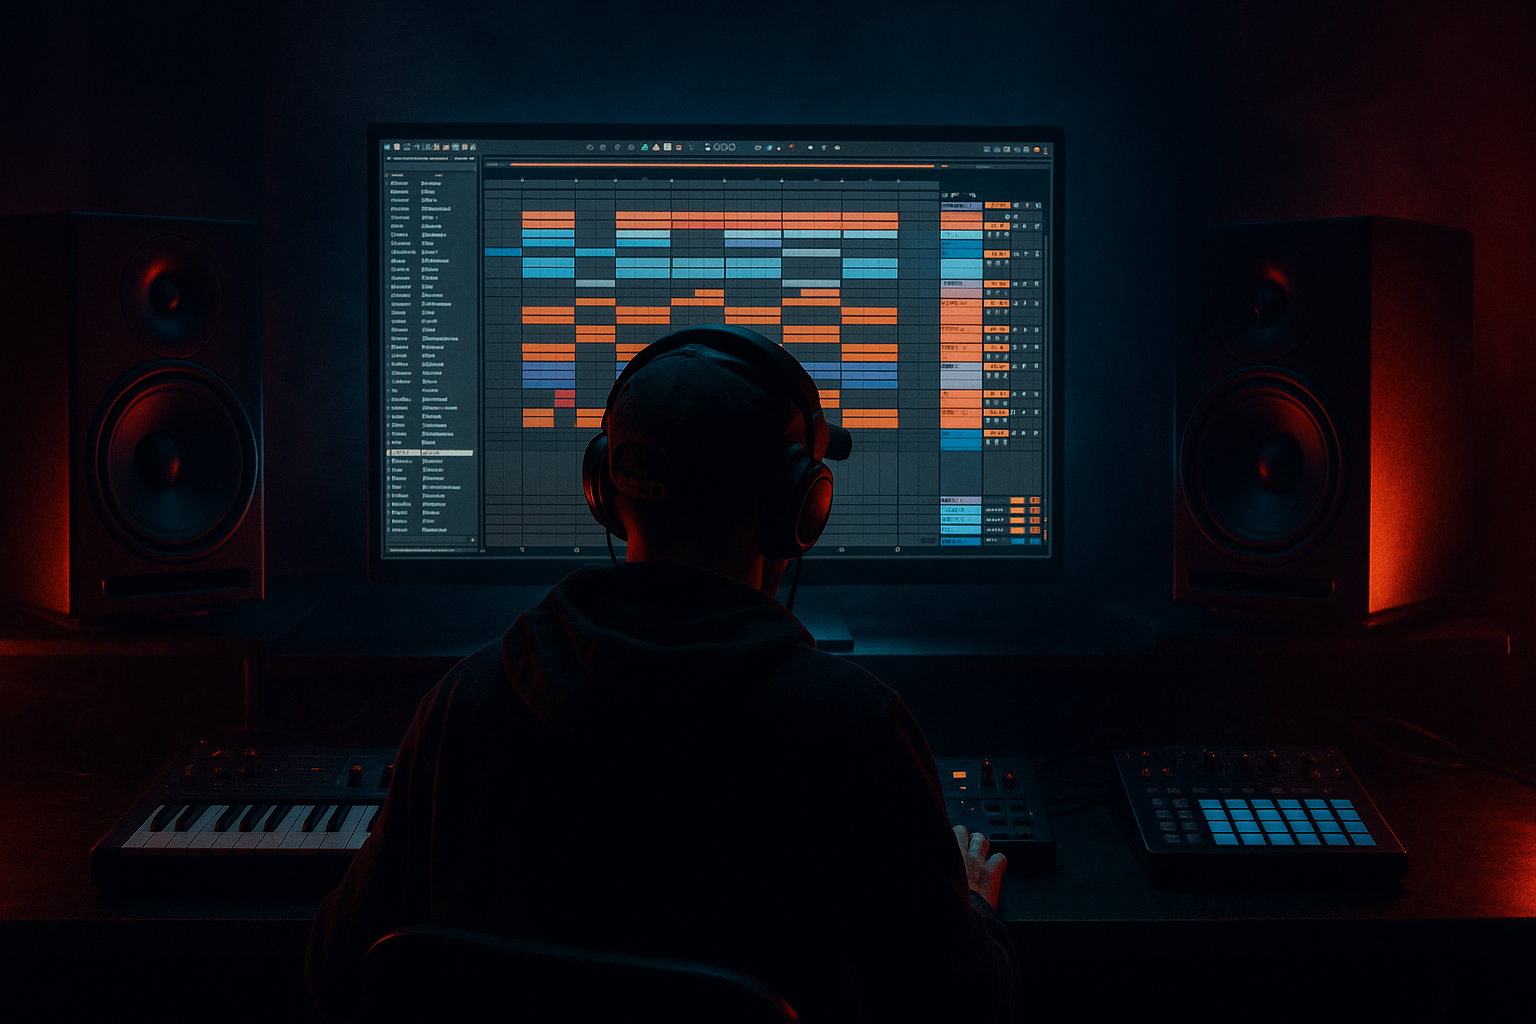
    Note: keep Live 12 in Arrangement View for clear automation lanes (press A to toggle automation).

    A. Project setup

    1. Create a new Live set. Set BPM to 170 (typical late-night roller tempo).

    2. Create three tracks:

    - MIDI Track 1: “Sub Pad” (Wavetable),

    - MIDI Track 2: “Metal Texture” (simpler sampler oscillator or MIDI w/ Wavetable),

    - Audio Track/Group: “Bus” (for Drum Buss / Saturation later).

    3. Create two Return tracks: A = Echo (short, modulated delay), B = Reverb (long, dark).

    B. Build the Sub Pad (MIDI Track 1)

    1. Load Wavetable on Track 1. Choose a saw-based wavetable for warm harmonics. Lower Osc 1 position slightly for darker tone.

    2. Reduce Filter cutoff to around 500–900 Hz for a deep pad; set Filter Type to Low Pass, 12 dB.

    3. Add slight unison (2-3 voices) with very low detune (0.01–0.05) to keep texture tight.

    4. Add a gentle amp envelope: Attack 20–60 ms, Decay low, Sustain 80–100%, Release 150–300 ms.

    5. Route this track’s output to the Bus/Group track (for later parallel processing).

    C. Build the Metal Texture (MIDI Track 2)

    1. Load Wavetable again, or Simpler with a sampled metallic hit (choose a clangy sample).

    2. Insert Corpus after the instrument (Audio Effects chain). In Corpus, choose Plate or Tube to add metallic resonances. Tune the corpus frequency to a region that sits above the sub (e.g., 600–1500 Hz).

    3. Add Grain Delay after Corpus for a granular shimmer. Set Delay Time to 1/16–1/8, Spray to taste (5–20%), Pitch small +/-0.5–2 semitones, Feedback low (10–20%).

    4. Add Echo (on the return track A) for pinging movement—send small amount from this track to Return A.

    D. Create an Instrument/Effect Rack and Map Macros

    1. Group the Metal Texture device chain into an Instrument Rack (select devices → right-click → Group).

    2. In the Rack, map the following to Macros:

    - Macro 1: Corpus Frequency (for metallic tuning)

    - Macro 2: Grain Delay Pitch or Spray (for granular motion)

    - Macro 3: Auto Filter cutoff (add an Auto Filter before Corpus and map its Frequency to macro for a band sweep)

    - Macro 4: Send A level (if the rack contains a Send device) or use the track send for automation

    3. Name the Macros: “Metal Tune”, “Granular”, “Top Cut”, “Echo Send”.

    E. Bus / Parallel Weight Chain

    1. Route Sub Pad and Metal Texture to the Bus group.

    2. On the Bus, insert Saturator → Drum Buss → Glue Compressor:

    - Saturator: Drive 2–4 dB, Soft clip, Texture on.

    - Drum Buss: Add some boom and distortion; set Drive low and Soft Clip on.

    - Glue Compressor: Slow attack (~10–30 ms), medium release (~0.3–0.6 s), ratio 2:1–4:1 to glue elements.

    3. Add Utility before the chain to control gain automation (useful for automated swells).

    F. Basic Automation principles to apply (Arrangement)

    1. Automate Macro 3 (Top Cut) as a slow sweep:

    - Open automation (press A), select the Metal Texture track, choose the Instrument Rack → Macro 3 parameter.

    - Draw an 8-bar ramp: low cutoff (dark) moving up slightly mid-loop and back down. This creates the classic late-night roll breathing.

    2. Automate Macro 1 (Metal Tune) with small randomised movements:

    - Use stepped small modulations over 2–4 bar segments to make metallic resonances detune/retune slightly. Keep changes subtle: ±2–6% of the macro range.

    3. Automate Macro 2 (Granular) to introduce movement at phrase boundaries:

    - For bars 1–6, keep Granular low; on bar 7–8 increase Spray / Pitch Detune to create burst textures, then fall back. Use smooth curves for rises, quick drops for impact.

    4. Automate Send A (Echo) on Metal Texture and Sub Pad:

    - Sub Pad: low send baseline; automate a short swell into Send A over 2 bars to create an ambient tail.

    - Metal Texture: quick, higher send pops at the end of 4-bar phrases for that pinging roller feel.

    5. Automate Bus Saturator Drive or Utility Gain:

    - Draw tiny gain dips for transient movement or slow gain increases to add perceived weight across a section.

    6. Add clip automation for vibrato-style motion (optional):

    - In a MIDI clip, open Envelope → Device chooser → Wavetable → Position or Oscillator parameters, and draw subtle LFO-like movement; clip automation is perfect for repeating patterns and stays in clip view.

    G. Fine-tuning and arrangement tricks

    1. Use small automation values; less is more. Automation should suggest movement, not overpower mix balance.

    2. Use the Arrangement grid to align automation changes to bar divisions so movement feels musical.

    3. Duplicate the loop and vary automation values between repeats for evolving interest.

    4. Common Mistakes

  • Over-automation: Automating many parameters with large ranges makes the result sound chaotic. Keep most automations subtle and focused on 2–4 key parameters.
  • Too much wet signal on returns: Heavy Echo/Reverb sends blur the low-end and remove weight. Use high-pass on reverb returns or automate sends so low-end stays tight.
  • Ignoring gain staging: Automating Saturator/Drive without checking gain can clip your master. Use Utility to monitor/compensate.
  • Automating raw device names incorrectly: Make sure you’re automating the mapped Macro or the correct device parameter—incorrect selections can result in no audible change.
  • Using extreme Corpus tuning: Corpus is powerful; extreme resonance can dominate. Keep its gain and frequency moderate, and automate subtly for character.
  • 5. Pro Tips

  • Map multiple device parameters to one Macro with different ranges (e.g., map Auto Filter cutoff and Grain Delay pitch to a single “Tension” macro). This lets one automation create complex motion.
  • Use clip automation for looped, repeating micro-movement (e.g., tiny wavetable position changes per bar) and Arrangement automation for larger scene-wide shifts (rises/falls).
  • Automate return effect EQ: add an EQ Eight on the Reverb return and automate the highpass cutoff so you can open the reverb into the mids/higs when needed without muddying the sub.
  • For weight, automate Drum Buss Tune and Sub Pad level together during a section drop to make the low-end feel heavier without changing pitch content.
  • Save the Rack you create as a preset named “Charlie Tee industrial texture blueprint” so you can recall and drop it on other ideas.

6. Mini Practice Exercise

Goal: Create a 8-bar loop that breathes and has two metallic "pings" at bar 4 and bar 8.

Steps:

1. Load Wavetable on MIDI Track. Make a deep pad; route to Bus.

2. Create a Metal Texture track with Corpus + Grain Delay and group it into an Instrument Rack with at least 3 mapped Macros: Cutoff, Corpus Tuning, Grain Spray.

3. Automate Cutoff (Macro 1) to slowly rise from bar 1 to bar 4, then drop quickly by bar 5.

4. Automate Grain Spray (Macro 3) to spike up at bar 4 and bar 8 for brief pings.

5. Automate Send A (Echo) so the metal track sends more to Echo for 1/2 bar at bar 4 and bar 8.

6. Play the loop with Drum Buss on Bus and adjust Saturator so the loop feels heavy but not distorted.

Time yourself: aim to complete this in 20–30 minutes. Focus on subtlety and musical placement of automation.

7. Recap

This lesson taught a Charlie Tee Ableton Live 12 industrial texture blueprint for late-night roller weight using Ableton stock devices and straightforward automation techniques. You built a sub pad and a metallic layer, mapped key device parameters to Rack Macros, and used Arrangement automation and send automation to create evolving, heavy textures. Keep automations tasteful—map related controls to a single macro, automate sends for space, and use the Bus chain (Saturator → Drum Buss → Glue) for weight. Practice the mini exercise to lock in the workflow; then iterate by swapping samples or tweaking Corpus/Grain settings to make the blueprint your own.

Ask GPT about this lesson

Chat with the lesson tutor, get follow-up help, or use quick actions.

Bigup 👽 Ask me anything about this lesson and I’ll answer in context.

Narration script

Show spoken script
Hey — welcome. This lesson is a beginner automation walkthrough for building a Charlie Tee-style industrial texture blueprint in Ableton Live 12. We’ll focus on simple, repeatable automation techniques that turn static pads and hits into an evolving, metallic, heavy-rolling texture for late-night drum & bass. Everything uses Ableton stock devices and basic automation lanes so you can reproduce and adapt this blueprint in your own projects.

Lesson overview finished—let’s cover what you’ll build. By the end you’ll have a single eight-to-sixteen-bar loop that breathes and grinds. It includes:
- a low sustained Wavetable pad for sub and body,
- a mid/high metallic texture layer using Corpus with Grain Delay or Echo,
- two return effects — a short modulated Echo and a long dark Reverb,
- a parallel saturation and weight chain on a bus,
- an Instrument/Effect Rack with mapped Macros that get automated to create movement: filter sweep, metallic resonance, granular spray, and echo send.

This loop should sit under drums and push weight with breathing motion and metallic pings.

Step-by-step walkthrough. Keep Live 12 in Arrangement View for clear automation lanes — press A to toggle automation.

Project setup:
Start a new Live set and set the tempo to 170 BPM. Create three tracks: MIDI Track 1 named “Sub Pad” with Wavetable, MIDI Track 2 named “Metal Texture” for the metallic hits, and an Audio Track or Group called “Bus” for your parallel processing. Create two Return tracks: Return A set to Echo (short, modulated) and Return B set to Reverb (long and dark).

Build the Sub Pad on MIDI Track 1:
Load Wavetable and pick a saw-based wavetable for rich harmonics. Move Oscillator 1 position slightly toward darker timbre. Set a low-pass filter cutoff down around 500 to 900 Hz, 12 dB slope, so the pad sits deep. Add light unison — two to three voices with very low detune, around 0.01 to 0.05, to keep it tight. Use a gentle amp envelope: attack between 20 and 60 milliseconds, low decay, sustain near 80 to 100 percent, and release between 150 and 300 milliseconds. Route this track’s output to the Bus group for later parallel processing.

Build the Metal Texture on MIDI Track 2:
Either load Wavetable again or use Simpler with a clangy metallic sample. Insert Corpus after the instrument and choose Plate or Tube to add metallic resonances. Tune Corpus frequency to sit above the sub, somewhere in the 600 to 1,500 Hz range. Add Grain Delay after Corpus for a granular shimmer. Set the delay time around 1/16 to 1/8, Spray between five and twenty percent, pitch detune small — plus or minus half a semitone to two semitones — and feedback low, ten to twenty percent. Send a small amount from this track to Return A (Echo) to add pinging movement.

Create an Instrument or Effect Rack and map Macros:
Group the Metal Texture device chain into an Instrument Rack. Map these parameters to macros:
- Macro 1: Corpus Frequency — label it “Metal Tune.”
- Macro 2: Grain Delay Pitch or Spray — label it “Granular.”
- Macro 3: an Auto Filter cutoff placed before Corpus — label it “Top Cut.”
- Macro 4: the Echo Send level, or use the track send if you prefer — label it “Echo Send.”
Name and color your macros so they’re easy to find.

Bus and parallel weight chain:
Route both the Sub Pad and Metal Texture to the Bus. On the Bus insert — in order — Utility, Saturator, Drum Buss, then Glue Compressor.
- Utility sits first so you can automate gain compensation.
- Saturator: gentle drive of two to four dB, soft clipping, texture on.
- Drum Buss: subtle drive for body, soft clip engaged.
- Glue Compressor: set a slow-ish attack around ten to thirty milliseconds, medium release around 0.3 to 0.6 seconds, ratio between two to four to one to glue elements together.

Basic automation principles to apply in Arrangement:
Automate a small number of focused parameters, and keep movements subtle.

1. Top Cut sweep:
Open automation (press A), select the Metal Texture track, choose the Rack and Macro 3. Draw an eight-bar ramp: start darker, open slightly mid-loop, then close back down. Use a smooth curve for breathing motion.

2. Metal Tune micro-movement:
Automate Macro 1 with small stepped modulations over two-to-four bar segments. Keep them subtle — about plus or minus two to six percent of the macro range — to make resonances retune gently.

3. Granular bursts:
Automate Macro 2 so Granular stays low for most bars, then spikes on phrase boundaries. For example, raise Spray or Pitch at bars seven and eight, then fall back. Use smooth rises and quick drops for impact.

4. Echo sends:
Automate Send A on both the Sub Pad and Metal Texture. For the Sub Pad keep a low baseline and automate a short swell into Echo over two bars for an ambient tail. For the Metal Texture use quick, higher send pops at the ends of four-bar phrases to create pinging roller character.

5. Bus dynamics:
Automate the Bus Saturator drive or Utility gain to create tiny dips or slow increases that influence perceived weight. Remember to compensate gain when you raise drive.

6. Clip automation option:
For repeating micro-movements, use clip envelopes. In a MIDI clip choose Device → Wavetable → Position or oscillator parameters and draw subtle LFO-style motion. Clip automation stays with the clip when duplicated.

Fine-tuning and arrangement tricks:
Use small automation values — less is more. Align automation changes to bar divisions so movement stays musical. Duplicate the loop and vary automation slightly between repetitions to evolve interest.

Common mistakes to avoid:
- Over-automation: don’t automate everything wildly. Focus on two to four key parameters per loop.
- Too much wet signal on returns: heavy reverb or echo blurs low-end — high-pass your reverb return or automate sends to protect the sub.
- Ignoring gain staging: automating drive without compensation can clip the master. Use Utility to control level.
- Automating wrong parameters: make sure you automate the mapped Macro or the correct device parameter.
- Extreme Corpus tuning: keep Corpus gain and frequency moderate; too much resonance will dominate.

Pro tips and practical automation philosophy:
Think in layers — pick two to four parameters to automate across your eight-to-sixteen bar loop. Small movements on sensitive parameters are powerful; aim for two to six percent on resonator-type controls, and wider ranges for things like filter cutoff or sends. Automate slow, evolving parameters across the whole phrase for the breathing effect, and use fast, sharp automation at bar boundaries for pings.

Macro mapping strategy:
Map multiple related parameters to one Macro with different ranges. For example, a “Tension” macro could control Auto Filter cutoff slightly, nudge Grain Delay pitch by up to a semitone, and increase Corpus gain by a few dB. Tweak each mapping range so one Macro produces organic, not linear, motion. Name and color your Macros to make automation efficient.

Arrangement vs clip automation:
Use Arrangement automation for global, phrase-scale moves like eight-bar rises and send swells. Use clip envelopes for repeating micro-motion like wavetable position wobble. Combine both: put micro-movement in the clip and an Arrangement automation to scale that motion across the phrase.

Automation curves and drawing technique:
Smooth ramps give natural breathing. Sharp curves give impact. For pings, use short half-bar ramps that rise quickly and fall faster — this simulates a metallic strike plus tail. Draw by hand for character, then nudge anchor points to grid if you need rhythm alignment.

Sends, returns and space automation:
Automate your reverb and echo sends — don’t leave them static. Put an EQ Eight on the Reverb return and automate a high-pass between about 200 and 500 Hz so the reverb can open into mids and highs without muddying the sub. For Echo returns, automate feedback and filter cutoff to morph a small ping into a long evolving tail.

Mixing and weight considerations:
Automating Saturator drive increases perceived weight but also loudness. Use a Utility before the saturation chain to compensate gain. If Drive makes a section too hot, automate the Utility or the Glue Compressor make-up in the opposite direction. Always watch the master meters.

CPU and workflow efficiency:
Once your automation decisions are finalized, freeze or resample to save CPU. If you resample your automated loop to audio, you can bring it back in, process it with simpler effects, and automate less while preserving motion. Save the Instrument Rack as a preset before flattening so you can recall it.

Creative automation variations to try:
Map a parameter with inverted polarity to get counterintuitive motion, automate pre/post send behavior, or create a low-volume duplicate of the Metal Texture with tiny randomized detune and automate its level for sporadic smear. Vary echo ping lengths across different bars for different kinds of bleed and momentum.

Troubleshooting common problems:
If automation produces no audible change, confirm you’re automating the right Macro or device parameter and that the device and track are enabled. If automation sounds stepped or choppy, smooth the envelope and check for CPU glitches. If returns muddy low-end, add and automate an HP filter on the return. If Corpus is too aggressive, automate Corpus gain or reduce its range in your Macro mapping.

Mini practice exercise — goal: an eight-bar loop that breathes and has two metallic pings at bar four and bar eight. Time yourself — aim for twenty to thirty minutes.

Steps:
1. Load Wavetable on a MIDI track and build a deep pad routed to the Bus.
2. Create a Metal Texture track with Corpus and Grain Delay, group it into an Instrument Rack, and map at least three Macros: Cutoff, Corpus Tuning, Grain Spray.
3. Automate Cutoff (Macro 1) to slowly rise from bar one to bar four, then drop quickly by bar five.
4. Automate Grain Spray (Macro 3) to spike at bar four and bar eight for brief pings.
5. Automate Send A so the metal track sends more to Echo for half a bar at those ping points.
6. Play the loop with Drum Buss on the Bus and adjust Saturator so it feels heavy but not overly distorted.

Recap:
You’ve learned a Charlie Tee industrial texture blueprint using Ableton Live 12 stock devices and straightforward automation. You built a sub pad and a metallic layer, grouped devices into a Rack with mapped Macros, and used Arrangement and send automation to create evolution and pinging movement. Keep automations tasteful — map related controls to single Macros, automate sends for space, and use a Bus chain of Saturator → Drum Buss → Glue to add weight. Practice the mini exercise to lock in this workflow, then iterate by swapping samples or nudging Corpus and Grain settings so the blueprint becomes your own.

Final checklist before you move on:
- Map and label all Macros used in automation.
- Check return EQ high-pass settings and automate them as needed.
- Confirm bus saturation automation is gain-compensated with Utility.
- Duplicate the loop and change some automation values between repeats.
- Save your Instrument Rack preset as “Charlie Tee industrial texture blueprint” and save your Live set template so you can reuse this blueprint.

That’s it. Load up Live, follow the steps, and keep your automation small and musical. Have fun and iterate — the best textures come from tiny, well-placed moves.

mickeybeam

Go to drumbasscd.com for +100 drum and bass YouTube channels all in one place - tune in!

Generating PDF preview…