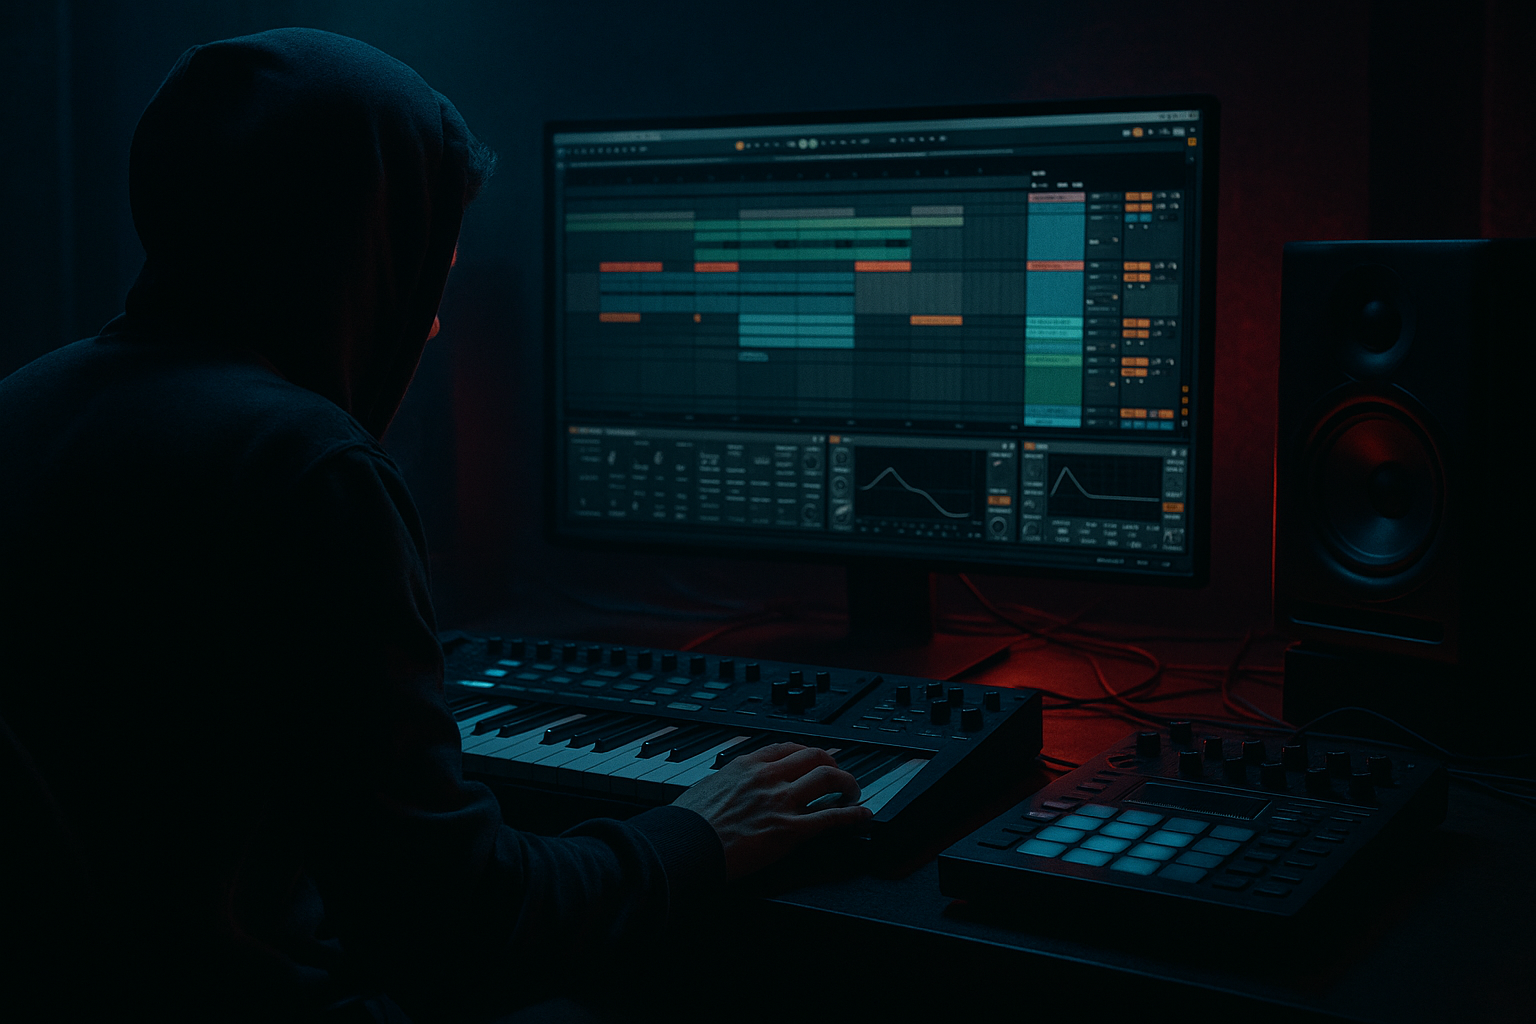
Main tutorial
Lesson Overview
The chop saturate method is a classic jungle-and-oldskool DnB move: take a melodic or atmospheric sample, slice it into expressive chunks, then push those chops through saturation and sampler-style degradation until they feel like part of the record, not a clean loop pasted on top. In Ableton Live 12, this is especially powerful for Atmospheres because you can turn a simple chord stab, vocal flutter, vinyl wash, or broken break texture into a gritty, shifting layer that supports the drop rather than competing with it.
In an advanced DnB context, this technique is not just about “adding dirt.” It’s about shaping emotional tension and historic texture. Oldskool jungle atmospheres often feel unstable, haunted, and mechanical at the same time. The chop saturate method gets you there by combining:
- tight chop timing
- tone-shaping saturation
- sampler-style pitch/filter behavior
- careful stereo and low-end control
- a moody intro bed
- a fill between break phrases
- a dark harmonic shadow under the drop
- a transition texture for turnaround bars
- grainy harmonic body from a sample or resampled texture
- punchy, clipped edges that feel analog and worn
- movement in the midrange without overpowering the bassline
- filtered stereo haze for intro and transition use
- arrangement-ready variation for 8-, 16-, and 32-bar phrasing
- a rolling reese bass
- a classic breakbeat with ghost notes
- a dark minor-key stab progression
- a DJ-friendly intro with filtered chops opening gradually
- a main atmospheric motif
- a drop support layer
- a call-and-response texture behind the snare or vocal hook
- Over-saturating before chopping
- Letting the atmosphere fight the bassline
- Using a perfectly looped sample with no variation
- Making the texture too bright
- Ignoring stereo discipline
- Leaving transients uncontrolled
- Too much reverb wash
- Layer a second copy one octave down, then high-pass it
- Use parallel distortion
- Automate subtle pitch drift
- Print a reversed tail into the build
- Use ghost slices as rhythmic glue
- Thin the atmosphere in the drop, then restore it later
- Let saturation hit the upper mids harder than the highs
- Keep a dry version on a separate track
- choose source material with emotional movement
- chop it rhythmically, not randomly
- saturate in stages for crunchy sampler texture
- filter and automate for arrangement tension
- resample for authenticity and control
- keep the low end clean so the drums and bass stay dominant
This matters in a track because atmospheric layers in DnB do a lot of hidden work: they create anticipation in the intro, glue the break edits together, and give the drop a signature identity without muddying the sub or masking the snare. The best jungle atmospheres feel like they’re breathing around the drums.
You’ll build a textured atmosphere chain using stock Ableton devices, then shape it so it can function as:
Why this works in DnB: the genre thrives on contrast. Clean sub + gritty mid texture, hard drums + hazy ambience, controlled low end + unstable upper harmonics. Saturated chops provide that contrast while still staying musical and loop-friendly.
What You Will Build
By the end of the lesson, you’ll have a crunchy sampler-style atmospheric loop that feels like a chopped-up jungle record fragment. It will have:
Musically, think of it as a layer that could sit under:
You’ll also create a version you can reuse as:
Step-by-Step Walkthrough
1. Choose or create the right source material
Start with a sound that already has emotional shape. For oldskool jungle vibes, ideal sources are:
- a dusty pad or string chord
- a vocal phrase with attitude
- a broken chord stab from a sample pack
- a short recorded atmosphere like vinyl hiss, field ambience, or radio noise
- a resampled break tail with harmonic content
In Ableton, drop the audio into a track and listen for sections with movement. Don’t choose a pristine loop; choose something with a little instability. If the source is too clean, you can still make it work, but the technique shines when the sample already has texture.
Practical selection rule: pick a sound that works in the 200 Hz to 4 kHz zone after treatment, because that’s where the chop character lives in DnB. Avoid samples with huge sub unless you plan to high-pass aggressively.
2. Warp, trim, and slice with intention
Open the clip and set Warp appropriately. For atmospheric material, try:
- Complex Pro for tonal samples
- Beats if the source is already rhythmic
- Texture for noisy atmospheres if you want smeared motion
Trim to a musical phrase or a 1- to 2-bar region. Then duplicate the clip and create a second version for chopping. Use transient-rich parts as chop anchors, even if the source is ambient.
Advanced move: consolidate a 2- or 4-bar region, then use Slice to New MIDI Track. Slice by:
- transients for rhythmic source material
- 1/8 or 1/16 for more deliberate jungle-style grid chops
This gives you a Sampler/Simpler-based instrument you can play like a break-accompaniment layer.
3. Build the chop instrument in Simpler or Sampler
For fast, authentic workflow, use Simpler in Slice mode or Sampler if you want deeper control. In Advanced DnB work, I prefer:
- Simpler Slice for rapid phrase-building
- Sampler when I want precise filter/envelope shaping and more “instrument-like” control
Suggested settings:
- Start/End: tighten each slice until only the useful transient/body remains
- Fade: 2–10 ms to remove clicks without killing edge
- Transpose: try alternating chops at -5, 0, +3, +7 semitones for tension
- Filter: low-pass around 4–8 kHz if the source is too harsh, or high-pass around 120–250 Hz to keep bass space clean
- Amp envelope: fast attack, short decay, modest sustain for stabby movement
If you’re using Simpler Slice mode, map the chops to MIDI and program a pattern that avoids obvious repetition. Oldskool jungle often feels alive because chops are slightly asymmetrical.
4. Chop the phrase like a drummer, not a loop editor
Program the MIDI so the sample responds to the break and bassline. Think in phrases and accents, not just repetition. A strong method is:
- place a chop on the first downbeat
- answer it with a shorter chop on the “and” of 2 or “and” of 4
- leave a gap where the snare and bass can speak
- use a different chop in the last half of the bar to create forward motion
For jungle/rollers, try 2-bar call-and-response:
- Bar 1: longer atmospheric chop on beat 1, ghost chop on beat 4
- Bar 2: shorter, more filtered chop on offbeats
This keeps the texture musical but not overbusy. The atmosphere becomes part of the groove architecture.
Why this works in DnB: the genre relies on syncopation and breathing room. If the atmospheric chops are placed like percussion, they reinforce the break rather than smearing it.
5. Saturate in stages, not all at once
The “saturate” part is where the crunch comes alive. Don’t just slam a limiter or clipper on the output. Build the grit in layers using Ableton stock devices.
A strong chain:
- Saturator
- Drum Buss or Overdrive
- EQ Eight
- optional Redux for sampler-esque degradation
Suggested starting points:
- Saturator: Drive between 3 and 8 dB
- Color: try Soft Sine or a gentler curve for body, then push harder if needed
- Soft Clip: on, if you want smoother peak control
- Drum Buss: Drive around 5–15%, Crunch low to moderate
- Redux: reduce bit depth subtly, e.g. 10–12 bits, and keep downsampling restrained unless you want aggressive aliasing
The key is to listen for midrange density rather than just distortion. Saturation should make the chop feel closer, older, and more physical. If it starts sounding fizzy, ease off the top end with EQ after the saturation stage.
6. Shape the sampler texture with filtering and envelope movement
Now make the chop feel like it belongs inside a dusty sampler or hardware playback path. Use Auto Filter or the filter in Sampler to animate the sound.
Useful moves:
- Low-pass filter with resonance around 10–25% to emphasize the “vintage sampler” tone
- automate cutoff from 1.5 kHz to 6 kHz over 8 or 16 bars for an intro reveal
- add a touch of band-pass movement for eerie, narrow atmospheres
- use a slow LFO in Auto Filter at very low depth for subtle wobble
For a darker DnB vibe, avoid over-brightening the atmosphere. Let the high end emerge only at arrangement moments. This makes the track feel intentional and gives your drop more impact when the filters open.
Advanced trick: use Clip Envelope or automation lanes to vary filter cutoff differently on repeated chops. That tiny variation is what prevents the loop from feeling looped.
7. Resample the processed chops into a new audio layer
Once the chop chain sounds good, resample it. Create a new audio track and record the processed MIDI chops in real time, or freeze/flatten if the part is stable. This is one of the most useful advanced moves because it turns “designed sound” into record-like material.
After resampling:
- trim the new audio to clean phrases
- reverse selected chops
- nudge certain hits a few milliseconds early or late for humanized swing
- cut out a single compelling 1-bar fragment and loop it in a different section
In oldskool jungle, a resampled atmosphere often sounds more convincing because the chain of processing creates a layered artifact quality. You’re effectively building a miniature sample-history inside the arrangement.
8. Glue it to the drums and bass with routing discipline
Route the atmosphere to a group or return workflow that keeps it out of the way of the low end. Use:
- EQ Eight with a high-pass around 150–300 Hz
- optional low-mid dip around 250–500 Hz if it clouds the snare or bass
- a subtle sidechain compressor keyed from the kick or full drum bus
- Utility to narrow the low mids or collapse the layer to mono if needed
If the track has a heavy reese or sub, check the atmosphere in mono. Any stereo wideness below the low mids can make the drop feel loose. A good rule: keep the atmosphere wide only where it’s safe—usually above the region where the bassline owns the room.
For darker rollers, sidechain the atmosphere gently rather than aggressively. You want it to inhale around the drums, not pump like a house pad.
9. Automate arrangement movement for intro, drop, and switch-up
This technique becomes much more powerful when it’s arranged in sections rather than left static.
Try this arrangement arc:
- Intro 1–8 bars: filtered chop, low-pass closed, wide reverb tail
- Build 9–16 bars: gradually open cutoff and introduce more saturation
- Drop: mute some of the atmosphere or thin it to midrange-only
- Switch-up / turnaround: reintroduce a reversed chop with extra crunch
- Second drop: let the atmosphere evolve, maybe pitch it up a semitone or two
Use automation on:
- filter cutoff
- Saturator drive
- Reverb dry/wet
- panorama width via Utility
- send levels to delay or reverb returns
A strong DnB arrangement habit is to make atmospheres do a before/after role: they set the scene before the drop, then briefly return between phrases to reset tension.
10. Finish with reference checks and mix discipline
Compare your atmosphere against a reference from a jungle, dark roller, or atmospheric DnB track. Listen for whether your layer is:
- adding mood without stealing focus
- creating rhythm without clutter
- gritty enough to feel authentic
- controlled enough to leave room for the snare and bass
Mix checks:
- lower the atmosphere until you miss it, then bring it up slightly
- check the low end in mono
- make sure the snare transient still cuts through
- use EQ to tame harsh resonances around 2.5–5 kHz if the saturation bites too hard
The final result should feel like a sampled memory of a jungle record: compressed, dusty, moving, and alive.
Common Mistakes
- Fix: chop first, then saturate, then resample. This gives you more control over each slice’s character.
- Fix: high-pass more aggressively, especially if the bassline has strong mid-bass harmonics. Keep the atmosphere out of the sub and low-mid zone.
- Fix: offset chops, reverse occasional hits, vary filter movement, and change note lengths.
- Fix: if it starts sounding like a modern EDM layer, darken it. DnB atmospheres usually live in the shadowy midrange, not glossy highs.
- Fix: widen only the safe upper range. Mono-check the layer and reduce width if the groove gets blurry.
- Fix: use short fades, clip envelopes, or EQ to tame sharp spikes after saturation.
- Fix: use reverb as a send or automate it only in transitions. Constant heavy reverb can erase the groove.
Pro Tips for Darker / Heavier DnB
- This adds perceived weight without actual sub buildup. Keep the low end removed, but let the saturation create phantom density.
- Duplicate the atmosphere chain, make one version dirtier with Drum Buss or Saturator, then blend it underneath the cleaner layer. This keeps definition while increasing grit.
- In a sampler-style layer, small pitch offsets can make the atmosphere feel unstable and more “recorded.” Even ±10 to 20 cents can add tension.
- Reversed chopped atmospheres leading into a snare fill work extremely well in darker DnB. It creates an inhale before impact.
- Very quiet chops tucked behind the break can make the groove feel more expensive. They should be felt more than heard.
- This creates contrast and makes the second section feel bigger. Underground DnB often sounds huge because it knows when to disappear.
- The sweet spot for oldskool crunch is often the 1–3 kHz zone. That’s where the “sampler memory” lives.
- If the chain gets too cooked, you can rebuild without losing the original phrase. Great for rapid finishing.
Mini Practice Exercise
Spend 10–20 minutes building one atmosphere layer using this exact workflow:
1. Find a 1- to 2-bar tonal or noisy sample.
2. Slice it into 6–10 chops in Simpler or Sampler.
3. Program a 2-bar pattern with at least one gap per bar.
4. Add Saturator with 4–6 dB Drive and Soft Clip on.
5. Add Auto Filter and automate cutoff from dark to slightly brighter over 8 bars.
6. High-pass the layer around 180–250 Hz.
7. Resample the result into audio.
8. Reverse one chop and mute another to create variation.
9. Put it over a breakbeat and a bass loop.
10. Mono-check it and reduce width if the groove loosens.
Goal: make the atmosphere feel like it belongs in a 1994-style jungle intro but still works in a modern Ableton Live 12 project.
Recap
The chop saturate method is about turning a sample into a gritty, musical atmosphere layer with real DnB character. The essentials are:
If you get the balance right, the atmosphere won’t just sit in the track — it will shape the whole vibe of the jungle, roller, or darker DnB arrangement.

