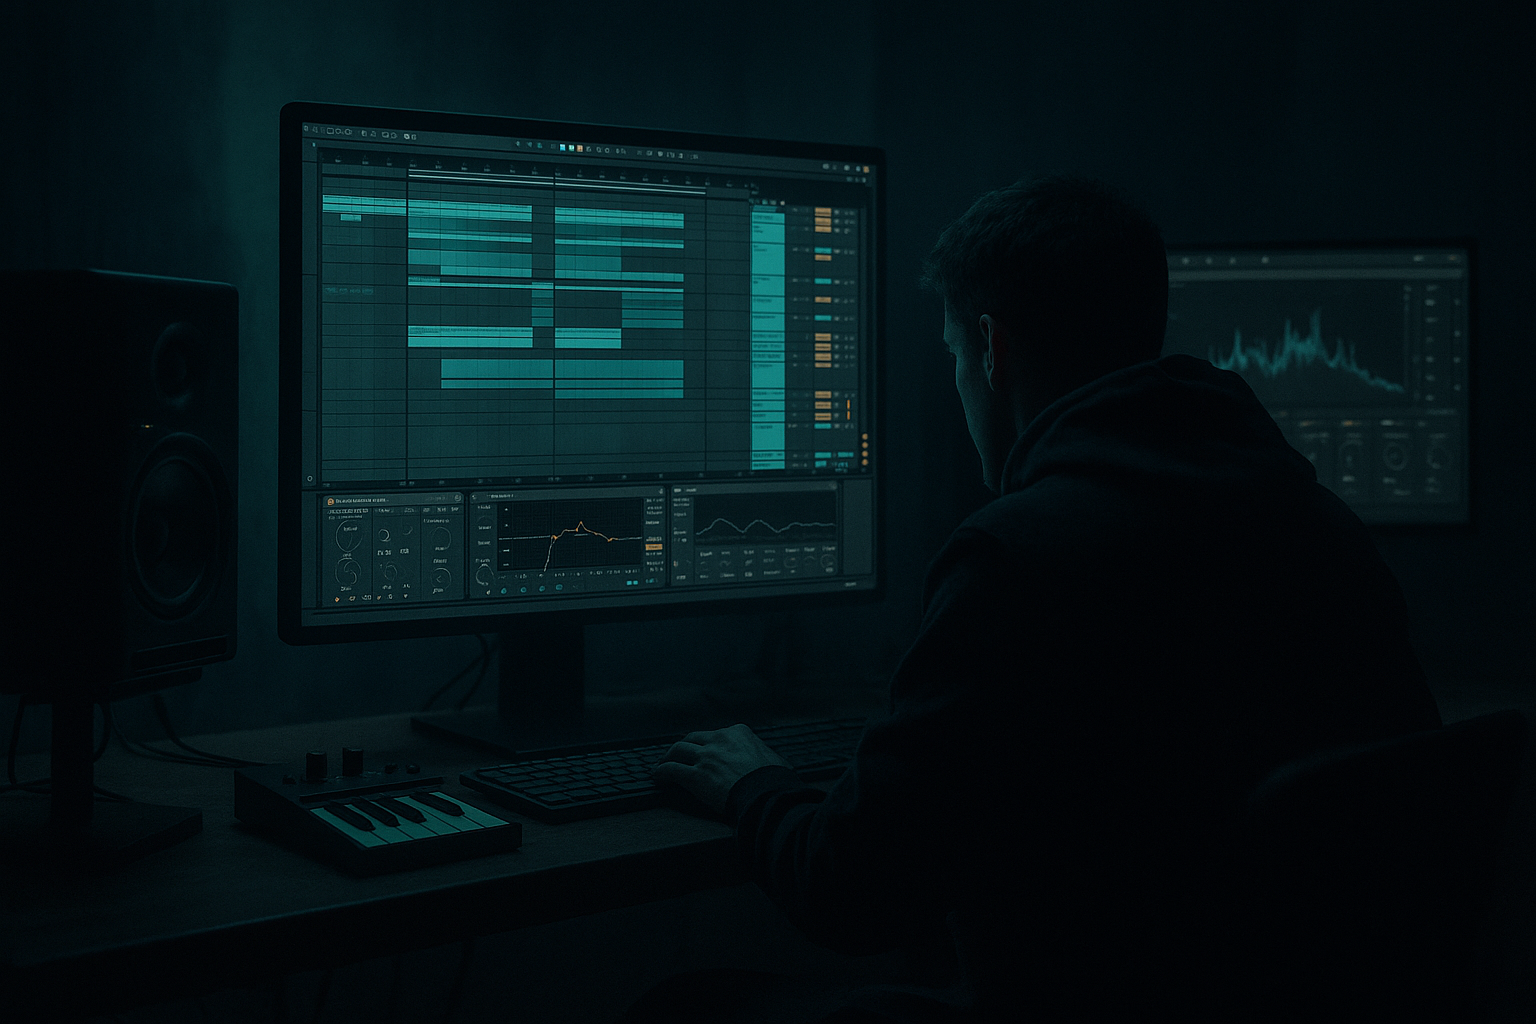
Main tutorial
Lesson Overview
This lesson is about a very specific DnB finishing move: chop, tighten, playbook. In practical terms, that means taking a breakbeat, slicing it into usable pieces, tightening the timing without killing its jungle swing, and building a repeatable workflow that lets you move fast across a full track in Ableton Live 12.
In Drum & Bass, this matters everywhere: intro groove, drop energy, fill logic, turnarounds, and tension edits. A lot of producers can find a good break, but the difference between “nice loop” and “finished record” is usually how cleanly the edits are controlled, how well the swing is preserved, and how quickly you can turn one drum phrase into a whole arrangement system. That’s the point of this lesson.
We’ll focus on a workflow that works for authentic jungle, rollers, darker halftime-leaning DnB, and neuro-influenced drums:
- chop a break into a flexible performance-ready kit
- tighten the hits with groove-aware editing
- keep the swing human instead of robotic
- build a reusable playbook for fills, variations, and drop switches
- preserve low-end and transient impact while staying mix-safe
- a chopped jungle break in Simpler or Drum Rack
- a tightened drum groove that still swings naturally
- a repeatable MIDI-based drum playbook for 8-bar DnB phrases
- a fill and variation system for transitions, switch-ups, and drop edits
- a drum bus chain using stock Ableton devices for glue, grit, and control
- a clean workflow you can reuse on future tracks without rebuilding everything from scratch
- a 170–174 BPM roller with a chopped Amen or Think break feel
- a darker 2-step / jungle hybrid with ghost notes and syncopated hat movement
- a drop section where the break opens up around the bassline instead of fighting it
- an intro/outro version that’s DJ-friendly and easy to extend
- Over-quantizing the break
- Making every slice too short
- Ignoring velocity
- Letting the break fight the bass
- Too much stereo on the low-end drums
- Overusing effects on the drum bus
- Not naming slices
- Parallel grit without losing punch: duplicate the drum bus, crush the duplicate with Saturator or Drum Buss, then blend it quietly under the clean drums.
- Use subtle pre-drop filters: automate a low-pass or band-pass on the drums in the last 1–2 bars before the drop to create tension without gimmicks.
- Pair breaks with a dry kick layer: a short, focused kick can stabilize a messy break without making the groove feel sterile.
- Control harshness early: if hats or snare edges get painful, tame them with EQ Eight around 6–10 kHz or use a gentle shelf cut.
- Build call-and-response with bass and drums: let the bassline leave space right after a snare accent, then answer in the next half-bar.
- Resample for character: lightly saturated resampled drums often sit better in dark DnB than pristine MIDI patterns.
- Use ghost hits as tension, not decoration: a single well-placed pre-snare tick can energize a whole bar more than a busy fill.
- Keep the sub clean while the mids get dirty: dirty the reese, not the sub. That’s one of the fastest ways to keep heaviness and clarity together.
- Chop the break into a playable Drum Rack or Simpler setup.
- Tighten the main hits, but protect the swing in the ghosts and off-beats.
- Use small timing, velocity, and arrangement changes to create real DnB movement.
- Keep drums and bass in conversation, not competition.
- Build a reusable playbook so you can move fast across intros, drops, fills, and outros.
- Resample when the groove is working so you can lock in the character.
Why this matters in DnB: the genre lives and dies on micro-timing, call-and-response, and drum personality. If the drums are too rigid, the track feels flat. If they’re too loose, the bass loses authority. The goal is controlled movement: locked enough to hit hard, loose enough to breathe.
What You Will Build
By the end of this lesson, you’ll have:
Musically, think:
Step-by-Step Walkthrough
1. Start with the right source break and set your working tempo
Pick a break that already has character. Good candidates for DnB/jungle treatment are Amen-style phrases, Think break style loops, or any drum recording with strong ghost-note detail and enough transient edge to survive chopping. Import it into an audio track and set your project around 170–174 BPM for modern DnB, or 166–170 BPM if you want a slightly looser roller feel.
Use Ableton’s warp sensibly:
- Set Warp on
- For break loops, try Beats mode
- Start with Preserve = Transients
- Adjust transient envelope so the snare and kick remain punchy
- Avoid over-stretching until the break turns papery
Why this works in DnB: the source break already carries the genre’s rhythmic DNA. You’re not just copying drums; you’re extracting the swing profile that makes jungle feel alive.
2. Slice the break into performance-ready hits
Right-click the audio clip and use Slice to New MIDI Track. For DnB drum editing, the slice settings matter:
- Slicing preset: Transient for detailed chop work
- If the break is sparse, try Warp Marker slicing around the main hits
- Map slices to a Drum Rack so each hit gets its own pad
Once sliced, rename the key hits immediately:
- KICK
- SNARE
- HAT
- GHOST
- FILL
- TAIL
This is a workflow move, not just housekeeping. Advanced producers move faster because they can read the kit instantly. If the break is in a Drum Rack, group similar elements:
- one chain for kick-heavy slices
- one for snare and top-layer hits
- one for ghost notes and tiny pickup hits
Tip: if a slice contains too much tail, use Simpler on that pad and shorten the sample length rather than destroying the full break. This keeps the option to re-open the sample later.
3. Tighten the main pulse without deleting the human swing
Build a 1-bar loop around the strongest kick/snare relationship first. Don’t quantize everything to death. In DnB, the swing usually lives in the space between the backbeat and the ghost details.
Workflow method:
- Record or draw a simple kick-snare skeleton
- Quantize only the anchors, not every ghost hit
- In the MIDI editor, nudge some off-beat hits slightly late by 5–15 ms for a lazy jungle pocket
- Push certain pre-snare ghost notes slightly early by 3–10 ms to create urgency
If you’re using MIDI grooves, drag a groove from a classic break feel into the groove pool and apply it lightly:
- Groove Amount: 10–35%
- Velocity Amount: 20–50%
- Timing Amount: 15–30%
Don’t max it out. The goal is “tight but breathing,” not “looped on rails.” For darker rollers, a subtle push-pull can make the groove feel expensive and deliberate.
4. Program the chop logic: anchor, answer, and fill
Now create a 2-bar phrase using the chopped slices. Use a simple DnB call-and-response structure:
- Bar 1: anchor groove
- Bar 2: variation + fill
A reliable pattern:
- kick on the downbeat
- snare on 2 and 4, or the DnB backbeat positions appropriate to your break
- ghost notes around the snare to imply motion
- one or two top hits answering the main drum phrase
For advanced jungle swing, keep at least one repeatable motif:
- a signature ghost-note run before the snare
- a hat flick after the snare
- a fill hit leading into bar 2 or bar 4
Use Note Repeat only if it serves the groove; otherwise, manually place notes. Better yet, duplicate the clip and make small bar-to-bar differences:
- bar 2: remove one kick
- bar 4: add a reversed snare slice or short fill
- bar 8: add a denser break turnaround
This is how you make the drum pattern feel like a conversation instead of a loop.
5. Shape the slices with Simpler, envelopes, and transient discipline
On key pads in the Drum Rack, use Simpler for control:
- Mode: Classic or One-Shot depending on the slice
- Set the sample start a touch tighter on kicks and snares
- Shorten tails on ghost hits so they don’t smear the groove
- Use the Filter to remove harsh top end from brittle slices
Useful starting ranges:
- Filter cutoff on harsh hat slices: 8–14 kHz
- Short decay on ghost hits: 20–80 ms
- Slightly longer release on snare tails if you want jungle wash: 80–180 ms
Add Drum Buss on the Drum Rack group or a subgroup:
- Drive: 5–20%
- Boom: subtle, or off if sub is already busy
- Transients: +5 to +20
- Damp: adjust to stop top-end fizz
Why this works in DnB: the genre depends on tight transient design. If every slice rings too long, the bassline loses space. If slices are too short, the break loses identity. Controlled tail lengths keep the groove sharp while preserving the sampled character.
6. Create a drum bus chain for glue, grit, and movement
Route all drum slices to a dedicated Drum Bus group. On the group, build a stock Ableton chain like this:
- EQ Eight: high-pass very low rumble if needed, usually around 25–35 Hz
- Saturator: Soft Clip on, Drive 2–6 dB for density
- Drum Buss: for transient push and controlled harmonic edge
- Glue Compressor: light compression, 1–2 dB gain reduction, slowish attack to keep transients alive
- Utility: use for mono checks and narrow control
If the break feels too wide or smeared, keep the core drum bus mostly mono and let only selected top percussion sit wider. In DnB, a solid center image usually wins because the bassline needs the room.
Advanced workflow move: split the drums into two buses:
- Core Drums: kick, snare, main break
- Top Hats/Fx: shuffles, rides, percussion, tiny fills
This makes automation cleaner. You can distort or widen the tops without crushing the impact of the main groove.
7. Lock the bassline against the chop
The drum edit is only half the story. In DnB, your bassline must react to the drum phrasing. Set up a short call-and-response pattern with your bass MIDI:
- let the bass answer the snare
- leave room during dense ghost-note passages
- use tiny rests before a drop phrase or fill
If you’re using Ableton stock devices for bass, a classic workflow is:
- Operator or Wavetable for the source
- Saturator or Roar for harmonic density
- Auto Filter for movement
- Utility for mono discipline on sub
Keep the sub centered and stable:
- Mono under roughly 120 Hz
- Avoid stereo widening on the low bass
- If the drums need more width, do it above the low-end zone
Musical context example: in an 8-bar roller, bars 1–2 can be sparse and heavy, bars 3–4 can introduce chopped ghost fills, bars 5–6 can open the bassline with more rhythmic activity, and bars 7–8 can strip down into a turnaround. The drums should shape that energy curve.
8. Automate the edits for transitions and arrangement energy
Use automation to turn your chop system into an arrangement tool. A few high-impact moves:
- automate filter cutoff on the drum bus for intro tension
- automate reverb send on a snare hit before a drop switch
- automate dry/wet on Echo for a single fill phrase
- automate Saturator drive up slightly in the final 2 bars before a drop
Keep these changes small:
- Filter sweeps: subtle, not EDM-style huge
- Reverb sends: one-shot accents, not permanent wash
- Delay throws: short and isolated on transition hits
For DJ-friendly arrangement, build:
- 16-bar intro with a reduced break
- 16- or 32-bar drop section with full chop logic
- 8-bar breakdown or switch-up
- 16-bar outro with simplified drums and clear mix exit
This is where the “playbook” part matters: the same chop system can produce intro, drop, and outro versions simply by removing layers and automating movement.
9. Make a reusable variation bank
Advanced workflow means you stop treating every fill as a one-off. Duplicate your 2-bar drum clip and create versions:
- A = main groove
- A2 = removed kick + extra ghost
- B = snare fill + hat answer
- C = tension turn with reversed slice
- D = stripped version for breakdowns
Color-code or group them clearly in Session View or Arrangement View. If you’re working fast, keep a dedicated track lane for “drum options” and mute/unmute between sections.
Use the Clip Gain and note velocities to differentiate versions rather than reinventing the pattern. For DnB, tiny velocity differences on ghost notes can matter more than adding more notes.
Common targets:
- ghost velocities: 20–55
- accent notes: 80–115
- fill hits: vary them so the ear doesn’t flatten the loop
10. Resample the best loop and commit to the vibe
Once the groove is working, resample it. Create a new audio track, route the drum bus to it, and record 4–8 bars of your strongest version. Then inspect the audio:
- trim the best section
- consolidate the cleanest bar
- use it as a texture layer or final drum stem
This is especially useful for jungle and darker DnB because resampling lets you capture the exact grit and glue of the current mix state. You can also reverse tiny pieces, layer them under fills, or use them as transition swells.
Final check:
- drums should hit hard at low monitor volume
- bass should not blur the snare
- groove should still feel human when looped for 32 bars
- each 8 bars should contain one change, even if it’s tiny
Common Mistakes
- Fix: quantize only the anchor hits, then manually push/pull ghosts by a few ms.
- Fix: preserve a little tail on snares and selected ghost hits so the break still breathes.
- Fix: vary ghost notes and top hits. Jungle swing often lives more in velocity than note density.
- Fix: simplify drum activity where the bass has rhythmic movement. Leave air for sub and reese phrases.
- Fix: keep core kick/snare/break center-focused. Use width on tops only.
- Fix: if the groove gets smaller, back off the compression, widening, or saturation.
- Fix: label the important pads immediately. Speed is part of the craft.
Pro Tips for Darker / Heavier DnB
Mini Practice Exercise
Spend 10–20 minutes building one 4-bar drum phrase:
1. Import one jungle break into Ableton.
2. Slice it to a Drum Rack using transient slicing.
3. Build a 1-bar groove with kick, snare, and 2–4 ghost hits.
4. Duplicate to 4 bars and make each bar slightly different:
- bar 2: remove one hit
- bar 3: add one fill note
- bar 4: add a turnaround or reverse slice
5. Put Drum Buss and Saturator on the drum group.
6. Add a bass note or two underneath and check whether the groove still feels strong.
7. Toggle Utility to mono on the drum bus and confirm the core punch stays intact.
8. Resample 4 bars and compare the resampled result against the live MIDI version.
Goal: make one loop that feels like it could live in an actual DnB drop, not just a beat idea.

