Main tutorial
```markdown
Clip Gain Before Processing (for DJ‑Friendly Sets) — DnB Mixing in Ableton Live 🎛️
1) Lesson overview
In drum & bass, the mix needs to slam, but it also needs to be DJ-friendly: consistent loudness across intros, drops, breakdowns, and outros so your track doesn’t disappear in a mix or clip unpredictably on a club system.
This lesson focuses on clip gain before processing (a.k.a. gain staging at the clip level) so your processing chains behave consistently and your final render lands at a predictable level—without relying on a limiter as a crutch.
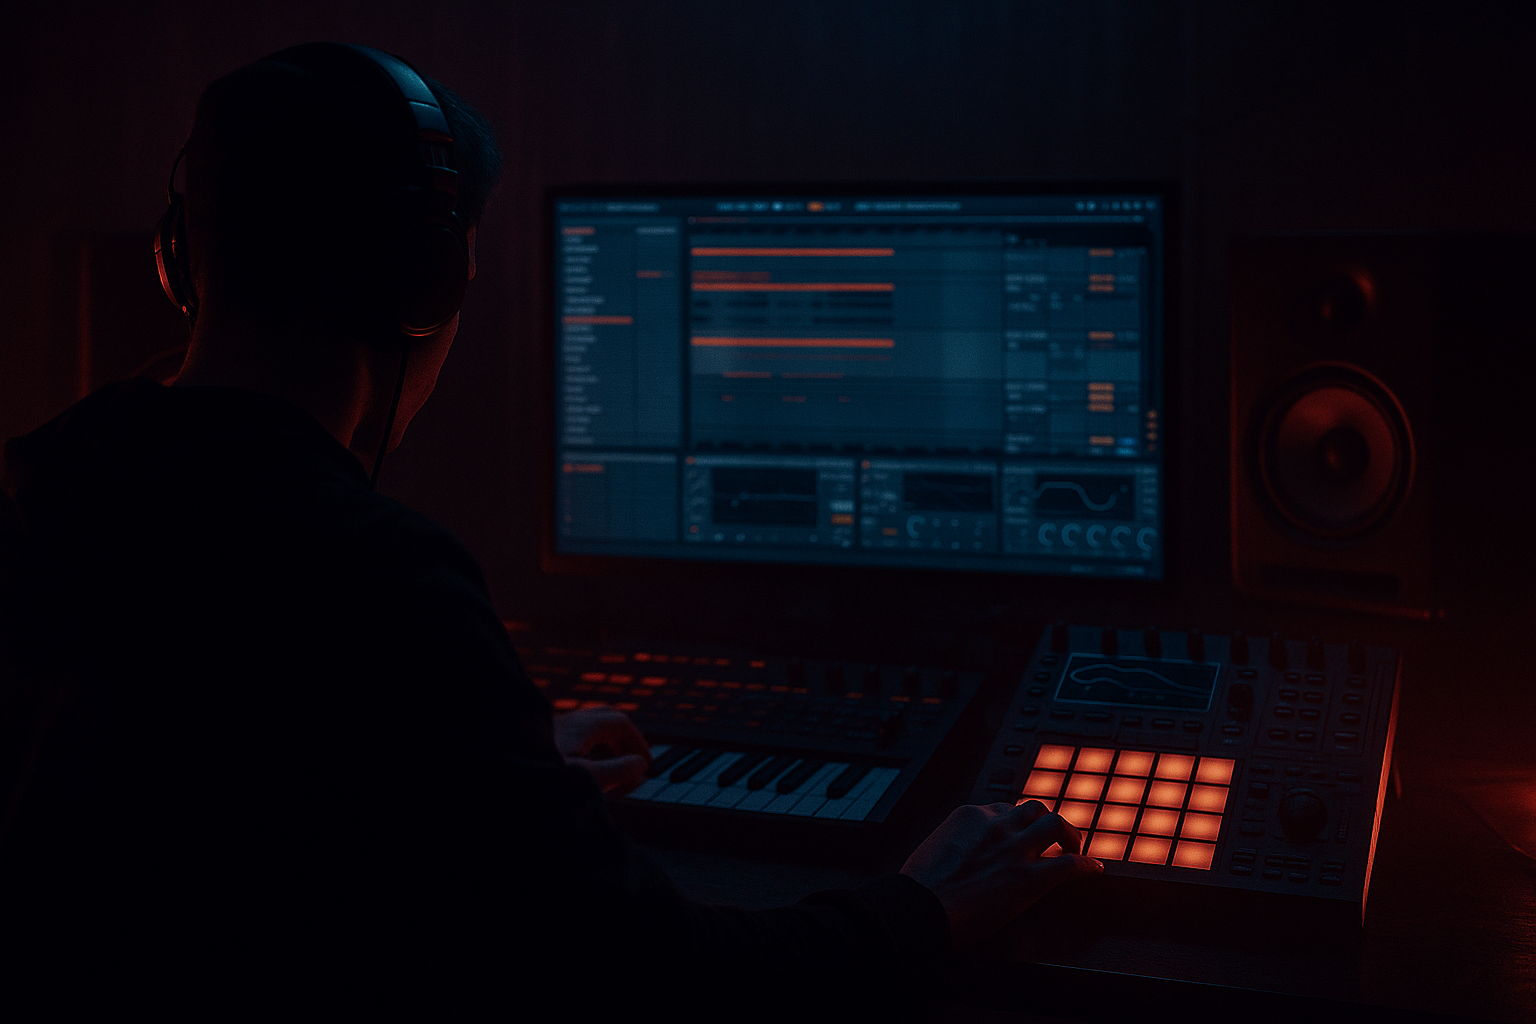
We’ll do this specifically in Ableton Live, using stock tools and a workflow that fits rolling/techy DnB, jungle, and heavier halftime.
---
2) What you will build
You’ll build a DJ‑friendly gain structure for a full DnB arrangement:
- Consistent per-channel clip gain feeding your mix bus
- Controlled transients on drums without random “why is my compressor freaking out?” moments
- Stable bass processing that doesn’t change character between sections
- A simple “DJ-ready” arrangement level plan:
- Click an audio clip → Clip View (bottom) → Gain knob.
- This is pre-device (it happens before your effects chain). Perfect.
- There’s no “clip gain” knob in the same way, so you simulate it by:
- DRUMS Group
- BASS Group
- MUSIC Group
- FX Group
- VOCAL (optional)
- Gain: 0.0 dB (we’ll use it as a trim when needed)
- Bass Mono: On, 120 Hz (on the Master or BASS group depending on your workflow)
- One break loop for intro (lighter) and one for drop (heavier). Clip gain them to the same perceived loudness so a DJ transition doesn’t suddenly jump.
- Put a Utility first in chain and treat it as “clip gain.”
- Keep sub consistent: don’t let note changes cause huge level jumps.
- Intro (16–32 bars): ~ -2 to -4 dB perceived quieter than drop
- Drop: your reference loudness
- Breakdown: pull back ~ -2 to -6 dB, keep kick/snare presence
- Outro: similar to intro, stable and mixable
- Clip gain adjustments on key stems
- Or use group Utility automation (also valid)
- Clip gain for asset normalization
- Group Utility automation for intentional arrangement energy moves
- Set compressors to do predictable amounts of work
- Set saturators to hit the same harmonic density
- Set reverbs/delays so sends don’t explode in one section
- Using track faders as “clip gain”
- Letting one break slice spike 6 dB louder than the rest
- Driving Saturator/Drum Buss differently per section
- Over-limiting the master to “fix” level jumps
- Not gain-staging MIDI instruments
- Use clip gain to hit distortion thresholds consistently
- Control low-end energy before bus processing
- Make the intro “DJ-usable,” not just atmospheric
- Clip-gain your impacts and downlifters
- Parallel aggression without level chaos
- Clip gain (audio) and pre-gain (Utility for MIDI/instruments) are your first line of control for DJ-friendly consistency.
- Stable input levels make compression, saturation, and bus processing predictable—critical for rolling DnB.
- Use clip gain to normalize assets, and group Utility automation to shape arrangement energy.
- Your goal is a track that a DJ can blend confidently: intros/outros are present, drops are huge, and nothing randomly clips.
- Intro (16–32 bars): clean, mixable
- Drop (32–64 bars): hard but controlled
- Breakdown: lower energy, still audible
- Outro (16–32 bars): mixable tail
---
3) Step-by-step walkthrough
Step 0 — Set up your metering + reference points 📏
Goal: make decisions with consistent measurement.
1. On the Master, drop:
- Spectrum (for low-end sanity checks)
- Optionally Limiter temporarily (for safety while working, not as the solution)
2. Turn on View → Mixer Section → Track Volumes + Meters.
3. Decide a working target:
- For modern DnB, a good pre-master target is peaks around -6 dBFS on the Master during the drop (before final limiting).
- If you mix into a limiter later, you’ll have consistent headroom.
Why clip gain first? Because compressors, saturators, EQs with nonlinear curves, and transient shaping all react to input level. Consistent input = consistent tone.
---
Step 1 — Understand “Clip Gain” in Ableton (Audio vs MIDI)
Audio clips:
MIDI instruments:
- Adjusting instrument output level, or
- Using Utility first in chain (gain), or
- Adjusting velocity (changes tone depending on instrument—be careful).
Rule: For DJ-friendly consistency, keep track faders close to 0 dB most of the time and do most “level normalization” via clip gain / pre-gain utilities.
---
Step 2 — Build a clean DnB routing template (fast + consistent)
Create groups (typical DnB session layout):
- Kick
- Snare
- Hats/Top loop
- Perc/Fills
- Sub
- Mid/Reese
- Pads/Atmos
- Stabs/Rave
- Uplifters/Downlifters/Impacts
On each group, put a Utility as the first device (acts as a clean trim + mono tools).
Utility settings (starting point):
---
Step 3 — Clip-gain your drums so the groove hits predictably 🥁
Goal: consistent transient energy into your drum processing.
#### Kick
1. Select your kick audio clip(s).
2. In Clip View → Gain, set so the kick peaks roughly:
- -10 to -8 dBFS on the track meter before any processing (ballpark).
3. Keep kick clips consistent across arrangement (intro/drop/variation).
Kick chain (stock, DJ-safe):
1. EQ Eight
- HPF at 25–30 Hz (24 dB/oct) if needed (don’t gut the weight)
- Tiny dip if boxy around 200–400 Hz
2. Drum Buss
- Drive 2–6%
- Boom: Off or very subtle (DnB subs usually handled elsewhere)
- Transients: +5 to +20 (taste)
3. Glue Compressor
- Ratio 2:1
- Attack 10 ms
- Release Auto
- Aim for 1–3 dB gain reduction on peaks
#### Snare
1. Clip gain until snare peaks roughly:
- -12 to -9 dBFS pre-processing (depends on style)
2. Keep it stable across fills and different snare samples.
Snare chain idea:
1. EQ Eight
- HPF 80–120 Hz
- Add presence around 2–5 kHz if needed
2. Saturator
- Mode: Analog Clip
- Drive 1–4 dB, Soft Clip On
3. Transient Shaper?
- Use Drum Buss Transients +10 to +30 (careful—can get clicky)
#### Tops / breaks / hat loops (jungle energy)
If you’re using break edits or top loops, they’re the biggest “DJ inconsistency” culprit because different slices hit different peak levels.
1. Consolidate your break edits (Cmd/Ctrl+J) when you’re happy.
2. Clip gain the consolidated loop so its peaks are predictable:
- Often -14 to -10 dBFS depending on density.
3. If some hits are still wild:
- Use Clip gain automation per section, or
- Split the clip at problem hits and trim those slices.
Pro workflow:
---
Step 4 — Clip-gain your bass BEFORE distortion and dynamics 🔥
Bass processing is super level-dependent in DnB (especially reese distortion and multiband compression).
#### Sub
If your sub is MIDI (Operator/Wavetable):
Sub chain (clean club translation):
1. Utility (pre-gain trim)
2. EQ Eight
- Lowpass around 80–120 Hz (depending on crossover)
- Optional: notch resonances
3. Glue Compressor (optional)
- Ratio 2:1
- Attack 30 ms
- Release Auto
- GR 1–2 dB max
4. Limiter (optional as safety, not loudness)
- Ceiling -1.0 dB
- If it’s working hard, fix gain earlier
#### Reese / mid-bass
1. Clip-gain or pre-gain (Utility) so your distortion hits the “sweet spot.”
2. Your target is stable tone: the same patch should sound equally aggressive in drop A and drop B.
Mid-bass chain (stock):
1. Utility (gain staging)
2. Saturator
- Drive 3–10 dB (depends)
- Soft Clip On
3. Amp (optional)
- Clean/Blues for bite
4. EQ Eight
- Highpass around 90–150 Hz (to leave room for sub)
5. Multiband Dynamics
- Use gently; try OTT-style but restrained:
- Amount: 10–25% (not 100% unless you want chaos)
6. Limiter (only catching stray peaks)
Key principle:
If the reese feels different each section, it’s often because the input level changed (not because your patch “mysteriously changed”). Fix with clip/pre-gain first.
---
Step 5 — Arrangement-based clip gain for DJ-friendly energy 🧱
In DnB, you want sections to be mixable without surprise dips/spikes.
#### Plan your “DJ level map” (simple + effective)
But not “silent.” DJs need something to ride.
#### How to do it (best practice)
Instead of pulling the master down (bad habit), do:
- Drum loop clip gain down a dB in breakdown
- Music/atmos clips down 2–4 dB in intro
- Example: MUSIC group Utility gain -3 dB in intro, then back to 0 dB at drop
I prefer:
---
Step 6 — Make processors behave: “same in, same out”
Once levels are stable:
DnB drum bus example (DRUMS Group):
1. EQ Eight
- Optional gentle tilt; don’t over-EQ the bus
2. Glue Compressor
- Attack 3–10 ms
- Release Auto
- GR 1–2 dB for glue, not squashing
3. Drum Buss
- Drive 2–5
- Crunch: 0–10
4. Limiter (optional, very light)
- Only 1–2 dB peak control
If your Drum Buss suddenly sounds harsher in Drop B:
check clip gains on kicks/snares/tops first.
---
Step 7 — Pre-master sanity check (DJ-focused)
Before export, do a quick DJ-friendly check:
1. Loop 16 bars of intro, then 16 bars of drop.
2. Watch Master peaks:
- Intro shouldn’t be way lower (unless stylistic), or DJs will struggle to mix.
3. Bypass any temporary master limiter:
- Does the mix collapse? If yes, you were relying on limiting instead of gain staging.
4. Check mono:
- Use Utility on Master → Width 0% briefly.
- Sub should remain strong and centered.
---
4) Common mistakes
Then automation and mixing decisions get tangled fast. Normalize at the clip/pre-gain stage instead.
Your drum bus compressor will pump unpredictably; DJs hear inconsistent energy.
The bass or drums “change character” between drops.
This makes intros crunchy and drops smaller.
Your “clip gain” changes with velocity/notes—use Utility or instrument output trim.
---
5) Pro tips for darker/heavier DnB 🖤
Dark reeses often depend on a narrow input range for the nastiest harmonics.
If the sub note changes cause 2–3 dB swings, your entire mix bus will react. Pre-gain the sub (Utility) and consider mild compression.
Keep a filtered break or hats at a stable level. DJs love a reliable grid to blend.
Big cinematic hits can steal 6 dB of headroom and shrink your drop. Trim them before reverb and limiting.
- Send snare to a return with Saturator + EQ Eight + Compressor
- Keep the return level stable; don’t let clip spikes dictate your “anger.”
---
6) Mini practice exercise (15 minutes) ⏱️
Goal: train your ear + workflow to normalize a DnB loop with clip gain.
1. Load:
- Kick, snare, top loop/break, sub, reese.
2. Add one heavy downlifter into the drop.
3. Do no processing yet.
4. Clip-gain / pre-gain each element so the drop hits:
- Kick: peaks around -10 to -8 dBFS
- Snare: peaks around -12 to -9 dBFS
- Tops/break: peaks around -14 to -10 dBFS
- Sub + Reese together: leave Master around -6 dBFS peak
5. Now add your processing chains.
6. Compare:
- Does the character stay consistent if you duplicate the drop and swap one break variation?
- If it changes: fix clip gain first, not the compressor settings.
Deliverable: bounce a 16-bar intro + 16-bar drop and confirm the intro is mixable (not disappearing).
---
7) Recap ✅
If you tell me your subgenre (liquid, rollers, neuro, jungle, halftime) and whether you mix into a master chain, I can suggest exact gain targets and a template rack for your setup.
```

