Main tutorial
Collecting Classic Jungle References Efficiently (Ableton Live Workflow) 🔥🥁
1. Lesson overview
If you want your jungle/drum & bass to actually sound like jungle, you need better references—faster. This lesson is about building a repeatable, low-friction system in Ableton Live for collecting classic jungle references (breaks, bass pressure, arrangement, ambience, mix balance) and turning them into actionable production targets.
This is aimed at intermediate producers: you know your way around Ableton, but your referencing is probably inconsistent, scattered across YouTube links, random folders, and half-finished playlists.
---
2. What you will build
By the end, you’ll have:
- A dedicated Ableton “Reference Hub” project you can reuse for every track
- A Reference Track Lane with:
- A tagged reference library structure (break-focused, bass-focused, mix-focused)
- A template for capturing:
- A consistent workflow to go from “found a tune” → “usable reference” in under 2 minutes ⏱️
- Drag in your chosen reference track (WAV/AIFF).
- Turn Warp ON
- Set Warp Mode: Complex Pro
- Set the Seg. BPM only if you need it aligned for looping.
- Duplicate clips from Track A into this track, but make them 8 or 16 bar loops:
- `Peshay - Drop Drums 16`
- `Metalheadz - Bass Weight 8`
- `Renegade Snares - Amen Loop 8`
- This is where you drag the current work-in-progress bounce (or your live set’s master resample).
- Add Spectrum on both tracks:
- Aim for similar perceived loudness and similar low-end energy when comparing sections.
- Rack name: `A/B LEVEL`
- Macro 1: `REF Gain`
- Macro 2: `YOUR Gain`
- Many 90s jungle tunes hit the first drop after 16 or 32 bars.
- Drops often introduce one key new element at a time: break first, then bass pressure, then stabs/FX.
- How bright the hats are vs snare
- How much 200 Hz “cardboard” exists in the break
- Whether the break is wide or mostly mono
- The transient “snap” level relative to the bass
- `Break - Amen - Clean 170.wav`
- `Break - Think - Crunchy room 165.wav`
- `Mix - Dark roller - sub controlled.wav`
- `Atmos - jungle rain + vinyl bed.wav`
- Add your reference folders to Places
- Use Ableton’s Collections (color tags) for:
- Name the MIDI clip the same as the audio loop.
- In the Clip Notes (bottom panel), write 3 bullets:
- Build a “Dark Roller Reference Set” separate from classic jungle if you’re doing modern weight:
- Use EQ Eight Mid/Side mode on references:
- Add Glue Compressor (0 dB makeup, just monitoring) to understand density:
- Dark DnB often has less top end than you think, but clearer 2–5 kHz bite for snares. Don’t confuse “dark” with “dull.”
- Build a Reference Hub Ableton set once, reuse forever.
- Collect references by function, not just artist/title.
- Use a Reference Track Lane with:
- Extract actionable notes: every reference must produce a production decision.
- loudness-matched A/B referencing
- markers for arrangement sections (intro, drop, breakdown, 2nd drop)
- loopable segments (8/16 bars) for quick comparisons
- break edits (Amen, Think, Hot Pants, Funky Drummer, etc.)
- sub/bass behavior
- space & atmosphere (reverbs, noise beds, dub echoes)
---
3. Step-by-step walkthrough
Step 1 — Create a dedicated “Jungle Reference Hub” Ableton project 📁
Why: Keep references out of your production projects. A single hub becomes your “library brain.”
1. Create a new Live Set and save it as:
`Jungle_Reference_Hub.als`
2. In the same folder, create subfolders:
- `References - Full Tracks`
- `References - Break Sections`
- `References - Bass/Sub`
- `References - Atmos/Mix`
- `Screenshots + Notes`
Workflow suggestion: Keep audio copies locally (WAV/AIFF preferred), not just streaming links. Streaming audio is inconsistent in loudness and can disappear.
---
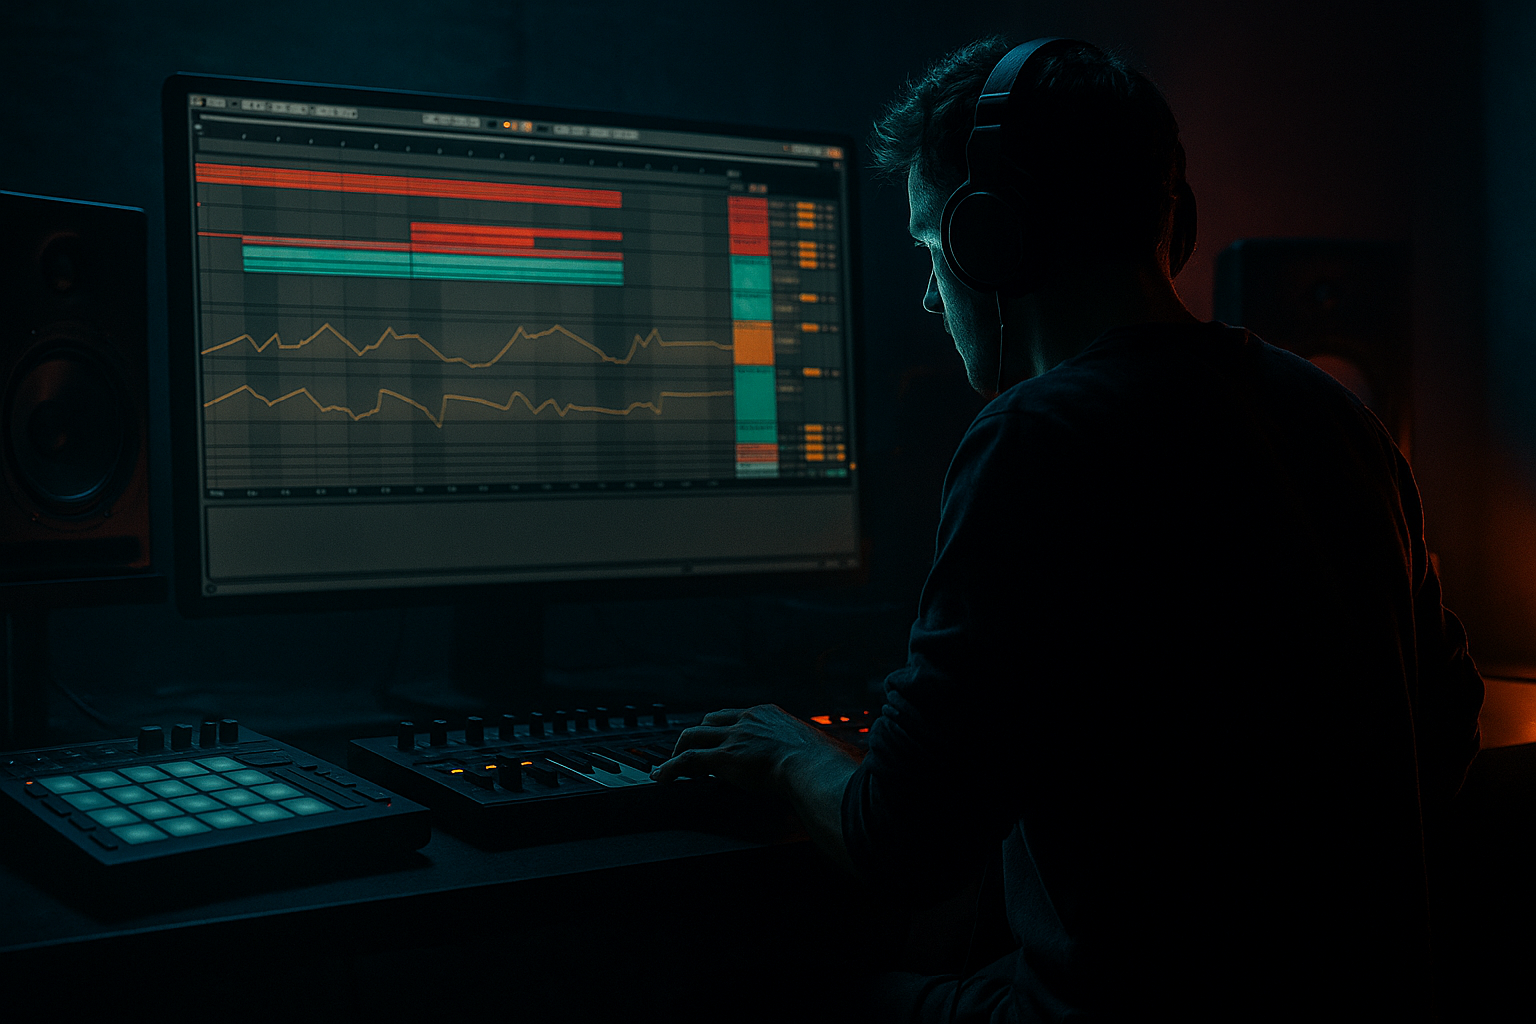
Step 2 — Build a Reference Track Lane (the heart of the system) ❤️
Create these tracks in Ableton:
#### Track A: `REF - Full Track`
Set Warp settings carefully:
- Formants: 0
- Envelope: 128
(You’re not DJ’ing; you’re analyzing.)
Why Complex Pro? It keeps tonal material stable when you loop/warp. For break-only sections you may prefer Beats mode later, but for full tracks, Complex Pro is fine.
#### Track B: `REF - Loops`
- Intro drum texture loop
- Drop drum loop
- Bass+drums groove loop
- Breakdown atmosphere loop
Pro move: Rename clips like:
#### Track C: `YOUR TRACK`
---
Step 3 — Loudness-match your references (so your ears stop lying) 🎚️
Classic jungle is often mastered differently from your current WIP. If you A/B without matching, you’ll always think the louder one is better.
Easy method using stock devices:
1. Put a Utility device on:
- `REF - Full Track`
- `YOUR TRACK`
2. Set both to Mono = OFF (keep stereo; we’ll check mono later)
3. Adjust Gain so both feel similar in loudness.
More accurate method (still stock):
- Block size: 8192
- Avg: Medium
Workflow tip: Map Utility Gain to Macro knobs (in an Audio Effect Rack) so you can trim fast:
---
Step 4 — Set arrangement markers like a producer, not a fan 🧭
In Arrangement View:
1. Locate key sections in the reference:
- Intro (DJ-friendly)
- First drop
- Midbreak / breakdown
- Second drop
- Outro
2. Add Locator markers with musical names:
- `Intro - hats & atmos`
- `Drop 1 - full break`
- `Mid - pads/noise`
- `Drop 2 - variation`
3. Copy those locator positions to your own arrangement as targets.
Classic jungle arrangement reality check:
---
Step 5 — Build a “Break Reference Extractor” chain (fast analysis loops) 🥁
On `REF - Loops`, create an Audio Effect Rack called:
`BREAK ANALYZER`
Add these stock devices in this order:
1. EQ Eight
- Band 1: HP @ 30 Hz, 24 dB/oct (remove rumble)
- Band 4: Bell @ 200 Hz, +2 to +4 dB (body check)
- Band 7: Bell @ 3–5 kHz, +2 dB (snare crack presence check)
- Band 8: LP @ 18 kHz (optional if harsh)
2. Drum Buss
- Drive: 5–15%
- Boom: 0–20% (careful—jungle breaks can get tubby fast)
- Transients: +10 to +30 (to reveal chop punch)
- Crunch: 0–10%
3. Utility
- Width: map to Macro (e.g., 70–120%)
- Add a Mono toggle macro for quick mono checks.
What you’re listening for:
---
Step 6 — Tag references by “function” (the fastest way to find what you need) 🏷️
Stop categorizing by artist only. Categorize by what you need in production.
In your `References - …` folders, keep copies named like:
Inside Ableton Browser:
- 🔵 Break drums
- 🟡 Bass/Sub
- 🟣 Atmos/Space
- 🟢 Arrangement ideas
- 🔴 Mixdown targets (kick/sub/snare balance)
This turns reference hunting into a 5-second operation.
---
Step 7 — Build a “Reference Notes” clip system (so you don’t forget why it’s good) 📝
For each key reference loop, create a MIDI clip on a track called `REF NOTES`.
- “Snare feels like 2–3 dB above hats”
- “Bass is short + ducked, sub is clean”
- “Reverb is mostly on stabs, not on drums”
Why MIDI clips? They’re lightweight, searchable, and live inside your hub set.
---
Step 8 — Quick A/B method while producing (repeatable routine) ⚡
When working on a new track:
1. Export a quick bounce of your current WIP (even 30 seconds is fine).
2. Drag it into `YOUR TRACK` in the Reference Hub.
3. Choose a matching section (drop vs drop).
4. A/B with:
- Utility Gain matched
- Mono check (Utility Mono)
- Spectrum check (focus 40–120 Hz and 2–6 kHz)
5. Write 1 action item:
- “Snare needs +2 dB at 3.5k”
- “Sub too long—shorten decay or add sidechain”
- “Break too wide—reduce width below 200 Hz”
Keep it production-focused: every A/B should end with a change you can make.
---
4. Common mistakes
1. Referencing only one track
Jungle is a spectrum: early ragga, techstep, atmospheric, modern jungle. Use 5–10 references per style.
2. Not loudness-matching
You’ll “chase loudness” and wreck your transients.
3. Warping incorrectly (and blaming your ears)
Bad warp markers can smear breaks. If you loop drums and it flams, re-warp or use Beats mode for drum-only clips.
4. Collecting references but not extracting “why”
If you can’t write a one-line takeaway, it’s not a usable reference yet.
5. Comparing the wrong sections
Don’t compare your intro to their drop. Compare like-for-like.
---
5. Pro tips for darker/heavier DnB 🌑
- Focus on sub cleanliness, kick-sub relationship, and reese movement.
- Check if sub is mostly mono in Mid (often yes).
- Check where the “air” lives (Sides above ~6–8 kHz).
- Attack: 10 ms
- Release: Auto
- Ratio: 2:1
- Aim for 1–2 dB GR on drops in heavy refs.
---
6. Mini practice exercise (15 minutes) ⏱️
1. Pick 3 classic jungle tracks and 2 modern jungle/roller tracks.
2. In the Reference Hub:
- Create two 16-bar loops per track: one drop loop, one atmos/intro loop.
3. Loudness-match with Utility.
4. Add 3 locators to each track:
- Drop start, midbreak start, 2nd drop start.
5. For one chosen reference drop loop, write 3 notes:
- Drum brightness/punch
- Bass behavior (length, ducking, mono)
- Space (reverb/delay/vinyl/noise)
Goal: You should be able to answer:
“What exactly am I stealing (tastefully) from this reference?” 😄
---
7. Recap
- Warp settings you trust
- Loop clips for fast A/B
- Utility for loudness matching
- Locators for arrangement mapping
If you want, tell me what sub-style you’re targeting (1994 ragga jungle, atmospheric, techstep, modern jungle, deep roller), and I’ll suggest a starter reference pack structure + exact loop points to grab for that sound.

