Main tutorial
Color an Amen‑style Edit for 90s‑Inspired Darkness (Ableton Live 12)
Skill level: Advanced
Category: Ragga Elements
---
1) Lesson overview
This lesson is about taking an Amen-style edit (classic chopped break energy) and coloring it into that 90s dark jungle / early DnB vibe—gritty, roomy, punchy, slightly distorted, and mean 😈.
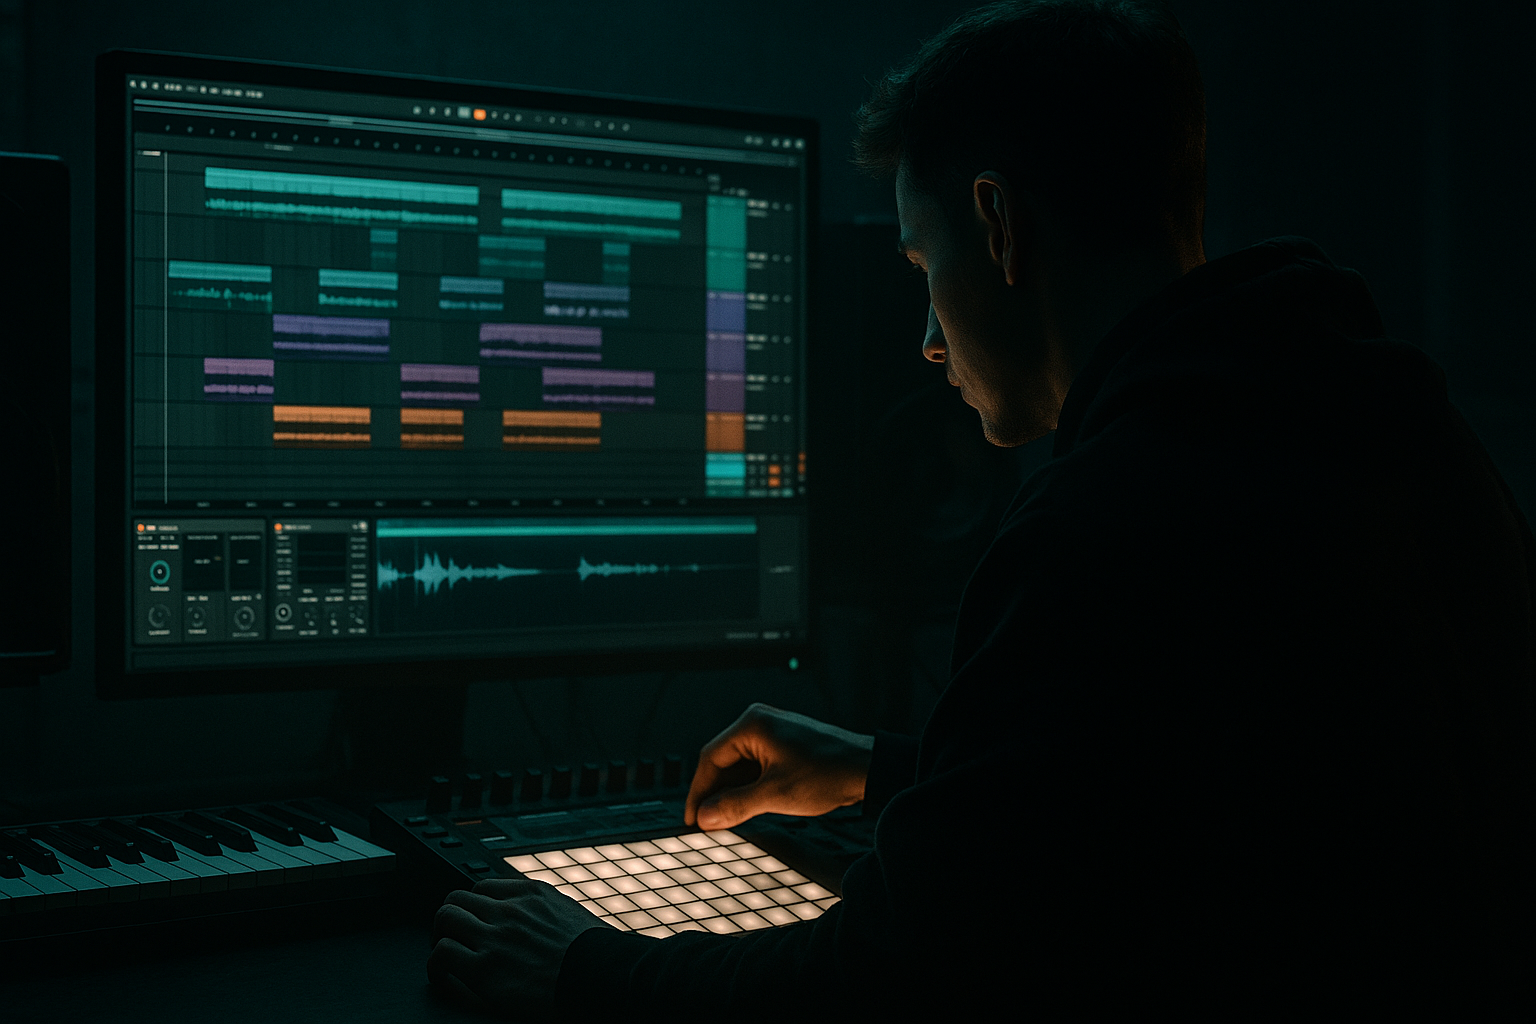
We’ll do it inside Ableton Live 12 using mostly stock devices: Drum Rack, Simpler, Saturator, Roar, EQ Eight, Compressor, Glue Compressor, Drum Buss, Redux, Auto Filter, Hybrid Reverb, Gate, Utility, plus Return tracks for era-correct space.
The goal: dirty without losing transient punch and dark without losing groove.
---
2) What you will build
By the end you’ll have:
- A tight Amen edit in a Drum Rack with controlled tails and consistent hits
- A dark “tape/desk” break bus chain (with parallel grit)
- A raggamuffin‑friendly pocket (break sits under vocals and bass, not fighting them)
- A 90s-style room + dubby send for depth 🕳️
- Arrangement moves: drop switch-ups, fills, and 8/16 bar variation that feel proper jungle
- Open Simpler (Slice)
- Keep the main snare on 2 and 4
- Use chopped ghosts around 1.3–1.4 and 2.3–2.4
- Add a quick 32nd/16th snare tick before the 2 (classic tension)
- Drop in a kick swap on bar 2 for variation
- Groove Pool → try MPC 16 Swing 57–62
- Apply at 35–60%
- HPF 24 dB at 25–35 Hz (remove useless rumble)
- Small dip if boxy: 250–450 Hz, -2 to -4 dB, Q ~1.2
- Optional: tiny shelf down -1 to -3 dB above 12 kHz (dark top)
- Mode: Analog Clip
- Drive: 2–6 dB
- Soft Clip: On
- Output: trim to match (don’t fool yourself with loudness)
- Style: Tape or Overdrive
- Drive: 10–25% (don’t go full fuzz unless that’s the track)
- Filter inside Roar:
- Dynamics: keep it stable; aim for gentle leveling, not squashing.
- Attack: 3 ms
- Release: Auto
- Ratio: 2:1
- Threshold: aim 1–3 dB gain reduction on peaks
- Soft Clip: On (subtle)
- Drive: 2–8
- Boom: On
- Transients: -5 to +5 (often slightly negative for darker breaks)
- Damp: 5–20% to take the edge off
- Main Amen edit + subtle GRIT + ROOM
- Keep variations minimal (let the groove hypnotize)
- Add a 1‑beat snare roll at bar 16
- Mute the kick slice for 1/2 beat before the drop reset (classic tension)
- Swap one snare slice for a duller alternative (LP lower)
- Increase GRIT send by +2 to +4 dB for intensity
- Add a reverse cymbal into bar 25
- Do a “tape stop fake” using Pitch Envelope in Simpler on a fill slice
- Or automate Redux Downsample briefly (1/4 bar) for a nasty glitch moment
- Over-warping the Amen → phasey, hollow hits. Use fewer warp markers.
- Too much top-end fizz from distortion → you want dark bite, not harsh spray. Low-pass post-saturation.
- Smashing the break with heavy compression → kills the famous Amen bounce. Aim for small GR and use parallel.
- Reverb tails too long → ruins speed perception at 170 BPM. Short room + gated tail is the move.
- No variation for 32 bars → feels looped. Swap slices, automate sends, and write fills.
- Darkness = controlled highs + aggressive mids. Try LP around 9–12 kHz after your main distortion.
- Use two snare flavors:
- Transient discipline: If your break gets spitty, reduce Drum Buss Transients slightly and rely on saturation for presence.
- Mono the low break junk: Utility → Bass Mono to 120–180 Hz (if needed). Keeps the center solid.
- Use GRIT send automation: +2 dB in fills, -2 dB in verses. That’s classic tension/release.
- Ragga pocket EQ: If vocals sit at 2–5 kHz, carve tiny dips in the break at 3–4 kHz (dynamic EQ if needed, but even static can work).
- Warp cleanly, then slice to Drum Rack for authentic Amen edits.
- Build darkness with LP filtering + controlled saturation, not just compression.
- Use parallel GRIT (Redux + saturation) for hair without killing punch.
- Use a short gated room for that boxed 90s space, plus tasteful dub echo for ragga moments.
- Arrange with 8/16-bar variations: slice swaps, send automation, and fills.
---
3) Step-by-step walkthrough
Step 0 — Session setup (for authentic pressure)
1. Set tempo to 165–172 BPM (start at 170).
2. In Preferences → Record/Warp/Launch:
- Auto-Warp Long Samples: Off (you’ll warp manually)
3. Create groups:
- BREAKS (your Amen rack + processing)
- BASS
- RAGGA (vox/samples)
- FX/ATMOS
---
Step 1 — Get the Amen in and warp it like a junglist
1. Drag in an Amen break (or Amen-style loop) to an audio track.
2. Open Clip View:
- Warp: On
- Warp mode: Complex Pro (for initial timing while you find markers)
3. Set the clip start at the first transient (kick).
4. Place warp markers:
- Marker 1 on 1.1.1
- Find the main snare hits (typically on 2 and 4) and lock them to the grid.
5. Once it’s aligned, switch Warp mode to:
- Beats
- Preserve: Transients
- Envelope: ~15–30 (lower = sharper, higher = smoother)
This keeps it punchy and stops it from smearing.
Advanced check: If the loop gets “hollow,” you over-warped. Remove unnecessary warp markers and keep only the key anchors (downbeat + main snares).
---
Step 2 — Slice to Drum Rack for proper Amen edits 🥁
1. Right-click the clip → Slice to New MIDI Track…
2. Slicing preset:
- Slice by: Transients
- Create one slice per: Transient
- Slicing preset: Built-in → Drum Rack (or empty)
3. You now have a Drum Rack with slices in Simpler.
Tidy up the slices (important for darkness):
For the main snare slice and main kick slice (and any “ghost” slices you use a lot):
- Mode: One-Shot
- Filter: On
- Type: LP24
- Freq: 8–14 kHz (start ~10 kHz)
- Res: 0.20–0.40
- AMP envelope
- Decay: 200–450 ms (tighter for fast rolls)
- Release: 60–120 ms
- Fade In: tiny (0–2 ms) to prevent clicks if needed
- Velocity → Volume: keep dynamics (don’t flatten everything yet)
Why: 90s darkness often comes from rolled-off top + controlled tails, not just distortion.
---
Step 3 — Program a dark Amen pattern (rolling but nasty)
Create a 2‑bar MIDI clip and program a classic “Amen-ish” feel:
Swing:
Jungle swing is subtle but it matters 🔥.
---
Step 4 — Build the “90s dark coloration” chain (Break Bus)
Group the Drum Rack track (or route it to a Break Bus audio track). Then add this chain:
#### A) EQ Eight (pre-color cleanup)
#### B) Saturator (desk-ish weight)
Tip: Map Drive to a Macro: `Desk Drive`.
#### C) Roar (for controlled nastiness) 😤
Roar is perfect for modern control with old-world results.
- Pre: HP around 35–50 Hz
- Post: LP around 9–12 kHz (your “dark cap”)
If Roar gets too “modern,” reduce high-frequency emphasis and keep distortion mostly midrange.
#### D) Glue Compressor (classic gel)
#### E) Drum Buss (thump + crunch)
- Freq: 45–70 Hz (choose depending on your bass key)
- Amount: 5–15% (light—don’t fight the sub-bass)
---
Step 5 — Add “era” with parallel dirt (NY grit bus)
Create an Audio Return track called GRIT.
On the return, use:
1. Redux
- Downsample: 10–18 kHz
- Bit Reduction: 2–5
- Dry/Wet: 100% (it’s a send)
2. Saturator
- Mode: Waveshaper or Analog Clip
- Drive: 6–12 dB
- Soft Clip: On
3. EQ Eight
- HPF at 150–250 Hz
- LPF at 6–9 kHz
Now send your break bus to GRIT at -18 to -10 dB (taste).
This gives you crunchy top-mid hair without destroying the core punch. 🎛️
---
Step 6 — The dark room trick (small room, short tail)
Create another Return track: ROOM.
1. Hybrid Reverb
- Algorithmic: Room (or “Small Room” style)
- Decay: 0.3–0.7s
- Pre-delay: 0–10 ms
- Hi Cut: 6–9 kHz
- Low Cut: 150–300 Hz
- Dry/Wet: 100% (return)
2. Gate after the reverb (important!)
- Threshold: set so the tail is chopped quickly
- Return: 0–20 ms, Release: 60–150 ms
Send your snare-heavy break slices a little more than kicks.
This creates that boxed warehouse space without washing the groove. 🏚️
---
Step 7 — Ragga-friendly space: dub echo pocket
If you’re using ragga vox, you need the breaks to leave room in the 2–6 kHz zone and not splash too wide.
Create Return: DUB.
1. Echo
- Time: 1/8 Dotted or 1/4
- Feedback: 25–45%
- Filter: HP 250–400 Hz, LP 4–7 kHz
- Mod: very low (keep it vintage)
2. Saturator (after Echo)
- Drive: 2–6 dB
3. Utility
- Width: 70–110% (keep controlled; vocals need the center)
Use it sparingly on snare fills and vocal one-shots, not the whole break.
---
Step 8 — Dark arrangement moves (this is where it feels “90s”)
Use 8/16 bar logic:
Bars 1–8 (Drop A):
Bars 9–16 (Drop A variation):
Bars 17–24 (Drop B):
Bars 25–32 (Drop B variation):
---
Step 9 — Final pocket: make it sit with bass (rolling DnB reality)
Breaks + reese/sub can clash. Fix it cleanly:
1. On the Break Bus, add EQ Eight at the end:
- If bass is strong at 50–60 Hz, consider a gentle dip there on breaks.
2. Sidechain control (subtle):
- Add Compressor on Break Bus
- Sidechain from Kick (or a ghost kick trigger)
- Ratio: 2:1
- Attack: 10–30 ms (let snap through)
- Release: 60–120 ms
- GR: 1–2 dB
This keeps the roll but stops low-end congestion.
---
4) Common mistakes
---
5) Pro tips for darker/heavier DnB
- Snare A: brighter transient (cuts)
- Snare B: darker body (weight)
Alternate them across phrases for movement.
---
6) Mini practice exercise (15–25 minutes)
1. Slice an Amen into Drum Rack.
2. Program two 2‑bar patterns:
- Pattern 1: clean, minimal ghosts
- Pattern 2: heavier ghosts + a snare roll into bar 2
3. Build the three returns: GRIT / ROOM / DUB.
4. Automate for an 8‑bar loop:
- Bars 1–4: GRIT send low
- Bars 5–8: GRIT +2 dB, add a touch of DUB on the last snare
5. Export both:
- Version A: darker (LP 9–10 kHz)
- Version B: slightly brighter (LP 12–14 kHz)
Compare which one feels more “90s basement.”
---
7) Recap
If you want, tell me your current BPM, whether your bass is more reese or sub + mid, and I’ll suggest exact cutoff points and a break/bass pocket EQ map for your track.

