Main tutorial
Lesson Overview
An Amen-style rewind moment is one of the most effective ways to inject oldskool rave pressure into a modern Drum & Bass arrangement. It’s that split-second where the track feels like it has been “recalled” back to the floor: the drums pull out, the energy stutters, the crowd gets hit with tension, and then the drop slams back in harder. In DnB, this works especially well when you’re already riding a fast, functional groove and want a switch-up that feels raw, DJ-friendly, and deeply rooted in jungle / rave heritage.
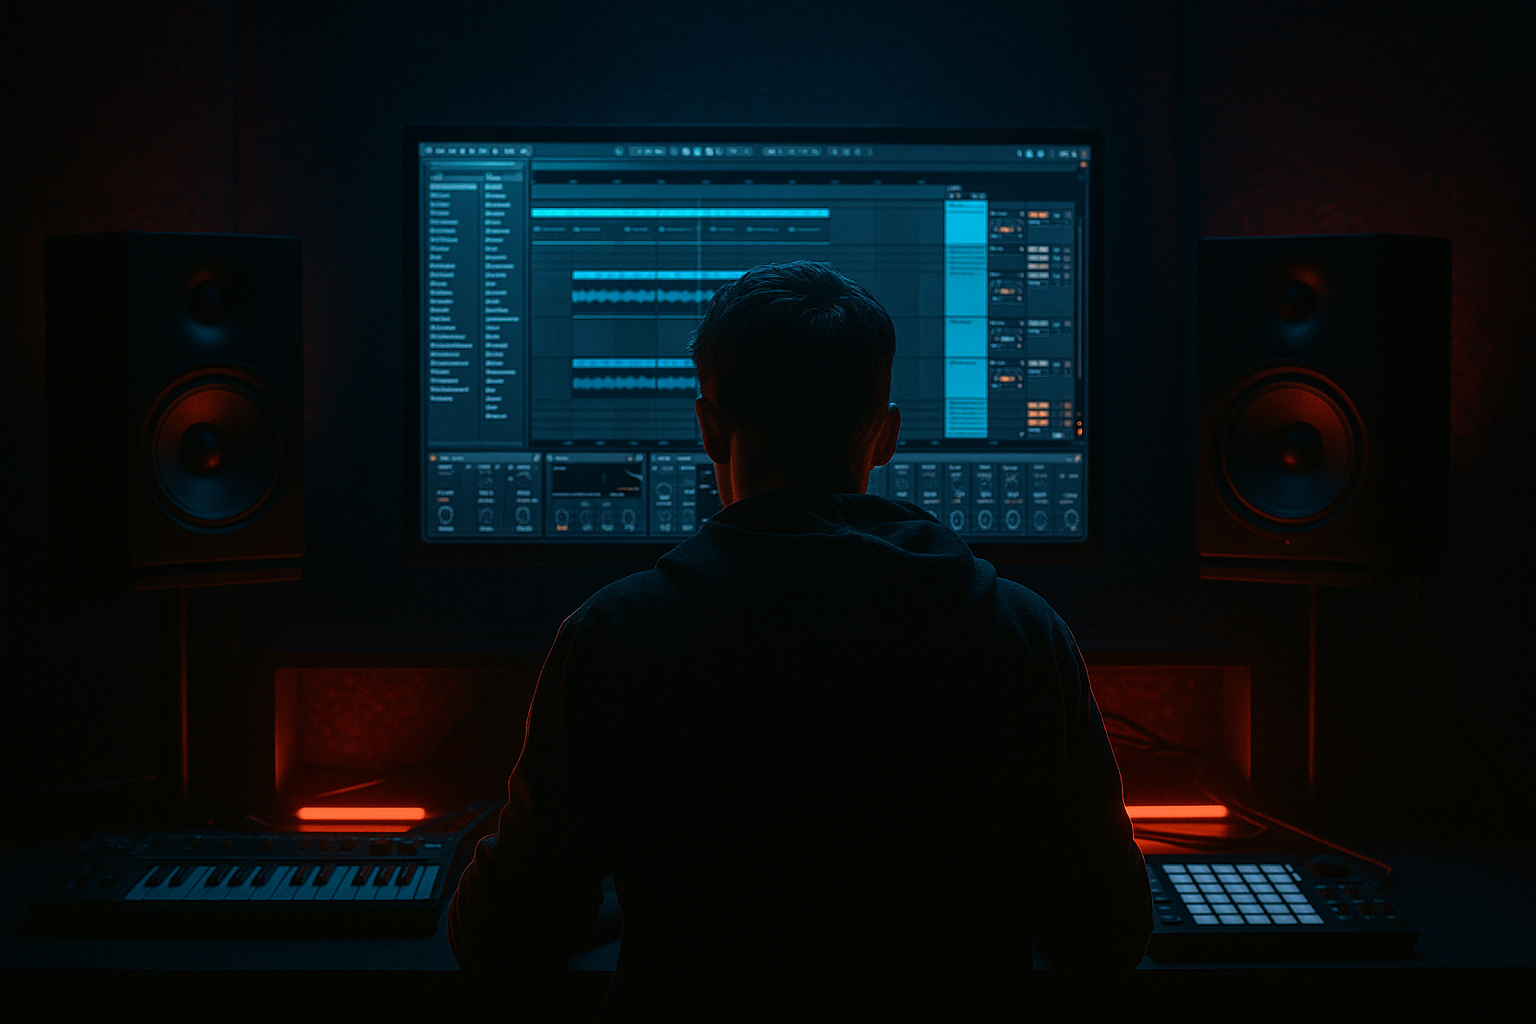
In Ableton Live 12, this isn’t just about dropping a reverse effect on the master and hoping for the best. The rewind needs to be arranged like a moment of narrative: a break mutation, a tape-stop style pull, a return impact, and a bass/drum re-entry that keeps the tune moving at 174–176 BPM. The goal is to make the rewind feel intentional and musical, not like a novelty FX trick.
Why this matters in DnB: the genre thrives on contrast. A rewind moment can reset the listener’s ear, make the next drop feel bigger, and bring oldskool energy into modern arrangements without killing momentum. Used well, it gives you a live-set feel, creates a DJ-friendly eight or sixteen bar phrase change, and adds that “something happened here” edge that makes a track memorable.
What You Will Build
You’ll build a full Arrangement section for an Amen-style rewind moment that includes:
- A short drum pullback using an Amen break edit
- A tape-stop / pitch drop style reversal feel
- A filtered, resampled bass tail that collapses into silence
- A reverse FX swell and impact that marks the rewind
- A clean re-entry into the next phrase or drop with restored low-end weight
- Optional vinyl/noise and crowd-rattle texture for oldskool rave pressure
- Making the rewind too long
- Leaving full sub playing through the rewind
- Using too many competing FX
- Over-quantizing the break
- No new information after the rewind
- Stereo width on the wrong elements
- Use controlled distortion on the rewind bus
- Collapse the low end before the stop
- Resample your own bass tail
- Let the reload hit slightly early
- Use a sub impact instead of a huge full-spectrum impact
- Create contrast with dryness
- Automate drum bus tone, not just volume
- Place the rewind on a phrase boundary for proper DnB structure.
- Use an Amen break edit, resampling, and pitch drop to make the rewind feel authentic.
- Pull the bass out or collapse it so the return lands harder.
- Support the moment with reverse FX, a focused impact, and controlled atmosphere.
- Re-enter with a new detail so the rewind creates real arrangement tension and release.
- Keep sub mono, manage harshness, and preserve club clarity.
Musically, this will sit best at the end of a 16-bar drop, or as a transition from a heavy roller section into a second drop that brings in new drums, a different bass phrase, or a stripped-back half-time tease before the final reload. Think: after 32 bars of pressure, the track yanks the floor backward for half a bar, then comes back in with even more authority.
Step-by-Step Walkthrough
1. Map the rewind location like a DJ would
- In Arrangement View, choose a phrase boundary first: most often bar 17, 33, 49, or 65 depending on your structure.
- For an advanced DnB arrangement, place the rewind at the end of a 16-bar or 32-bar section so it feels like a proper reset, not a random edit.
- A strong context example: after a 16-bar drop with rolling 2-step drums and a reese bass call-and-response, use the rewind in bar 16 to set up a second drop with denser Amen chops and sharper top-end percussion.
- Leave at least 1 bar of pre-rewind tension and 1 bar of post-rewind impact space. That separation makes the move readable on a dancefloor.
2. Build a dedicated rewind group for control
- Create a Group Track called REWIND BUS and route all rewind-related audio into it: drum edits, reverse FX, noise tail, and any bass stutters.
- Put an Audio Effect Rack or a simple chain on the group with:
- EQ Eight: high-pass around 30–40 Hz to keep sub rumble under control
- Glue Compressor: gentle 1–2 dB gain reduction, slow attack, auto release if needed
- Saturator: Soft Clip on, Drive around 2–4 dB for glue and grit
- This keeps the rewind moment sounding like a single intentional event instead of a pile of random effects.
- Why this works in DnB: fast music needs fast decisions. A dedicated bus lets you shape the transition as a performance moment rather than micro-editing six unrelated tracks.
3. Edit the Amen break into a rewindable phrase
- Take your Amen break audio and warp it cleanly, but don’t over-process the core transient shape.
- Slice the break into key hits: kick, snare, ghost note cluster, and hat tail. In Arrangement, duplicate the last 1/2 bar before the rewind and create a micro-chop sequence.
- Use Clip Gain and fades to create a “falling apart” feel: reduce the last two snare hits by about -3 to -6 dB, then let the final kick or snare get reversed.
- Add tiny reverse snippets before the main snare hit so the ear hears suction into the rewind.
- Practical setting: if you use Simpler to trigger slices, try Transient mode for the snare and kick slices, then manually adjust individual slice envelopes for tighter decay.
- For oldskool pressure, keep the break a little dirty. Don’t quantize every micro-hit perfectly; a slight human push makes the rewind feel like it came from a sampler or dubplate culture, not a sterile edit.
4. Create the actual rewind motion with resampling
- Resample the rewind phrase to a new audio track. Record the Amen edit, any reverse hits, and the first bass tail into one pass.
- Once printed, use Clip View to reverse the recorded section or isolate the tail and reverse just the last half-beat to create that “sucked backward” sensation.
- For a more authentic tape-stop style, automate the Transpose of the printed clip downward over 1/2 bar or 1 bar. In Ableton Live 12, fine automation resolution makes this easy:
- Start at 0 semitones
- Slide down to -12 semitones or -24 semitones over the final 1/2 bar
- If you want a stronger physical drop, combine this with a pitched-down fake-out on the bass tail and a quick low-pass sweep.
- Advanced move: print two versions of the rewind—one with a tighter 1/2-bar stop, one with a more dramatic 1-bar drag—and keep both in the arrangement as alternate options. Compare which one preserves the groove better.
5. Shape the bass so the rewind feels heavy, not messy
- Pull the bass out just before the rewind, but leave a controlled sub tail or filtered harmonic residue so the transition doesn’t feel empty.
- On your bass track, automate:
- Auto Filter: low-pass from roughly 3–5 kHz down to 400–800 Hz over the final 1/2 bar
- Utility: reduce width toward mono before the rewind; keep the sub stable
- Saturator or Roar if you’re using Live 12’s stock devices for controlled grit; keep Drive modest so the tail collapses without fizzing out
- If your bass is a reese or neuro-style movement layer, print a short resample and pitch it down during the rewind. A downward motion of 3–7 semitones can add menace if it’s blended low enough.
- Important low-end rule: do not let the rewind bass occupy full sub range at the same time as the drum reload. Either the sub drains away during the rewind, or it returns after the drop hits. Keep the listener’s low-end picture clean.
- Why this works in DnB: the ear reads energy drop as power when the sub is controlled. A well-managed bass pullback makes the reload punch harder than simply leaving everything on.
6. Design the FX stack: reverse, impact, and air
- Build three layers for the transition:
- Reverse FX: reversed cymbal, reversed noise hit, or a reversed Amen slice
- Impact: short sub impact or processed snare slam
- Air: vinyl crackle, room noise, or high-passed atmos texture
- On the reverse layer, use Auto Filter with a resonant band-pass sweep if you want an oldskool rave feel. Try:
- Band-pass frequency sweeping from 1 kHz down to 200–300 Hz
- Resonance around 0.6–1.0
- On the impact, use Drum Buss for snap and weight:
- Drive around 5–10%
- Crunch low to moderate
- Boom only if your low-end is currently sparse; otherwise keep it off or very low
- Place the impact exactly on the first beat after the rewind or just before the re-entry to frame the return of the groove.
- For atmosphere, high-pass everything above 250–400 Hz so it’s felt as space, not heard as clutter.
7. Automate the arrangement like a pressure release
- This is where the rewind becomes arrangement, not just sound design.
- In the last bar before the rewind:
- Strip drums down to just hats, ghost snare, or a reduced break
- Automate a filter dip on the drum bus
- Pull out the bass for a half-beat or full beat before the rewind
- During the rewind bar:
- Mute the main drop elements
- Let the reverse FX and drum fragment take the spotlight
- Increase reverb send on the final snare hit, then cut it abruptly before the re-entry
- On the return bar:
- Bring the kick, snare, and sub back together with a clear transient
- Add a new element on top: a higher percussion loop, a stab, a ride pattern, or a second bass layer to signal “new section”
- A very effective arrangement choice is to make the rewind happen on bar 16, then return with a slightly more stripped second drop on bar 17 so the listener feels the punch before the full complexity comes back at bar 21.
8. Lock the groove with break edits and ghost notes on re-entry
- The re-entry should not just be a copy-paste of the previous drop. Add a new break edit on the first 2 bars after the rewind.
- Use ghost notes before the main snare to imply momentum:
- Put softer ghost hits 1/16 or 1/32 before the backbeat
- Keep them about 10–20 dB lower than the main snare
- Layer your Amen with a clean kick/snare foundation if needed, but make sure the transient hierarchy is clear.
- A nice advanced tactic is to let the first bar after the rewind be slightly more spacious, then tighten the groove in bar 2 with extra hats or extra break slices. That delayed density increase makes the drop feel alive.
- If the track is darker/neuro leaning, let the re-entry bass answer the drums in a call-and-response phrase rather than playing continuously. The rewind moment creates space for that conversation.
9. Finish with mix discipline and mono checks
- Solo the rewind bus and check it against the full mix. The rewind should be loud enough to read on club systems but not so loud that it smears the return.
- Use Utility on the master or drum/bass buses to check mono compatibility. Rewind effects often sound huge in stereo but collapse awkwardly if the phase is messy.
- Check the low end in mono:
- Keep the sub mono throughout
- Avoid wide reverbs or stereo delays below 150–200 Hz
- If the rewind feels too harsh, use EQ Eight to gently notch the most aggressive area, often around 2.5–5 kHz, especially if the snare reverse or noise tail bites too hard.
- The final test: listen to the rewind at low volume. If the structure still reads, it’s arranged well. If it only works when loud, the transition is probably over-designed.
Common Mistakes
- Fix: keep it tight. In DnB, 1/2 bar to 1 bar is usually enough. Longer than that and you risk losing dancefloor momentum.
- Fix: fade or filter the sub out before the stop, then bring it back cleanly on the return. The gap is part of the drama.
- Fix: pick one primary rewind gesture and support it with one or two subtle layers. Too much reverse noise, too many impacts, and too much pitch drop turns the moment into clutter.
- Fix: keep a little swing or slight human error in the Amen edit. The rewind should feel like a live mechanical moment, not a grid exercise.
- Fix: re-enter with a new drum variation, different bass answer, extra percussion, or a new high-frequency accent. Otherwise the rewind becomes pointless repetition.
- Fix: keep sub and punch central. Wide is for FX air, ambience, and top detail—not the actual foundation of the drop.
Pro Tips for Darker / Heavier DnB
- Try Saturator with Drive around 2–6 dB and Soft Clip on. This adds density without making the moment wash out.
- Automate Utility width down and use an EQ high-pass on the FX layers so the rewind feels like it’s clearing space for the next hit.
- Printing the bass into audio lets you reverse, pitch, or chop it in ways that are more convincing than automating a synth in real time.
- A tiny pre-drop pickup or reversed snare leading into the return can make the drop feel aggressive and immediate, especially in darker rollers.
- In heavy DnB, a short, focused low thump plus a sharp snare transient often feels bigger than a giant cinematic hit.
- If the track is already saturated and murky, make the rewind moment surprisingly dry for half a beat, then slam the ambience back in. That dryness makes the reload feel brutal.
- A small EQ dip or low-pass on the drum bus during the final half-bar can be more musical than simply pulling the fader down.
Mini Practice Exercise
Spend 10–20 minutes building one rewind moment from a 16-bar DnB drop:
1. Pick a point at the end of bar 16.
2. Duplicate the final 1 bar of drums and bass into a new section.
3. Create a 1/2-bar Amen chop with at least one reversed slice.
4. Resample that section to audio and pitch it down over the last 1/2 bar by 12 semitones.
5. Add one reverse cymbal or noise swell.
6. Automate your bass low-pass from around 5 kHz down to 600 Hz, then cut it out.
7. Place one impact on the return beat.
8. Re-enter with a new drum detail: a ghost note, extra hat, or altered break slice.
9. Compare the transition in mono and stereo.
10. Export the 8-bar segment and test whether the rewind makes the return feel stronger.
Goal: by the end, the rewind should feel like part of the arrangement story, not just an effect layered on top.
Recap
A strong rewind moment should feel like oldskool rave pressure with modern precision: brief, heavy, musical, and impossible to ignore.

