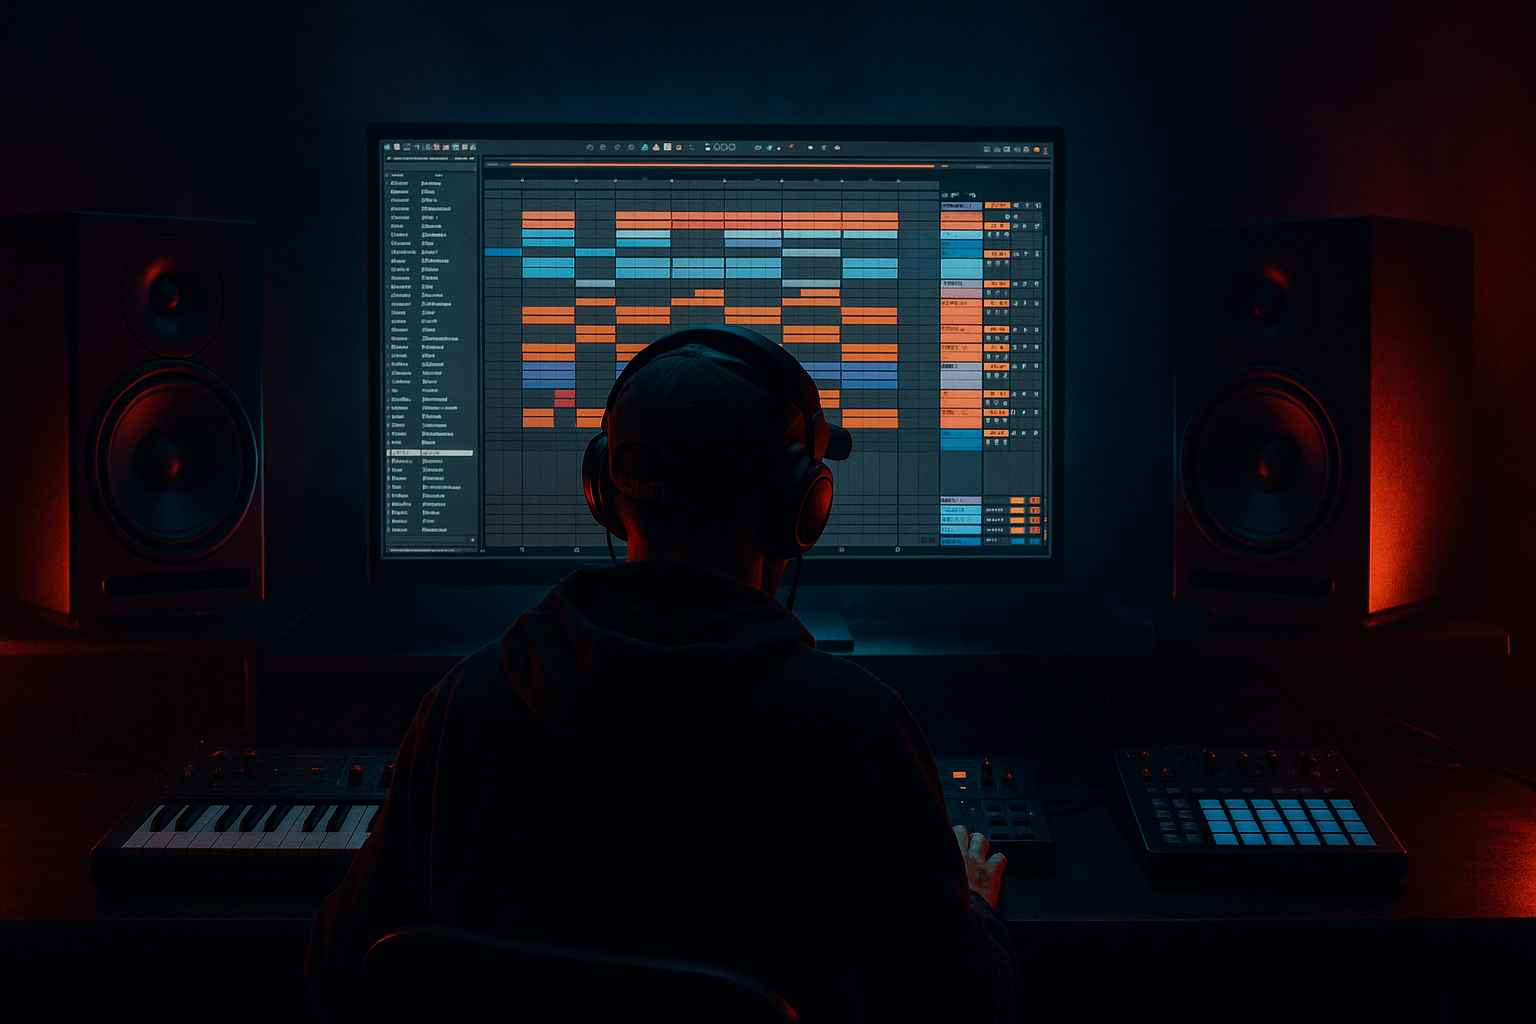
Main tutorial
```markdown
Color Jungle Pad for Deep Jungle Atmosphere (Ableton Live 12) 🌫️🕳️
Skill level: Beginner
Category: Sampling (with stock Ableton devices)
Goal: Build a lush, “color” jungle pad that sits behind breaks + bass and instantly adds deep jungle atmosphere.
---
1. Lesson overview 🎛️
In classic jungle / rolling DnB, pads are often sample-based—lifted from old records, films, synth chords, or obscure intros—then time-stretched, filtered, chorused, and drenched in space.
In this lesson you’ll learn a reliable Ableton Live 12 workflow to:
- Find (or create) a pad source from a sample
- Stretch it cleanly
- Turn it into a playable instrument
- Add that warm, unstable “color” (movement + texture)
- Mix it so it supports the groove without muddying your bass and breaks
- A 4–8 bar atmospheric pad loop
- Automation for movement (filter + reverb)
- An arrangement method that works in intros, breakdowns, and drops
- A 1–4 second chord hit or sustained note (soul/jazz/ambient)
- A vocal “ahh/ooo” moment (works great once filtered)
- A movie/TV string swell
- Any warm synth chord from a sample pack
- “pad”, “choir”, “strings”, “ambient”, “texture”, “chord”
- Enable Loop
- Set loop length to 2 or 4 bars
- Move loop start/end to avoid clicks (find a stable section)
- If needed, add tiny fades in Clip view (Live 12 clip fades)
- High-pass filter at 150–250 Hz (start 180 Hz)
- Optional: small dip where it’s boxy:
- Filter type: Low-pass
- Cutoff: start around 1.2–3.5 kHz
- Resonance: 10–20% (don’t whistle)
- Turn on LFO:
- Mode: Chorus
- Amount/Depth: 20–40%
- Rate: 0.15–0.35 Hz
- Width: 120–160%
- Mix: 20–40%
- Mode: Soft Sine or Analog Clip
- Drive: 2–6 dB
- Output: adjust to avoid clipping
- (Optional) Turn on Soft Clip
- Choose a Hall or Plate impulse + algorithm blend
- Decay: 3–8 s (start 5 s)
- Pre-delay: 15–35 ms (keeps it out of the way of drums)
- Low Cut: 200–400 Hz
- High Cut: 6–10 kHz
- Mix: 15–30% (or use as a Return for better control)
- Width: 120–160%
- Enable Bass Mono (if available) and set around 180–250 Hz
- Choose a key like F minor or G minor
- Write two chords over 8 bars:
- Start with a single note drone + fifth (e.g., F + C)
- Or use Ableton’s MIDI Transformations / Scale tools to keep notes in key.
- Intro (0:00–0:32): pad + FX, filter slowly opening
- Build (0:32–0:48): pad gets brighter + more width
- Drop (0:48): reduce reverb a bit so breaks punch through
- Breakdown: pad becomes huge again
- Leaving low end in the pad → instant muddy bass + weak drop
- Too much reverb at the drop → breaks feel far away
- Over-widening → phase issues and weak mono compatibility
- Using a sample with drums/noise baked in → hard to mix cleanly
- Fast LFO/filter movement → pad becomes distracting (save that for FX)
- Make it moodier with pitch:
- Add subtle grime (still stock):
- Create tension with dissonance:
- Band-limit for that old-school tape/sampler vibe:
- Layer a quiet texture:
- Sampling a harmonic source
- Warping it with Complex Pro for smooth stretching
- Turning it into a playable instrument using Simpler
- Adding “color” with filter movement, chorus, saturation, and reverb
- Mixing it properly with high-pass + controlled width + optional sidechain
- Automating key parameters for a real DnB arrangement flow
---
2. What you will build ✅
A playable jungle pad instrument made from a sample using Simpler, processed through a classic DnB pad chain:
Simpler → EQ Eight → Auto Filter → Chorus-Ensemble → Saturator → Hybrid Reverb → Utility
You’ll end with:
---
3. Step-by-step walkthrough 🧱
Step 0 — Set the session like a DnB tune
1. Set tempo to 170–174 BPM (try 172 BPM).
2. Create tracks:
- Audio track: “Pad Source”
- MIDI track: “Jungle Pad (Simpler)”
- (Optional) Return track A: “Big Space” (reverb)
---
Step 1 — Choose a good sample source 🎚️
You want something harmonically rich and not too busy.
Good sources:
In Ableton Browser, search:
Drag your sample onto Pad Source.
Quick check:
If the sample is super bright or has heavy drums, it’s harder to turn into a clean pad. Choose something fairly “floaty.”
---
Step 2 — Warp & stretch it the jungle way ⏳
1. Click the clip on Pad Source.
2. Turn Warp ON.
3. Set Warp mode:
- Complex Pro for rich chords/pads
4. Set Grain Size around 80–120 (start at 100).
5. Adjust Formants slightly if it sounds “chipmunked” or “too deep”:
- Try -10 to +10 (small moves!)
Goal: Stretch it so it can loop smoothly over 2–4 bars at 172 BPM.
Make a clean loop:
---
Step 3 — Resample into a new clean pad clip (optional but powerful) 🎧
This makes your pad easier to manage.
1. Create a new audio track called “Pad Resample”
2. Set its input to “Pad Source” (or “Resampling” if you’ve already added effects)
3. Arm Pad Resample and record 4–8 bars
4. Consolidate (Cmd/Ctrl + J)
Now you have a stable atmospheric bed you can instrument-ize.
---
Step 4 — Turn the sample into an instrument with Simpler 🎹
1. Drag the resampled clip (or original sample) onto MIDI track “Jungle Pad (Simpler)”
2. It will open in Simpler
3. In Simpler:
- Mode: Classic
- Enable Loop
- Adjust Start/End to a smooth section
- Fade (in Simpler) to remove clicks: try 5–20 ms
4. Set Voices to 6–10 (so chords don’t cut off)
5. Add a gentle envelope:
- Attack: 50–200 ms (try 120 ms)
- Release: 1.5–4.0 s (try 2.5 s)
Now play simple chords (even 2-note intervals work great for jungle).
---
Step 5 — Build the “Color Jungle Pad” device chain 🌈
Add these stock devices after Simpler in this order:
#### 5A) EQ Eight — clean the low end (critical for DnB)
- 24 dB/oct slope if the sample is thick
- 300–500 Hz, -2 to -4 dB (wide Q)
Rule: Pads usually shouldn’t fight your sub/bass. In jungle, the bass is king.
#### 5B) Auto Filter — movement + vibe
- Shape: Sine or triangle
- Rate: 0.05–0.15 Hz (slow, evolving)
- Amount: small, 5–15%
This is your “breathing” jungle haze.
#### 5C) Chorus-Ensemble — instant pad width
If it gets too wobbly, reduce Mix or Depth.
#### 5D) Saturator — warmth + older-sampler feel 🔥
This helps pads feel “record-like” instead of sterile.
#### 5E) Hybrid Reverb — deep space
#### 5F) Utility — width control (keep the low end mono)
- If you don’t see Bass Mono, just keep the pad high-passed with EQ Eight.
---
Step 6 — Write a simple DnB-friendly pad progression 🎼
Keep it minimal. Jungle pads often hold one chord for ages.
Beginner-safe approach:
- Bars 1–4: i (tonic minor)
- Bars 5–8: VI or VII (moody lift)
If you don’t know chords yet:
---
Step 7 — Automate for atmosphere (this is the “color”) 🎚️✨
Automation makes your pad feel alive and arranged.
Automate these across 16–32 bars:
1. Auto Filter Cutoff
- Intro: lower cutoff (muffled, distant)
- Drop: slightly more open (still not bright)
2. Hybrid Reverb Mix or Decay
- More reverb in intro/break
- Tighten slightly when drums + bass hit
3. Utility Width
- Wider in breakdown
- Slightly narrower in drop for punch
DnB arrangement idea:
---
Step 8 — Mix it so it doesn’t destroy your low end 🥁🔊
Pads can mask breaks and bass fast. Do these checks:
1. High-pass the pad (already done in EQ Eight)
2. Keep pad level conservative:
- In DnB, pads are often felt more than heard
3. If your break loses snap:
- Dip 2–5 kHz slightly on the pad (gentle)
4. Optional sidechain (very DnB):
- Add Compressor on pad
- Sidechain from Kick (or drum bus)
- Ratio: 2:1
- Attack: 10–30 ms
- Release: 80–200 ms
- Gain reduction: 1–4 dB
Subtle pump = more room for the groove.
---
4. Common mistakes 🚫
---
5. Pro tips for darker/heavier DnB 🌑⚙️
- In Simpler, transpose -3 to -7 semitones for weight (then high-pass)
- Try Roar (if available in your Live 12 edition) very lightly:
- Drive low, Mix 5–15%
- Add a quiet note a minor 2nd above for a moment (very low in the mix)
- EQ Eight: low-pass around 8–12 kHz
- Add a second Simpler with vinyl/room noise, heavily filtered, very low volume
---
6. Mini practice exercise 🎯
Do this in 20 minutes:
1. Pick one chord sample (2–4 seconds).
2. Warp it with Complex Pro, loop 4 bars.
3. Build the chain:
- EQ Eight (HP @ 180 Hz)
- Auto Filter (LP + slow LFO)
- Chorus-Ensemble
- Saturator (3 dB)
- Hybrid Reverb (5 s decay)
- Utility (Width 140%)
4. Write 8 bars of MIDI:
- Hold one chord for 4 bars, move to a second chord for 4 bars
5. Automate filter cutoff opening slowly over the 8 bars.
Bonus: Add subtle sidechain from your kick and listen to how the break breathes.
---
7. Recap 🔁
You built a classic deep jungle pad by:
If you want, tell me what kind of source you’re using (jazz chord, choir, movie strings, etc.) and I’ll suggest exact warp + chain tweaks for that material.
```

