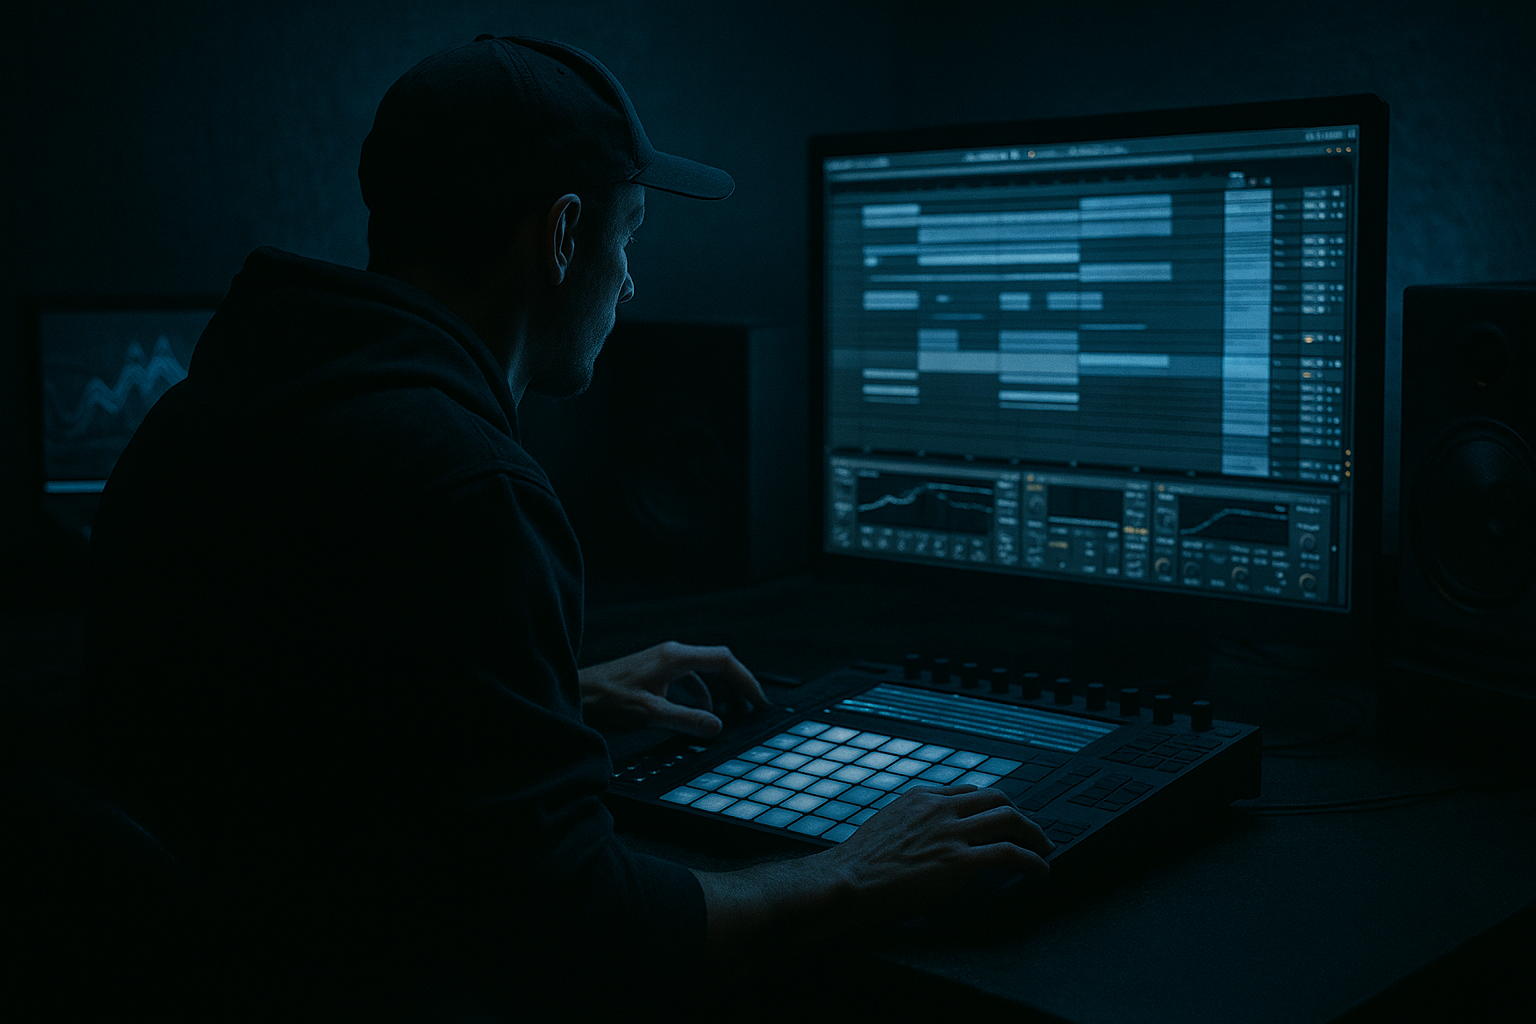
Main tutorial
Color Jungle Percussion Layer for Floor-Shaking Low End in Ableton Live 12
1. Lesson overview
In this lesson, you’ll build a color percussion layer for DnB/jungle that adds movement, grit, and stereo excitement without stealing weight from the low end. The goal is not to “fill space” randomly — it’s to create a rhythmic texture that makes the sub feel bigger by contrast. 🔥
This is especially useful in:
- rollers where the bassline needs more propulsion
- jungle breaks where you want extra syncopation around the main break
- darkstep / neuro-influenced DnB where the low end is huge but can feel too static
- drop sections where a subtle percussion halo makes the whole mix feel wider and more animated
- rhythmic
- filtered
- transient-controlled
- stereo-managed
- sidechained to the kick/sub
- arranged so it supports the drop rather than cluttering it
- rimshots
- shakers
- broken hats
- conga/tom accents
- bits of breakbeat noise
- stereo shimmer
- distortion
- ghosted movement
- short delay throws
- reverb “dust” that sits above the low end
- lives mostly in the mid/high band
- avoids the sub and lower bass range
- complements the kick and bass groove
- helps the drop feel louder and more physical without extra low-end mud
- a single jungle break hit
- isolated hats/shakers
- conga or bongo hits
- rimshots
- Foley percussion
- tiny slices from an Amen, Think, or break variant
- 1–2 anchor hits per bar
- a few ghost hits
- one or two syncopated accents
- some variation every 2 or 4 bars
- the “&” of 1
- late 2e or 2&
- the “a” of 2
- the “&” of 3
- ghost ticks leading into 4
- occasional pickup before the next bar
- Open the MIDI clip if you’re using Drum Rack
- Or use audio warping/cutting if you’re working with audio
- Nudge a few hits slightly late for groove
- Keep some hits tighter and some slightly loose for human movement
- an MPC-style groove
- a lightly swung break groove
- or a subtle extracted groove from your main drum break
- an audio break texture
- plus MIDI percussion accents
- High-pass filter at 180–300 Hz
- Add a small dip around 300–500 Hz if it sounds boxy
- If the sample is harsh, gently tame 3–6 kHz
- If it needs air, a soft high shelf around 8–12 kHz can help
- Auto Filter with a steep high-pass
- or EQ Eight with a tighter slope
- Drive: 5–15%
- Transients: slightly up if you want more attack, or down if the hits are spiky
- Boom: usually off or very low for this layer
- Damp: adjust to soften harshness if needed
- sharpen the attack just enough to read through the mix
- avoid adding low resonance that competes with the bass
- Soft Clip: On
- Drive: 2–6 dB
- Output: trim to match level
- Start at 100% width
- If the sample is too wide or messy, reduce to 80–90%
- If you’re stacking multiple layers, keep one layer narrower and one wider
- Amount: low
- Delay/Time: small
- Width: medium
- Keep mix subtle
- transition fills
- call-and-response accents
- breakdown percussion
- Rate: 1/8 or 1/4 synced
- Amount: 10–30%
- Phase: 180° for full left-right movement
- Shape: sine or slightly pointed
- Decay: 0.4–1.0 s
- Pre-delay: 10–25 ms
- Low Cut: 300 Hz or higher
- High Cut: 7–10 kHz
- Keep Wet low, usually 5–15%
- Sync: 1/8, 1/16, or dotted values
- Feedback: 10–25%
- Filter: high-pass heavily
- Dry/Wet: very low unless automated
- last hit before the snare
- transition fill into the drop
- one-off ghost accent before a bass phrase change
- Input: your kick track, or a dedicated kick/sub trigger
- Attack: 0.1–3 ms
- Release: 40–120 ms depending on tempo and groove
- Ratio: 2:1 to 6:1
- Aim for subtle gain reduction, not pumping chaos
- Reverb
- EQ Eight
- optional Saturator
- Echo
- EQ Eight
- Utility
- Pedal or Saturator
- Redux very lightly
- Auto Filter
- low in the verse
- more active in the build
- bright and animated into the drop
- use filtered, sparse hits
- leave plenty of space
- introduce the texture gradually
- increase send to delay/reverb
- add extra ghost notes
- widen the stereo field slightly
- automate a filter opening
- keep the layer tighter and more controlled
- reduce excessive reverb
- emphasize the groove, not the wash
- let fills and one-shot accents speak
- change the sample or processing
- swap the groove
- add reverse percussion pickups
- automate new delay throws for freshness
- vinyl crackle fragments
- texture noise
- metal hits
- reversed breathy percussion
- filtered amen dust
- very low downsampling
- slight reduction
- mix extremely low
- Saturator
- Drum Buss
- EQ
- then blend quietly underneath
- low-pass opening slightly in build sections
- high-pass tightening in drops
- narrow band emphasis on transition hits
- one break slice
- one shaker loop
- one rim or conga one-shot
- 6–10 hits total
- at least 2 ghost hits
- one accent before each snare
- bar 3: remove one hit
- bar 5: add a reversed pickup
- bar 7: automate more delay send
- bar 8: strip the layer down before the next section
- adds rhythmic energy
- supports the groove without clogging the low end
- makes the bass feel bigger by contrast
- source small percussion elements
- shape them into a syncopated DnB pattern
- high-pass aggressively
- add controlled saturation
- widen carefully
- use short space
- sidechain to the kick/sub
- automate variation across the arrangement
We’ll use Ableton Live 12 stock devices and build a chain that is:
---
2. What you will build
You’ll create a 2-layer jungle percussion system:
Layer A: Main percussion loop
A chopped, filtered loop or hit sequence made from:
Layer B: Color FX layer
A more processed layer that adds:
End result
A percussion texture that:
---
3. Step-by-step walkthrough
Step 1: Start with the right source material
For this kind of DnB layer, don’t begin with a full drum loop unless it’s already very well chopped. Better options:
In Ableton:
1. Drag your source audio into an Audio Track.
2. Turn on Warp if needed.
3. Slice the clip at transients or manually cut regions into 1/8, 1/16, and off-beat hits.
4. Duplicate the best bits into a new clip pattern.
Practical target:
Build a pattern that has:
You want it to feel like a living percussion bed, not a loop pasted on top.
---
Step 2: Shape the rhythm for DnB motion
In drum and bass, rhythm is everything. Your color layer should accent the groove, not fight it.
Suggested starting pattern
If your kick lands on 1 and your snare on 2 and 4, try placing percussion on:
Use clip editing:
Groove tip:
Try Ableton’s Groove Pool with:
Apply it lightly: 10–30% is often enough.
---
Step 3: Build the layer in Drum Rack or audio tracks
You can do this two ways.
Option A: Drum Rack approach
Best if you want control and fast sequencing.
1. Create a Drum Rack.
2. Load different one-shots onto pads:
- shaker
- rim
- muted conga
- short break slice
- vinyl tick / noise hit
3. Program a MIDI clip with syncopation.
Option B: Audio chopping approach
Best if you’re sampling a break and want organic jungle chaos.
1. Put the break in an Audio Track.
2. Use Slice to New MIDI Track if you want rapid pad-based rearrangement.
3. Or manually chop with clip editing and consolidate the best loop.
For advanced DnB, many producers combine both:
That gives you both chaos and control.
---
Step 4: Clean up the low end aggressively
This is where the layer becomes usable in a serious DnB mix.
Add an EQ Eight first
Use EQ Eight to remove anything that conflicts with the kick/sub.
#### Suggested starting settings:
- If the sound is very bright, go higher.
- If it has body you want, stay closer to 180 Hz.
Important:
Do not let the layer carry low body.
Your sub should be alone in the bottom range.
If the percussion loop has a nice fundamental but too much low-mid clutter, use:
---
Step 5: Add transient control
A color layer should support the punch, not mask it.
Use Drum Buss
If your percussion sounds too thin or too “papery,” try Drum Buss.
#### Suggested starting point:
For DnB, often the goal is:
Alternative:
Use Saturator instead of Drum Buss if you want cleaner harmonic density.
#### Saturator starting point:
This helps the percussion stay audible on smaller systems without cranking volume.
---
Step 6: Create stereo movement without wrecking mono
This is one of the key tricks. Your percussion should feel wide, but the mix must stay solid in mono.
Use Utility first
Add Utility and keep an eye on stereo width.
Use Chorus-Ensemble or Phaser-Flanger carefully
For a “color” layer, subtle modulation can add motion.
#### Chorus-Ensemble:
This works well on shakers or tiny percussion hits.
#### Phaser-Flanger:
Use only if you want a more obvious sci-fi jungle texture.
Best for:
Use Auto Pan for rhythmic drift
This is extremely effective on jungle percussion.
#### Auto Pan starting point:
This can make a static loop feel alive without adding more notes.
---
Step 7: Add short space with reverb and delay
The trick is to make the percussion feel like it lives in a room, not a cathedral.
Reverb
Use Hybrid Reverb or Reverb.
#### Starting point:
If your reverb is too lush, it will smear the groove instantly.
Delay
Use Echo for rhythmic throws.
#### Starting point:
A good trick is to automate delay on selected hits only:
That keeps the layer interesting without becoming constant clutter.
---
Step 8: Sidechain the percussion to the kick and/or sub
This is essential in floor-shaking DnB. Your percussion layer should duck just enough when the low end hits.
Use Compressor or Glue Compressor
Put Compressor or Glue Compressor after your main processing.
#### Sidechain settings:
Better technique:
If the percussion layer clashes mostly with the sub region, use Multiband Dynamics or Compressor with sidechain and split processing.
But in many cases, simple sidechain ducking is enough.
Pro routing idea:
Create a dummy ghost kick or trigger track that hits exactly where you want the percussion to duck.
This gives you precise control over the groove.
---
Step 9: Use an FX return for extra color
Instead of loading too many effects directly on the track, send the percussion to a return.
Return A: Short room
Return B: Delay color
Return C: Dirty texture
This lets you automate send levels for fills and transitions:
That’s classic DnB arrangement behavior.
---
Step 10: Arrange the layer like a real DnB record
A good percussion color layer should evolve across the track.
In the intro:
In the build:
In the drop:
In the second drop:
A strong DnB arrangement always evolves the percussion language between sections.
---
4. Common mistakes
1. Too much low end in the layer
If the percussion layer contains too much 100–300 Hz energy, it will blur the bassline.
Fix: high-pass harder and check with the kick/sub in context.
2. Making it too wet
Big reverb can destroy the precision of DnB.
Fix: shorten decay, reduce wet level, and high-pass the reverb return.
3. Over-widening
Excessive stereo processing can make the groove weak in mono.
Fix: keep at least one percussion layer centered or narrow.
4. Too many different hits
If every bar is full of random percussion, the track loses impact.
Fix: simplify the pattern and let variation happen in fills, not constantly.
5. Ignoring the snare pocket
If your color layer crowds the snare hits on 2 and 4, the drop will feel smaller.
Fix: leave a pocket around the snare or duck more strongly there.
6. Not sidechaining to the kick
Even a great layer can ruin the low-end punch if it doesn’t duck.
Fix: apply subtle sidechain compression or volume automation.
---
5. Pro tips for darker/heavier DnB
Layer with noise, not just drums
Try mixing in:
This creates a darker “air” around the beat.
Use bit reduction sparingly
A touch of Redux can make percussion sound grimy and modern.
#### Suggested starting point:
This works best on upper percussion, not the full loop.
Saturate in parallel
Duplicate the percussion layer and process the copy harder:
This gives thickness without crushing the original transient.
Automate filter movement
A slow Auto Filter movement across 8 or 16 bars can make a loop feel alive.
Try:
Use ghost percussion as tension
Tiny off-grid hits before a bass change or snare fill can make the next downbeat slam harder.
Keep the sub clean
If you want the floor to shake, your low-end needs space.
A cleaner sub equals a heavier perceived system weight. Always.
---
6. Mini practice exercise
Exercise: Build an 8-bar jungle percussion color layer
#### Step 1
Import:
#### Step 2
Create a 2-bar MIDI or audio loop with:
#### Step 3
Process the chain:
1. EQ Eight
- high-pass at 220 Hz
2. Drum Buss or Saturator
- light drive
3. Auto Pan
- 1/8 synced, subtle movement
4. Compressor
- sidechain from kick
5. Hybrid Reverb on send
- short room
#### Step 4
Duplicate the loop into 8 bars and vary:
#### Goal
Make it feel like the percussion is breathing with the bass, not just looping mechanically.
---
7. Recap
A great jungle percussion color layer in Ableton Live 12 does three things:
Core workflow:
If you get this right, your track will feel more animated, more professional, and way more powerful on a system. That’s the difference between “busy drums” and a proper floor-moving DnB groove 💥
If you want, I can also turn this into:
1. a rack preset blueprint,
2. a MIDI pattern example, or
3. a full Ableton device chain for dark DnB percussion.

