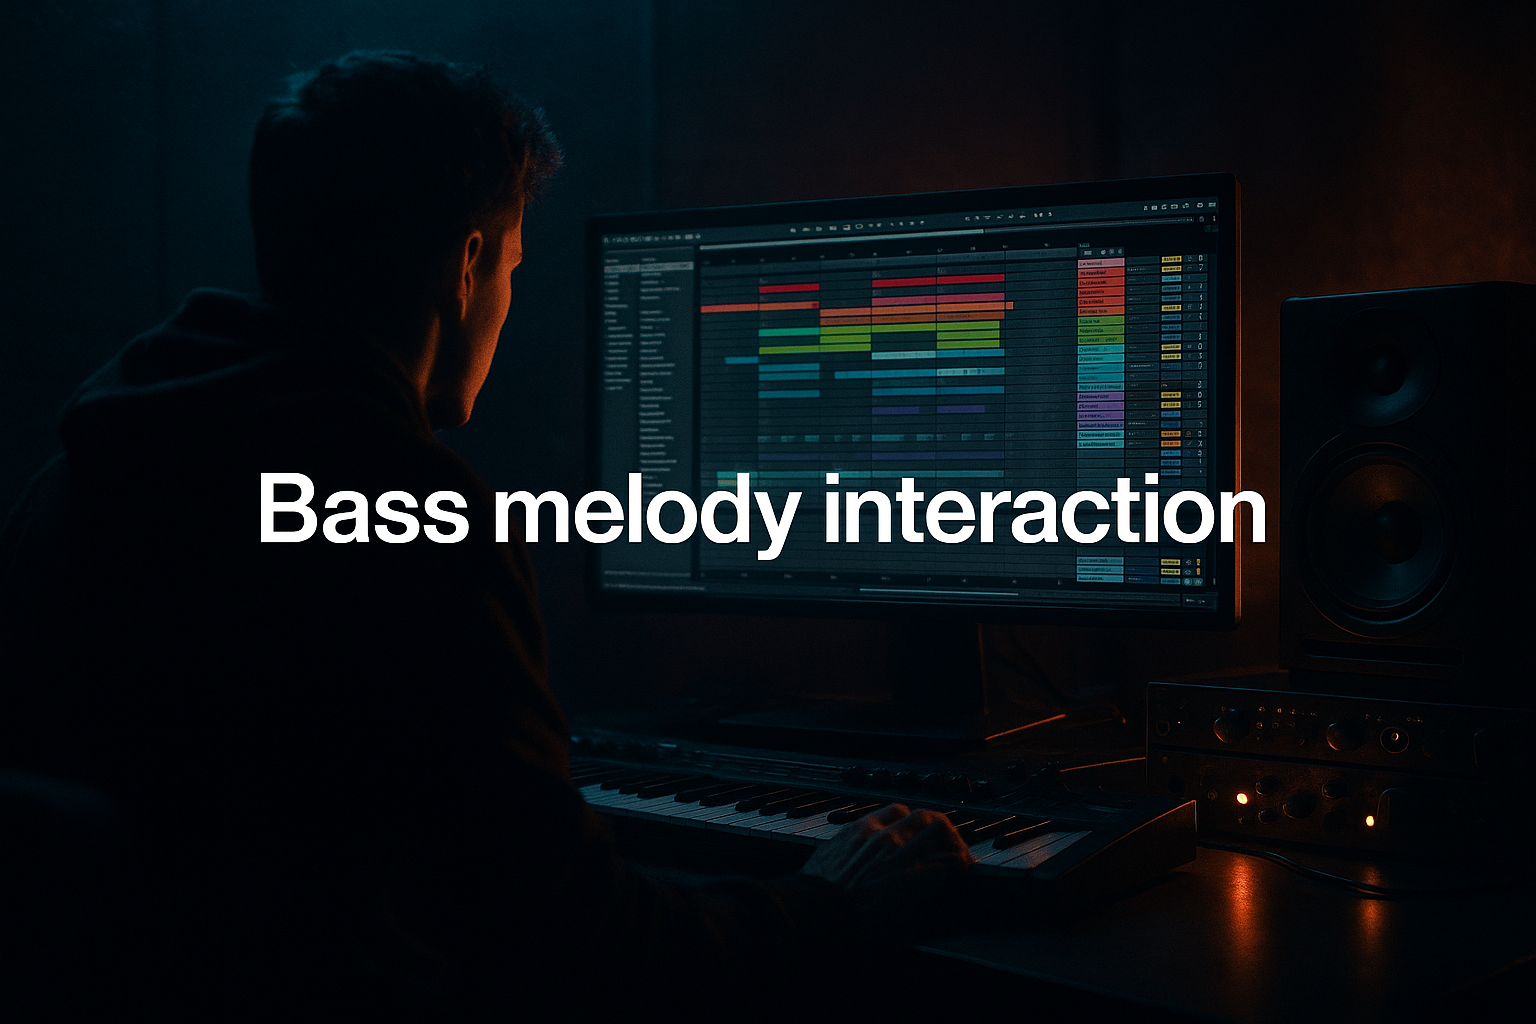
Main tutorial
Lesson Overview
In this lesson, you’ll build an Amen-style call-and-response riff that feels right at home in oldskool jungle / darker DnB: chopped break energy, a subby bass answer, and a resampling workflow that turns a simple idea into something with attitude and movement. The goal is not just to write a loop — it’s to create a repeatable sound design method you can use for intros, drops, switch-ups, and mid-track rewires.
This matters in DnB because so much of the genre’s identity comes from interaction: the drums call, the bass answers; the break flickers, the reese pushes back; tension rises, then drops hard. In Ableton Live 12, resampling makes that process fast and musical. Instead of trying to design the “final” sound from scratch, you’ll shape a phrase, print it, mangle it, and re-use the audio as new material. That’s classic jungle thinking with modern workflow speed.
We’ll focus on:
- Amen break editing for groove and character
- A call-and-response phrasing concept that feels DJ-friendly
- Resampling into audio for gritty, one-off textures
- Stock Ableton devices like Simpler, Sampler, Auto Filter, Saturator, Drum Buss, Echo, Phaser-Flanger, Utility, and EQ Eight
- Practical arrangement ideas that work in a roller, jungle, or darker half-time/DnB drop
- A chopped Amen pattern with a strong main hit, ghosted fill moments, and edited micro-stutters
- A call section using the break as the lead rhythm
- A response section using a resampled bass stab or reese phrase
- A printed audio layer that adds grit, one-off reversal, or filtered tension
- A loop that can be dropped into a jungle intro, a 174 BPM roller, or a darker neuro-leaning bridge
- Bars 1–2: Amen phrase states the groove
- Bars 3–4: Bass response answers with a short, syncopated low-end hit
- Bars 5–8: Variation with fills, filtering, and a resampled texture
- Bars 9–16: Expanded version with automation and switch-up for arrangement use
- Making the bass answer too busy
- Over-widening the low end
- Destroying the Amen with too much processing
- Resampling without a plan
- Quantizing the groove into stiffness
- Letting the resampled audio fight the original drums
- Use Drum Buss on the break group for controlled smack, but keep Boom subtle if your sub is already doing the heavy lifting.
- Print a bass response, then reverse just the last 1/8 or 1/4 before a snare to create a grim pull-in.
- Layer a very quiet Vinyl Distortion-like texture with stock devices by using light Saturator + filtered noise from Operator or simpler noisy samples.
- Use Auto Filter resonance carefully on the bass response to create a sharp, almost vocal edge without turning it into a whistly mess.
- If the riff needs more underground character, run the resampled audio through Redux at a tiny amount for bitty breakup, then EQ the harshness back down.
- Build contrast: keep the first call more open, then make the second call slightly harsher and more compressed so the drop escalates.
- For neuro-leaning heaviness, automate a reese’s filter and distortion more than its pitch. Movement in the mids is usually more mix-friendly than constant note changes.
- Use short Echo throws on only selected chopped hits, not the whole loop, so the space feels intentional and not washed out.
- Build the riff as a conversation: Amen break calls, bass answers.
- Keep the sub mono, and let only the character layer move wide or dirty.
- Resample early so you can turn a working phrase into new sound design material.
- Use Ableton stock devices to shape punch, grit, filter motion, and space.
- In DnB, the magic comes from rhythm, contrast, and controlled aggression — not from having too many sounds.
Why this works in DnB: the Amen already contains micro-dynamics, ghost notes, and transient contrast. If you pair that with a bass response that is rhythmically distinct, the ear instantly understands the conversation. That gives you energy without overcrowding the mix. 🔥
What You Will Build
By the end, you’ll have a 16-bar riff built around:
Musically, expect something like:
The end result should feel raw, tight, and alive — not polished pop production. Think: dusty break energy, controlled sub weight, and a riff that sounds like it was built through performance, printing, and mutation rather than endless MIDI editing.
Step-by-Step Walkthrough
1. Set up a focused DnB template
Start at 174 BPM. Create a clean session with:
- A drum group
- A bass group
- A resample/audio track
- An FX return with Echo or Reverb
- A utility/monitoring track if you like to check mono
Load a reference jungle/DnB track into another audio track and turn its volume down. Use it only as a structural guide. Set your grid to 1/16, and keep snap on, but be ready to temporarily switch to 1/32 for break slicing.
On the master, leave headroom. Aim for peaks around -6 dB while building. DnB needs clean low-end space, and it’s much easier to balance the break and bass if you’re not slamming the master from the start.
2. Slice and shape the Amen break in Simpler
Drag an Amen sample onto a MIDI track with Simpler. Switch to Slice mode so each transient becomes playable. Keep the default slicing at first, then audition the slices in a simple 1-bar MIDI clip.
Build a basic call phrase with:
- Kick/snare accents on the strong beats
- A few ghost notes before the snare
- One tiny fill at the end of bar 2 or 4
Good starting move:
- Use the main snare slices as structural anchors
- Add short hat/tick slices around them to create forward motion
- Leave some gaps; jungle grooves breathe best when they don’t overfill every 1/16
In Simpler, try:
- One-Shot mode for chopped slices
- Short fade times if the break clicks too hard
- Slight transpose down by 1–3 semitones if the sample feels thin
Why this works in DnB: the Amen already has the swing and transient language of jungle. Your job is to preserve that rhythmic identity while making it “speak” in a phrase, not just loop endlessly.
3. Program the call-and-response phrase in two lanes
Think of the riff as a question and an answer. Use two clips or two MIDI lanes:
- Call = break lead
- Response = bass answer
For the call, write a 2-bar pattern with the break doing the talking. Make the rhythm slightly asymmetrical:
- Bar 1: stronger drum statement
- Bar 2: more chopped motion and a mini fill
Then create the response with a bass patch on a separate MIDI track. Keep it short and punchy at first. Use a Reese-style bass built from Wavetable or Analog:
- Oscillator detune: light to moderate
- Filter: low-pass with a little resonance
- Add a touch of Saturator or Drum Buss for edge
Phrase idea:
- Bass hits after the snare, not on top of every drum hit
- Let the bass answer in the negative space
- Use rests so the break remains intelligible
Concrete settings to start:
- Wavetable: Saw/Saw, slight detune, unison modest, filter cutoff around 150–300 Hz movement range
- Saturator: Drive around 2–6 dB
- EQ Eight: High-pass the bass response only where needed, but keep the sub lane clean
4. Separate sub from character using layered bass design
Build the bass in two layers:
- Sub layer: simple sine or triangle, mono
- Character layer: reese or mid-bass movement
The sub should be boring in a good way. Use Operator or a clean Wavetable sine:
- Keep it mono with Utility
- Low-pass or leave it clean
- Avoid chorus/stereo widening on anything below ~120 Hz
The character layer can be more aggressive:
- Add Auto Filter with envelope or LFO movement
- Use Phaser-Flanger lightly for motion
- Add Saturator or Overdrive for grit
Practical move:
- Group both layers into a Bass bus
- Put EQ Eight first to cut mud around 200–400 Hz if needed
- Follow with Saturator
- Finish with Utility set to mono below the low end if your bass feels too wide
Keep the bass response rhythmically distinct. A common mistake is making it too legato and too loud. In DnB, bass needs to punctuate as much as it sustains.
5. Print the bass response with resampling
Create a new audio track set to Resampling or route the bass bus to an audio track. Record 2–4 bars of the bass phrase so you can turn it into a new sound object.
Once recorded, drop the audio into a new track and start editing:
- Chop the best transient hit
- Reverse a tail before a snare for tension
- Consolidate a 1-beat or 1/2-beat phrase
- Use Warp carefully so the groove stays locked
Then process the resampled audio with:
- Auto Filter for movement
- Redux very lightly if you want digital grain
- Echo with short feedback for throws
- Reverb only on filtered/highpassed moments, not on the full low-end
A strong workflow is to create 3 printed versions:
- Clean print
- Filtered/FX print
- Distorted or reversed print
This gives you arrangement flexibility later without rebuilding the sound every time.
6. Create the response hit from the resampled audio
Turn your printed audio into a new response element. This could be:
- A short bass stab
- A reversed texture hit
- A break-and-bass hybrid stab
- A filtered “whoomp” that answers the Amen call
Try this:
- Slice the resampled audio in Simpler
- Play the loudest transient on beat 3 or the “and” of 2
- Add Amp or Saturator for more front-end attitude
- Use Auto Filter automation to close the filter over 1 bar
Parameter ideas:
- Auto Filter cutoff: sweep roughly 800 Hz down to 150 Hz on the response hit
- Echo feedback: 10–25% for short dubby tails
- Saturator drive: 3–8 dB depending on how dense the source is
Now the riff feels like a real call-and-response conversation: the drums speak, then the printed bass texture replies with weight and grime.
7. Shape groove with micro-editing and swing
Jungle feel lives in micro-timing. Don’t quantize everything perfectly. In the MIDI editor:
- Nudge some ghost slices slightly late
- Pull a few percussive hits slightly ahead for urgency
- Leave the snare strong and centered
Use groove carefully:
- Try a subtle swing template or groove pool extraction from a break
- Apply groove at a low amount, around 20–40%, if the pattern gets too rigid
On the break bus, use:
- Drum Buss for transient punch and harmonics
- Slight Drive and Boom only if the low end needs extra pressure
- EQ Eight to control harsh hats or boxy mids
A good musical context example: if your track is in a 16-bar drop, use bars 1–4 for the core riff, bars 5–8 for a filter-open variation, bars 9–12 for a tiny fill or reverse print, and bars 13–16 for a strip-down before the next section. That keeps the DJ-friendly flow while still feeling like a designed performance.
8. Automate movement for tension and drop design
Automation is what turns a loop into a section. On the bass response and resampled audio:
- Automate filter cutoff
- Automate Drive
- Automate send levels to Echo/Reverb for single-hit throws
- Automate Utility gain for small lift/drop moments
For darker DnB, keep automation purposeful:
- Open the filter over 2 bars before a switch-up
- Cut the bass character layer for half a bar so the sub feels bigger when it returns
- Use a reverse resample into the next snare to create a pull-forward effect
On the arrangement side, place this riff in a structure like:
- 16-bar intro with teasing break fragments
- 16-bar drop with full call-and-response
- 8-bar stripped bridge
- 16-bar second drop with more aggressive resampled answers
Keep the low-end stable even when the top layer changes. That stability is what makes the drop hit hard.
Common Mistakes
- Fix: simplify the response to 1–3 notes per bar and leave rests around the snare.
- Fix: keep anything below roughly 120 Hz mono with Utility; let only mids/highs spread.
- Fix: preserve transients. If the break loses punch, back off heavy compression or extreme distortion.
- Fix: print specific versions: clean, filtered, reversed, and distorted. Don’t just record everything blindly.
- Fix: preserve a few human offsets and use groove lightly instead of forcing everything on-grid.
- Fix: high-pass the printed texture when it’s not meant to carry sub, and carve a pocket with EQ Eight.
Pro Tips for Darker / Heavier DnB
Mini Practice Exercise
Set a timer for 15 minutes and do this:
1. Load an Amen break into Simpler and program a 2-bar call phrase.
2. Build a simple sub/reese response on a second track.
3. Resample 2 bars of the bass response to audio.
4. Chop the printed audio into one new answer hit.
5. Add one automation move:
- filter sweep,
- Echo send,
- or drive increase.
6. Mute the original bass for the last 2 bars and let the resampled version take over.
7. Listen back and ask: does it feel like the drums and bass are talking to each other?
If you have extra time, make a second variation where the response is more stripped and darker. Keep the same rhythm, but change the tone.

