Main tutorial
Lesson Overview
An Amen break is one of the most iconic rhythmic ingredients in Drum & Bass, but in 2025 it can’t just be “looped and left alone.” In a modern DnB track, the Amen-style percussion layer has to do more than reference jungle history — it needs to punch through sub-heavy bass design, support fast arrangement movement, and still feel human, worn-in, and alive.
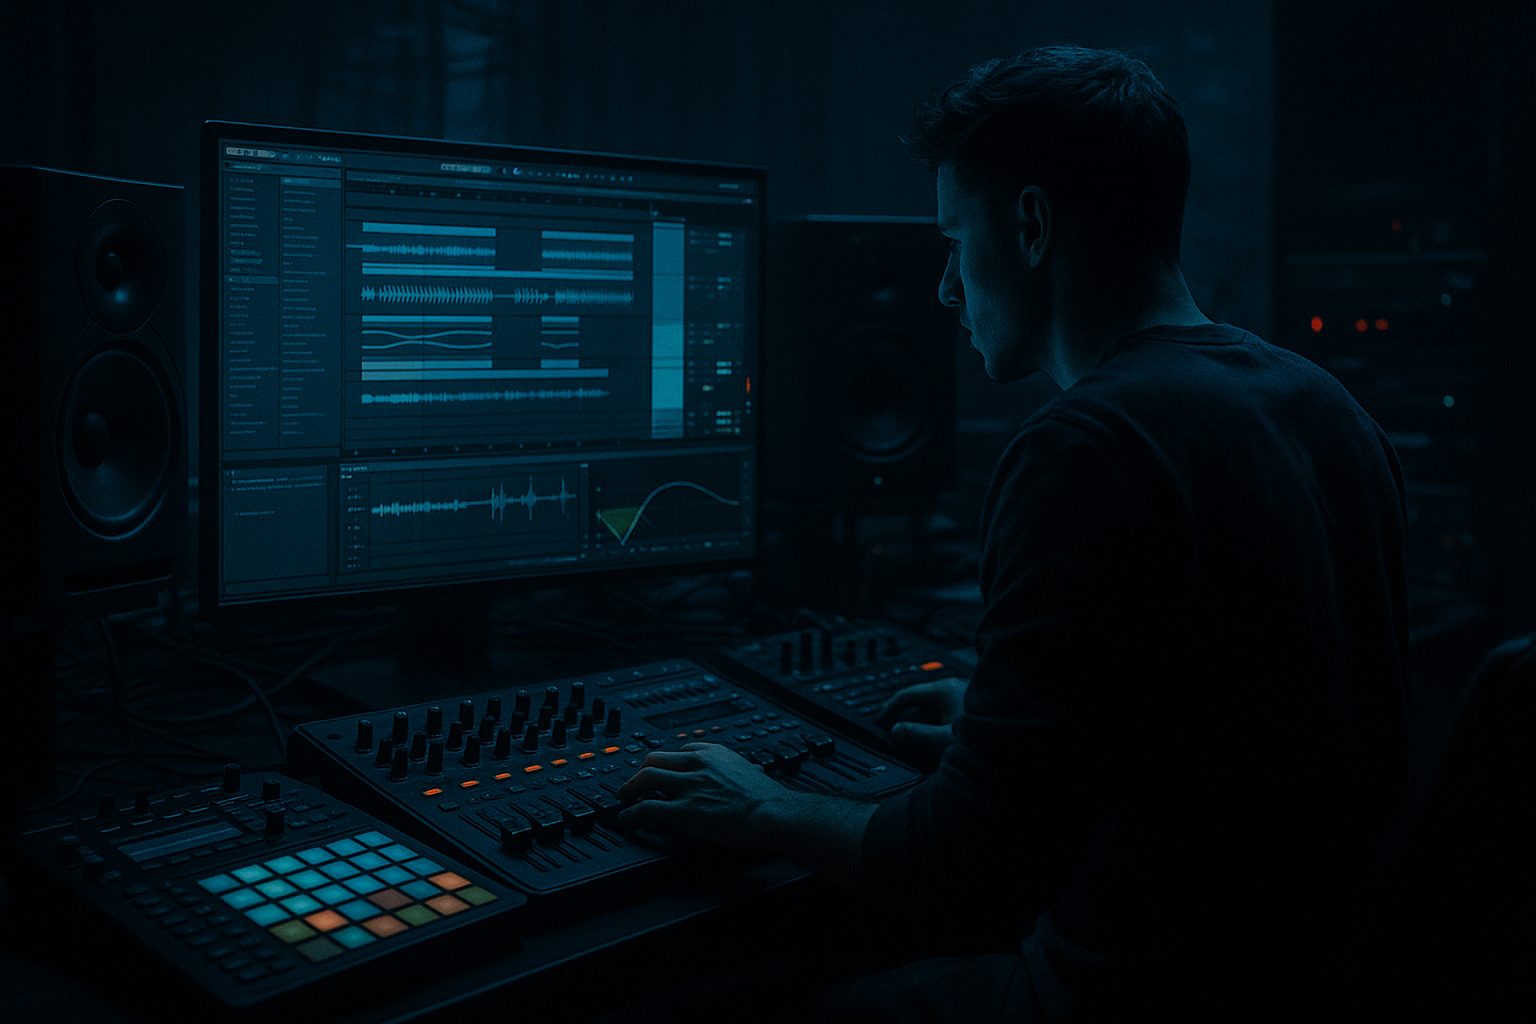
This lesson shows you how to build an Amen-inspired percussion layer in Ableton Live 12 that blends vintage soul with modern impact. The focus is not on copying a break exactly, but on composing a layered drum texture around it: slice work, ghost-note programming, transient control, tonal shaping, and automation that keeps the groove evolving across a drop. That matters in DnB because the drums and bass are locked in a constant conversation. If the percussion is static, the whole track can feel flat even when the bassline is moving hard.
You’ll build a percussion stack that works in jungle, rollers, neuro-adjacent halftime-to-double-time transitions, and darker liquid spaces. The result should feel raw enough for underground energy, but clean and controlled enough to survive a modern master. 🔥
What You Will Build
By the end, you’ll have:
- An Amen-style percussion layer built from sliced break material and supporting one-shots
- Tight transient shaping with modern punch
- Vintage soul from groove, ghost notes, and subtle saturation
- Controlled automation for filter movement, decay changes, reverb throws, and breakdown tension
- A drum layer that can live under a reese bass, a rolling sub, or a more neurotic mid-bass design
- A flexible rack you can reuse across intros, drops, switch-ups, and breakdowns
- A tight modern kick with a short tail
- A crisp snare or clap layer for front-end snap
- A closed hat or ride tick for extra top-end motion
- Move one ghost snare earlier by a 16th
- Drop one hat slice to create a tiny breath
- Repeat a snare tail or kick fragment for tension
- Main snare hit on beat 2 and 4
- Ghost notes around the “a” of 1 and the “e” or “a” before 3
- Hat chatter filling the offbeats, but with a few intentional gaps
- Main snare: 110–127
- Ghost notes: 25–70
- Hat ticks: 40–95
- Apply groove lightly to the ghost notes and hats only
- Keep main snare anchors mostly straight
- Use timing adjustments manually on specific slices instead of globally swinging everything
- Drive: 5–15%
- Crunch: subtle, around 5–20% depending on grit
- Transients: +5 to +20 for extra snare bite
- Boom: usually off or extremely low unless you want a very specific subby drum thump
- Drive around 1–4 dB for subtle harmonics
- Soft Clip on if the break needs to stay controlled under compression
- Use the Color section only if you want a slightly brighter edge
- High-pass around 120–180 Hz on the break layer to keep the sub lane clear
- Small cut around 300–500 Hz if the break gets boxy
- Gentle shelf or presence boost around 5–8 kHz if you need snap
- Low-pass or band-pass for intro and breakdown use
- Resonance low to moderate, around 0.20–0.45
- Filter cutoff automated between roughly 250 Hz and 10 kHz depending on section
- Downsample just a little, not to obvious bitcrush extremes
- Mix very low, often 5–15%
- Use it on a parallel return if possible
- High-pass it aggressively
- Add Auto Filter
- Add a touch of Saturator or Redux
- Send only specific ghost notes or fills to it
- Auto Filter cutoff on the main Amen layer
- Reverb Send on selected snare ghosts or fill hits
- Delay Send on the last hit before a drop or switch-up
- Drum Buss Drive in breakdowns or build transitions
- Utility Gain for pre-drop reduction or drop reveal
- Bars 1–4 of intro: low-passed Amen at 300–1,500 Hz with sparse ghost hits
- Bars 5–8: open the filter slowly and increase hi-hat articulation
- First drop: full-frequency break returns, but the ghost notes are automated to rise in velocity and send a little more to room reverb
- Bar 16: mute one hit or reverse a fragment for a switch-up
- Second phrase: automate a slight reduction in cutoff every 4 bars to create a tension wave under the bass
- Ratio: 2:1 or 4:1
- Attack: 10–30 ms for punch
- Release: Auto or around 0.1–0.3 s
- Gain reduction: usually 1–3 dB max
- Narrow the group width slightly with Utility
- High-pass your stereo texture returns
- Keep the main snare and kick mostly center-focused
- You freeze the exact groove you’ve designed
- You can chop fills, reverse fragments, and automate edits faster
- You can treat the layer like a performance element instead of a static loop
- Warp tightly if needed
- Slice the resampled audio to a new Drum Rack for alternate fills
- Create a “drop version” with more punch and a “breakdown version” with more texture
- Use subtle filter automation to make the Amen feel like it’s “breathing” under the bassline. A slow cutoff rise into a drop creates tension without obvious riser clichés.
- Layer a very short room reverb on selected snare ghosts only. Dark DnB benefits from the illusion of space, but not from a washed-out drum bus.
- If the track is neuro-leaning, automate tiny variations in decay or send amount every 4 bars. Micro-movement keeps the percussion alive under more rigid synth programming.
- Use utility gain automation before heavy drum processing to create pre-drop pullback, then slam the full layer back in with a high-pass opening.
- For grimey jungle character, resample the break through a touch of Redux or Saturator, then blend it quietly under the clean version. Think “aged shadow,” not “destroyed drum.”
- If the bassline is very active, simplify the Amen around the bass phrases. Leave a pocket when the bass answers, then fill it when the bass holds. That call-and-response is a huge part of modern DnB movement.
- For a rollers vibe, keep the snare ghosting subtle but persistent. The groove should feel like it’s rolling forward even when nothing dramatic is happening.
- Use arrangement automation on the last 1–2 bars before a switch-up: reduce low-pass cutoff, increase reverb send slightly, then cut to a dry, punchy phrase. That contrast is club-effective.
- Build around one Amen source, then support it with a few tight layers.
- Use MIDI editing, velocity, and groove to make the break feel composed, not copied.
- Shape punch with Drum Buss, Saturator, EQ Eight, and disciplined gain staging.
- Automate filter, send levels, and bus intensity so the drum layer evolves with the arrangement.
- Keep the center strong, the texture expressive, and the bass lane clean.
- Resample the best performance so you can turn it into a flexible, arrangement-ready DnB tool.
Musically, think of a 174 BPM roller where the kick and sub are locked, but the Amen layer adds the “human dust” on top — snare drag, hat chatter, and little ghost hits that make the groove feel played, not pasted. In a darker tune, the same layer can be filtered and destabilized in the intro, then opened up in the drop for impact and urgency.
Step-by-Step Walkthrough
1) Build a focused drum group around one Amen source and supporting hits
Start with one sliced Amen-style break, not five competing loops. Drag an Amen recording or a jungle break into an Audio Track, then right-click and choose Slice to New MIDI Track. In Live 12, use a slicing preset based on transients so you get separate pads for kick, snare, ghost hits, and hats.
Set your project around 170–176 BPM. This is the sweet spot where Amen phrasing can feel both authentic and modern. If you’re working toward a rollers vibe, stay on the lower end; if you want more frantic pressure, lean higher.
Now create a Drum Rack group and place the sliced break there. Add a few supporting one-shots:
Keep the original break as the soul layer, not the whole drum mix. The point is to compose around it.
Why this works in DnB: a classic break alone can sound too loose or too thin under powerful bass design. Layering gives you control over low-end impact, midrange crack, and high-frequency motion without losing the human feel.
2) Program the core Amen phrasing in MIDI, not just as a loop
Don’t drag the sliced break into a loop and call it done. Open the MIDI clip and actively compose the rhythm so it works with your arrangement.
Use the Amen as a 2-bar or 4-bar phrase. In bar 1, keep the familiar break energy. In bar 2, alter one or two details:
A good advanced starting point is:
Use velocity to differentiate the hits. Try a rough range like:
Keep the break human. If every note lands at the same velocity and timing, it becomes a grid loop instead of an Amen-style percussion layer.
3) Lock the groove with Ableton’s groove engine, then fine-tune timing manually
Open the Groove Pool and try a subtle swing source, but don’t overdo it. For DnB, especially if the bassline is precise and sub-heavy, you want groove that feels lived-in without making the track wobble.
A strong approach:
For advanced control, experiment with nudging some ghost hits a few milliseconds late while pushing a tiny hat accent slightly early. That push-pull is what makes Amen phrasing feel expensive and not generic.
Ableton workflow tip: consolidate the best version of the 2-bar phrase, duplicate it across 8 bars, then edit 1-2 notes per bar to prevent obvious repetition. This is especially effective in rollers and dark liquid where the drum layer has to breathe under a sustained bassline.
4) Shape transient punch with Drum Buss, Saturator, and careful gain staging
Place Drum Buss on the Amen layer group, not just on the individual break. This gives you a cohesive glue stage.
Try these starting points:
Follow Drum Buss with Saturator:
If the snare loses body after saturation, correct it with EQ Eight instead of pushing more drive. Try:
Why this works in DnB: modern DnB drums need to hit hard in a dense spectrum. Drum Buss and Saturator give you perceived loudness and edge without forcing the break to be unnaturally loud, which protects headroom for the bass.
5) Build vintage soul with filtered texture and controlled degradation
The “vintage soul” part is not about making everything dusty. It’s about selective wear.
On the Amen layer, add Auto Filter after your initial tone shaping. Set it to:
If you want more old-school crackle, use Redux carefully:
For a more tape-like feeling, use Echo or Simple Delay with very short, filtered repeats on selected ghost hits rather than the whole drum bus. This adds smear and movement without washing out the groove.
A strong advanced move is to duplicate the Amen group and make a “texture” return:
That gives you old-record atmosphere without sacrificing the punch of the main break.
6) Automate filter, decay, and send levels to create arrangement movement
This is where the lesson becomes arrangement-ready. Amen layers are powerful when they evolve across the track, not when they sit at one static tone.
Automate these parameters across 8-bar and 16-bar sections:
A practical arrangement example:
Use Clip Envelopes if you want per-clip control, or Track Automation if you want larger arrangement sweeps. For DnB, both matter: clip-level detail for groove, arrangement-level automation for story.
7) Control space with drum bus processing and mono discipline
Group the Amen layer, any supporting one-shots, and optional texture returns into a Drum Group. On the group bus, use Glue Compressor lightly if needed:
Then check the whole drum layer in mono with Utility. This is important when you’re layering stereo texture or using delay/reverb returns. In darker DnB, the bass is usually doing heavy mono-center work, so your percussion needs to stay stable.
If the break feels too wide or phasey:
A good rule: the Amen texture can feel wide, but the impact should feel centered. That keeps your drum layer sounding large without smearing the kick-sub relationship.
8) Resample the best version and create an editable performance tool
Once the drum layer feels strong, resample a 4- or 8-bar pass into a new audio track. This is one of the most useful advanced moves in Ableton Live 12.
Why resample?
After resampling:
This is ideal for modern DnB arrangement because you can start with a filtered, sparse Amen intro, then reveal the resampled full layer in the drop with a single automation move or scene launch.
Common Mistakes
1. Over-layering too many breaks
Fix: Use one core Amen source and support it with a few intentional one-shots. Too many breaks blur the groove and steal impact.
2. Swinging everything equally
Fix: Keep the main hits stable and apply groove mainly to hats and ghosts. DnB needs tension between precision and looseness.
3. Pushing saturation until the snare turns into noise
Fix: Use Drum Buss and Saturator in moderation, then EQ to restore body and clarity. More drive is not always more punch.
4. Ignoring automation
Fix: If the Amen layer sounds great for eight bars and boring for 64, it’s not arranged yet. Automate filter, sends, and level changes.
5. Letting stereo effects weaken the center
Fix: Keep core transients mono or near-mono. Put width on texture returns, not on the entire impact path.
6. Leaving ghost notes too loud
Fix: Ghosts should suggest motion, not compete with the snare. Pull them down until they add feel without clutter.
Pro Tips for Darker / Heavier DnB
Mini Practice Exercise
Spend 15 minutes building a two-version Amen layer: one for the intro and one for the drop.
1. Start a new 174 BPM Live set.
2. Slice an Amen-style break to a Drum Rack.
3. Program a 2-bar loop with one main snare, a few ghost hits, and hat chatter.
4. Add Drum Buss and Saturator with moderate settings.
5. Create an Auto Filter automation lane that slowly opens over 8 bars.
6. Duplicate the clip and make a “drop” version with a slightly stronger snare, one extra ghost hit, and less filtering.
7. Resample 4 bars of each version.
8. Compare them in context with a sub and a reese bass.
9. Use Utility to mono-check the drums and make sure the core hit still feels strong.
10. Save the Drum Rack and automation as your own reusable template.
Goal: in 15 minutes, make the same break feel like two different parts of the arrangement without changing the core identity.

