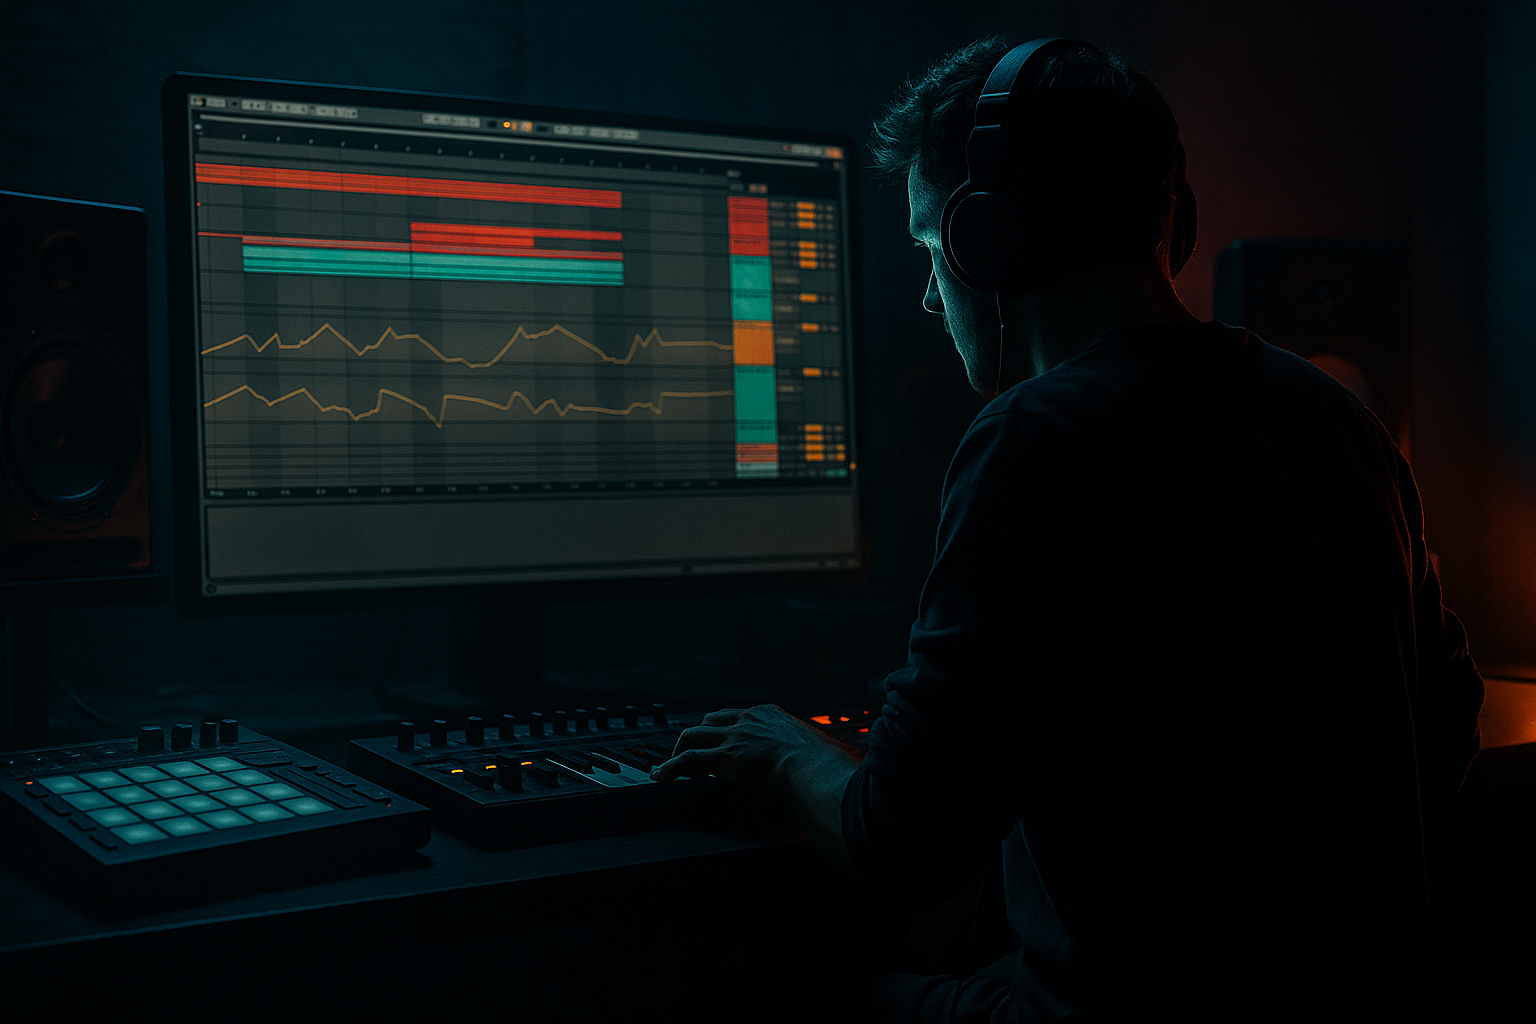
Main tutorial
Lesson Overview
This lesson is about building an Amen-style sub line in Ableton Live 12 using an automation-first workflow — the kind of bass movement that sits underneath chopped breaks, dusty atmospheres, and dark roller energy without fighting the drums. In DnB, the sub is not just “low notes”; it’s part of the groove engine. If the Amen break is the nervous system, the sub is the pulse underneath it.
The goal here is to create a tight, mono, weighty sub part with intentional automation, so the bassline feels alive without needing a huge MIDI performance. Instead of writing a busy bass first and fixing it later, you’ll design the movement from the start using device automation, clip envelopes, macro controls, and resampling choices that keep the low end disciplined. That’s especially useful in darker DnB, rollers, jungle-inflected half-step, and neuro-adjacent atmospheres where the bass must stay powerful but controlled.
Why this matters: in high-tempo DnB, basslines that rely on constant note density often blur against the break. An automation-first approach gives you movement, tension, and arrangement control with fewer notes, cleaner headroom, and more mix clarity. It also makes switch-ups and drop variations much faster to build later. 🔥
What You Will Build
You’ll make a 16-bar Amen-style sub/bass phrase that works under a chopped break and atmospheric bed. The result will be:
- a mono sub foundation that anchors the groove
- subtle pitch, filter, drive, and amplitude automation
- an Amen-style call-and-response feel between drum gaps and bass hits
- a dark, rolling low-end contour that changes across 4-bar phrases
- space for ghost notes, break edits, and atmosphere tails
- a version that can be resampled into a more aggressive bass texture later
- Writing too many bass notes
- Using wide stereo on the sub
- Over-saturating the low end
- Letting atmospheres occupy the low mids
- Ignoring break interaction
- Making every 4 bars identical
- Forgetting headroom before arrangement
- Use tiny automation moves, not dramatic sweeps
- Layer a restrained midbass above the sub
- Automate note length for tension
- Use break edits as bass triggers
- Print atmospheric tails into audio
- Keep the main sub simple, let the movement happen in automation
- Build the sub first as a phrase, not as a complicated riff.
- Keep the core low end mono, clean, and controlled.
- Use automation on sound shape to create movement instead of overloading the MIDI.
- Make the bass answer the Amen break with space, timing, and phrase changes.
- Use atmospheres to frame the sub, not mask it.
- Resample once the idea works so you can push it into heavier territory fast.
Musically, think of a 174 BPM section where the Amen break is chopped into 1-bar variations, pads and rain/noise atmospheres sit behind it, and the sub answers in short phrases: sometimes a sustained root, sometimes a two-note push, sometimes a filtered swell into the next bar. It should feel like the bass is breathing with the drums, not sitting on top of them.
Step-by-Step Walkthrough
1. Set up a clean low-end routing structure first
Start by creating three tracks in Ableton Live 12:
- Drum Break: your Amen chop track
- Sub Bass: a dedicated mono sub track
- Atmosphere Bus: pads, texture, field recordings, vinyl hiss, reversed tails, or dark ambiences
On the Sub Bass track, load Operator or Wavetable. For a pure sub, Operator is the fastest and cleanest option:
- Oscillator A: sine wave
- Turn off other oscillators
- Filter off, or leave it neutral if you want drive later
- Set Voices to 1 for strict mono behavior
If you want a slightly more characterful sub, use Wavetable with a sine or triangle base and a tiny amount of harmonics, but keep the core low end pure. Put Utility after the synth and set Width to 0% to lock mono. This is non-negotiable for classic DnB sub discipline.
On the Atmosphere Bus, use EQ Eight to high-pass aggressively around 150–250 Hz so the ambience never clouds the sub. In DnB, your atmosphere should feel huge, but the low end must remain surgically clean.
2. Write the bassline as a phrase skeleton, not a finished performance
Create a 16-bar MIDI clip on the Sub Bass track, but only place the most essential notes first. Think in phrase architecture:
- Bars 1–4: establish the root and groove
- Bars 5–8: add a variation or answer phrase
- Bars 9–12: introduce tension or a passing note
- Bars 13–16: final lift or drop-prep
Keep the notes sparse at first. A strong Amen-style sub often uses:
- root notes
- octave dips
- occasional minor second or semitone movement
- short pickup notes into bar changes
Example in a minor key: if your tune is around D minor, let the sub hit D, C, and maybe A as a darker support note. Use a single passing note such as C# or Eb only if it creates a deliberate pull into the next bar. The point is not melody; it’s phrasing tension.
Leave holes where the Amen break is active. That call-and-response gap is what makes it feel like jungle or roller DNA instead of a nonstop bassline.
3. Design the core sub tone with controlled harmonics
On Operator, keep the sine clean, then add just enough edge to translate on smaller systems:
- Add Saturator after Operator
- Drive: 2–5 dB
- Soft Clip: On
- Output gain compensated so the level stays consistent
Follow with EQ Eight:
- High-pass very gently only if needed, around 20–30 Hz
- If there’s a muddy bloom, cut 120–180 Hz by 1–3 dB
- If the sub needs more audible presence, add a narrow presence bump very carefully around 700 Hz–1.2 kHz only if it won’t interfere with the break or bass texture layer
Why this works in DnB: the kick and break already carry transient detail, so the sub’s job is to provide stable low-frequency weight and pitch identity. A little harmonic content helps the bass read on club systems and headphones without turning it into a midbass lead.
4. Build automation-first movement on the sound, not the notes
This is the main workflow shift. Instead of programming lots of MIDI notes, automate the bass character so each phrase evolves.
Map these parameters to Macro controls if you group your devices into an Audio Effect Rack:
- Macro 1: Saturator Drive
- Macro 2: Filter Frequency
- Macro 3: Filter Resonance
- Macro 4: Utility Gain
- Macro 5: Pitch Bend or Transposition if using a MIDI rack
- Macro 6: Dry/Wet on a subtle effect like Echo or Chorus only on a parallel layer, not the core sub
Useful automation ideas:
- Filter opening by 5–20% at the end of bar 4 or 8 to create lift
- Saturation increase only on phrase peaks
- Tiny gain drops in the sustain area so the transients of the break feel more explosive
- Automation of note length through MIDI clip envelopes or by editing note lengths directly for tighter / looser phrasing
In Live 12, use clip envelopes to shape MIDI expression-style movement if your instrument supports it, and use automation lanes in Arrangement View for device parameters. The key is to create movement that feels like a performance, but stays predictable enough for arrangement work.
5. Lock the sub to the break groove with intentional note placement
Now align the sub with the Amen chop. This is where the track becomes musical rather than just technical.
Place notes so they answer the break’s strongest moments:
- Hit the root right after a kick/snare punctuation
- Leave a gap where the break has a flurry of ghost notes
- Use a short pickup note into a downbeat or phrase change
- Let some notes sustain under the break only when the rhythm benefits from extra weight
A practical DnB arrangement move: in a 2-bar loop, place the sub note slightly after the main snare accent, so it feels like the bass is pushing forward rather than clashing with the transient. Then automate a short filter rise or drive lift into the next 4-bar section.
For extra groove, slightly vary note lengths:
- Some hits very short: 1/8 to 1/4 beat
- Some sustained: 1–2 beats
- Avoid every note being identical unless you want a very rigid, mechanical feel
This is where the “Amen-style” part matters: the bass should behave like a response to the chopped break, not like a separate riff pasted on top.
6. Create an atmosphere layer that frames the sub instead of masking it
Since this lesson sits in the Atmospheres category, the surrounding space matters. Add a second track with a dark texture:
- noise bed
- reversed cymbal swell
- filtered room tone
- vinyl crackle
- distant pad chord
- processed break ambience
Use Auto Filter and Reverb or Hybrid Reverb on this layer, not on the sub. Set the atmosphere to be:
- high-passed around 200 Hz
- widened only above the low mids
- tucked low enough that it feels felt more than heard
Then automate that atmosphere against the bass phrase:
- lower the pad during bass hits
- raise the tail into bar transitions
- filter it down during drop impact, then open it slightly in the last half of a phrase
This gives your sub context. In darker DnB, atmospheres create the psychological space around the low end, which makes the bass feel bigger without actually increasing sub level.
7. Resample your first pass to create a heavier second-generation bass
Once the automation-first pass feels good, bounce or resample the bass and break interaction:
- Create a new audio track
- Set input to resample or route the Sub Bass track to it
- Record 4–8 bars of the bass movement
Then process the resampled audio with:
- Saturator for extra density
- Drum Buss with Drive around 5–15% if you want more knock in the upper harmonics, but be careful not to destroy the sub
- EQ Eight for cleanup
- Transient shaping through careful clip gain and fades rather than over-processing
The advantage of resampling is that you can now slice, reverse, and automate audio tails in ways that feel more organic. You can create tiny lead-ins, bass throws, or atmospheric swells from the printed waveform. That’s a classic darker DnB workflow: generate one strong pass, then mutate it.
8. Use arrangement automation to make the drop evolve over 16 bars
Don’t leave the bass line static. Arrange it like a DJ-friendly DnB section:
- Bars 1–4: bare minimum groove
- Bars 5–8: introduce extra note or filter movement
- Bars 9–12: add more saturation or a slight octave answer
- Bars 13–16: create a pre-switch-up or riser-like bass swell
A strong musical example: if bars 1–4 are just D and C, then bars 5–8 can add a short F hit at the end of bar 8 to hint at a turnaround. Bars 9–12 might repeat the root but automate more drive so the energy grows without increasing note density.
In Live’s Arrangement View, automate:
- Sub track filter opening
- Atmosphere bus level
- Break reverb send
- Any parallel distortion send on a midbass layer, if you’ve added one
- Master headroom only as a reference, not as a loudness target
The aim is to make each 4-bar phrase feel like it’s moving deeper into the tune. That’s especially effective in rollers and Amen-driven jungle where repetition is the groove, but variation is the tension.
9. Do a mono and low-end sanity check before calling it done
Before adding more layers, test the bass in a strict low-end context:
- Put Utility on the Master and toggle Mono briefly
- Check whether the sub disappears or changes too much
- Compare the bass against the kick and break in solo and full mix
If the low end feels unfocused:
- shorten notes
- reduce Saturator drive
- cut excessive low mids from atmospheres or break room tone
- check for overlapping tails from reverbs or delays
Keep some headroom. DnB needs punch. If the bass is eating too much of the mix, the drums will lose their snap and the whole track gets tired quickly.
Common Mistakes
- Fix: reduce to root-based phrasing and let automation do the movement.
- Fix: keep the sub mono with Utility Width at 0%.
- Fix: add gentle harmonics, then compare against bypassed level. If it gets louder but not clearer, back off.
- Fix: high-pass textures aggressively and carve space around 150–400 Hz.
- Fix: place bass hits where the Amen chop leaves room. Don’t step on ghost-note detail.
- Fix: automate one or two parameters per phrase so the section evolves naturally.
- Fix: keep the bass controlled so the later drop layers don’t force emergency EQ.
Pro Tips for Darker / Heavier DnB
- A 5–10% filter shift or a 1–2 dB drive change can create more intensity than a huge obvious rise.
- If needed, duplicate the bass and high-pass the layer aggressively. Add Redux, Saturator, or Dynamic Tube for controlled grit, but keep the sub clean underneath.
- Short notes feel more urgent and percussive. Longer notes feel more ominous and sustained. Switching between them across a phrase adds character fast.
- In jungle and darker rollers, a break fill can justify a bass answer. Let the bass react to the drum edit, not just the chord change.
- Reversed ambience or filtered reverb tails can be resampled and reintroduced behind bass gaps. That creates depth without clutter.
- This is the fastest route to a pro result in heavy DnB: stable low end, evolving character, clean mix.
Mini Practice Exercise
Set a timer for 15 minutes and build this from scratch:
1. Make a 16-bar Amen break loop at 174 BPM.
2. Add a mono Operator sub on a separate track.
3. Write only 3 bass notes for the first 4 bars.
4. Map Saturator Drive, Auto Filter cutoff, and Utility gain to macros.
5. Automate one parameter each 4-bar phrase:
- bars 1–4: filter slightly closed
- bars 5–8: more drive
- bars 9–12: tiny gain lift or note extension
- bars 13–16: filter open and prepare a switch-up
6. Add one atmosphere layer with Auto Filter and Hybrid Reverb, high-passed above 200 Hz.
7. Resample 4 bars of the bass and try one edit: reverse a tail, chop a pickup, or duplicate a hit.
Goal: finish with a loop that feels like a real drop section, not just a bass patch demo.
Recap
If you get this right, you’ll have a bass workflow that’s fast, repeatable, and properly DnB: tight low end, dark energy, evolving automation, and room for the break to breathe.

