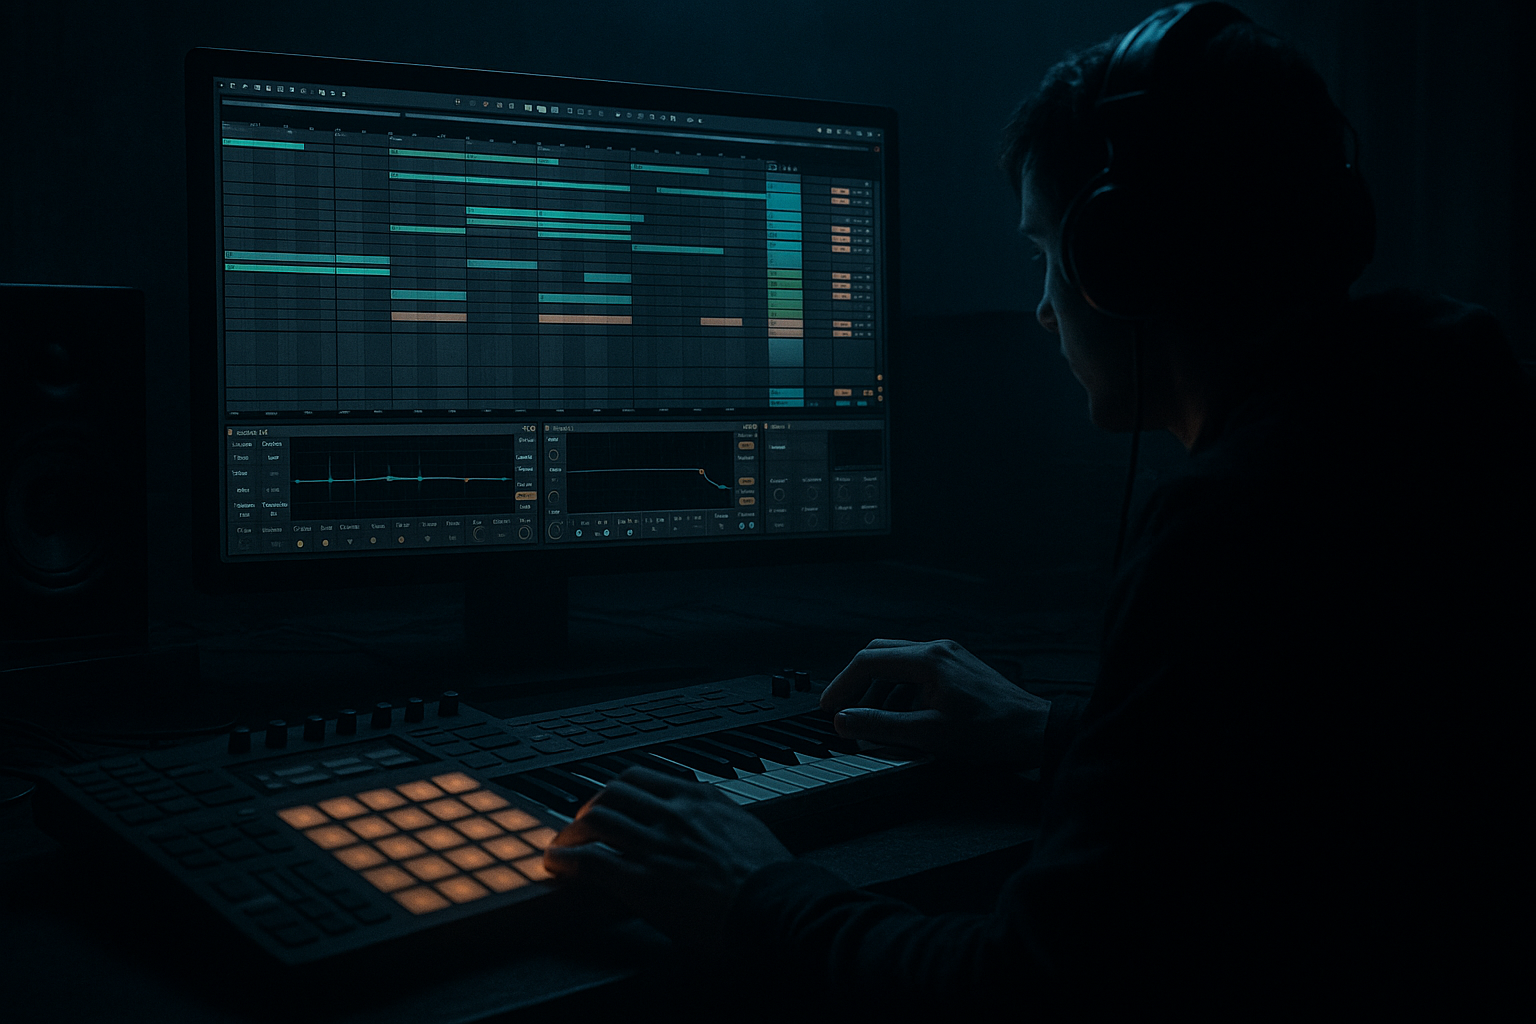
Main tutorial
Compose an Amen‑style Switch‑Up with Minimal CPU Load in Ableton Live 12 (Automation Focus)
1) Lesson overview
You’re going to build a classic Amen-style switch-up (the “whoa, new pattern!” moment) using automation as the main musical driver, while keeping CPU usage low ⚡️. This is aimed at advanced users: we’ll assume you already know slicing, warp modes, and drum programming basics.
Core idea:
Create one amen/drum rack source, then generate variety using clip + arrangement automation (filters, envelopes, pitch, transient shaping, reverb throws) and efficient resampling—instead of stacking heavy devices or dozens of parallel tracks.
---
2) What you will build
A 16‑bar rolling DnB drum section with:
- A steady Amen-based groove (bars 1–8)
- A switch-up (bars 9–12) using automation-driven edits: micro pitch dips, bandpass sweeps, transient emphasis, and a short reverb “throw”
- A return to the main groove (bars 13–16) with a subtle variation (reverse hit + fill)
- One main Drum Rack track
- 1–2 return tracks max
- Minimal oversampling / minimal lookahead devices
- Resampling the “special moments” into audio
- The default Simpler per slice is fine.
- Avoid putting reverbs or heavy saturators on every pad. Put them on the rack chain or returns.
- Auto Filter
- Drum Buss
- Saturator
- Macro 1 “Sweep”: gradually move BP/HP cutoff upward (or sweep BP across mids)
- Macro 2 “Reso/Bite”: increase slightly (don’t over-whistle)
- Macro 3 “Smack”: increase transient emphasis to make the edits sound “cut”
- Make a quick 1/2 bar or 1 bar stutter feel:
- Automation moves:
- Pull the filter back down (or open it fully) right before bar 13.
- Reduce reso and transients slightly so bar 13 hits clean.
- Bars 1–4: main groove established (minimal automation)
- Bars 5–8: introduce small hat/ghost variation + tiny macro movement
- Bars 9–10: filter/reso tension (switch-up starts)
- Bars 11–12: edit burst + pitch moment + reverb throw
- Bars 13–16: drop back to main groove with 1 subtle variation (reverse slice or extra kick)
- Duplicate a snare slice to a new pad → in Simpler, enable Reverse.
- Use it only once (bar 12 into 13). Super effective, basically free CPU.
- Over-automating everything: if every bar is moving, nothing feels like a switch-up. Pick 2–3 hero moves.
- Reverb on the whole break: kills punch and adds CPU. Use a return throw.
- Too much resonance on the filter: you’ll get a whistle that steals focus from the snare.
- Stacking transient shapers: Drum Buss is enough. Use automation instead of more devices.
- Not committing to audio: if the switch-up is “special,” resample it. Your CPU (and arrangement) will thank you.
- Make the switch-up darker by removing top-end, not adding distortion:
- Controlled aggression:
- Old-school grit without CPU bloat:
- Sub discipline:
- You built a proper Amen-style switch-up using automation as the main arrangement tool.
- You stayed CPU-light by:
- You shaped tension/release like real jungle/DnB: filter movement, transient emphasis, micro pitch moments, and a single reverb throw.
CPU target:
---
3) Step-by-step walkthrough
Step 0 — Project + CPU-first setup (2 minutes)
1. Tempo: 172–176 BPM (pick 174 BPM).
2. Audio buffer: set higher while designing (e.g., 256–512 samples) to keep things stable.
3. Turn off what you don’t need:
- Freeze/Flatten later, but for now keep the set lean.
4. Warp mode note (Amen breaks): use Beats warp mode for crisp transients.
- Set Preserve = Transients
- Enable Envelope and set to ~10–30 if the break is too clicky.
---
Step 1 — Get your Amen into a Drum Rack efficiently
Goal: slice once, then automate playback and processing, not “duplicate and stack.”
1. Drop an Amen break audio clip on an audio track.
2. Right-click the clip → Slice to New MIDI Track:
- Slice by: Transients
- Slicing preset: Built-in → “Slice to Drum Rack”
3. You now have a Drum Rack with each slice mapped to pads.
CPU tip: In the Drum Rack, keep each pad simple:
---
Step 2 — Build the core rolling pattern (bars 1–8)
1. Create a MIDI clip (8 bars) on the sliced Drum Rack track.
2. Program your “main amen groove” using:
- Kick/1, snare accents around 2 and 4, and the classic amen ghost notes.
3. Add DnB “drive” without extra devices:
- Use Velocity variation in the MIDI notes (ghosts ~30–60, accents 90–115).
- In Drum Rack, group the most-used slices (snare, hats) and slightly adjust:
- Simpler → Filter: off for now
- Simpler → Start: small offsets can tighten hits without time-stretch artifacts.
Fast workflow move:
Select a few ghost notes → Alt/Option + drag velocity lane for quick shaping.
---
Step 3 — Create the switch‑up using automation (bars 9–12)
We’ll make the switch-up feel like a classic jungle edit: filtered, pitched, more “aggressive” transient focus, then snap back.
#### 3A) Macro controls (one rack, many moves)
1. On the Drum Rack track, add these stock devices after the Drum Rack:
1) Auto Filter
2) Drum Buss
3) Saturator (optional, subtle)
4) Utility (for quick gain/width trims)
2. Group these devices into an Audio Effect Rack.
3. Create 4 Macros (name them clearly):
- Macro 1: “Sweep” → Map to Auto Filter Frequency
- Macro 2: “Reso/Bite” → Map to Auto Filter Resonance + Drum Buss Drive (small range)
- Macro 3: “Smack” → Map to Drum Buss Transients (and maybe Crunch)
- Macro 4: “Tone” → Map to Saturator Drive (tiny) + Output trim
Suggested starting settings:
- Type: Band-Pass (BP) or High-Pass (HP) depending on vibe
- Slope: 24 dB
- Resonance: 0.70–1.30 (map with range control)
- Drive: 5–15% (map carefully)
- Transients: +10 to +35
- Boom: OFF (unless you really want it)
- Mode: Soft Sine or Analog Clip
- Drive: 1–3 dB (keep it controlled)
#### 3B) Arrangement automation (the actual switch-up)
Go to Arrangement View. In bars 9–12, automate Macros:
Bars 9–10 (tension build):
Bar 11 (the “edit” moment):
- Duplicate a tiny section of MIDI notes (or use a variation clip) with denser ghost hits.
- Macro 1: quick dip then jump (a “DJ-style” filter gesture)
- Macro 4: small saturation bump (like +1 dB drive) for impact
Bar 12 (release + re-entry setup):
---
Step 4 — Add “Amen pitch talk” without heavy processing
Classic jungle edits often pitch tiny fragments. We’ll do it efficiently:
Option A (lowest CPU): clip pitch automation via resampling
1. Duplicate the Drum Rack track MIDI clip for bars 9–12.
2. On the Drum Rack track, temporarily add:
- Pitch MIDI effect (before Drum Rack) OR adjust Simpler Transpose on specific pads (if you want slice-specific pitch).
3. Automate pitch dips:
- e.g., -2 to -5 semitones for a 1/8 or 1/16 just before a snare hit.
4. Resample the switch-up:
- Create a new audio track set to Resampling.
- Record bars 9–12 into audio.
5. Disable the temporary pitch device after resampling.
Result: you get the pitchy character, but the “expensive” edit stage is committed to audio.
---
Step 5 — One tasteful reverb throw (Return track) 🎛️
Instead of putting reverb on the drum channel (CPU + mud), do a single throw.
1. Create Return A:
- Hybrid Reverb (stock)
- Mode: Algorithmic
- Decay: 1.2–2.5s
- Predelay: 15–30 ms
- High Cut: 6–9 kHz
- Add EQ Eight after it:
- High-pass at 200–400 Hz
- Optional dip around 2–4 kHz if harsh
2. On your drum track, automate the Send A only on:
- One snare hit at bar 12
- Or a short fill at the end of bar 11
CPU win: One reverb for the whole project section.
Mix win: cleaner low end.
---
Step 6 — Micro‑automation that screams “jungle” (but stays light)
These are tiny, high-impact moves that cost almost nothing:
1. Utility width automation (very subtle):
- Keep drums mostly mono-ish; automate width to open slightly in the switch-up:
- Bars 1–8: Width ~ 90–110%
- Bars 9–12: Width ~ 110–130%
- Back to ~100% at bar 13
2. Auto Filter envelope shape changes:
- In the switch-up, change filter type briefly (HP → BP) for one bar for that “different record” vibe.
3. Drum Buss Transients automation:
- Don’t leave it maxed. Push it only on the busiest edits so the groove doesn’t get brittle.
---
Step 7 — Arrange the final 16 bars like a proper DnB record
A reliable structure:
Optional: Add one reverse hit:
---
4) Common mistakes
---
5) Pro tips for darker/heavier DnB 🖤
- Automate Auto Filter to shave highs during bars 9–10, then open at 13.
- Use Saturator with small drive + output trim automation (macro it).
- For heavier snap, push Drum Buss Transients on the fill only.
- Use Redux very lightly (bit reduction 1–2) only in the switch-up, then resample and turn it off.
- Keep the drum bus tight under 120 Hz. If needed, EQ Eight high-pass very gently (e.g., 24 dB at 25–35 Hz) to avoid rumble.
---
6) Mini practice exercise (15 minutes)
1. Build an 8-bar main amen groove.
2. Create a 4-bar switch-up (bars 9–12) using only:
- Auto Filter cutoff automation
- Drum Buss Transients automation
- One reverb throw on Return A
3. Resample bars 9–12 to audio and disable the extra devices you used for the edit stage.
4. A/B test:
- Play the section and watch CPU meter.
- Does bar 13 feel like a clean “return”? If not, reduce reverb tail or reso.
Deliverable: a 16-bar loop that “drops back in” with authority.
---
7) Recap
- Keeping processing on the bus and returns
- Using macros for fast, musical automation
- Resampling the complex switch-up into audio
If you want, tell me your exact vibe (90s jungle, modern neuro-roller, jump-up), and I’ll suggest a switch-up automation curve and device ranges that match it.

