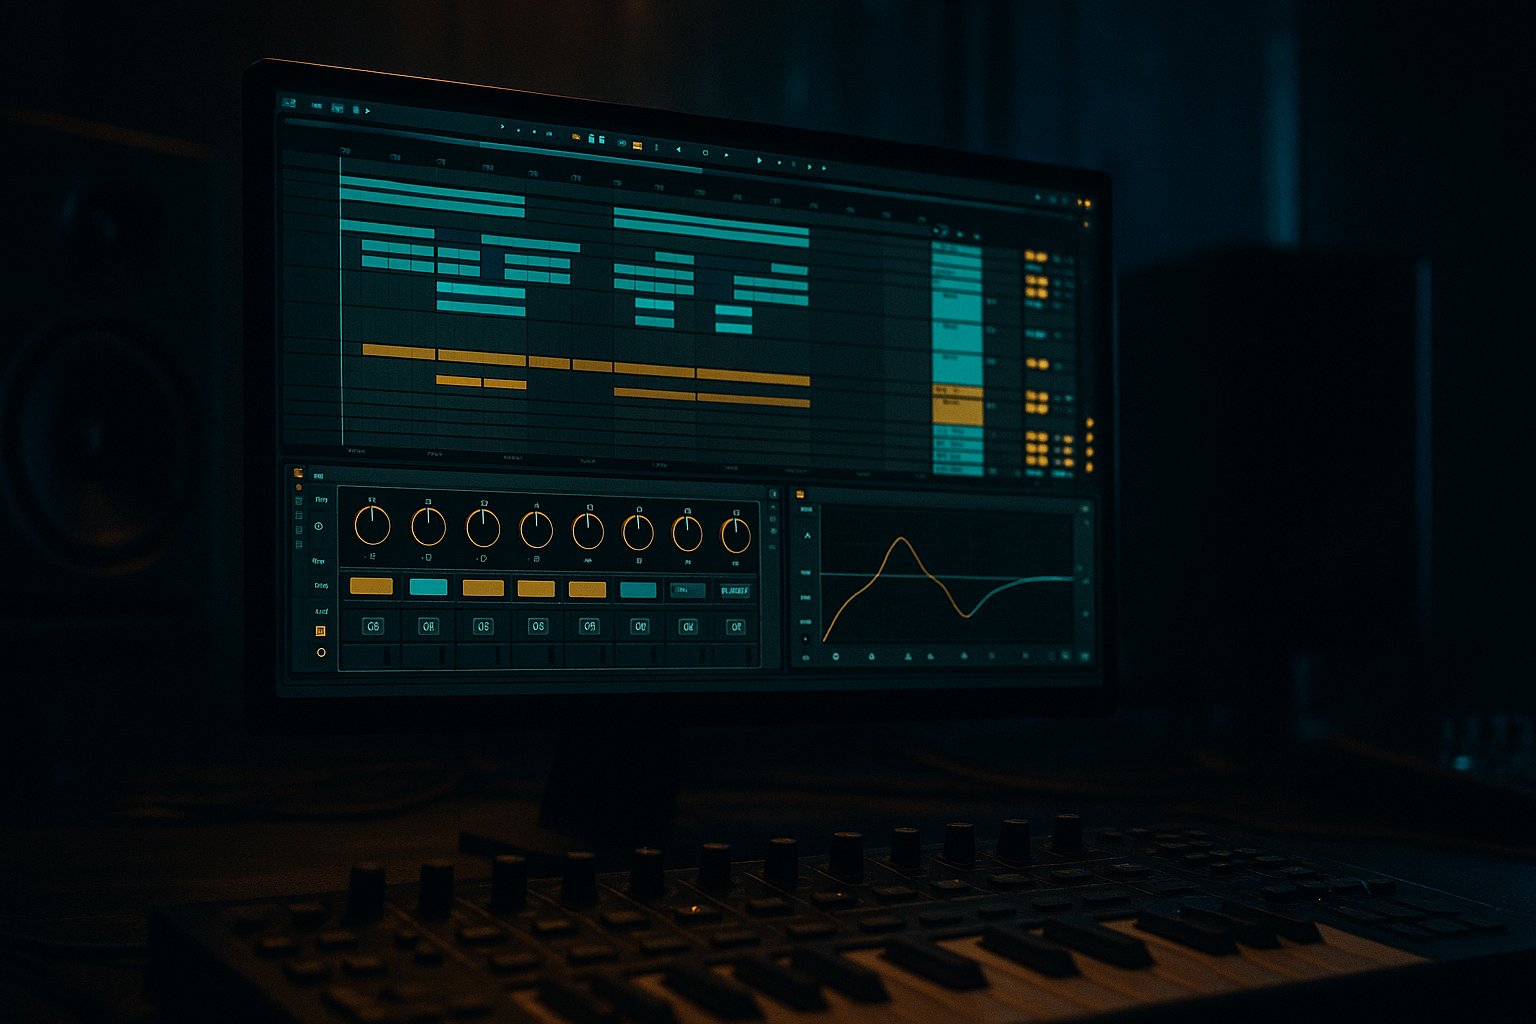
Main tutorial
Lesson Overview
In this lesson, you’ll build a jungle percussion layer from scratch in Ableton Live 12 and automate it so it evolves like a real record — not just a static loop. This is the kind of layer that sits between your main break and your drums bus: it adds forward motion, grit, swing, tension, and stereo detail without stepping on the kick, snare, or sub.
In DnB, percussion is not just decoration. It’s part of the groove engine. In jungle, rollers, neuro, and darker half-time-influenced DnB, a percussion layer can:
- glue together chopped break edits
- create momentum in 16-bar phrases
- make drops feel more alive
- hide repetition in a loop-based arrangement
- add “human chaos” around rigid kick/snare programming
- a tight shaker / hat-bed
- a rim or woodblock-style offbeat accent
- a faint break-derived top loop texture
- automated filter, pan, reverb, and saturation movement
- controlled ghost hits and micro-fills for phrase transitions
- a routed percussion bus that can be shaped as a single musical element
- a 170–174 BPM jungle/roller groove with bounce
- a darker DnB percussion bed that supports a Reese or neuro bassline
- a layer that can evolve from dry and tense in the intro to wider, more animated, and more distorted in the drop
- something you could hear in a club mix and still say, “that’s doing real work”
- intro build energy
- drop movement
- turnaround fills
- breakdown texture
- DJ-friendly loop interest
- Making every layer too loud
- Automating too many things at once
- Letting the percussion fight the snare
- Using wide stereo on everything
- Ignoring velocity and micro-timing
- Building percussion before the bass/drums are stable
- Use Saturator or Drum Buss on the percussion bus with restraint to create density without turning the top end into white noise.
- Try Auto Filter with slow automation into a drop: open the cutoff over 4 or 8 bars, then snap it back for impact.
- Use Utility to automate width only on texture layers. Keep the main percussion center-focused so the mix stays club-solid.
- If your track is neuro-influenced, make the percussion move in sync with the bass phrase — for example, open the filter on the same bar the Reese answers.
- For darker rollers, favor wood, rim, metal tick, and dusty break fragments over glossy party percussion.
- Add a very short Room Reverb return and automate sends on the final hit of each 8-bar phrase. A tiny tail can make the whole loop feel more expensive.
- Resample a few bars of your percussion bus, then chop the most interesting transient moments back into the arrangement. This is a great way to get organic variation without rebuilding everything.
- If the groove feels too clean, add a touch of Redux or gentle saturation to the texture layer only — not the full drum bus.
- start with three complementary layers: bed, accent, texture
- keep the groove tight but human with velocity and micro-timing
- use stock devices like Simpler, Auto Filter, Drum Buss, Utility, EQ Eight, and Glue Compressor
- automate movement across phrases instead of stacking more sounds
- protect the kick, snare, and sub with good routing and EQ discipline
- keep the percussion serving the arrangement, not overpowering it
The real goal here is not to stack random hats and shakers. The goal is to design a percussion layer that changes over time through automation: filter sweeps, transient movement, reverb throws, stereo shifts, decay changes, and subtle rhythmic variation. That’s what makes the groove feel expensive and replayable.
Why this matters in DnB: the genre is fast, dense, and repetition-sensitive. If your percussion stays static for 32 bars, the arrangement starts to feel flat even when the drums hit hard. A well-automated percussion layer gives you micro-evolution without cluttering the bassline or destroying low-end separation.
What You Will Build
By the end, you’ll have a layered jungle percussion rack built in Ableton Live 12 that includes:
Musically, the result should feel like:
You’ll finish with a percussion layer you can drop into an 8-bar or 16-bar arrangement, then automate to create:
Step-by-Step Walkthrough
1. Set the tempo and build the percussion architecture first
Set the project to 172 BPM as a reliable middle ground for jungle / rollers, or 174 BPM if you want a slightly harder, more urgent feel. Start in Session View or Arrangement View with a clean 8-bar loop.
Create three MIDI tracks:
- Perc Shaker Bed
- Perc Accent
- Perc Texture / Break Layer
Then create one return track for short room ambience and one for longer wash if you want to automate sends later.
On the percussion group, route all three tracks to a single Perc Bus group. This is important: you want to automate both the individual layers and the overall bus as a performance instrument.
On the Perc Bus, insert:
- EQ Eight
- Drum Buss
- Glue Compressor or Compressor depending on taste
- optional Saturator
Start with headroom. Keep the Perc Bus peaking around -10 to -6 dB before mastering. In DnB, percussion often gets overcooked early, which makes the bass feel smaller later.
2. Program the shaker bed with swing and velocity variation
On Perc Shaker Bed, load an Operator or Simpler with a clean shaker or closed hat sample. A short, bright source works best — don’t start with a huge noisy sample. If you use Simpler, keep it in Classic mode with short decay.
Program a 1-bar or 2-bar pattern with 16th-note density, but don’t make it grid-perfect. For jungle and rollers, the groove lives in the gaps and accents.
Good starting points:
- velocity range: 55–95
- note length: 1/32 to 1/16
- use Accent every 2nd or 4th subdivision depending on the bounce you want
- pull a few hits slightly late by 5–15 ms if your groove feels too robotic
Add MIDI note velocity variation manually in the Clip View. Then add Groove Pool swing if needed. A subtle groove like MPC 16 Swing 54–58 can help, but don’t overdo it if the break already swings hard.
Why this works in DnB: high-speed drums leave very little room for rhythmic ambiguity. A shaker bed with controlled velocity variation creates perceived motion without adding obvious clutter. It makes the top end feel active even when the snare is hitting hard on 2 and 4.
3. Design a contrasting accent layer with selective hits
On Perc Accent, use a rim, woodblock, clave, conga click, or short tom-like percussive sample. For darker DnB, a rim or wooden hit often cuts through better than a bright conga.
Program only a few hits per bar:
- offbeat accents around the “and” of 1 or 2
- answer hits before the snare
- occasional pickup into bar 2 or bar 4
Think of this layer as call-and-response with the snare and bassline. It should not sound busy by itself, but in context it should make the groove feel intentional.
Add Auto Filter after the sample:
- filter type: Band-Pass or Low-Pass
- frequency start: around 2.5–6 kHz
- resonance: 10–25%
- map the cutoff to automation for phrase movement
Add Utility and keep this layer relatively narrow in the lower mids. If the sample is too wide or resonant, tame it with EQ Eight:
- high-pass around 250–500 Hz
- notch harshness between 2.5–5 kHz if needed
This layer is where you can sneak in tension. A tiny amount of modulation goes a long way in DnB.
4. Create a break-derived texture layer by resampling or slicing
On Perc Texture / Break Layer, use a break sample or resample a section of one of your own drum loops. The key is not to make a full break beat; you want a top-end fragment that adds human grit and movement.
Two solid workflows in Ableton Live 12:
- drag a break into Simpler, switch to Slice mode, and trigger only selected slices
- record/resample 2–4 bars of your current drum pattern, then chop the top transient noise into a new layer
Focus on:
- hats
- ghost snares
- tiny cymbal fragments
- room noise between hits
Process it lightly:
- Auto Filter high-pass around 700 Hz to 1.5 kHz
- Drum Buss with Drive around 5–15%
- Saturator with a gentle curve, Drive 2–6 dB
- optional Redux very subtly if you want rougher jungle texture
Keep this layer quiet. If you can clearly hear it as a loop, it’s probably too loud. The best texture layers are felt more than noticed.
5. Build a percussion bus and shape it as one instrument
Group all percussion tracks into a Percussion Bus. This is where the layer becomes musical instead of just functional.
On the bus, insert:
- EQ Eight: high-pass around 120–180 Hz to protect the kick/sub region
- Drum Buss: Drive 5–12%, Crunch low or moderate, Transients lightly up if needed
- Glue Compressor: 1.5:1 or 2:1, slow attack, medium release, only 1–2 dB of gain reduction
- optional Saturator for density, especially if the top end feels thin
If the percussion is competing with the snare transient, use Transient control carefully. In Drum Buss, push Transients a little if you need bite, but avoid making the top end spiky. DnB percussion should feel glued, not brittle.
At this stage, listen in mono and at low volume. The layer should still read clearly without relying on stereo tricks.
6. Automate movement across 8- and 16-bar phrases
This is the core of the lesson. Open Arrangement View and automate the Perc Bus and individual tracks so the percussion evolves over time.
High-value automation moves for DnB percussion:
- Auto Filter cutoff on the shaker bed
- Send amount to reverb on the last hit of a phrase
- Pan automation for small left-right motion
- Drum Buss Drive to intensify a drop or fill
- Utility width on texture layers only, not the full low-end drum stack
- Sample start / decay in Simpler for variation if you’re using one-shot hits
A practical 16-bar arc:
- Bars 1–4: dry, filtered, restrained
- Bars 5–8: open the cutoff slightly and add a little more send to room reverb
- Bars 9–12: bring in the accent layer more consistently
- Bars 13–16: automate a short fill, increase saturation, then pull the texture back for the loop reset
A clean automation idea:
- shaker cutoff starts at 2.8 kHz and rises to 9–11 kHz
- reverb send stays around -18 to -12 dB most of the time, then spikes on phrase endings
- Utility width on the texture layer moves from 0–30% in the intro to 60–100% in the drop, but keep the bus itself anchored
Use automation to create “breathing.” In DnB, small changes feel big because the tempo is so fast.
7. Add micro-fills and ghost events to support arrangement transitions
Don’t wait for the snare fill to do all the work. Percussion layers are perfect for transition detail.
Create one or two bars of variation every 8 or 16 bars:
- a flam-like pair of hits before the snare
- a one-beat shaker dropout before the drop
- a reversed or delayed accent using clip time shifts
- a short filtered burst with reverb on the final beat of a phrase
In Ableton, you can use Clip Envelopes or duplicate clips with slightly different note placements. If using MIDI, automate:
- velocity jumps on a ghost hit from 40 to 110
- note length changes for a couple of accented hits
- Simpler filter or volume on the fill version only
For darker rollers, make the fill subtle and functional. For jungle, you can be a little more chaotic, but still controlled. The fill should feel like the loop is “leaning forward,” not like a random drum solo.
8. Tie the percussion layer to the bassline and snare energy
This is where advanced DnB judgment matters. Your percussion should respond to the main energy sources in the tune:
- the snare transient
- the bass rhythm
- the drop phrase structure
If the bassline has call-and-response gaps, put percussion motion into those gaps. If the bass is constant, keep the percussion more restrained and let automation happen at phrase edges only.
A useful method:
- during dense bass phrases, reduce shaker brightness by automating the filter down 10–20%
- during sparse bass phrases, widen the texture layer and increase room send slightly
- if the snare is already huge, remove overlapping percussion hits around the snare transient and focus on pre-hit motion instead
Use sidechain or volume shaping only if needed. In many DnB contexts, the percussion layer should remain mostly independent, but a subtle duck from the kick or snare can stop masky buildup in the low-mids.
Think in arrangement terms:
- intro: percussion teases the groove
- first drop: percussion locks in
- middle 16: automation adds interest
- switch-up: percussion gets more broken or more stripped
- second drop: stronger saturation, wider texture, bigger contrast
Common Mistakes
- Fix: keep the shaker and texture layers lower than you think. If the groove disappears when muted, that’s good. If the layer sounds obvious on its own, it may be too strong.
- Fix: choose one primary motion source per phrase, like cutoff or reverb send. Too many movements create confusion instead of energy.
- Fix: carve space around 1–4 kHz if needed, and remove hits that collide with the snare transient.
- Fix: keep the bus mostly focused. Use width on texture layers or returns, not on the whole percussion stack.
- Fix: in fast DnB, tiny velocity differences and 5–15 ms timing shifts can do more than extra sounds.
- Fix: lock the core kick, snare, and bass first. Then make the percussion serve that grid.
Pro Tips for Darker / Heavier DnB
Mini Practice Exercise
Spend 15 minutes building one evolving percussion phrase:
1. Make a 4-bar loop at 172–174 BPM.
2. Create three layers: shaker bed, accent hit, texture layer.
3. Program one main pattern and one variation bar.
4. Add Auto Filter to at least two layers.
5. Automate one filter sweep over 8 bars.
6. Add one reverb send throw at the end of bar 4 or 8.
7. Group everything to a bus and add light Drum Buss or Glue Compressor.
8. Bounce or resample the result and listen back in mono.
Goal: by the end, the percussion should feel like it is changing shape across the phrase, not just looping.
Recap
To build a strong jungle percussion layer in Ableton Live 12:
If the layer feels alive at 172 BPM, stays clear in mono, and makes the drop breathe without cluttering the bass, you’ve nailed it.

