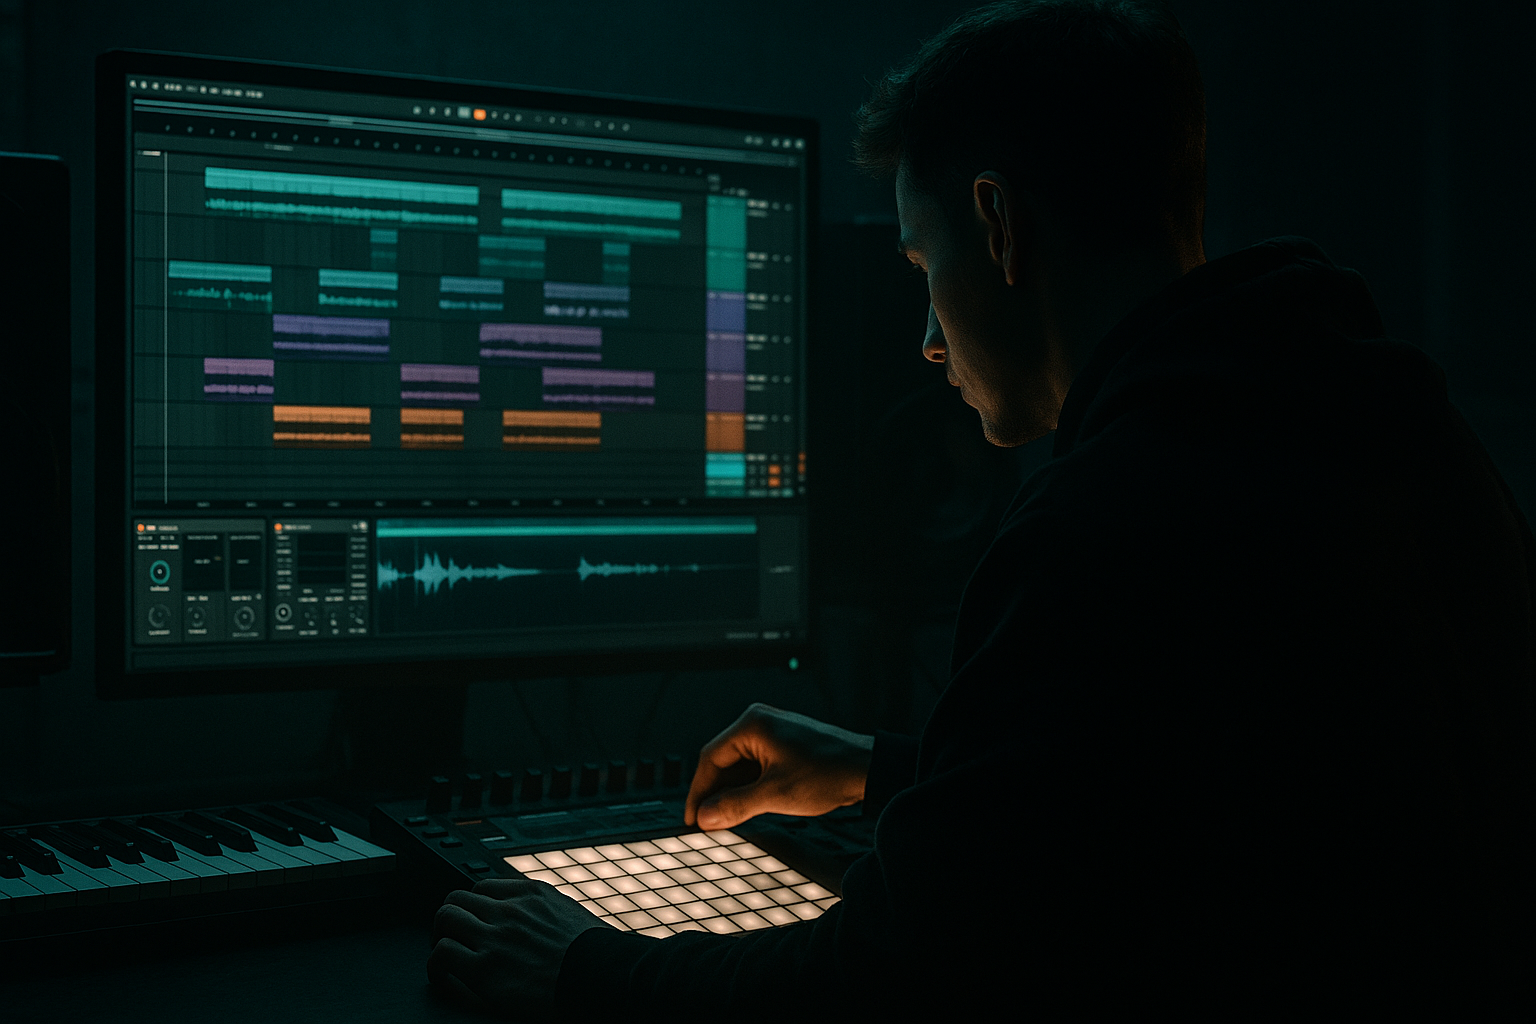
Main tutorial
```markdown
Composing Around a Single Emotional Word (DnB in Ableton Live)
1. Lesson overview
Composing around one emotional word is a fast way to make your drum & bass tracks feel intentional instead of “a cool loop that never becomes a tune.”
In this lesson you’ll pick a single word (e.g., “dread”, “euphoria”, “rage”, “yearning”) and use it as a constraint that guides your harmony, bass movement, drum language, sound design, FX, and arrangement decisions 🎯
This is for advanced producers: you already know how to make drums and bass sound decent. We’re focusing on composition choices and arrangement architecture that communicate a feeling.
---
2. What you will build
A 32–64 bar DnB sketch in Ableton Live with:
- A clear emotional “thesis” stated in the first 8–16 bars
- A rolling drum foundation (DnB/jungle-rooted) 🥁
- A bass part that acts like the narrator (not just “a reese”)
- One signature motif (2–4 notes) you can develop across sections
- A simple arrangement with A/B contrast and purposeful transitions
- A “word-to-sound” mapping you can reuse in future tracks
- Dread (dark rollers, half-lit atmospheres)
- Euphoria (liquid/anthemic lifts)
- Rage (neuro/techstep aggression)
- Suspension (minimal rollers, tension)
- Nostalgia (jungle/hardware warmth)
- Group tracks: `DRUMS`, `BASS`, `MUSIC`, `FX/ATMOS`, `REFERENCE`
- Create Return tracks:
- 1–9: Intro / Thesis
- 9–25: Drop A
- 25–33: Bridge / Switch
- 33–49: Drop B (variation)
- 49–65: Outro / Decompress
- EQ Eight: HP at 150–300 Hz (make room for bass)
- Chorus-Ensemble: subtle width (keep low mono)
- Hybrid Reverb (send): more send in intro, less in drop
- Auto Filter: automate cutoff to open 5–10% into drop (tiny lift)
- Keep it short enough to repeat without annoyance
- Give it a rhythmic identity (placement matters more than notes)
- Notes: use minor 2nds / tritones / chromatic dips
- Rhythm: place it late (behind the grid) or in offbeats for unease
- Make a MIDI track `MOTIF`
- Use Operator for a clean tone you can distort later:
- Write a motif that fits in 1 bar.
- Intro: motif sparse + drenched
- Drop A: motif as a mid stab (dry, punchy)
- Bridge: motif disappears (tension)
- Drop B: motif returns inverted (same rhythm, different contour)
- Kicks: tight, short tail (no boomy comfort)
- Snares: crisp with a cold transient; add a short room for realism
- Hats: controlled, not too “shiny”
- Ghost notes: present, but “nervous”
- Add kick variations that avoid the “safe” placements every 2 bars
- Use ghost snares leading into 2 and 4
- Put small percussion hits that answer the motif rhythmically
- Drum Rack with your break slices + one-shots
- Groove Pool: try MPC-style swing lightly (amount 10–25%), then commit if it fits
- Drum Buss on the drum group:
- Saturator (Soft Clip on) for controlled density
- EQ Eight:
- Utility: mono below ~120 Hz (or just keep kick/bass mono)
- HP the break at 150–250 Hz
- Gate/Transient shape with Drum Buss or tight envelope in Simpler
- Keep it low in the mix, just for motion 🧬
- Sub (clean, stable)
- Mid bass (character, movement)
- Reece/neuro layer (edge, threat, aggression)
- Operator sine
- Glide/Portamento: 40–90 ms (taste)
- EQ Eight: lowpass around 150–200 Hz
- Saturator: very light (drive 1–3 dB) to help translation
- Keep this mono (Utility width 0%)
- Use pedal notes and step-downs by semitone
- Leave intentional gaps (silence = fear)
- Wavetable
- Modulation:
- Ratio 2:1 to 4:1
- Attack 1–10 ms
- Release 60–140 ms (tempo-dependent)
- Sidechain from kick (sometimes snare too if your bass masks it)
- Bars 1–9 (Thesis): word stated clearly
- Bars 9–25 (Argument / Drop A): full drums + bass statement
- Bars 25–33 (Bridge): remove the kick or the snare for 4 bars
- Bars 33–49 (Escalation / Drop B): same materials, new meaning
- Use downward motion more than upward
- Use short, abrupt cuts (fear is often sudden)
- Add distant impacts with Hybrid Reverb (pre-delay 20–40ms)
- Controlled highs (avoid “pretty air”)
- Focused midrange presence (grit lives here)
- Strong mono center (feels inescapable)
- Mute the drums: does the harmony/motif still feel like the word?
- Mute the music: do the drums alone feel like the word’s “body language”?
- Listen very quiet: can you still identify the motif?
- Choosing a word but not enforcing constraints (you end up with generic DnB)
- Too many motifs (one word = one main motif; everything else supports it)
- Over-layering reese bass until the emotion becomes “loud” instead of “dread”
- Drop B is just “Drop A + more stuff” (it needs a compositional twist)
- Transitions that don’t match the word (e.g., bright uplifters for a dark concept)
- No silence: negative space is a powerful emotional tool in rollers
- Use chromatic bass “gravity”: step down 1 semitone at the end of 4 or 8 bars to imply doom.
- Parallel distortion with control:
- Threatening stereo, safe low end:
- Micro-timing for menace:
- Atmospheres that “watch you” 👀:
- Choose one emotional word and commit to constraints.
- Create a motif that represents the word; develop it across the arrangement.
- Let drums express the word’s body language; let bass express its voice.
- Arrange as thesis → argument → escalation, not “loop + loop + loop.”
- Use Ableton stock tools (Wavetable, Operator, Drum Buss, Hybrid Reverb, Echo, EQ Eight, Utility, Compressor) to keep workflow fast and focused ⚡
---
3. Step-by-step walkthrough
Step 0 — Choose the word & define constraints (5 minutes)
Pick one emotional word. Write it at the top of your project notes.
Example words (DnB-friendly):
Now define 3 sonic constraints (non-negotiables).
Example for DREAD:
1) Harmony: minor mode, avoid “bright” major 3rds
2) Rhythm: forward roll, but with uneasy syncopation
3) Texture: midrange grit + distant space (contrast)
💡 Ableton tip: create a text clip in an empty MIDI track named “WORD: DREAD” with your constraints.
---
Step 1 — Set the session up like a composer (template mindset)
Tempo: 170–175 BPM (start at 174).
Project structure:
- Return A: Hybrid Reverb (Hall/Plate, 1.8–3.5s, HP filter ~250–400 Hz)
- Return B: Echo (1/8D or 1/4, low feedback 15–30%, filter to taste)
- Return C: Saturator (Soft Clip on) for parallel dirt
Markers in Arrangement View (set now, even if empty):
This forces decisions early ✅
---
Step 2 — Build a “word-driven” harmony bed (even if minimal)
DnB doesn’t need chords everywhere, but a harmonic gravity helps emotion.
For DREAD (example approach):
1) Add a MIDI track: `PAD / BED`
2) Load Wavetable (init patch)
3) Set:
- Osc 1: Saw, unison 2–4, slight detune
- Filter: LP24, cutoff ~400–900 Hz, drive 5–15%
- Env 2 -> cutoff with a slow attack (250–800 ms)
4) Write a 2-chord loop that avoids resolution:
- Try: i → ♭VI, or i → ♭II (Phrygian flavor), or i pedal with moving top note
Practical move: keep the root constant for 4–8 bars while the top voice moves by a semitone.
That “stuck” feeling screams dread.
Processing chain (stock):
---
Step 3 — Create a 2–4 note motif that means the word
This is your compositional anchor. It can be a synth stab, vocal chop, or bass gesture.
Motif rules:
For DREAD:
Ableton workflow:
- Algo: FM with small amount, or just sine/saw
Development plan (write this down):
That’s composition—not sound browsing 🎼
---
Step 4 — Drums: choose a drum “language” that matches the word
Your drum choices communicate emotion as much as harmony.
For DREAD roller:
Core pattern: start from a classic 2-step (kick on 1, snare on 2 & 4), then inject instability:
Ableton devices & settings:
- Drive 5–20%
- Boom: low or off (avoid muddy “comfort” for dread)
- Crunch 5–15%
- small notch around harsh hat zone (often 7–10 kHz) if needed
Jungle touch (optional):
Layer a filtered break (Amen-ish vibe) under your clean drums:
---
Step 5 — Bass: make the bass line “act” the emotion
Your bass should perform the word.
Bass architecture (advanced but practical):
#### 5A) Sub track (separate!)
Track: `SUB`
Write sub notes that support your “dread” harmony:
#### 5B) Mid bass / Reese track
Track: `MID BASS`
- Osc 1: Saw, unison 4–7
- Osc 2: optional square or another saw, slightly detuned
- Filter: LP/MS2 or LP24 with drive
- LFO to filter cutoff (slow: 1/2–2 bars, or synced 1/4 for roll)
- Small pitch drift for “sick” feel
Processing chain (stock):
1) Saturator (drive until it speaks)
2) Auto Filter (movement, notch sweeps for anxiety)
3) Amp (adds bite; subtle)
4) EQ Eight (shape: carve 250–450 if boxy, control 2–4k if harsh)
5) Compressor (light glue)
6) Optional: Redux (very subtle) for “damaged” texture
#### 5C) Sidechain to kick/snare cleanly
Use Ableton Compressor sidechain on bass group:
Word-driven move:
For dread, sidechain a little more than you think so the groove “gulps,” like it’s breathing under pressure.
---
Step 6 — Arrange using “thesis → argument → escalation”
Stop thinking “intro/drop/break/drop” as a template. Think like storytelling.
A simple, high-impact 48-bar plan:
- pad bed + motif + filtered break texture
- bass hinted (sub pulses only)
- motif present but restrained
- keep one element “missing” for tension (e.g., no crash/ride)
- automate reverb sends up
- use Auto Filter to narrow bandwidth (claustrophobia)
- invert motif, increase bass movement
- add a new percussion layer that answers the motif rhythm
Ableton workflow tip:
Duplicate Drop A to Drop B, then force 3 deliberate changes:
1) Change motif contour (invert/transpose)
2) Change drum ghost pattern (different call-and-response)
3) Change bass automation timing (LFO rate or phase)
---
Step 7 — Transitions: use stock FX like a surgeon
Transitions are where emotion becomes believable.
3 reliable DnB transition tools (stock):
1) Noise riser in Wavetable + Auto Filter sweep
2) Reverb throw (send one snare hit hard into Hybrid Reverb, then cut it)
3) Pitch drop (automate a one-shot down 3–7 semitones into drop)
For dread specifically:
---
Step 8 — Lock the emotional word into mix decisions
Mixing choices can either reinforce or ruin the feeling.
Dread mix priorities:
Quick checks:
---
4. Common mistakes
---
5. Pro tips for darker/heavier DnB
Send mid bass to Return C (Saturator) and EQ the return to emphasize 200–2k, then blend. Dirt without losing fundamentals.
Keep sub mono; widen only the upper mids (Utility or Chorus-Ensemble after EQ).
Nudge ghost snares slightly late; keep main snare locked. This creates a draggy “weight.”
Use granular/texture beds (Wavetable noise + reverb) very low, but automate their presence in gaps.
---
6. Mini practice exercise (20–30 minutes)
1) Pick a word: DREAD or EUPHORIA.
2) Write 3 constraints (harmony, rhythm, texture).
3) Build:
- 1-bar motif (2–4 notes)
- 2-chord loop (or pedal tone + top movement)
- 8 bars of drums (roller or jungle-leaning)
- Sub line that leaves gaps
4) Arrange only 32 bars:
- 8-bar thesis
- 16-bar drop
- 8-bar bridge
5) Export a rough bounce and name it: `WORD_174BPM_v1.wav`
Goal: a listener should guess the word from the vibe—even if the mix is rough.
---
7. Recap
If you tell me your chosen word (and whether you’re aiming liquid, roller, jungle, or neuro), I can suggest a matching scale/mode, motif shapes, and a bar-by-bar arrangement blueprint.
```

