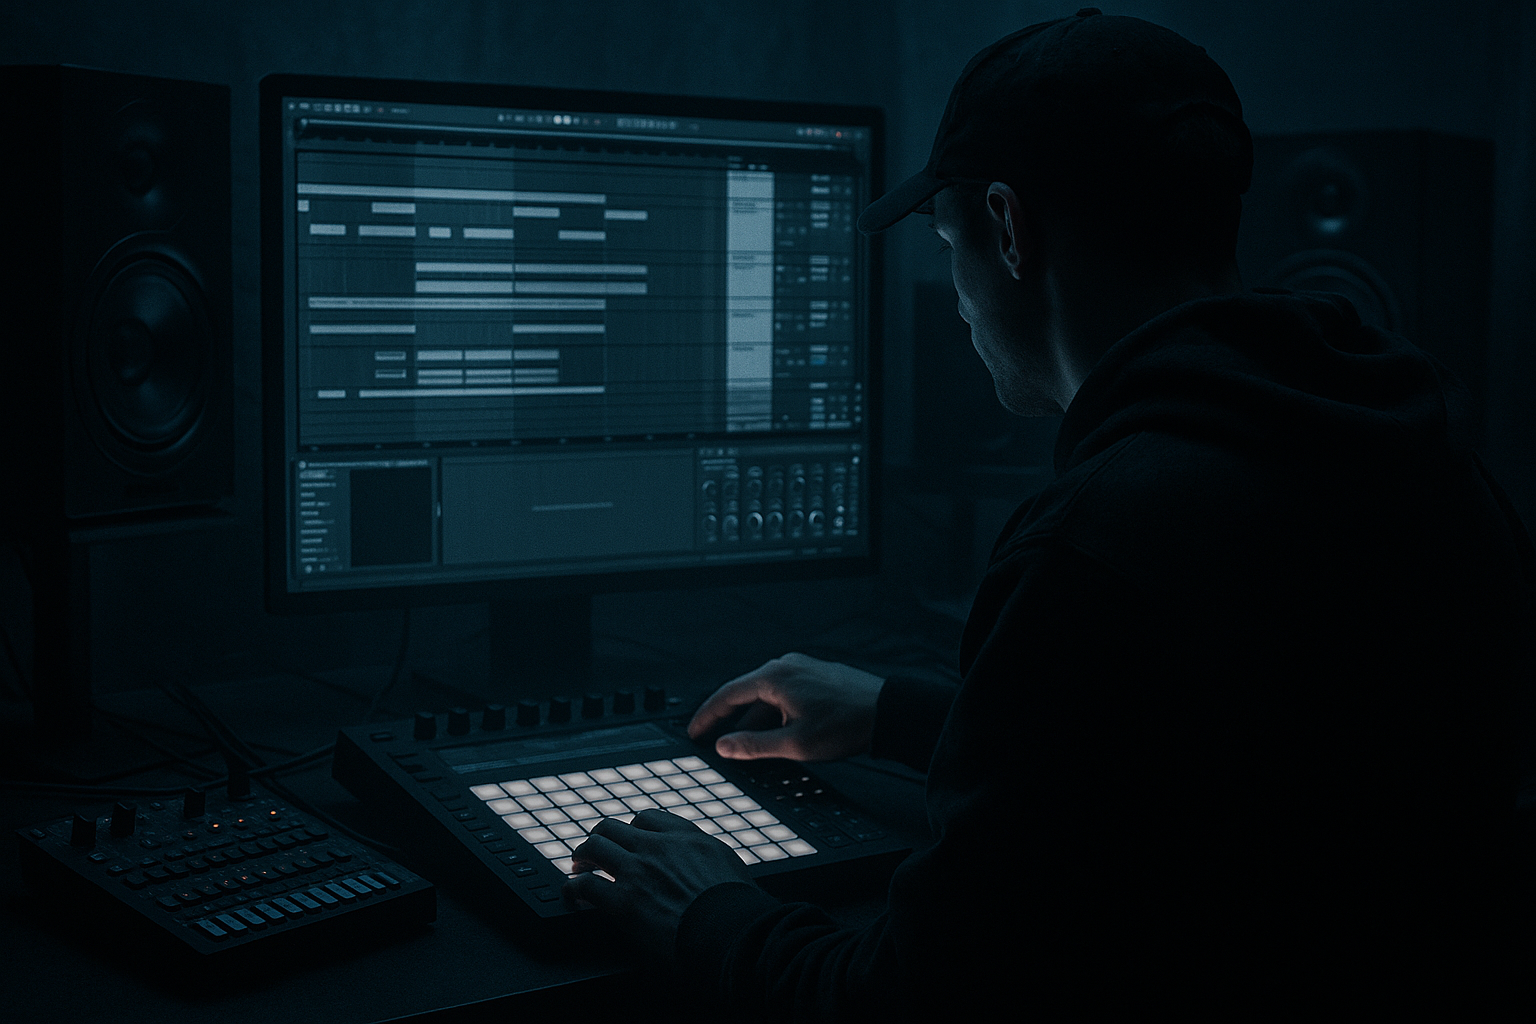
Main tutorial
```markdown
Composing B Sections That Contrast the Drop (DnB in Ableton Live) 🚀
1) Lesson overview
In drum & bass, your A section (Drop 1) usually establishes the main hook: bass design, drum identity, and the “statement.” The B section is where pros keep listeners locked in: it contrasts without killing momentum.
In this lesson you’ll build a B section that feels fresh, darker, and more story-driven, while still sounding like the same track—using Ableton Live stock devices, smart arrangement moves, and controlled variation (not random changes).
---
2) What you will build
You’ll create a 16–32 bar B section that contrasts your drop in at least three dimensions:
- Rhythmic contrast: drum edits, halftime illusions, different ghost note logic.
- Harmonic/timbral contrast: alternate bass “voice,” reese vs. growl, filtered tonality.
- Spatial contrast: different width/depth using reverbs, delays, and mono discipline.
- Drop A: rolling 2-step, wide reese, bright tops
- B section: darker, slightly more minimal, call-and-response bass, altered drum pocket + controlled FX throws
- 1) Drum pocket (ghost/snare placement, hats density)
- 2) Bass arrangement (call/response, negative space)
- 3) Tonal filtering (HP/LP automation for mood shift)
- 4) Space + width (mono vs wide contrast)
- 5) “Rule change” (e.g., remove ride, swap snare, alternate fill every 4 bars)
- Drums: fewer hats + more swingy ghosts
- Bass: call/response (A = sustain, B = stabs)
- Space: deeper room on snare + dubby delay throws
- Keep kick + snare pattern recognizable.
- Keep the sub rhythm compatible with the original groove.
- Keep snare on 2 and 4, but:
- If Drop A bass is sustained, make B stabby.
- If A is busy, make B minimal and more “question/answer.”
- Wavetable
- Saturator
- Auto Filter
- Amp
- EQ Eight
- Make it answer the original bass, not stack continuously.
- Leave gaps where the snare hits to let drums punch.
- Operator (Sine) or Wavetable (Sine)
- Utility: Width 0% (mono)
- Sidechain compression keyed from kick (or a ghost trigger)
- Compressor
- Hybrid Reverb (stock)
- Echo
- Reverb
- On 1–2 bass notes per 4 bars, automate Send to `DUB DELAY` up briefly.
- This gives B section identity without clutter.
- a vocal chop callout on bar 4/8/12/16
- a metallic stab (short rave stab) filtered dark
- an amen-style fill layer for the last 2 bars of every 8
- Drop a one-shot into Simpler (One-Shot mode)
- Add Redux (light) for texture:
- Add Auto Pan (set to 0° phase for trem-like movement):
- Pull hats back (filter down)
- Bass becomes call/response
- Add subtle room on snare
- Introduce dub delay throws on 1–2 hits
- Add a secondary hook once (vocal chop / stab)
- Increase drum ghost detail OR bring back a hat layer
- Slight automation up on bass filter (tiny energy lift)
- Add a signature fill (amen snippet, tom run, or snare flam)
- Brief “air” lift (return some top end) to set up next section
- Micro-break for 1 beat before the next drop/variation (optional)
- Mono check: Put Utility on your Master, Width 0% for 10 seconds.
- Spectrum sanity: Use Spectrum to confirm B isn’t losing low-mid power.
- A/B loudness: Don’t make B quieter by accident. Level-match with clip gain or group faders.
- Darkness = less top + more controlled distortion, not just “more sub.”
- Mid-bass brutality with discipline:
- Texture layers that don’t fight the mix
- “Neuro” movement without over-design
- A great B section contrasts the drop through planned, controlled changes.
- Use rhythm + bass logic + space as your main contrast tools.
- Keep anchors (kick/snare identity, sub rhythm), and evolve every 4–8 bars.
- Ableton stock devices (Auto Filter, Echo, Hybrid Reverb, Saturator, EQ Eight, Utility, Compressor) are more than enough to build pro B sections.
Target outcome (example)
---
3) Step-by-step walkthrough
Step 0 — Prep: duplicate the A drop correctly
1. In Arrangement View, select your Drop A (e.g., bars 33–49).
2. Duplicate Time (Cmd/Ctrl + D) to create space for B.
3. Immediately label markers:
- `DROP A`
- `DROP B (contrast)`
Goal: The B section should be built from A, not restarted from scratch.
---
Step 1 — Decide your “contrast plan” (pick 3 levers)
Before touching sound design, choose 3 contrast levers (this avoids chaotic edits).
Pick 3 from these (recommended combos):
Write it as a note in Ableton (right-click track header → Edit Info Text).
Example plan:
---
Step 2 — Create rhythmic contrast without losing the DnB engine 🥁
#### 2.1 Keep the core anchor elements
To preserve identity:
#### 2.2 Change hats/percussion in a structured way
On your hats group:
1. Add Auto Filter (stock) after your hat samples.
2. Automate cutoff down 10–25% during B (darken energy).
- Mode: LP24
- Cutoff: try 8–12 kHz → 4–7 kHz over 8 bars
- Drive: 2–5 dB (if it helps bite)
3. Add Groove changes only for B:
- Use Groove Pool: try MPC 16 Swing 55–58 (subtle)
- Commit only to certain percussion clips (don’t globally wreck timing)
#### 2.3 Add a “half-time illusion” for 2–4 bars (optional but effective)
You can imply halftime without fully switching genres:
- reduce hat density
- add longer decays/verbs
- place a toms/foley hit on bar starts
This feels like the floor drops out—then you slam back into roll.
---
Step 3 — Build bass contrast: call-and-response + negative space 🔊
Most weak B sections just “add more notes.” Instead, remove and reframe.
#### 3.1 Duplicate your bass MIDI and “invert the logic”
Practical method (fast):
1. Duplicate the bass MIDI clip.
2. Delete 30–50% of notes (yes—delete them).
3. Keep the best rhythmic cells (usually 1/8–1/16 pushes around snares).
#### 3.2 Use a second bass “voice” but same family
Create a new channel: `BASS B VOICE`.
Stock chain idea (clean, heavy, controllable):
- Osc 1: Basic Shapes (sine/triangle blend) or a saw-based wavetable
- Unison: 2 voices, Amount 10–20% (don’t over-widen low end)
- Soft Clip: ON
- Drive: 2–6 dB
- LP12 or LP24
- Envelope: subtle movement (Env Amt 5–15)
- Mode: Clean or Bass
- Drive: light (1–3)
- HP at 25–35 Hz
- Dynamic-ish notch manually if needed (e.g., -2 to -4 dB at 200–400 if boxy)
Then:
#### 3.3 Keep sub mono and consistent
Put a dedicated SUB track (if you don’t already):
Ableton stock sidechain approach:
- Sidechain from `Kick` (or a ghost kick track)
- Ratio: 3:1–6:1
- Attack: 1–10 ms
- Release: 60–140 ms (tempo-dependent)
- Aim for 2–5 dB gain reduction
In B section, keep sub rhythm similar to A so the dancefloor doesn’t lose the thread.
---
Step 4 — Create contrast with space: depth, not wash 🌌
A pro move: B feels bigger by being deeper, not just louder.
#### 4.1 Snare room change
On snare channel (or snare bus), automate:
- Algorithmic mode for tight rooms OR convolution for gritty realism
- Decay: 0.4–0.9s
- Pre-delay: 10–25 ms
- HP: 200–400 Hz
- Mix: automate from 5–12% up to 12–20% in B
This creates “new space” while staying drum-and-bass functional.
#### 4.2 Dubby throws on selected bass hits (classic rolling vibe)
Make a Return track: `DUB DELAY`.
- Time: 1/8 dotted or 1/4
- Feedback: 25–45%
- Filter: HP around 250–500 Hz, LP 4–8 kHz
- Saturation: 2–5
- Short/medium (0.8–1.6s)
- Keep it filtered
Automation workflow:
---
Step 5 — Add a “new hook” that isn’t another lead 🎯
B sections often fail because they try to introduce a second main lead. Instead, use a secondary hook:
Options rooted in jungle/DnB:
Ableton practical:
- Bits: 10–12
- Downsample: 1.5–3
- Dry/Wet: 10–25%
- Rate: 1/8 or 1/16
- Amount: 10–25%
- This adds motion without huge level changes
---
Step 6 — Arrangement: 16-bar B section blueprint (copy/paste friendly)
Here’s a solid “rolling” template:
Bars 1–4 (B1):
Bars 5–8 (B2):
Bars 9–12 (B3):
Bars 13–16 (B4 / exit):
---
Step 7 — Mix translation checks (fast, advanced)
If B collapses, you relied on width instead of arrangement.
---
4) Common mistakes ❌
1. Changing everything at once
Contrast becomes confusion. Keep at least 1–2 anchors (kick/snare identity, sub rhythm).
2. Over-layering basses
B should breathe. If you add a second voice, reduce the first.
3. Using reverb as “contrast”
Too much verb kills punch. Use filtered, controlled depth.
4. No arrangement logic
A good B has internal progression (every 4–8 bars something evolves).
5. Neglecting transitions
Without micro-fills, risers, or quick mutes, the B feels pasted.
---
5) Pro tips for darker/heavier DnB 🖤
- Use Auto Filter LP24 on hats/ambience, automate subtly.
- Put Saturator on bass bus, Soft Clip ON, Drive 3–8 dB
- Then tame with EQ Eight (cut harsh nodes around 2–4 kHz if needed).
- Add a noise/room layer: field recording into Simpler + HP at 300–600 Hz
- Sidechain it lightly so it breathes with the drums.
- Map Macro to Wavetable position + filter cutoff + saturation drive
- Record 8 bars of automation, then edit the best moments.
---
6) Mini practice exercise 🎛️
Goal: Write a 16-bar B section with 3 contrasts in 20 minutes.
1. Duplicate your drop.
2. Choose 3 contrast levers (write them down).
3. Drums:
- Filter hats down with Auto Filter
- Add one new ghost/percussion pattern
4. Bass:
- Delete 40% of notes
- Add a second bass voice that answers (not stacks)
5. Space:
- Snare reverb automation + 2 delay throws total
6. Render a quick bounce and listen away from the DAW (phone/speakers).
Ask: “Does it feel like the same track, but a new scene?”
---
7) Recap ✅
If you want, tell me what subgenre you’re aiming for (rollers, jungle, dancefloor, neuro, halftime/140 crossover) and what your Drop A is doing (bass type + drum style). I’ll suggest a specific B-section contrast plan and exact 16-bar arrangement moves.
```

