Main tutorial
Lesson Overview
This lesson is about building a Concrete Echo impact in Ableton Live 12: a short, gritty, tape-worn impact that feels like it was bounced through an old machine room, then dropped into a jungle or oldskool DnB arrangement. The goal is not a huge cinematic hit — it’s a useful transition tool for DnB: something that can mark a phrase change, slam into a drop, or glue a switch-up without sounding polished or modern in the wrong way.
In Drum & Bass, especially jungle, rollers, oldskool, and darker bass music, impacts matter because the arrangement is fast and highly rhythmic. You often have only 8, 16, or 32 bars to make the listener feel the next section coming. A warm tape-style impact gives you that “something is turning over” feeling while keeping the vibe underground. Think of it as a sonic handoff between sections: intro to drop, drop to breakdown, breakdown to second drop, or between drum edits.
Why this matters in mastering-adjacent workflow: even though we’re not doing full mastering here, the technique teaches you how to shape a transition so it already sits close to the final mix bus vibe. That means:
- controlled low-end
- no harsh clickiness
- clear impact without over-limiting
- enough grit to feel raw, but not so much that it overloads the master
- a weighty low-mid punch around the drop point
- a slightly crushed, decayed top that sounds old and textured
- a short echo smear that helps the impact push into the next phrase
- a mono-safe, mix-ready transition hit you can reuse across jungle intros, rollers switch-ups, and dark amen edits
- at the end of an 8-bar drum fill before a drop
- under a sub drop or reese return
- as a punctuation hit after a half-time breakdown
- in an intro where you want a DJ-friendly build without overdoing the riser sound
- Making the echo too long
- Over-saturating the hit
- Leaving too much sub in the impact
- Too much brightness or click
- Using the impact everywhere
- Not checking it in the full mix
- Make it mono-friendly: Use Utility to reduce width or check mono. Keep the low end centered so the impact feels heavy, not diffuse.
- Layer a very short noise hit: A tiny noise burst from Simpler, filtered high, can add attack without making the hit too synthetic.
- Use a reversed tail into the impact: Reverse a short echo/reverb print and place it right before the hit for extra tension.
- Automate filter movement on Echo: Slightly closing the low-pass filter as the phrase approaches the drop can create a grim, collapsing feel.
- Pair it with a drum fill: A final snare flam or ghost-note run before the hit makes the impact feel more intentional and more DnB.
- Keep the master headroom safe: If the impact causes the master to jump too hard, trim it at the track level instead of smashing the whole mix.
- Try it against a reese return: Dark bass music often benefits from a transition hit that tees up the bass re-entry rather than competing with it.
- a jungle intro
- a roller switch-up
- a darker second-drop transition
- Build the impact from a short kick or percussion source in Ableton Live.
- Add warm grit with Saturator, then shape it with EQ Eight for mix clarity.
- Use Echo and Reverb to create the Concrete Echo tail, but keep both short and dark.
- Automate the effect at phrase endings so it supports DnB tension and release.
- Resample the result so you can reuse it quickly across jungle, oldskool, rollers, and dark bass tracks.
- Always check the impact in context with drums and bass, not just in solo.
We’ll build the sound using Ableton stock devices only and keep everything beginner-friendly, practical, and very DnB-specific. 🔊
What You Will Build
By the end, you’ll have a one-shot impact made from a kick-like thump, a dusty concrete-style transient, a short reversed echo tail, and warm tape grit. It should feel like:
Musically, this kind of impact works well:
You’ll end with a sample or group you can reuse as a signature “Concrete Echo” hit in future DnB projects.
Step-by-Step Walkthrough
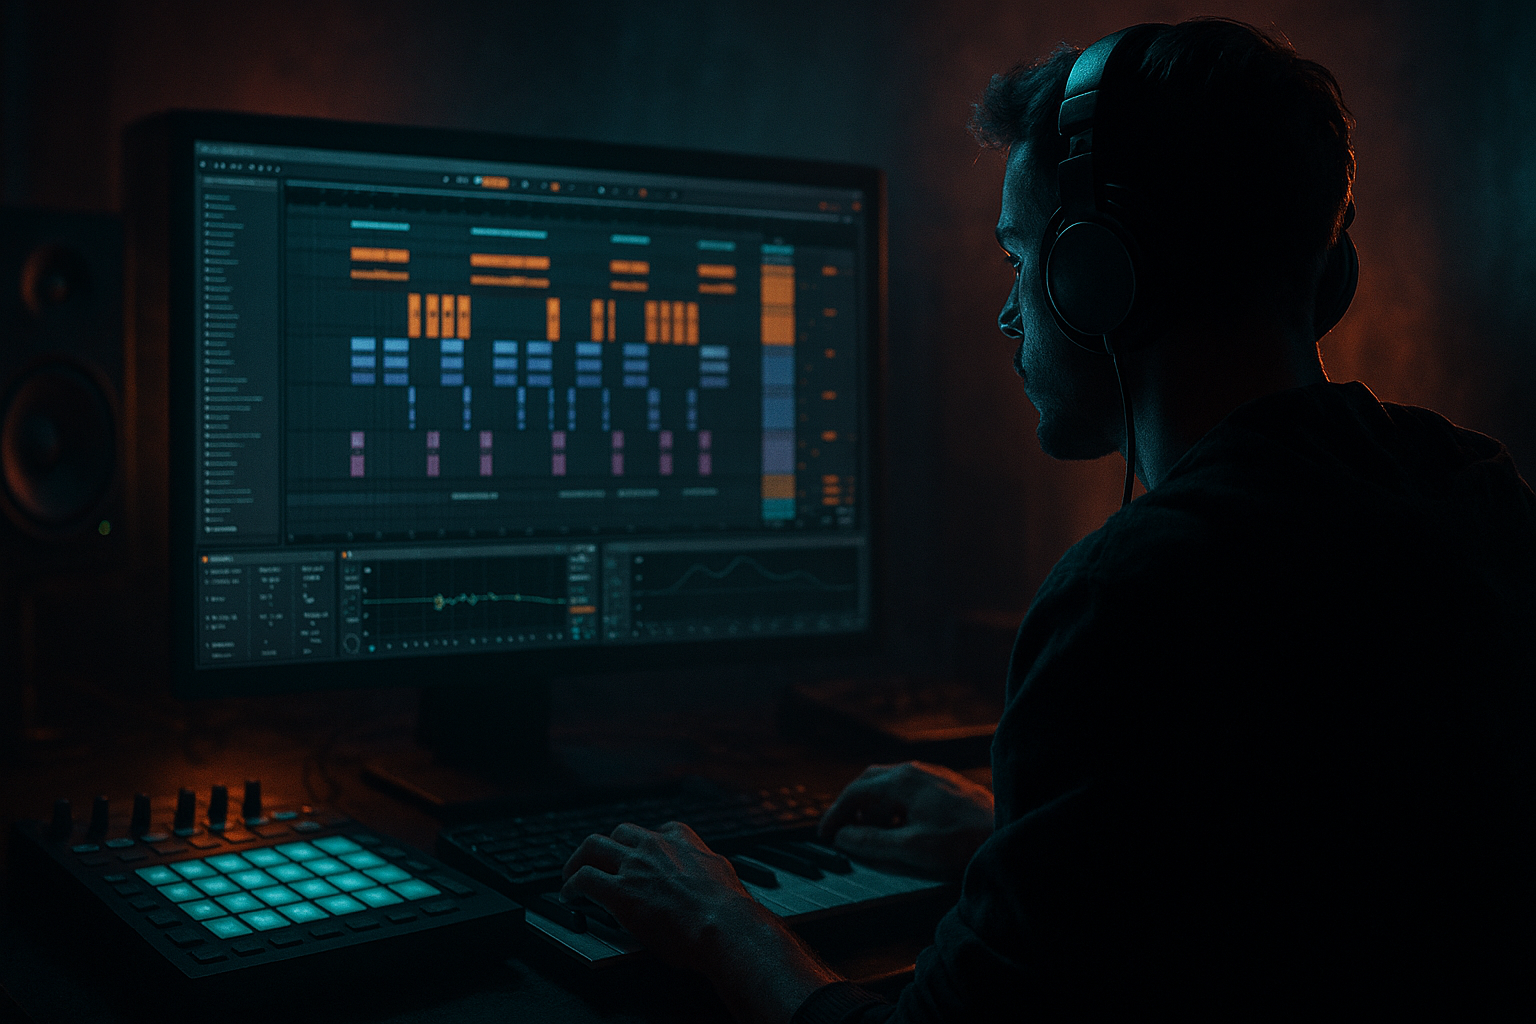
1. Set up a clean impact-building chain
Create a new audio or MIDI track in Ableton Live 12 and load these stock devices in this order:
- Drum Rack or Simpler for the source hit
- Saturator
- EQ Eight
- Echo
- Reverb
- Utility
- optional Glue Compressor on the group or return
If you’re starting from scratch, drag in a kick one-shot, a short percussion hit, or even a small piece of a break from your DnB folder. For a beginner, the easiest source is a kick with a strong transient and some low-mid body. You want a sound that already has some punch, because the Concrete Echo effect is about transformation, not inventing everything from zero.
Keep the chain simple. In DnB, especially when you’re new, a small number of strong moves beats a complicated rack.
2. Shape the source into a solid impact foundation
Open the source sample in Simpler and set it to One-Shot. If the sample is too long, trim it so the initial body is tight. Then adjust:
- Start so the transient hits immediately
- Fade very slightly if there’s a click
- Warp off if the sample is already tight and you don’t need stretching
Aim for a source that sounds like a short, punchy thud. If you’re using a kick:
- Transpose down by 1–4 semitones if it feels too bright
- Keep the decay short enough that it doesn’t sound like a full drum hit
- If it has too much sub rumble, don’t worry yet — we’ll manage that with EQ
This is the “concrete” part: we want a hard physical center, like a low, solid object hitting the floor. In oldskool jungle, a strong impact often feels more like a room event than a perfectly designed effect.
3. Add warm tape-style grit with Saturator
Load Saturator after the source. This is where the hit gets that tape-worn edge. Start gently and listen for density, not just loudness.
Good beginner settings:
- Drive: +2 to +6 dB
- Soft Clip: ON
- Base: around 0.0 dB
- Output: trim down so the level matches bypass
If you want a dirtier, more old tape feel:
- Try Drive around +7 to +10 dB
- Keep Soft Clip ON
- Lower Output to avoid overshooting the master
Why this works in DnB: jungle and oldskool-inspired impacts often feel convincing when they have a little harmonic smear. Saturation thickens the low-mid region so the hit can cut through busy breakbeats without needing huge volume. It also makes the transient feel more “printed,” like a sampled object rather than a pristine synth effect.
Don’t overcook it. If the impact turns fizzy or starts losing the punch, back the Drive off. The grit should feel like texture, not distortion for its own sake.
4. Use EQ Eight to carve the hit for mix clarity
Add EQ Eight after Saturator. This is where you make the impact practical in a DnB arrangement.
Start with these moves:
- High-pass around 25–35 Hz to remove rumble
- If the hit feels muddy, dip 180–350 Hz by about 2–4 dB
- If the click is too sharp, gently reduce 3–6 kHz
- If it needs more presence, add a small boost around 1–2 kHz for a knock or crack
Use wide EQ moves first. The goal is to make space for the sub and kick in your drop. In a DnB track, the impact often sits right before or on top of the bass return, so low-end discipline matters a lot.
A useful mastering mindset here: don’t try to make the impact huge by boosting everything. Make it focused so it feels loud without stealing headroom from the actual drop.
5. Create the “echo” part with Ableton Echo
Add Echo after EQ Eight. This is the signature move for the Concrete Echo idea. We want a short, dark, slightly blurred delay that feels like a reflected room slap or a decayed machine echo.
Suggested starting settings:
- Sync: ON
- Time: 1/8 or 1/16
- Feedback: 10–25%
- Dry/Wet: 10–25%
- Filter: low-pass around 4–8 kHz
- Character: push toward a warmer, less pristine mode
- Modulation: very light, just enough to add movement
For a more dramatic jungle transition, automate:
- Feedback up for the last hit of an 8-bar phrase
- Dry/Wet slightly higher just before the drop
- Time from 1/16 to 1/8 for a bigger tail feel
Keep the echo short enough that it doesn’t smear your drum groove. In DnB, especially with fast breaks, delay tails can easily fight the rhythm. The point is to create a shadow of the hit, not a long wash.
6. Add Reverb for room size, then make it small and dark
Load Reverb after Echo or before it if you want the delay to feel like it’s inside a room. For this lesson, keep it subtle and focused.
Good starting settings:
- Size: 20–40%
- Decay Time: 0.8–1.8 s
- Pre-Delay: 10–25 ms
- High Cut: around 5–8 kHz
- Low Cut: around 150–250 Hz
- Dry/Wet: 5–15%
The idea is not a lush drum hall. It’s a gritty space that helps the impact feel physical. If the reverb gets too shiny, darken it. If it sounds too long, shorten it. For oldskool DnB, a short dark room often works better than a big modern tail.
Musical context example: place this impact at the end of a 16-bar drum loop where the last two bars strip down to hats and snare fills. The echo and room tail give the listener a sense of motion right before the next break drops in.
7. Control the tail with automation for arrangement impact
Now make the effect usable in a real track. Create automation for the section where the impact happens:
- Echo Dry/Wet: rise from 10% to 20–25% on the final hit
- Echo Feedback: quick bump for 1 bar, then back down
- Reverb Dry/Wet: slightly increase only on the last hit
- Saturator Drive: automate a tiny boost on the final phrase if you want more urgency
A strong DnB arrangement trick is to automate the impact to hit harder only at the end of the phrase. For example:
- Bars 13–14: regular drum pattern
- Bar 15: break fill, bass drops out
- Bar 16 beat 4: Concrete Echo impact
- Next bar: full drop returns
This gives you tension and release, which is a huge part of DnB energy. The listener feels the turn without needing an obvious riser.
8. Print or resample the impact into a reusable one-shot
Once the chain sounds right, resample it to a new audio track. This is a great beginner mastering workflow because it commits your sound and lets you hear the result like a finished asset.
To resample:
- Route the track output to a new audio track
- Record the impact hit and tail
- Trim the resulting sample so it starts cleanly
- Leave a tiny bit of tail if it feels musical, but don’t let it run too long
Then you can drop the printed sample into a Drum Rack or keep it as a standalone audio clip. This is especially useful in jungle and rollers because you can reuse the same signature impact across different arrangements. It also helps you stay organized and move faster when building tracks.
If you’re mixing later, the printed version lets you focus on placement and gain rather than constantly rebuilding the effect.
9. Blend the impact into the DnB groove
Test your Concrete Echo impact against:
- a breakbeat loop
- a sub bass note
- a reese line
- a snare fill
Listen in context, not solo only. In DnB, a transition effect needs to support the groove. The best result usually happens when the impact is audible but not stealing attention from the drums. You may need:
- to lower the impact by 1–3 dB
- to shorten the tail
- to reduce 200–400 Hz if it clouds the snare
- to mono-check with Utility and keep the sub area centered
If the hit lands before a drop, make sure it doesn’t clash with the first kick or bass note of the next section. This is where the mastering mindset really helps: every sound should leave room for the next event.
Common Mistakes
Fix: lower Echo feedback and shorten Reverb decay. In fast DnB, long tails can blur the groove fast.
Fix: reduce Saturator Drive and match the output level. You want warm grit, not crunchy overload.
Fix: high-pass with EQ Eight around 25–35 Hz, and sometimes a gentle cut around 80–120 Hz if it fights the bassline.
Fix: reduce 3–6 kHz, or darken the Echo filter and Reverb high cut.
Fix: save it for key phrase turns. In DnB, impacts feel stronger when they’re selective.
Fix: always test with drums and bass together. A soloed impact can sound great and still ruin the drop.
Pro Tips for Darker / Heavier DnB
Why this works in DnB: the genre is driven by fast arrangement changes, powerful low-end, and rhythmic tension. A warm, gritty impact acts like an anchor point in the timeline. It tells the listener, “the next section matters,” while staying compatible with bass-heavy mix balance.
Mini Practice Exercise
Spend 10–20 minutes making three variations of the same Concrete Echo impact:
1. Clean version
- Saturator Drive: +2 dB
- Echo Feedback: 10%
- Reverb Dry/Wet: 5%
2. Dusty oldskool version
- Saturator Drive: +6 dB
- Echo Feedback: 20%
- Reverb Decay: 1.5 s
- EQ Eight: small dip at 250 Hz
3. Dark heavyweight version
- Saturator Drive: +4 dB
- Echo filtered darker
- Reverb High Cut: 5–6 kHz
- Utility width reduced slightly
Then place each one at the end of an 8-bar loop with drums, sub, and a reese. Decide which version fits:
Save the best one into your project folder as a reusable transition sound.

