Main tutorial
Lesson Overview
This lesson is about building a Concrete Echo-style jungle arp stack in Ableton Live 12: a vocal-led, tension-heavy motif that feels like it’s bouncing through corrugated metal, broken concrete tunnels, and late-night warehouse air. In a DnB track, this kind of part often sits in the intro, pre-drop, or mid-section switch-up, where it can carry identity without stealing too much low-end space from the drums and bass.
The goal is not just “make an arpeggio.” It’s to create a stacked, rhythmic vocal texture that behaves like a musical hook and a sound-design element at the same time. In darker DnB, that matters because the ear often latches onto a short, memorable motif while the drums and bass do the heavy lifting. A strong vocal arp stack can:
- make a tune feel instantly recognisable,
- add tension before the drop,
- reinforce the groove without cluttering the sub,
- and give you material for fills, reverses, and call-and-response sections.
- sits in the midrange above the bass but below harsh lead territory,
- has stereo width in the top layers and mono discipline in the low mids,
- includes echo trails and rhythmic repeats that feel like broken dub ambience,
- can be automated across an 8- or 16-bar section,
- and can be resampled into a single clip for faster arrangement.
- a jungle vocal chop,
- a roller-era hook,
- and a darker atmospheric DnB synth stab.
- Too much low end in the vocal stack
- Echo washing over the drums
- Overwide layers causing phase issues
- Arp pattern is busy but forgettable
- Vocal chops sound like a pop edit instead of a jungle tool
- Too much harshness around 3–5 kHz
- Resample the processed stack, then re-chop it
- Use pitch contrast for menace
- Automate filter movement in short arcs
- Let the vocal stack “answer” the bass
- Use short, gritty reverb rather than huge washes
- Print a muted version for breakdowns
- Automate Utility width instead of overprocessing
- chop or slice a strong vocal phrase,
- build three layers with different registers,
- use Arpeggiator, Echo, Saturator, and EQ Eight with intention,
- keep the low end clean and the center controlled,
- and automate the stack so it evolves across the arrangement.
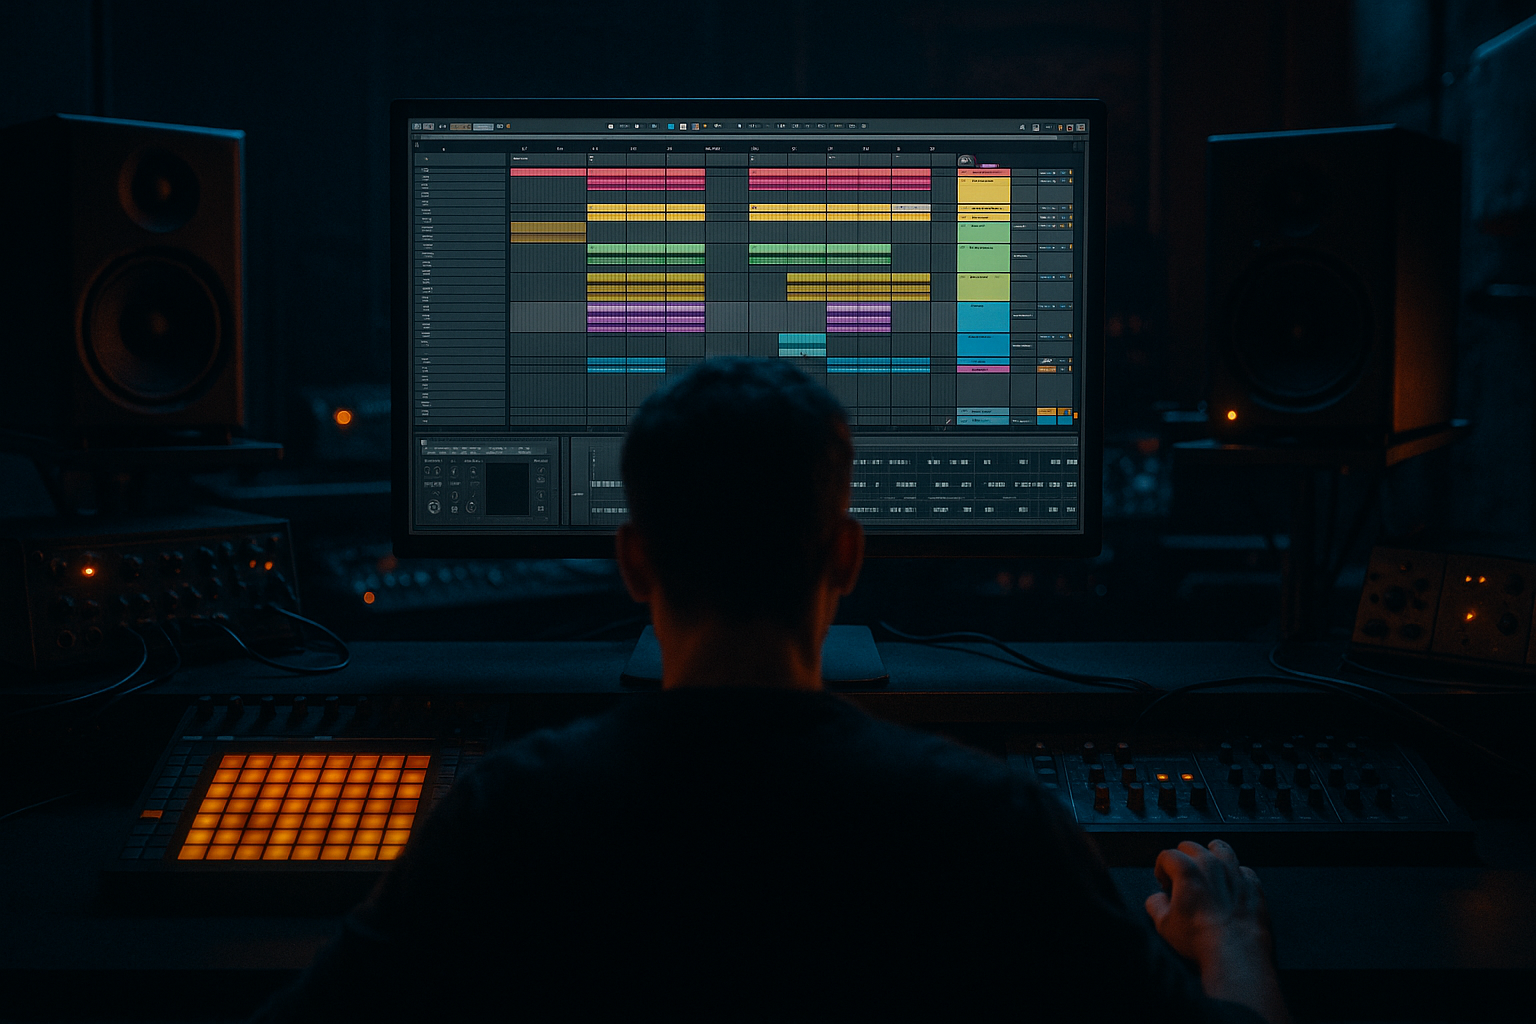
We’ll build it using Ableton stock devices only, with a practical workflow that leans on Warp, Sampler/Simpler, Arpeggiator, Echo, Delay, Reverb, Saturator, Auto Filter, and Utility. You’ll also resample and process the result like a real DnB production tool rather than a static loop. 🔥
What You Will Build
By the end, you’ll have a multi-layered jungle-style arp stack made from vocal chops or a vocal phrase, turned into a tight rhythmic pattern that:
Musically, think of a ghostly 2- or 4-note vocal phrase chopped into stutters, then doubled with a high octave shimmer and a gritty delayed layer. The final result should feel like a hybrid between:
You’ll also end up with a version that can function in a DJ-friendly intro, then evolve into a more aggressive layer in the drop.
Step-by-Step Walkthrough
1. Choose a vocal phrase with clear consonants and a short vowel tail
Start with a vocal phrase that has strong transient shape: words with t, k, p, s, sh, and ch sounds work especially well. For this style, don’t pick a long emotional vocal line unless you want to heavily chop it. You want something that can become percussive and melodic.
Good source material:
- a single spoken line,
- a whispered phrase,
- a sung one-note motif,
- or even a few syllables recorded in your own voice.
In Ableton Live, drop the audio onto an audio track and Warp it. For jungle/DnB use, try:
- Complex Pro for sung or tonal material,
- Beats for tight rhythmic slicing if the phrase is percussive.
Set the warp markers so the phrase lands rhythmically, then trim the clip to one or two short usable gestures. A good starting phrase length is 1 to 2 bars.
Why this matters: in DnB, vocal chops work best when the rhythm is designed around the drums. You’re not just sampling vocals; you’re turning them into groove material.
2. Build a playable chop instrument with Simpler or Sampler
Drag the vocal audio into Simpler and set it to Slice mode if the phrase has multiple distinct syllables, or Classic mode if you want one-shot-style playback. For an advanced workflow, I recommend creating two versions:
- one track in Simpler for rhythmic slicing,
- one track in Sampler or another Simpler instance for longer vowel tails and tonal sustain.
Suggested settings:
- Attack: 0–5 ms
- Release: 80–250 ms, depending on how choppy you want it
- Transpose: try +12 or +7 on the top layer, and 0 or -12 on a darker layer
- Filter: low-pass around 8–14 kHz on the body layer to avoid harshness
If using Slice mode, set slice markers by transients and play the chops on MIDI. Then program a short phrase in the piano roll using syncopated 1/16 and 1/8 placements. Leave gaps. The silence is part of the rhythm.
For a Concrete Echo feel, avoid super-quantised robotic patterns. Slightly offset one or two hits late by a few ticks to create a human, dubby drag.
3. Create the arp stack with three layers: body, shimmer, and grit
Duplicate the vocal instrument track twice so you have three layers:
- Body layer: the main midrange vocal chop
- Shimmer layer: pitched up and wider
- Grit layer: pitched down or filtered, used for tension
On the body layer, keep the sound centered and intelligible. On the shimmer layer, use a high-pass filter around 300–600 Hz so it doesn’t fight the bass. On the grit layer, use Auto Filter or EQ Eight to shape away unnecessary low end and muddy low mids.
A good starting balance:
- body layer: 0 dB to -4 dB
- shimmer layer: -6 dB to -10 dB
- grit layer: -8 dB to -12 dB
For stereo discipline:
- keep the body layer mostly mono,
- widen only the top layer using Utility with a modest width increase or a subtle stereo effect via delay/reverb,
- check the combined stack in mono regularly.
This is where the stack becomes musically useful. The different registers allow the part to read on small systems while still sounding wide and premium on a club rig.
4. Program the rhythmic arp pattern, then make it feel like a drum phrase
Insert Arpeggiator before the instrument or on a MIDI effect track feeding the sampler. For DnB, Arpeggiator can turn vocal chops into an urgent, engine-like rhythm.
Suggested settings to start:
- Rate: 1/16 or 1/8
- Style: UpDown or Converge for variation
- Gate: 35–60%
- Steps: use a short phrase length first, then extend
- Distance: 12–24 for wider pitch movement if you want a more dramatic rise
Now treat the MIDI like a drum edit:
- place notes on off-beats,
- leave space for kick/snare impact,
- let some notes answer the snare,
- make one note a repeated motif and another a lift at the end of the bar.
A useful musical context example: if your drop is a 174 BPM half-time roller, place the vocal arp so it answers the snare on beat 3, then pushes into the next bar with a short pickup. That creates forward motion without muddying the downbeat.
For more jungle energy, layer one of the notes with a shorter gate and a second note with a slightly longer release so the phrase breathes rather than machine-guns.
5. Add echo design with Echo and clip automation
Put Echo on a return track or directly on the vocal stack if you want more aggressive print-style processing. For a darker DnB feel, the echo should be a rhythm tool, not just a wash.
Suggested Echo settings:
- Sync: 1/8 or 1/8 dotted
- Feedback: 20–45%
- Filter: high-pass around 200–500 Hz, low-pass around 6–10 kHz
- Modulation: low to moderate, just enough to detune repeats slightly
- Dry/Wet: 10–30% on insert, 100% on return
Automate the echo during transitions:
- increase feedback in the last half bar before a drop,
- filter the repeats darker as tension builds,
- then cut the return abruptly on the drop for impact.
If you’re working in a 16-bar intro, a classic move is to let the echo open gradually from bar 9 to 12, then mute it for 1 bar before the drop so the bass has more space to hit.
This works in DnB because delay tails can imply musical density without adding more notes. That’s essential when the drums are already busy.
6. Shape the tone with saturation, filtering, and transient control
Add Saturator to the main vocal stack to thicken the mids and make the chops read better against drums and bass. Keep it controlled. You want edge, not fuzz overload.
Good Saturator starting points:
- Drive: 2–6 dB
- Soft Clip: on
- Output: trim to match level
Follow with EQ Eight:
- cut any boxy buildup around 250–500 Hz
- tame harshness around 2.5–5 kHz if the vocal gets pokey
- add a gentle high shelf only if the top layer needs air
If the vocal chops feel too pokey, insert Drum Buss very lightly:
- Drive: low
- Crunch: minimal
- Transient: slightly negative if the transients are too sharp
On the other hand, if the stack needs more attack, use Transient shaping through volume envelope editing in Simpler rather than over-processing.
Advanced tip: bounce the processed stack to audio once you like the tone. Resampling makes it easier to chop, reverse, and automate without CPU clutter.
7. Turn the stack into a real arrangement element
This is the difference between a loop and a track. In an actual DnB arrangement, the Concrete Echo arp stack should evolve across sections.
Try this 16-bar structure:
- Bars 1–4: filtered intro, only body layer and sparse echo
- Bars 5–8: introduce shimmer layer, still no full low-end
- Bars 9–12: full stack with more rhythmic density and automation
- Bars 13–16: strip back, leave only a final vocal tail or reverse hit before the drop
For drop design, let the arp stack do one of three jobs:
- call-and-response with the snare,
- countermelody above the bassline,
- or transition glue between sections.
If you have a bass switch-up, automate the vocal stack to answer the new bass rhythm on the last 2 beats of the phrase. This makes the track feel composed rather than looped.
Also consider resampling the stack and using the audio version for:
- reverse pre-drop rises,
- one-shot fills,
- chopped re-intros,
- or ghost layers tucked behind the main lead.
8. Blend with the drum groove and protect the low end
The vocal stack should sit above the break and bass, not compete with them. Use Utility to keep the stack’s low end under control and set up a mono-safe mix position.
Checklist:
- high-pass the stack if needed, often 120–250 Hz
- keep sub bass fully separate
- use sidechain compression from the kick or the drum bus if the vocal fights the groove
- compare the vocal stack in mono and stereo
If your drums are break-based, the vocal arp should breathe around ghost notes and snare ghosts, not cover them. Let the break still feel alive. A great jungle arrangement often has the vocals almost “dancing around” the break rather than sitting on top of it.
If you’re using a dense neuro bassline, keep the vocal stack more rhythmic and less sustained. Shorter phrases are easier to fit into a mix that already has movement across the spectrum.
Common Mistakes
- Fix: high-pass more aggressively, usually somewhere between 120–250 Hz, and check if any layer still has unnecessary body.
- Fix: reduce feedback, filter the return darker, or automate the return down during the drop.
- Fix: keep the body layer mono or near-mono, and only widen the top layer modestly. Always check mono.
- Fix: reduce notes. In DnB, fewer well-placed hits often feel bigger than constant movement.
- Fix: emphasize rhythmic slicing, pitch shifts, and tail reuse. Make the phrase interact with the drum pattern.
- Fix: use EQ Eight to tame the bite, or soften the layer with saturation before EQ.
Pro Tips for Darker / Heavier DnB
- This creates a second-generation texture that sounds more like a finished record and less like raw sample playback.
- Keep one layer at original pitch, one up an octave, and one down an octave. The interval spread makes the hook feel larger without needing more notes.
- A slow filter lift over 4 bars, then a hard close before the drop, gives the stack tension without clutter.
- In darker rollers, the bassline often has a phrased conversation with the hook. Put the vocal on the off-bar or the last two 16ths of a phrase so it feels like a response.
- A small room or short plate style in Ableton’s Reverb can add concrete space without smearing the groove. Keep decay modest and cut the lows.
- Sometimes the most effective version is a version that’s nearly silent except for filtered echoes and one chopped word. That negative space makes the drop harder.
- Open the top layer in the intro, then narrow it slightly in the drop so the bass and drums own the center.
Mini Practice Exercise
Spend 10–20 minutes building a mini drop turnaround:
1. Pick one vocal phrase or a single syllable.
2. Warp it and slice it into 4–8 playable chunks in Simpler.
3. Program a 2-bar MIDI phrase with off-beat hits and one repeated note.
4. Duplicate the track and create:
- one octave-up shimmer layer,
- one darker filtered layer.
5. Add Echo to a return with 1/8 sync and 25–35% feedback.
6. Automate the filter to open over 4 bars, then cut it hard on bar 5.
7. Bounce the result to audio and reverse the last hit into a new transition.
Goal: make a 4-bar intro into drop lead-in that feels like it could sit in a 174 BPM jungle or roller tune.
Recap
The core idea is simple: turn vocal material into a rhythmic DnB arp stack that functions like a hook, a tension tool, and a transition element.
Remember the key moves:
If it sounds too polite, make it shorter, grittier, and more rhythmic. If it sounds too messy, strip back the lows, narrow the image, and let the drums breathe. That balance is what makes a Concrete Echo-style jungle arp stack feel heavy, modern, and replay-worthy in Ableton Live 12.

