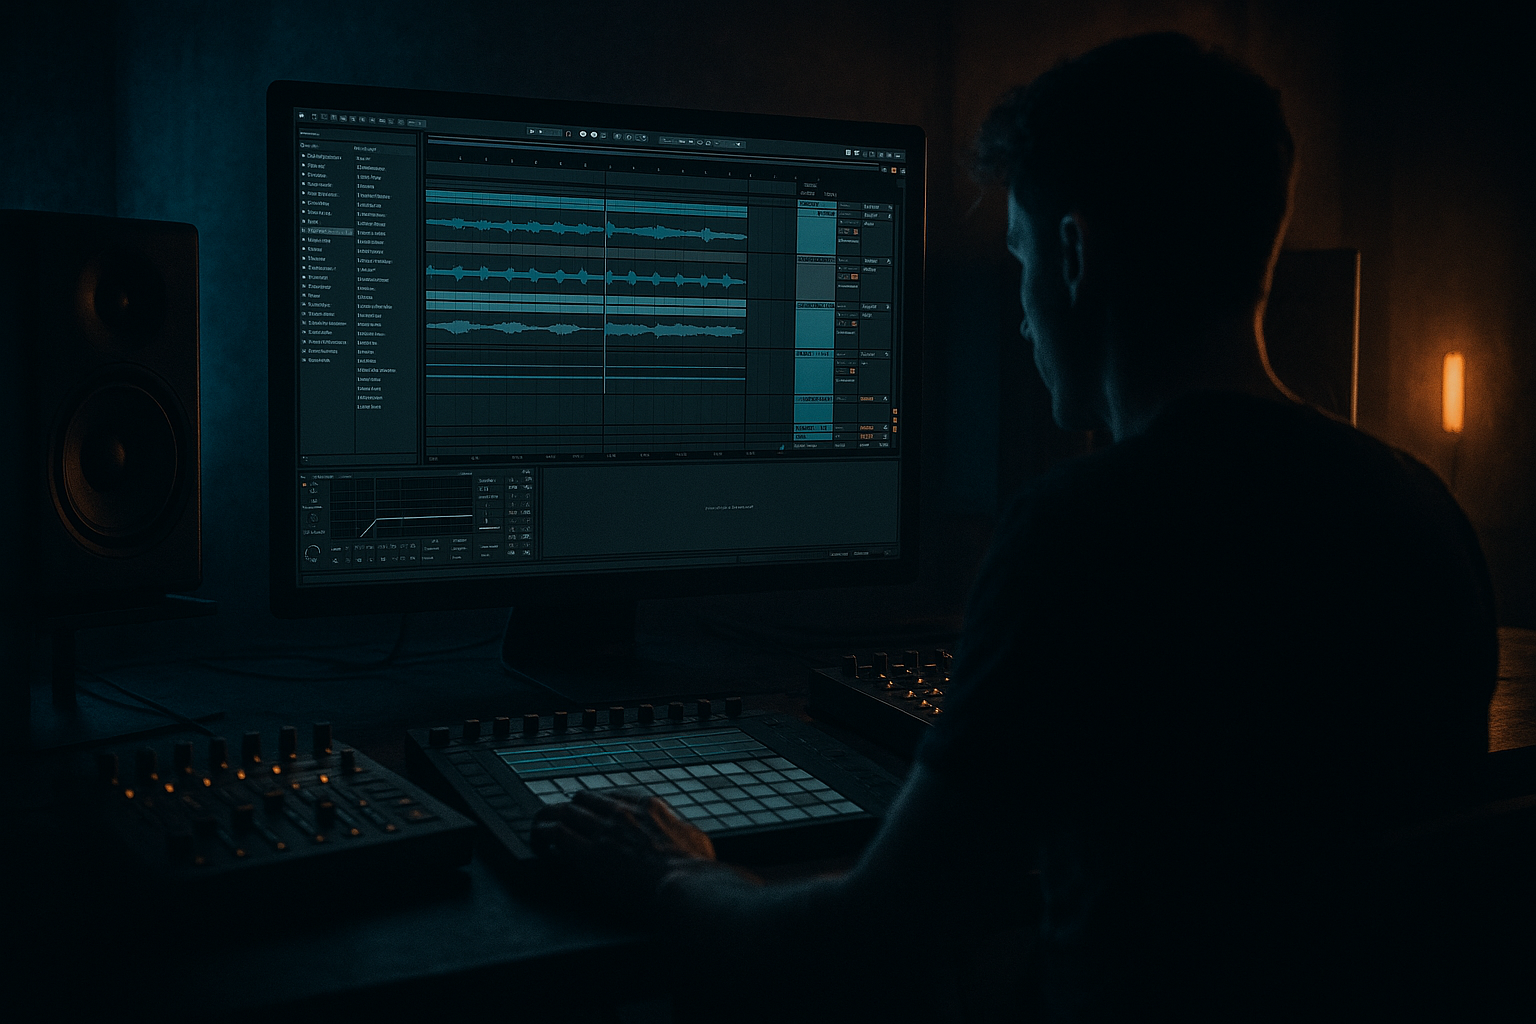
Main tutorial
Lesson Overview
In this lesson, you’ll build a jungle-style Amen break call-and-response riff in Ableton Live 12 and use the Groove Pool to make it feel loose, swung, and human without losing the drive that makes Drum & Bass hit. The goal is not just to chop an Amen loop — it’s to make it answer itself: one phrase “calls,” the next phrase “responds,” and the groove evolves like a real oldskool roller arrangement.
This technique sits perfectly in the breakdown-to-drop transition, the first 16 bars of a drop, or as a switch-up before a bass return. In atmospheric DnB, it’s especially useful because the break can act like a rhythmic hook while pads, reeses, and texture beds breathe around it. You get movement, tension, and identity without overcrowding the mix.
Why it matters: oldskool jungle energy comes from controlled chaos. The Amen already has micro-timing, ghost notes, and a natural push-pull. Groove Pool tricks let you exaggerate that feel in a musical way — keeping the drums alive while still landing cleanly against sub, bass stabs, and atmospheric layers. This is exactly the kind of detail that makes a loop feel like a record, not a grid.
What You Will Build
You’re going to create a two-bar Amen-style drum riff with a clear call-and-response shape:
- Call bar: tighter, more forward, with a chopped Amen phrase and strong transient presence
- Response bar: more open, slightly delayed/swinged, with extra ghost hits and a different energy curve
- A Groove Pool-driven swing feel that adds oldskool shuffle without making the break sloppy
- Subtle atmospheric wash behind the drums for depth and dark jungle mood
- A version that works as a drop loop, a DJ-friendly intro layer, or a breakdown motif before the bassline returns
- Applying too much groove to everything
- Over-quantizing the Amen
- Letting the break fight the sub
- Making the response bar too busy
- Too much reverb on drums
- Using the same groove amount across all elements
- Add a very light Saturator or Drum Buss to the break bus for grime and density, but stop before the cymbals smear.
- Duplicate the Amen and process one copy with Redux at subtle settings for a harsher top layer. Blend it quietly under the main break.
- Use Auto Filter on the atmosphere layer with slow automation from darker to brighter over 8 bars to create tension before the drop.
- For a heavier response phrase, reverse a short break fragment into a snare hit. That gives a classic jungle “suck-in” effect.
- If you want a more neuro-leaning edge, layer a restrained Resonators or Corpus texture very quietly under the atmosphere. Keep it tonal and subtle.
- Try a sidechained noise bed behind the drums for movement, but duck it lightly so the groove remains punchy.
- Use the Utility device to narrow the atmosphere in the low mids while keeping the top wide. This preserves stereo interest without muddying the center.
- For underground character, make the response bar slightly dirtier than the call: a bit more distortion, a touch less high end, and a longer tail.
Musically, this will feel like a classic jungle drum edit with modern control: the break talks, the ambience supports, and the groove sits in the pocket instead of sounding quantized to death.
Step-by-Step Walkthrough
1. Choose and prep the Amen source
Start with a clean Amen-style break sample on an audio track. If you’re working with a classic Amen or an Amen-inspired loop, drop it into Arrangement view and warp it only if needed. For oldskool DnB, don’t over-process the source before you’ve shaped the phrase.
Practical workflow:
- Set the clip to Complex Pro only if the break needs time-stretching. If the tempo is already close, try leaving it minimal.
- If the sample has too much room sound or cymbal wash, trim the ends so each phrase feels tight.
- Use Clip Gain to keep the break peaking around -12 dB to -8 dB before processing.
If the break is messy, use Slice to New MIDI Track and slice by transient or warp markers. For intermediate users, this is a great way to make the call-and-response phrasing more deliberate rather than relying on one loop. Each slice becomes a drum voice you can re-order like a mini composition.
2. Build the call-and-response phrasing in two bars
Create a 2-bar loop and separate the rhythm into two ideas:
- Bar 1 = call
- Bar 2 = response
A strong jungle phrasing trick is to keep bar 1 more direct and bar 2 more syncopated. For example:
- Call: kick/snare backbone with a short fill at the end of bar 1
- Response: ghosted snare drag, slightly delayed hat, or an extra break fragment that “answers” the first phrase
In Ableton, duplicate your break clip and edit the second bar so it feels like a reply rather than a repeat. You can:
- Remove one kick in the response to create space
- Add a small chopped snare roll at the end of bar 2
- Shift a hat or percussion hit later by a few ticks for anticipation
Keep the two bars related, but not identical. The ear should recognize a motif while still hearing motion. This is where the atmosphere category matters: the drums become a narrative element, not just a loop.
3. Create a Groove Pool profile from the break itself
Open the Groove Pool and drag a groove from your Amen clip into it, or use one of Ableton’s swing grooves as a starting point. For oldskool jungle, the sweet spot is usually a groove that feels noticeable but not cheesy.
Good starting ranges:
- Timing: around 55–68%
- Random: 3–12%
- Velocity: 10–25%
- Base: keep near 0 unless you intentionally want to offset the groove reference
Try this workflow:
- Extract groove from the original Amen break if it already has a human feel
- Apply that groove to a MIDI drum rack layer or a duplicated edited audio break
- Compare groove application at 25%, 50%, and 75% strength
Why this works in DnB: the break’s micro-timing creates the jungle energy, but groove pool lets you control the pocket. You can make the loop breathe against the sub without destroying the downbeat impact. It’s one of the best ways to sound “played” while still being tight enough for modern DnB.
4. Split the break into call and response layers
Instead of one clip doing everything, use two layers:
- Layer A: main break body
- Layer B: accent/response layer
In practice:
- Put the main Amen body on one track with a bit of Drum Buss for weight
- Put chopped accents, ghost hits, or reversed fragments on a second track
- Use the second layer only in the response bar or on specific offbeats
Stock Ableton devices to try:
- Drum Buss: Drive around 5–15%, Crunch modestly, Boom low or off if the sub is already busy
- EQ Eight: High-pass the response layer around 150–250 Hz so it doesn’t fight the main break or sub
- Saturator: Soft Clip on, Drive 2–6 dB for a gritty oldskool edge
For call-and-response, the second layer should feel like an answer, not a copy. Use it for:
- A snare flam
- A reverse cymbal hit
- A chopped amen tail
- A ghost-note burst that appears only in bar 2
5. Apply groove differently to each layer
This is where the trick becomes musical rather than generic. Don’t apply the same groove amount to every drum element. In oldskool DnB, different parts of the kit often sit in slightly different pockets.
Suggested approach:
- Main kick/snare layer: Groove at 30–50%
- Ghost notes/hats layer: Groove at 60–80%
- Atmospheric percussion or break fragments: Groove at 40–60%
If you’re using MIDI Drum Rack, slightly offset the hi-hats and ghosts manually while leaving the kick/snare more grounded. If you’re using audio clips, use clip-specific groove amounts. This gives the break a layered personality — the anchor stays firm, but the details dance around it.
Add Velocity variation too. For instance:
- Main snare: strong and consistent
- Ghost notes: 20–55 velocity
- Hat accents: alternate 40 / 70 / 50 style movement
This creates the classic jungle illusion of complexity from relatively simple source material.
6. Add atmospheric glue without smearing the drums
Since this lesson is in the Atmospheres category, build a dark bed behind the riff. The atmosphere should widen the scene, not blur the break.
Use one of these Ableton-native approaches:
- Wavetable pad with a low-pass filter and slow envelope movement
- Operator drone or sub-breath tone
- A resampled noise texture through Auto Filter, Chorus-Ensemble, and Reverb
Good atmospheric settings:
- Auto Filter cutoff around 300 Hz to 2 kHz, automated slowly
- Reverb decay around 2.5–6 s, but high-passed heavily before it hits the mix
- Echo with low feedback and filtered repeats for distant movement
Route the atmosphere to its own return or group and sidechain it gently to the drums if needed. The aim is that when the Amen riff answers itself, the space around it opens and closes with it. That contrast makes the groove feel bigger.
7. Shape the call-and-response with automation
Now make the two bars speak differently using automation. In jungle and darker DnB, arrangement is often about energy contour, not just adding more notes.
Automate any of these:
- Groove amount on a duplicated clip section
- Filter cutoff on the response layer
- Reverb send for the response bar only
- Saturator Drive for the final hit of bar 2
- Drum Buss Transients slightly higher on the call, slightly softer on the response
Example arrangement move:
- Bar 1: tighter, drier, more attack
- Bar 2: a touch more space, a filtered ghost phrase, and a snare lift into bar 3
This works especially well before a bass drop. You can make the drums feel like they are “asking a question,” then the bass answers with a re-entry. That’s a powerful oldskool tension/release device.
8. Lock the low end and keep the break punchy
Groove is useless if the low end gets messy. Your sub should own the bottom; the break should give rhythm and attitude.
Practical mix controls:
- High-pass the break group around 80–120 Hz if it has too much rumble
- Keep the sub mono using Utility on the sub track
- Check the break in mono to make sure the snare remains strong
- If the kick in the break clashes with the bassline, use EQ Eight to carve a small dip around the problem area
If the Amen is too boxy or harsh:
- Dip around 250–500 Hz for muddiness
- Soften 3–6 kHz if hats and snare crack are too sharp
- Use a gentle Glue Compressor on the drum bus, aiming for only 1–2 dB of gain reduction
This keeps the break aggressive but controlled. In DnB, the listener should feel the break’s motion even when the sub is dominating the spectrum.
9. Turn the riff into an arrangement tool
Don’t leave the call-and-response loop static. Make it part of a larger structure:
- 16-bar intro: filtered atmospheres and a partial break tease
- Drop A: full call-and-response Amen riff with bass underneath
- 8-bar switch-up: response bar becomes more broken, more syncopated
- Drop B or second phrase: reverse the roles, so the response becomes the new call
This is especially effective in a roller or oldskool-inspired tune where repetition is key but variation prevents fatigue. You can also use the riff as a DJ-friendly intro by stripping the low end, leaving only the break, atmospheres, and a filtered version of the bass texture.
A useful arrangement trick: every 8 or 16 bars, change one of these:
- hat pattern
- ghost note density
- reverb tail length
- groove strength
- break fragment order
Small changes keep the vibe alive without breaking the hypnosis.
Common Mistakes
- Fix: keep kick/snare more rigid and let hats, ghosts, and atmospheric percussion carry more swing.
- Fix: preserve some natural timing. Oldskool jungle depends on imperfect micro-shifts.
- Fix: high-pass the break group, mono the sub, and carve the low-mid area where needed.
- Fix: the response should answer the call, not compete with it. Remove one or two hits if the phrase feels crowded.
- Fix: keep ambience filtered and tucked behind the transient layer. Use sends, not full wet inserts, when possible.
- Fix: different layers need different feel. The groove should be layered, not uniform.
Pro Tips for Darker / Heavier DnB
Mini Practice Exercise
Set a 15-minute timer and build this:
1. Load one Amen-style break and make a 2-bar loop.
2. Create a clear call-and-response: bar 1 = tighter, bar 2 = more chopped.
3. Pull a groove from the break or use a swing groove in Groove Pool.
4. Apply different groove strengths to the break body, ghost notes, and hats.
5. Add one atmospheric layer using Wavetable, Operator, or a noise resample.
6. Automate one parameter across the two bars: filter cutoff, reverb send, or Saturator drive.
7. Bounce a rough 8-bar loop and check it in mono.
Goal: by the end, the riff should feel like a living drum conversation, not just a loop with swing on it.
Recap
The key idea is simple: shape the Amen as a call-and-response phrase, then use Groove Pool to give each part its own pocket. Keep the main break punchy, let the response bar open up, and support the whole thing with dark atmospheres that add depth without clouding the drums. Use Ableton stock tools like Groove Pool, Drum Buss, EQ Eight, Saturator, Auto Filter, Utility, and Reverb to control feel, weight, and space.
If it feels like the break is speaking, the sub is locking, and the atmosphere is breathing behind it, you’re in the right zone. That’s oldskool jungle energy with modern Ableton control.

