Main tutorial
1) Lesson overview
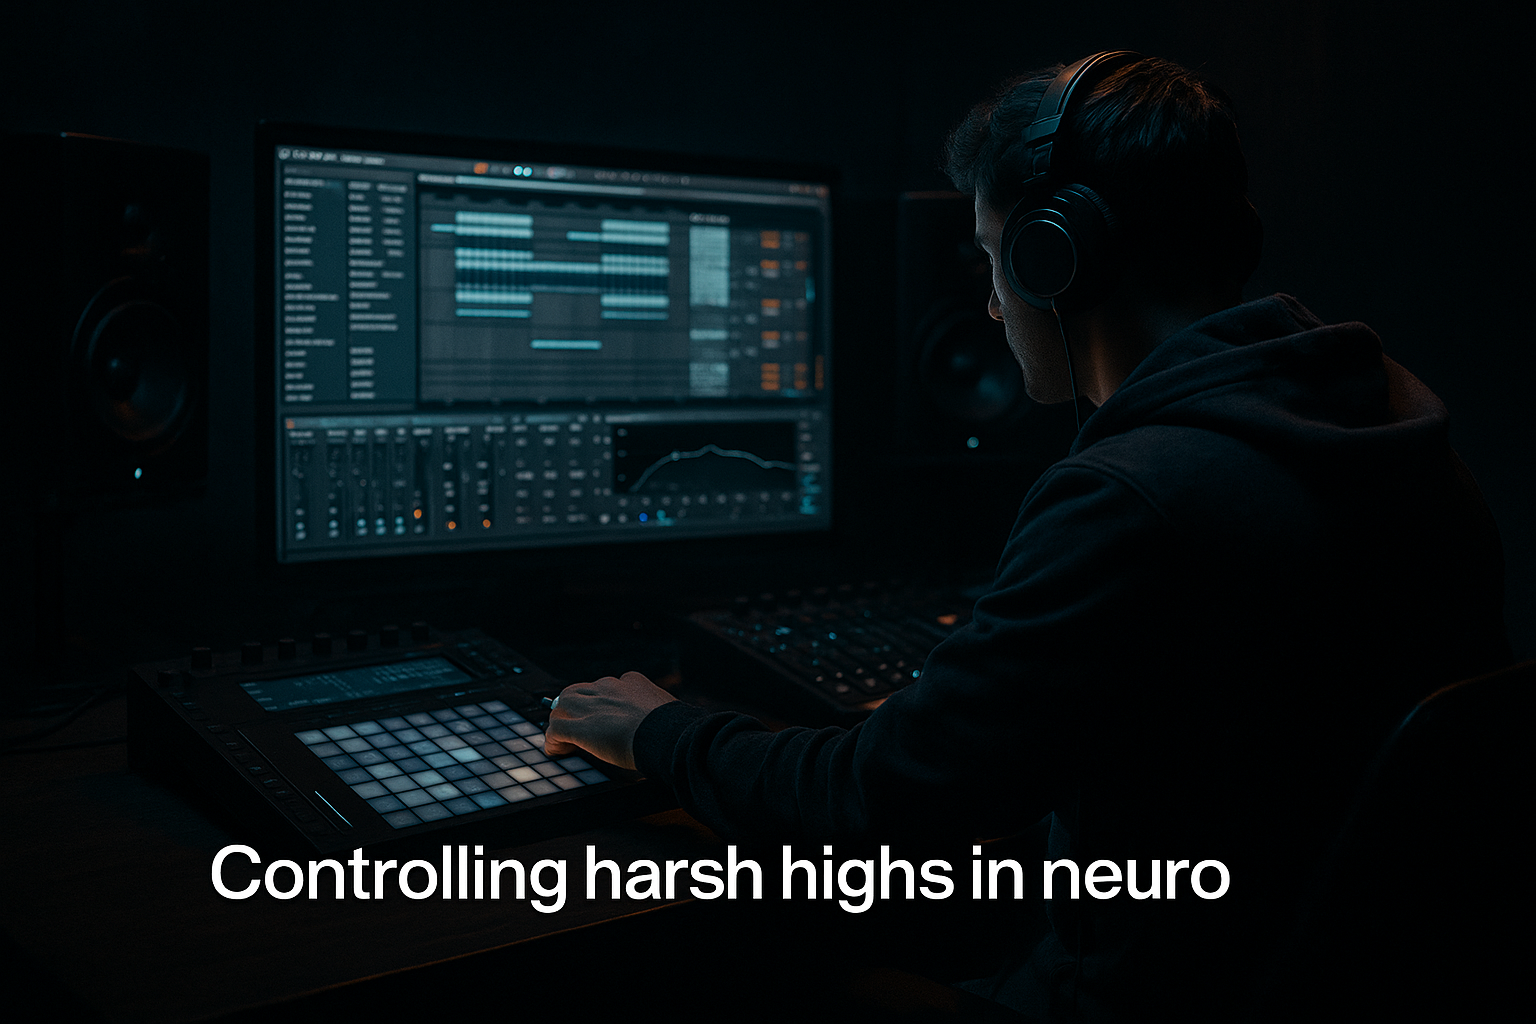
Quick, surgical, and musical — this lesson shows you how to control harsh high frequencies in neuro-style DnB sounds inside Ableton Live (11+). We’ll focus on practical, intermediate mixing techniques you can apply to synths, leads, hats, cymbals and FX so your drops cut without sounding brittle or ear-fatiguing. Expect step-by-step device chains, concrete settings, and Ableton stock-device workflows (EQ Eight, Multiband Dynamics, Saturator, Utility, Glue Compressor, Spectrum, Audio Effect Rack, etc.). 🎛️⚡
Outcome: cleaner, heavier mixes with preserved aggression but controlled top-end that translates across headphones, club systems, and streams.
2) What you will build
You’ll construct:
- A repeatable “De-Harsh Rack” (Audio Effect Rack) for neuro leads and mid/high synths:
- A lightweight percussive top-end chain for hats/cymbals:
- A master/Drum Bus checklist for preserving clarity while reducing harshness
- Chain 1 — Low/Body:
- Chain 2 — Mid (body clarity):
- Chain 3 — High (targeted control of harshness):
- Macro 1 = “De-Harsh Threshold” → maps to Multiband Dynamics threshold (so one macro raises/lowers how aggressively highs are clamped).
- Macro 2 = “High Width” → maps to Utility width on High chain.
- Macro 3 = “High Shelf” → maps to EQ Eight high-shelf gain.
- Use Multiband Dynamics set to compress the 3–8 kHz band only:
- Alternatively, use the De-Harsh Rack's high chain and automate the threshold during heavy sections.
- Drum bus chain:
- Master bus:
- Contrast = power: Introduce a high-cut automation right before drops, then open highs quickly at the hit for more impact.
- Use sparse top percussion during heavy synth sections — remove shimmer layers to reduce cumulative harshness.
- For breakdowns, re-introduce airy pads with low-pass and generous reverb pre-damped to keep space without harshness.
- Applying static, broad high-shelf cuts across everything — makes mixes dull and loses clarity.
- Over-saturating without oversampling — creates aliasing and adds more harshness.
- Using Linear Phase EQ for everything — while useful, it can smear transients; use minimum-phase (default) for sharp transient work.
- Not checking in mono — stereo-specific harshness may collapse and reveal other issues.
- Slamming a brickwall limiter to “fix” harshness — limits dynamics rather than addressing frequency spikes.
- EQ-ing hat loops instead of checking the source: sometimes the sample needs replacing rather than heavy processing.
- Keep the low/mid region tight and leave the high-band thinner. Aggression lives in 800 Hz–3 kHz; preserve it and remove competing high sparkle.
- Use stereo width automation: wider hats + narrower synth highs = perceived power without brittleness.
- Prefer analog-style saturation (Saturator with Soft Sine + Soft Clip) over bitcrushing for main synths. Use oversampling.
- Use mid-side processing: make mids fuller, sides dimmer in the 3–12 kHz band to keep the mix heavy but coherent.
- Transient control: use short, precise compression on cymbals rather than boosting high frequencies.
- Layer smarter: for neuro leads, have one layer for body (low/mid) and a separate “air” layer with its own De-Harsh Rack. This gives freedom to treat highs independently.
- High-band multiband compression on the master is OK but subtle: aim for 0.5–1.5 dB of attenuation on the high band to remove fatigue.
- When in doubt, replace — swap a harsh cymbal sample for a smoother one with similar attack.
- Insert Spectrum on the lead. Play the drop and note spike frequencies between 3–16 kHz.
- Insert EQ Eight on the lead. Boost +12 dB with Q ~ 4 and sweep through 3–10 kHz to find harsh resonances. Cut each offending frequency -4 to -8 dB with Q ~ 3–6.
- Create an Audio Effect Rack on the lead.
- Create three chains and isolate a High chain with EQ Eight HP at 6 kHz (24 dB/oct).
- Insert Multiband Dynamics (or Compressor if you prefer) on the High chain:
- Add Saturator (Soft Sine) after it: Drive 2 dB, Soft Clip ON, Oversample x2. Dry/Wet 25%.
- Add Utility: Width 60%.
- Bypass the Rack and listen, then enable Rack and set Macro “De-Harsh Threshold” so you can hear how it engages.
- Automate the High Width macro to tighten highs in the drop and widen in the breakdown.
- Repeat similar, lighter steps on hat loop: Multiband Dynamics high band threshold mild, then EQ shelf -2 dB at 12 kHz.
- Identify spikes with Spectrum and EQ Eight. Target, don’t destroy.
- Build a split-band De-Harsh Rack: isolate highs, compress them dynamically, then add gentle saturation and stereo narrowing.
- Use Multiband Dynamics as your “de-esser” for synths (3–8 kHz) and for top-band spikes (8–16 kHz).
- Prefer subtle saturation with oversampling over crude clipping; use mid/side tools to keep the center full and sides controlled.
- Automate cuts and width for arrangement contrast: darkness + punch = heavy DnB that isn’t painful.
- Low cleanup, dynamic high-band control, tasteful saturation, stereo high-band narrowing
- Macro controls: High Cut / De-Harsh Threshold / High Width / Drive
- Resonance sweeps, transient tame, dynamic high shelving
All using Ableton stock devices and practical presets/settings you can copy into your project.
3) Step-by-step walkthrough
Important prep: Work at a realistic monitoring level (mix at -12 to -6 LUFS integrated for production). Use Spectrum (or EQ Eight’s spectrum) to find spikes. Reference with a well-mixed neuro track.
A. Identify the problem frequencies
1. Insert Spectrum on your track (synth, hat, etc.). Play the offending section (drop loop).
2. Watch for narrow spikes 3–7 kHz (harshness) and 8–16 kHz (air/aliasing noise). Note frequencies.
3. Solo the sound and switch your monitor between headphones and speakers. Toggle Mono (Utility) to see if harshness is stereo-specific.
B. Build the De-Harsh Rack (Audio Effect Rack)
Goal: dynamic control of the upper band so loud spikes are tamed only when needed.
Device chain order (in one audio effect rack, three chains: Low/Body / Mid / High):
- EQ Eight: High-pass removed, Low shelf gentle cut if needed. (HP off) Keep lows for weight.
- EQ Eight: Band cut out narrow resonances if found (sweep with Q ~ 4–6).
- EQ Eight: Set crossover to remove everything below ~5.5–6.5 kHz (High chain only)
- Use Filter Type: High-pass at 5.5 - 6.5 kHz, slope 24 dB/oct to isolate.
- Multiband Dynamics (or Compressor): Use this to dynamically compress only the high content.
- Settings example: Mode = Compressor on the high band, Threshold = -18 dB (adjust), Ratio = 3:1–6:1, Attack = 2–8 ms, Release = 80–160 ms. Solo the high chain and adjust threshold until it clamps the visible spikes.
- Saturator: Drive 1.5–4 dB, Curve = Soft Sine, Soft Clip ON, Oversample x2 or x4 to reduce aliasing.
- Dry/Wet: 15–35% (used to warm without adding harsh digital edges)
- EQ Eight: High-shelf -2 to -6 dB at 8–12 kHz if needed for final tonal shaping.
- Utility: Width 40–80% (narrow the high band stereo image to reduce perceived harshness but keep presence)
Routing tips:
Why this works: Splitting bands lets you compress only the problematic highs dynamically instead of blunting the entire synth tone. Narrowing stereo on highs reduces phasey side-sparkle that becomes fatiguing at club levels.
C. Fast, precise frequency surgical work (EQ Eight)
1. Insert EQ Eight before the De-Harsh Rack when you first audition a sound.
2. Use a bell filter with high Q (3–6) and boost +12 dB while sweeping to find resonances.
3. Once you find a nasty spike, cut it by -3 to -8 dB with Q 3–6. Repeat for multiple resonances.
4. Use Mid/Side mode on EQ Eight to target side-only resonances (click the M/S button) — sometimes harshness lives in the sides.
D. De-essing (for synths and mid-high vocal FX)
- Crossover points: low < 3 kHz, mid 3–8 kHz, high > 8 kHz
- Threshold set so compression engages only on sibilant spikes
- Ratio 4:1, Attack 2–6 ms, Release 50–120 ms
E. Percussion/hats/cymbals chain (light and fast)
Device chain (serial on hat/cym channels):
1. EQ Eight: HP at ~200–400 Hz to remove low bleed; gentle cut at 2–4 kHz if harsh.
2. Compressor (fast): Attack 0.5–2 ms, Release 30–80 ms, Ratio 2–4:1, to tame transients only slightly.
3. Multiband Dynamics on the top band (>6 kHz) to catch spikes (same settings as above but lighter).
4. EQ Eight: Gentle high-shelf -1 to -3 dB at 10–14 kHz if necessary.
5. Utility: Width 70–100% for hats (you can keep them wider but tame harshness first).
F. Drum bus and master bus guidelines (preserve weight)
- Saturator (Subtle): Drive 1–3 dB, Soft Clip on, Oversample x2
- EQ Eight: High-shelf -1.5 dB at 10 kHz if drum top-end is brittle
- Glue Compressor: Attack 10 ms, Release auto/200 ms, aim 2–3 dB GR
- Multiband Dynamics (gentle) or a subtle high-band compressor: set high-band to 8–16 kHz, slight compression to tame digital spikes.
- Final Limiter: keep ceiling -0.1dB, avoid over-brightening with final-stage saturation.
G. Arrangement ideas to avoid fatigue
- Example: Automate EQ Eight high-shelf (or low-pass) from -8 dB down to 0 at 1 bar before the drop to create “sweep in” energy.
4) Common mistakes
5) Pro tips for darker/heavier DnB
6) Mini practice exercise (15–25 minutes)
Materials: a neuro lead synth clip, a hat loop, Ableton Live session of a small drop loop.
Step 1 — Diagnose (3 minutes)
Step 2 — Surgical EQ (5 minutes)
Step 3 — Build the high-chain (7 minutes)
- Threshold: -20 dB (adjust while playing)
- Ratio: 4:1
- Attack: 4 ms
- Release: 100 ms
Step 4 — Compare & Automate (5–10 minutes)
Expected result: Lead retains low/mid aggression, spikes are controlled only when they occur, hats become less brittle but still present.
7) Recap
Go try this on a neuro lead + hats right now — build the De-Harsh Rack and save it as a preset. You’ll thank yourself during mixing and in the club. Need a template rack file or step-through of mapping macros? I can provide a downloadable rack layout or a project example. 🎧🔥

