DNB COLLEGE

Drum & Bass Ableton Live 12 Tutorials

LESSON DETAIL

Controlling stereo width (Intermediate)

An AI-generated intermediate Ableton lesson focused on Controlling stereo width in the Mixing area of drum and bass production.

Back to lessons
Controlling stereo width (Intermediate) cover image

Narrated lesson audio

The voice track includes the tutorial plus extra teacher commentary.

Open audio file

Main tutorial

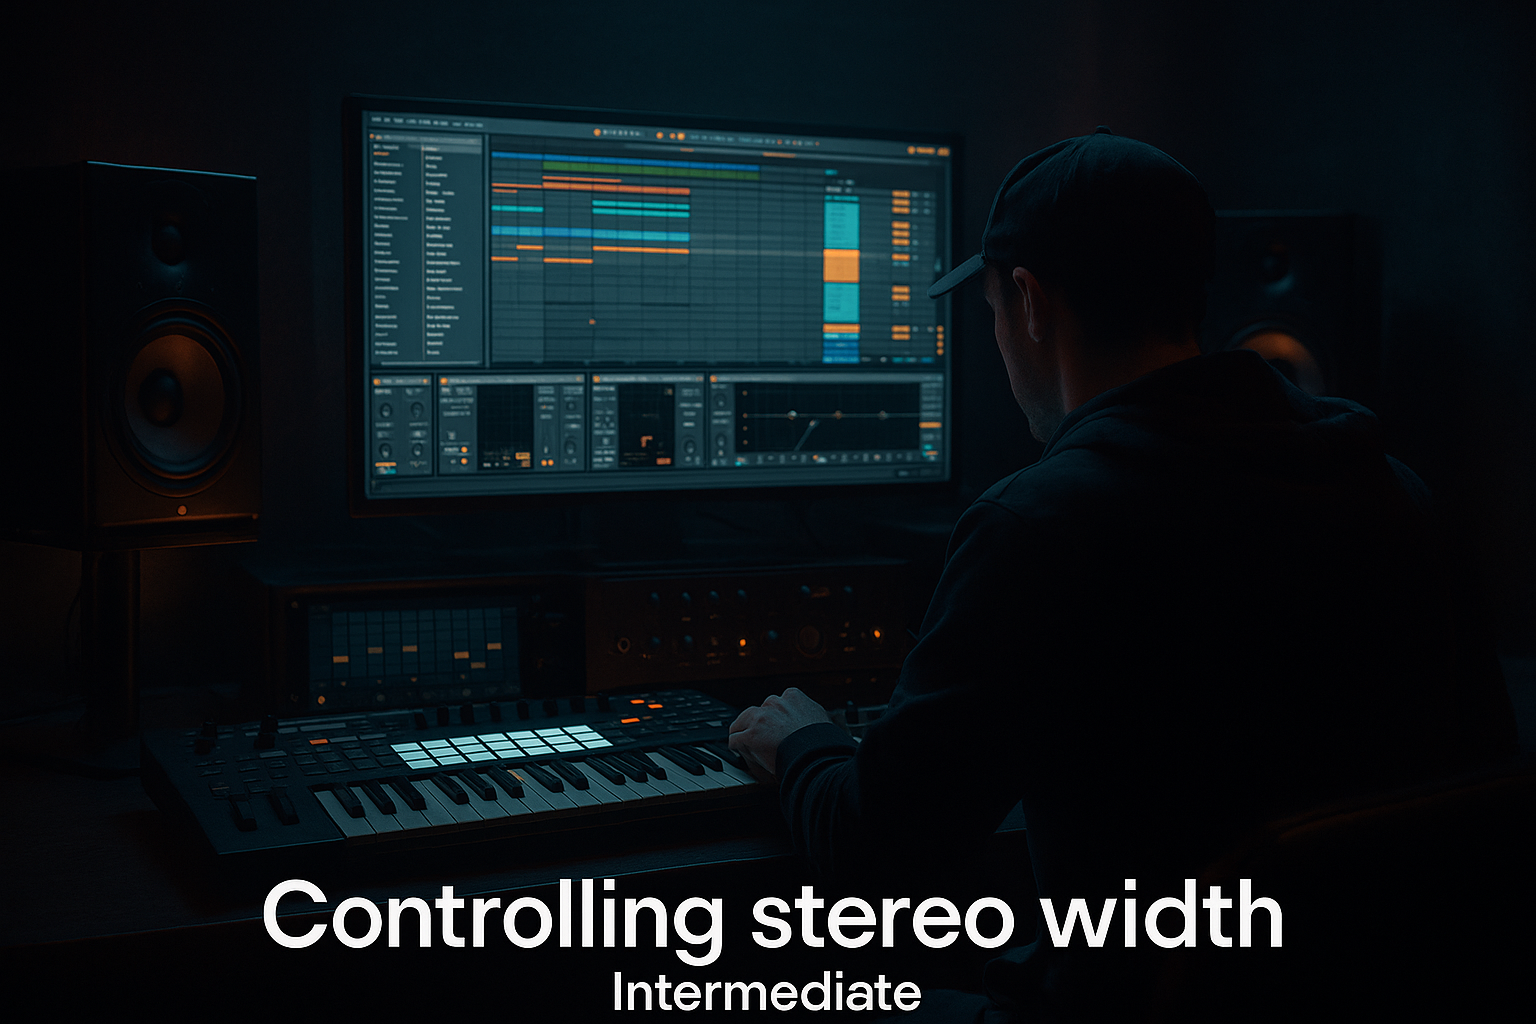
Controlling Stereo Width — Drum & Bass in Ableton Live (Intermediate)

Energetic, focused, and practical — this lesson shows you how to control stereo width in a drum & bass / jungle context inside Ableton Live. We’ll keep subs tight and punchy, make hats and textures wide and alive, and show device chains and automation techniques that translate directly to your mixes. Expect concrete settings, workflow steps, and arrangement tips. Let’s get you sounding huge without losing low-end power. 🎛️🔥

---

1) Lesson overview

What you’ll learn:

  • How to manage stereo width per element (sub bass, mid-bass, drums, hats, pads) using Ableton stock devices.
  • Mid/Side (M/S) processing with EQ Eight and practical M/S chains for DnB.
  • Haas-effect widening and safe delay settings for percussion.
  • Using Utility, Simple Delay, Multiband Dynamics and return chains to shape stereo.
  • Common mistakes and how to avoid them (mono compatibility, phase cancellation).
  • Automation and arrangement ideas for drops, build-ups and breakdowns.
  • Tools used (Ableton stock):

  • Utility
  • EQ Eight (M/S mode)
  • Simple Delay
  • Multiband Dynamics
  • Glue Compressor / Compressor
  • Saturator
  • Reverb (Return)
  • Drum Rack / Simpler (for drums)
  • Spectrum / Metering via exports + Utility (mono check)
  • ---

    2) What you will build

    A short DnB-ready mixing chain and workflow that:

  • Keeps sub frequencies locked mono and punchy.
  • Keeps mid-bass centered but allows harmonics to sit wider.
  • Makes hi-hats and percussion sit crisp and wide without breaking the low end.
  • Uses bus and return techniques to automate width across the arrangement (wider in builds, tighter in drops).
  • You’ll finish with a small template of tracks and chains you can drop into any DnB project.

    ---

    3) Step-by-step walkthrough

    I’ll assume a simple DnB loop: Kick, Snare, Break/Drum loop, Bass (two-layer: sub + mid/harmonics), Hats/percs, Pads/FX.

    A — Global rules (first things first)

    1. Sub (below ~120 Hz) = MONO. Always. Prevents phase cancellation and maintains club translation.

    2. Low-mid (120–350 Hz) = mostly centered. Keeps weight and punch in the middle.

    3. High mids & highs (above ~350–400 Hz) = where you can widen for air and movement.

    4. Always check mono compatibility regularly (see checks below).

    B — Sub & Bass: Mono below ~120 Hz, widen harmonics

    Chain on your bass track (or bass group):

    1. Insert an EQ Eight as the first device. Switch it to Mid/Side mode:

    - Click the small “Mode” button and choose “M/S” (top right of EQ Eight).

    2. Create Band 1: High-pass for Sides:

    - Type: High-pass, Frequency: 120 Hz, Q: 0.7

    - Set that band to affect Sides only (in EQ Eight M/S choose “Sides” for that band).

    - This ensures Sides have no content below 120 Hz.

    3. Optionally, gently reduce the Sides below 250 Hz:

    - Add a low-shelf or bell on Sides -3 to -6 dB around 120–250 Hz to keep low-mid focus centered.

    4. If you want the mid-bass more present, boost Mid band slightly:

    - On Mid channel, add a gentle bell at 60–100 Hz +1 to +3 dB.

    5. Add Saturator after EQ Eight for analog-style harmonics (drive lightly):

    - Saturator > Mode: “Analog Clip” or “Soft Sine”; Drive: 1–4 dB, Dry/Wet 40–60%.

    - This creates harmonics that can be widened in the next step without adding sub energy.

    6. (Optional) Duplicate the bass track and process one instance as the “Sides” harmonic layer:

    - On duplicate, use EQ Eight in M/S and keep only Sides content (high-pass at 120 Hz, remove low-mid) and push width with Utility (Width 150–200%) or small stereo delay.

    - Blend in until the mid-bass remains centered but harmonics breathe wide.

    Why this works: You keep energy anchored while adding stereo interest with higher harmonics. Sub stays mono so the club PA and subs translate.

    C — Drums: Kick & snare mono, hats and percs stereo

    1. Kick & Snare:

    - Utility on each: set Width = 0% for Kick, Snare keep close to 100% (or 0% for big drops). This guarantees a mono low-end and center punch.

    - If using sampled breaks, run a transient shaper or Drum Buss after making sure low end is mono.

    2. Hi-hats / Percs:

    - Technique 1 — Haas/Delay widening:

    - Put Simple Delay on hat/percussion track, Sync OFF.

    - Set Left delay ~6–12 ms, Right delay 0 ms. Dry/Wet 15–30%, Feedback 0%.

    - This introduces a timing offset that increases stereo width without obvious echoes (Haas effect). Keep delays <35 ms to avoid perceivable echoes.

    - Technique 2 — Subtle Auto-Pan/LFO:

    - Use Auto Pan with Shape = Triangle, Phase = 0°, Rate slow (0.05–0.5 Hz) and Amount 10–25% for subtle movement.

    - Or use Auto Pan as a micro-shift by setting Rate very low and Phase offset to make pattern feel alive.

    - Use Utility Width + Simple Delay together for more control (Utility to push 100–140% if needed).

    3. Grouping drums:

    - Create Drum Bus: pre-EQ/Compression chain -> Glue Compressor lightly (-1 to -3 dB gain reduction) -> Utility to tweak width for transitions.

    D — Pads/FX/Atmosphere: Use returns for wide tails

    1. Create a Send Return (Reverb) for pads/FX:

    - Return 1 = Plate/Room Reverb (Decay 1.2–2.8 s) with High Cut ~6–10 kHz and Low Cut ~200–400 Hz (avoid muddying subs).

    - On the return, use Utility Width = 140–160% to make reverb tails wider.

    2. Use mid/side EQ on the return:

    - EQ Eight M/S: boost Sides at 3–8 kHz for air; reduce Sides below 300–400 Hz.

    - This pushes reverb into the sides cleanly without bass smear.

    3. For dark atmospheres, add a short chorus or ensemble across the reverb return (subtle wobble).

    E — Master & Bus width control

    Master chain recommendation (stock devices):

  • Track/Master: EQ Eight (gentle corrective M/S), Glue Compressor (bus glue), Utility (final width/mono check).
  • EQ Eight in M/S: Reduce extreme side energy in low end (High-pass Sides at 100–150 Hz, -6 to -12 dB if necessary).
  • Final Utility: Use Width automation for arrangement changes. For drops, automate Width down 90–100% in the 20–120 Hz region via track-specific chains instead of master-wide.
  • Example master settings:

  • EQ Eight (M/S): Sides HPF at 120 Hz (-24 dB/oct if needed). Mid slight +1 dB at 60 Hz if more punch needed.
  • Glue Compressor: Attack 10 ms, Release 0.3–0.6 s, Ratio 2:1, Gain reduction 1–3 dB.
  • Utility: Keep at 100% for mixes; automate between 90–120% where musical.
  • F — Mono compatibility & phase checks

  • Periodically toggle Utility -> Mono button on the Master and listen for level/shifts. If a lot disappears, you have problematic stereo content.
  • Bounce a short (8–16 bar) mono mixdown and listen on multiple systems (phone, headphones, monitors).
  • In latency-critical areas, disable Haas/delays at low frequencies.
  • ---

    4) Common mistakes

  • Widening bass/sub frequencies (Haas on lows) — causes phase cancellations on club rigs and reduces punch.
  • Overdoing delay-based Haas >30–35 ms — creates audible slap/echo rather than a stereo image.
  • Widening everything at once — results in a thin, unfocused mix. Use selective widening.
  • Skipping mono checks — leads to drops sounding empty on club systems.
  • Using extreme M/S EQ boosts — can create unnatural timbre and make mix collapse when summed mono.
  • Relying on one device to “make width” — combine EQ, delay, saturation and reverb thoughtfully.
  • ---

    5) Pro tips for darker/heavier DnB

  • Keep 0–120 Hz strictly mono. On a heavy DnB drop the sub must always hit center; nothing wide.
  • Use parallel saturation/distortion on sides only to add grit without fattening the sub:
  • - EQ Eight M/S > process Sides chain with Saturator (Drive 3–7 dB), then recombine.

    - This gives aggression and harmonic content that spreads without destroying low-end solidity.

  • Narrow the midrange slightly in drops: cut Sides ~200–400 Hz by −2 to −4 dB to make room for powerful center bass and punchy snare.
  • For a darker feel, use long dark reverb tails on returns but high-pass the reverb at 300–500 Hz and push them wide — the tails create space without washing low end.
  • Duck wide elements side-chain to the kick/snare subtly so low transients keep center dominance.
  • Automate width dynamically: Wide elements in build-ups for tension, tighten before and during the drop for low-end impact. Example: build-up width +40% on hats/reverb; drop width -20% on these same channels.
  • For jungle texture, duplicate break loop, lowpass one copy and keep mono for body, highpass the other and make it very wide with delay + reverb for shimmer.
  • ---

    6) Mini practice exercise (30–45 min)

    Recreate this short workflow on a simple 8-bar DnB loop.

    1. Set up tracks:

    - Kick (simpler/sample), Snare, Break loop (chop), Bass (sub + mid/harmonic layers), Hats, Pad/FX return.

    2. Sub/Mid-bass chain:

    - On Bass track, insert EQ Eight → set to M/S.

    - In Sides, HPF at 120 Hz (High-pass, 120 Hz).

    - In Mid, add slight bell at 70–100 Hz +2 dB.

    - Add Saturator (Drive 2–3 dB).

    3. Hats widening:

    - On Hat track, put Simple Delay (Sync OFF): Left = 8 ms, Right = 0 ms, Dry/Wet = 20%, Feedback = 0%.

    - Add Utility after delay: Width = 120%.

    4. Pad Send:

    - Send Pad to Return A (Reverb): Reverb Decay = 1.8 s, High Cut = 8 kHz, Low Cut = 300 Hz.

    - On Return A, Utility Width = 150% and EQ Eight M/S: boost Sides 4–8 kHz +3 dB, cut Sides under 350 Hz.

    5. Master check:

    - Put a Utility on the Master and toggle Mono while playing the loop. Adjust hat delay or pad reverb until mono collapse is minimal.

    6. Arrange automation:

    - Automate Utility Width on Hats from 100% (drop) to 140% (build-up) across 8 bars.

    - Automate Master Utility width from 100% → 95% at the drop moment for a tighter impact.

    Goal: by the end, your drop should hit harder (mono-low), hats and pads should feel spacious in builds, and the mix should hold together when summed to mono.

    ---

    7) Recap

  • Keep subs strictly mono (0–120 Hz). Use EQ Eight M/S to remove sides under ~120 Hz.
  • Widen high-frequency elements (hats, pads, harmonics) using Haas (<35 ms), Utility width, M/S saturation and return-based reverb.
  • Use EQ Eight’s M/S mode for surgical mid/side control — cut sides in low-mid region, boost sides for air.
  • Check mono compatibility often using Utility’s Mono and by listening on multiple systems.
  • Automate width for arrangement dynamics: wider in builds, tighter in drops for weight and clarity.
  • Combine devices (Utility, EQ Eight, Simple Delay, Multiband Dynamics, Saturator) in targeted chains rather than wide-brushing the entire mix.

Go try the mini exercise and drop it into a drum & bass track. If you want, export your 8-bar loop and I’ll review the mix and suggest surgical adjustments for an even heavier drop. Ready to make that sub THUMP? 💥🎧

Ask GPT about this lesson

Chat with the lesson tutor, get follow-up help, or use quick actions.

Bigup 👽 Ask me anything about this lesson and I’ll answer in context.

Narration script

Show spoken script
Welcome to this intermediate Ableton lesson on controlling stereo width for drum and bass. I’m going to give you a focused, practical walkthrough you can apply right away — keeping subs tight and punchy, letting hats and textures breathe, and using Ableton stock devices to do it. I’ll call out concrete settings, explain why they work, and give you coaching tips and exercises so you can lock this into your workflow. Let’s get into it.

First, what you’ll learn in this lesson: how to manage width per element — subs, mid-bass, drums, hats, pads — using Utility, EQ Eight in Mid/Side mode, Simple Delay, Multiband Dynamics, Saturator, Reverb returns and more. You’ll see M/S chains for DnB, safe Haas delay settings for percussion, return-based widening for atmospheres, mono-compatibility checks, and automation strategies for builds and drops.

Before you place a single plugin, make a map in your head: decide what you want anchored center and what you want to breathe in the sides. That intention speeds every choice and prevents “spray-and-pray” widening.

Global rules to live by:
- Keep everything below around 120 Hz strictly mono. That preserves club translation and sub punch.
- Keep low-mids, roughly 120 to 350 Hz, mostly centered to retain weight and punch.
- Above roughly 350 to 400 Hz you can freely widen for air and movement.
- Check mono compatibility often; don’t wait until the end.

Now the core workflow. I’ll assume a simple loop: kick, snare, break, two-layer bass (sub + harmonics), hats/percs, pads/FX.

Bass and sub: lock lows mono, widen harmonics
1. Put an EQ Eight first on your bass track and switch it to Mid/Side mode.
2. On the Sides channel, add a high-pass at 120 Hz. Use a gentle Q, something like 0.7. This removes side content under 120 Hz so subs stay centered.
3. Optionally add a subtle cut on Sides from 120–250 Hz, maybe -3 to -6 dB, to keep low-mid energy in the mid channel.
4. On the Mid channel, boost a little around 60–100 Hz if the mid-bass needs presence. Keep boosts conservative: +1 to +3 dB.
5. After EQ, add Saturator for harmonic content. Try Analog Clip or Soft Sine, Drive 1–4 dB and a dry/wet between 40 and 60 percent. This creates harmonics that can be widened without adding sub energy.
6. For more control, duplicate the bass, treat the duplicate as a harmonic sides layer: high-pass it at around 120–200 Hz, sculpt with saturation and EQ, then push its Utility width to 150–200 percent or add a tiny Haas-style delay. Blend that layer back in until the bass feels wide but the sub remains solid.

Why this works: you anchor the low-frequency energy centrally while moving higher harmonics into the stereo field. That preserves club-ready subs and still gives your bass depth and movement.

Drums: keep the low punch centered, make hats and percs alive
1. Kick and snare should be essentially mono. Put Utility on them and set Width = 0% for the kick; snare can stay at 100% or be tightened to mono for big drops.
2. If you’re using chopped breaks, ensure the low end is mono before you compress or Bus them.
3. For hi-hats and percussion, use Haas-style widening safely: insert Simple Delay, Sync off, set Left delay between 6 and 12 milliseconds and Right delay to 0 ms, Dry/Wet between 15 and 30 percent, Feedback at 0. This gives a stereo smear without audible echoes. Keep any Haas delay under about 35 ms to avoid slap echoes.
4. Alternative or complementary technique: Auto Pan for micro-movement. Triangle shape, Phase 0°, Rate very slow around 0.05 to 0.5 Hz and Amount 10–25 percent gives subtle motion.
5. Use Utility after delay to adjust global width for that percussion channel. Width values around 120–140 percent are common for hats.

Group your drums to a Drum Bus and use Glue Compressor lightly — aim for 1 to 3 dB of gain reduction — then use a Utility on the bus to tweak width for transitions.

Pads and FX: widen on returns
1. Send pads and FX to a reverb return instead of inserting reverb on each track. Set reverb decay between 1.2 and 2.8 seconds, then high-pass the return around 200–400 Hz and low-pass the top around 6–10 kHz to avoid mud and harshness.
2. On the reverb return, push Utility Width to around 140–160 percent to spread tails out.
3. Use EQ Eight in M/S on the return: boost Sides around 3–8 kHz for air, cut Sides below 300–400 Hz so the reverb doesn’t smear the bass.
4. Subtle chorus or ensemble on the return can add motion without touching the dry low end.

Master and bussing: surgical M/S and arrangement automation
1. On the master chain, use EQ Eight in M/S to remove any side energy under roughly 100–150 Hz. A sides high-pass at 120 Hz is a good safety net; if needed, steepen to -24 dB/oct.
2. Follow with Glue Compressor for bus glue: Attack around 10 ms, Release around 0.3 to 0.6 seconds, Ratio 2:1, target 1–3 dB reduction.
3. End with a Utility on the master for final width checks and automation. Keep it at 100 percent for most sections, but automate between 90 and 120 percent to shape arrangement energy.
4. When you want a tight drop, automate track-specific chains to reduce width in low bands rather than crushing the whole master width.

Mono checks and diagnostics
- Hit the master Utility’s Mono switch regularly and listen for content that disappears. If you hear a big collapse, mute and solo tracks to find the culprit.
- Invert the phase of suspect tracks with Utility’s Phase buttons to identify cancellations quickly.
- When in doubt, reduce side level first rather than deleting devices — a lower side level often fixes balance issues.

Common mistakes to avoid
- Don’t widen bass or sub frequencies with Haas or delay — that causes cancellations on club rigs.
- Avoid Haas delays greater than about 35 ms or you’ll create obvious echoes.
- Don’t widen everything. Be selective, and don’t skip mono checks.
- Avoid extreme M/S boosts in low mids; they will change timbre and collapse in mono.

Pro coach notes and workflow habits
- Build fast diagnostic habits: toggle mono, invert phase, and lower side levels to quickly isolate problems.
- Be aware of CPU and latency: Haas-type delays and Grain Delay add micro-timing offsets. If you print or bounce, resample widened layers to avoid timing drift and save CPU.
- Version your mix templates — keep one with wide automation lanes and another flat, mono-friendly preset for quick A/B testing.

Advanced techniques and sound-design extras
- Frequency-split width rack: make a three-chain Audio Effect Rack — low (LPF ~120 Hz), mid (120–900 Hz), high (HPF ~900 Hz). Center lows, moderately widen mids, and aggressively widen highs with short Haas or delay and saturation. Map a macro to control the overall width while preserving low-end solidity.
- Dynamic width with Multiband Dynamics: send wide stereo material to a return and sidechain it with a compressor triggered by kick/snare so wide tails duck on transients.
- Stereo harmonic spread: use tiny opposite Frequency Shifter detunes on L and R (+/- 0.4–1.5 Hz) at low dry/wet for natural stereo smear, but only after high-passing to remove sub frequencies.
- Resample widenable harmonic layers: duplicate your mono bass, high-pass the duplicate, saturate, widen and add delay, then freeze and resample that processed stereo layer to save CPU and lock phase.

Arrangement strategies using width as a tool
- Plan three width states: Narrow for the drop, Medium for verses, Wide for builds and intros. Map a master macro to Control Utility width, send levels to reverb, side-boost macro and percussive delay wet to move the whole track’s spatial energy in one go.
- Pre-drop tightening: automate a 1–2 bar transition that reduces hat/reverb width, boosts low-mid on the bass slightly and tightens drum bus compression. That contrast makes the drop hit harder.
- Use send automation for reverb/delay instead of inserts so the dry signal and transient impact remain intact.

Mini practice exercise — 30 to 45 minutes
1. Create an 8-bar loop: kick, snare, break, two-layer bass, hats, one pad send.
2. On the bass track: put EQ Eight in M/S, set Sides HPF at 120 Hz, boost Mid around 70–100 Hz +2 dB, then add Saturator Drive 2–3 dB.
3. On hats: Simple Delay, Sync off, Left 8 ms, Right 0 ms, Dry/Wet 20 percent, Feedback 0, then Utility Width 120 percent.
4. Pad send: Reverb decay 1.8 seconds, High Cut 8 kHz, Low Cut 300 Hz. On the return: Utility Width 150 percent and EQ Eight in M/S boosting Sides 4–8 kHz +3 dB and cutting Sides under 350 Hz.
5. Put a Utility on the master and toggle Mono while playing. Adjust the hat delay or reverb until mono collapse is minimal.
6. Automate Hat Utility Width from 100 percent in the drop to 140 percent in the build. Automate Master Utility from 100 to 95 percent at the drop for extra impact.

Homework challenge — 60 to 90 minutes
Produce a 32-bar mini-section: Intro → Build → Drop demonstrating controlled width dynamics.
- Build Intro wide: hats and pad wide, reverb sends high.
- Build extra-wide: increase hat width, add a side-detuned harmonic layer.
- Drop tight: center sub and low mids, reduce widths, tighten drum bus.
Implement at least two widening techniques from this lesson, add one transition trick like a phase-cancel vanish or fast send automation, and export stereo and mono mixes. Self-grade using these checkpoints: sub stays centered when summed mono, highs feel wider in intro/build than drop, no obvious slap echoes, drop lands harder after tightening, and no CPU or phase glitches. If you share your stereo mix and notes, I’ll give 6–8 surgical pointers to tighten it further.

Quick parameter cheat sheet for reference while you work:
- Sub sides HPF: 120 Hz.
- Haas delay for hats: Left 6–12 ms, Right 0 ms, Dry/Wet 15–30 percent.
- Utility widths: percussion 120–140 percent, reverb returns 140–160 percent, harmonic side layers 150–200 percent.
- Saturator drive for harmonics: 1–4 dB lightly, or 3–7 dB on side-only parallel for grit.
- Glue Compressor on bus: Attack ~10 ms, Release 0.3–0.6 s, Ratio 2:1, 1–3 dB gain reduction.

Final recap: keep 0–120 Hz strictly mono, widen the highs with M/S EQ, Haas delays, and return-based reverb; use EQ Eight M/S for surgical control; check mono often; and automate width to create contrast between builds and drops. Focus on purpose before plugins, diagnose quickly when things collapse, and resample heavy stereo layers if CPU or timing becomes an issue.

Go try the mini exercise and drop it into a drum & bass track. If you want, export your eight-bar loop and I’ll listen and give targeted adjustments to get that drop THUMPING and spatial elements sitting perfectly. Ready to make it loud and tight? Let’s do it.

mickeybeam

Go to drumbasscd.com for +100 drum and bass YouTube channels all in one place - tune in!

Generating PDF preview…