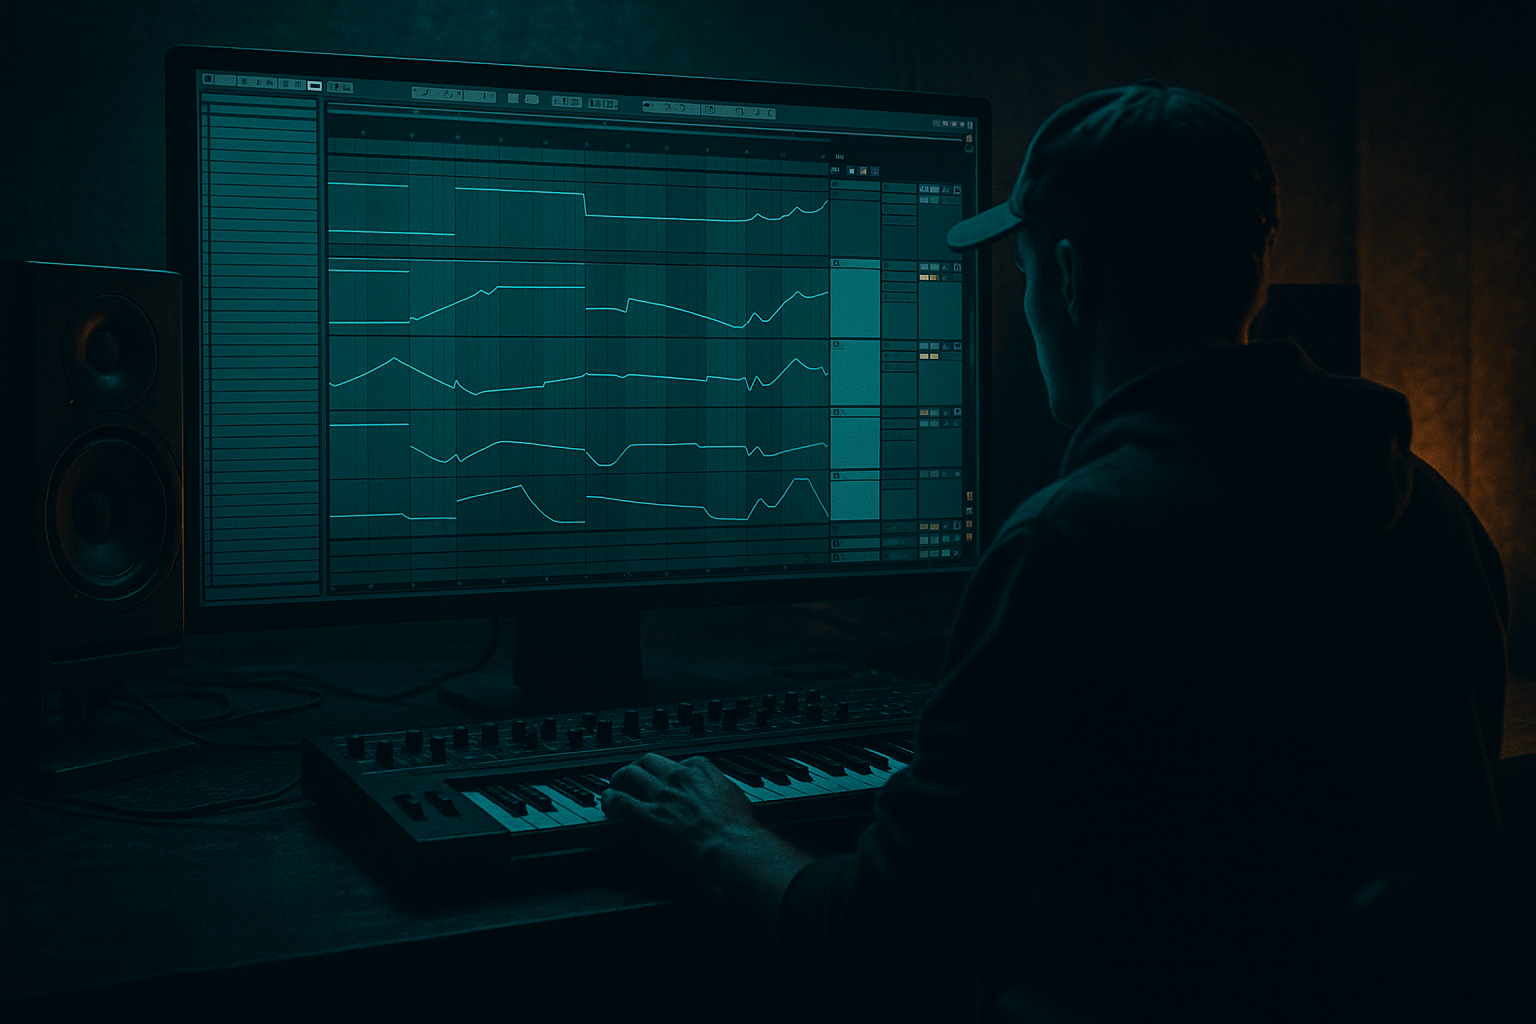
Main tutorial
```markdown
Counter Rhythm as a Composition Tool (DnB in Ableton Live) 🥁⚡
1) Lesson overview
Counter rhythm is one of the fastest ways to make drum & bass feel rolling, tense, and alive without adding more sounds. Instead of stacking more layers, you create rhythmic “arguments”: one part implies a grid, another pushes against it.
In DnB/jungle, counter rhythm shows up everywhere:
- Ghost notes that pull against the snare
- Bass stabs that answer the kick/snare instead of mirroring it
- Syncopated tops that create forward motion
- Call-and-response between breaks and drums
- A solid 2-step backbone
- A counter-rhythm layer that adds roll + tension
- A bass part that answers the drum grid
- Arrangement moves (automation + swaps) that make the counter rhythm evolve over time
- Kick: place on 1 and 3 (classic 2-step DnB start)
- Snare: place on 2 and 4 (beats 2 and 4)
- Use Groove Pool lightly after the counter rhythm is in place. For now, keep it tight.
- Glue Compressor
- Saturator
- EQ Eight
- Closed hat
- Rim/wood block (short transient)
- Optional: shaker/foley tick
- Keep hats on 8ths as the “bed”
- Add a rim/tick on 16th off-positions that intentionally avoids the snare
- Hats: 1, 3, 5, 7, 9, 11, 13, 15
- Rim/tick: 4, 10, 12, 16
- Velocity: strong on step 10, medium on 12, light on 4/16
- Microtiming: nudge some hits slightly late:
- EQ Eight
- Auto Pan (subtle movement)
- Drum Buss (gentle glue)
- Keep it simple: one note (root) for now
- Osc 1: Basic Shapes (sine-ish) or a smooth wavetable
- Filter: LP24
- Env 2 → Filter: moderate movement (Amount ~ 20–40)
- Let the sub/sustain carry the bar, but add mid-bass stabs that hit in the gaps.
- Hold a sub note (or long MIDI note) through the bar for weight
- Create mid-bass “stabs” on off-16ths that line up with the percussion counter layer:
- The key is: avoid always hitting on 1 and 3. Let drums own those.
- EQ Eight
- Saturator
- Auto Filter (for movement)
- Compressor (sidechain from Kick)
- Duplicate the bass MIDI clip.
- In clip B (bar 9+), rotate the stab positions by +2 or +3 16ths.
- Drop in an Amen-style break or any tight break.
- Warp mode:
- Slice it:
- Don’t run the break full-time.
- Use short break phrases to answer the snare or fill the gaps between snare hits.
- Place break slices on off-beat 16ths and end-of-bar pickups.
- Drum Buss
- Redux (optional for grit)
- EQ Eight
- Utility
- Bars 1–4: Only core 2-step + minimal hats (establish grid)
- Bars 5–8: Bring in percussion counter rhythm (rim/tick + sync hats)
- Bars 9–12: Introduce bass stabs with rotated rhythm (variation)
- Bars 13–16: Add break replies + a short “turnaround” fill into next section
- Percussion track:
- Bass:
- Break replies:
- Utility for quick mutes/mono drops (automation)
- Auto Filter for classic sweep moves
- Reverb (short plate for hits; longer tail only at section ends)
- Delay (Ping Pong at low feedback for “question/answer” moments)
- Increase density (more counter hits) to build tension
- Reduce density (strip it back) for release
- Alternate which element is “arguing”: sometimes percussion leads, sometimes bass leads
- Use negative space as aggression: drop the counter layer for half a bar, then slam it back.
- Triplet “tease,” not full commitment: add one triplet pickup at the end of bar 8 or 16 to destabilize the listener briefly.
- Distortion in parallel:
- Mono discipline below ~120 Hz:
- Make the counter rhythm “talk” with reese movement:
- Counter rhythm is a compositional strategy: one rhythm establishes the grid, another pushes against it.
- Build it in layers:
- Arrange it like a story: introduce → develop → intensify → release.
This lesson is about using counter rhythm as a composition tool, not just a drum programming trick—so we’ll build it into the arrangement and energy curve.
---
2) What you will build
A short, loopable 16-bar DnB section (174 BPM) with:
You’ll end with a project template you can reuse for darker rollers or jungle-leaning cuts.
---
3) Step-by-step walkthrough
Step 0 — Session setup (so everything locks in) 🎛️
1. Set tempo to 174 BPM.
2. In Preferences → Record/Warp/Launch:
- Warp: Auto
- Create Fades on Clip Edges: On (helps with chopped breaks)
3. Create groups:
- DRUMS
- BASS
- MUSIC/FX
---
Step 1 — Build a clean “home grid” (your reference groove)
Counter rhythm works best when the listener has a clear “main rhythm” to push against.
Track: Drum Rack (Core Kit)
Ableton tip (advanced):
Processing chain (DRUMS group bus):
- Attack: 3 ms
- Release: Auto
- Ratio: 2:1
- GR: aim 1–2 dB
- Mode: Soft Sine
- Drive: 1–3 dB
- Soft Clip: On
- Optional: tiny dip 250–400 Hz if boxy
---
Step 2 — Choose your counter rhythm “role”
Pick one main counter-rhythm concept to lead the section (you can add more later):
A) 3-over-4 implication (triplet feel against straight grid)
B) Off-beat 16th displacement (syncopation that feels “late/early”)
C) Answer phrase (call-and-response between main drums and a second rhythm)
We’ll do B + a touch of A because it’s super DnB-friendly and translates to darker rollers.
---
Step 3 — Add a counter-rhythm percussion layer (the engine of roll) 🔧
Create a new MIDI track with a Drum Rack (or Simpler for one-shot hats). Pick:
Counter rhythm pattern idea (1-bar loop at 174):
Example placements (16-step grid):
This creates a push-pull because it “answers” the backbeat and steps around it.
Make it feel like counter rhythm (not random):
- Select rim hits → MIDI Note Editor → Nudge by +3 to +8 ms
- Keep hats mostly quantized (your anchor)
Processing chain (percussion track):
- HP at 200–400 Hz
- Notch any harshness around 6–9 kHz if needed
- Rate: 1/8 or 1/4
- Amount: 15–25%
- Phase: 180° (classic stereo motion)
- Drive: 5–15%
- Boom: Off (usually unnecessary for tops)
---
Step 4 — Add a “counter rhythm bass” that doesn’t mirror the kick 🧠
This is where composition happens: your bass can be a rhythmic character, not just a note holder.
Track: Bass (Operator or Wavetable)
Wavetable quick setup:
Rhythmic concept:
Pattern:
- Stabs around step 4 / 10 / 12 / 16 (or similar)
Device chain (Bass track):
- Cut mud: small dip 200–350 Hz if needed
- Drive: 2–6 dB
- Soft Clip: On
- Envelope Amount: small
- LFO (optional): 1/8 with low amount for pulse
- Ratio: 4:1
- Attack: 1–3 ms
- Release: 60–120 ms
- Aim: 2–5 dB GR depending on density
Advanced compositional move:
This creates an evolving counter rhythm without changing sound design.
---
Step 5 — Create “counter rhythm conversations” using breaks 🧨
To root it in jungle/DnB, add a break layer that interacts with your programmed drums.
Track: Audio (Break)
- Drums: Beats
- Preserve: Transient
- Envelope: 0–20
- Right click clip → Slice to New MIDI Track
- Slicing preset: Built-in → Slice to Drum Rack
Counter rhythm technique: “Break as a reply”
Break bus chain:
- Drive: 10–25%
- Crunch: small (taste)
- Bit Reduction: 0–2
- Downsample: 0–3
- HP: 120–200 Hz (keep low end clean)
- Width: 80–120% depending on mono compatibility
---
Step 6 — Arrangement: make counter rhythm evolve over 16 bars 📐
Counter rhythm is extra powerful when it’s introduced and developed like a story.
Suggested 16-bar structure (rolling DnB):
Automation ideas (simple but effective):
- Auto Filter cutoff slowly opens from 6 kHz → 12 kHz (bars 5–8)
- Slight increase in Saturator drive (+1–2 dB) by bar 13
- Reverb send only on the last slice of bar 16 (tail into transition)
Ableton stock tools for composing transitions:
---
Step 7 — Make it musical: “tension/release” via density
A counter rhythm should earn its place:
A strong rule: only one element should be the main counter-rhythm leader at a time.
---
4) Common mistakes ❌
1. Everything syncopated = nothing feels syncopated
If kick, snare, hats, bass, and break are all fighting… the groove collapses.
2. No anchor
A counter rhythm needs a clear grid (usually hats or snare) to push against.
3. Over-quantizing microtiming
Counter rhythm isn’t only note placement—it’s feel. Use tiny nudges.
4. Bass stabs collide with snare transient
If a stab lands on the snare, it can soften the snare impact. Either move it or sidechain more.
5. Ignoring phrase length
If your counter rhythm repeats every 1 bar forever, it can get predictable. Use 2-bar or 4-bar logic.
---
5) Pro tips for darker/heavier DnB 🕶️
- Create a return track with Saturator + EQ Eight (band-limit 300 Hz–6 kHz)
- Send only your counter rhythm percussion and break replies to it
- Put Utility on the master or bass group (Width 0% in sub band via EQ M/S or keep bass track mono)
- If using a reese, modulate filter/LFO to accent the counter hits (not constant wobble)
---
6) Mini practice exercise (15 minutes) ⏱️
1. Make a 1-bar 2-step drum loop (kick on 1/3, snare on 2/4).
2. Add a percussion sound and write two different counter rhythms:
- Version A: off-16ths (displaced)
- Version B: implied triplet pickup (just 1–2 triplet hits)
3. Duplicate to 8 bars:
- Bars 1–4 use A
- Bars 5–8 use B
4. Add bass:
- Sustain note throughout
- Stabs that avoid kick and snare (aim for “in-between” energy)
5. Bounce a quick export and listen on low volume:
- Can you still “feel” the main grid?
- Does the counter rhythm create forward pull without sounding messy?
---
7) Recap ✅
1) Clean backbone (snare/kick)
2) Counter percussion (syncopation + microtiming)
3) Bass that answers, not mirrors
4) Break replies for jungle/DnB identity
If you want, tell me your subgenre target (deep roller, techstep, jungle, neuro-ish), and I’ll suggest 3 counter-rhythm templates (MIDI grids + arrangement triggers) tailored to that vibe. 🥁
```

