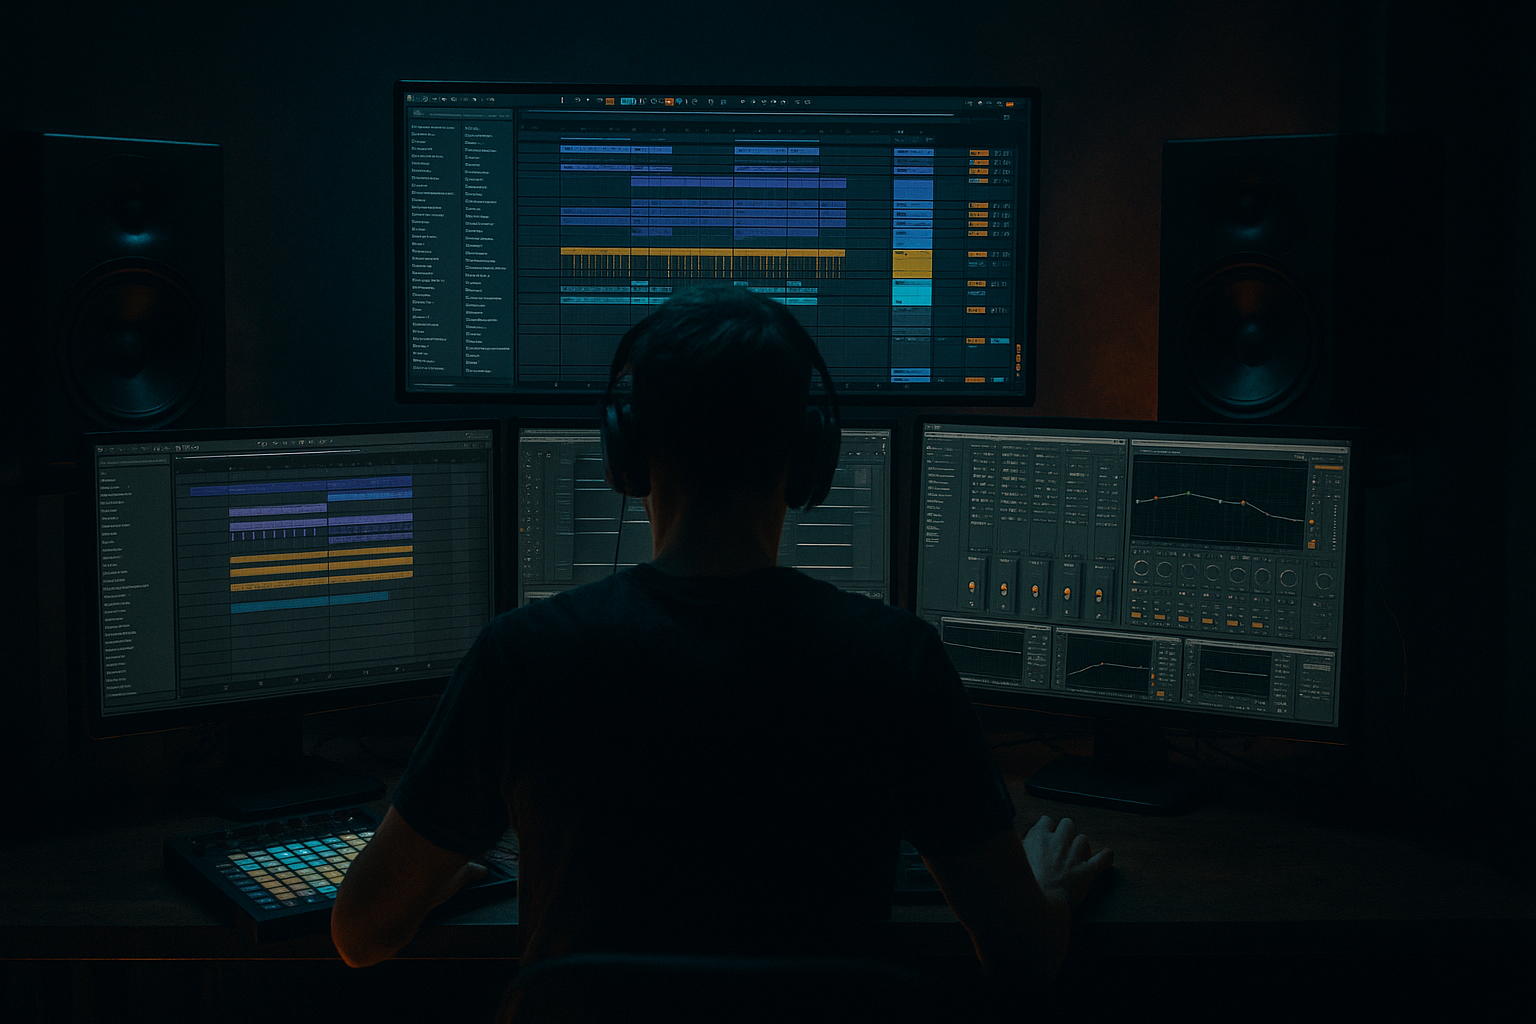
Main tutorial
```markdown
CPU-Friendly Jungle Production Habits (Ableton Live) 🥁⚡
Level: Intermediate • Category: Workflow • Focus: Drum & Bass / Jungle in Ableton Live
---
1. Lesson overview
Jungle sessions can get CPU-heavy fast: chopped breaks, layers of bass resampling, multiple reverbs/delays, and dense FX chains. In this lesson you’ll learn repeatable habits that keep Ableton Live running smooth without killing vibe—so you can stay creative and finish more tunes. 🚀
We’ll focus on:
- Smart buffer/audio settings
- Efficient breakbeat workflow (Simpers/Sampler + slicing without chaos)
- Resampling + freezing strategies (classic DnB technique)
- FX routing like a pro (returns, groups, sidechains)
- Arrangement habits that prevent “CPU death spirals”
- A breakbeat bus (one main break + ghost layer)
- A rolling reese/sub with minimal devices
- Two Return tracks handling most space FX (instead of lots of inserts)
- A workflow where heavy sound design is committed via Freeze/Flatten or Resampling
- Drums Group
- Bass Group
- Music/FX Group
- Return A: Short Verb
- Return B: Dub Delay
- Hybrid Reverb (or Reverb if you want lighter CPU)
- Echo
- Duplicate the consolidated clip, then use Split (Cmd/Ctrl+E) on key hits and rearrange.
- This costs almost nothing CPU-wise.
- Right click clip → Slice to New MIDI Track
- Choose: Transient slices
- Built-in: Simp (lighter than Sampler)
- Create a new audio track called `Break Print`
- Set its input to Resampling
- Record 8–16 bars of your break performance
- Now disable the original Slice track (or Freeze/Flatten it)
- Right click track → Freeze Track
- If you’re done sound-designing: Flatten
- Send snare/rims to Return A (Short Verb) at -18 to -10 dB
- Send vocals/FX hits to Return B (Dub Delay) at -20 to -8 dB
- HP 250–500 Hz to keep low-end clean
- LP 8–12 kHz to reduce hiss buildup (very jungle-friendly)
- 16 bars intro (filtered break + FX)
- 16 bars drop (full drums + bass)
- 16 bars variation (different chop / bass fill)
- 16 bars second drop
- 8–16 bar outro
- When you make a sick 2-bar bass resample or break fill:
- Turn off device activator switches (yellow power icons)
- Mute + deactivate entire groups if you’re done with them
- Multiple instances of Hybrid Reverb (Convolution)
- High-quality modes on heavy plugins (oversampling)
- Too many Wavetable Unison voices
- Too many tracks running real-time time-stretch unnecessarily
- Huge sampler polyphony (chops playing over each other)
- Resample distortion in stages:
- Use a “Neuro-style” movement trick cheaply:
- Dark jungle drums:
- Mono your sub always:
- Parallel menace (Return track):
- Use Returns for reverb/delay to avoid duplicate CPU load.
- Keep break workflows contained (one lane or one rack), then resample.
- Prefer bus processing over per-slice/per-track chains.
- Freeze/Flatten and resample regularly—classic jungle workflow and modern CPU saver.
- Arrange in blocks and print key moments to stay creative and efficient.
---
2. What you will build
A CPU-efficient jungle sketch with:
Target vibe: 1994–1998 jungle / modern rolling jungle—tight chopped drums, controlled low-end, and tasteful dubby space. 🌌
---
3. Step-by-step walkthrough
Step 0 — Set your system up for performance 🎛️
1. Preferences → Audio
- Sample Rate: 44.1 kHz (CPU-friendly)
(48 kHz is fine if your system handles it, but 44.1 saves headroom.)
- Buffer Size:
- Writing/arranging: 256–512 samples
- Recording live MIDI: 64–128 samples (temporarily)
2. Options
- Disable Reduced Latency When Monitoring unless tracking audio live.
3. CPU Meter habit: Keep Live’s CPU meter visible and check it whenever you add heavy FX.
Why this matters: DnB sessions get dense. A stable buffer prevents crackles before they ruin your flow.
---
Step 1 — Start with a “DnB template” that saves CPU every time 🧱
Create this once, save as Template Set:
Tracks
- `Break Main` (audio track)
- `Break Layer/Ghost` (audio track)
- `Drum Bus` (group processing)
- `Sub`
- `Reese`
Return tracks (CPU win): You’ll use one reverb and one delay for the whole project instead of 10 insert reverbs.
Return A – Short Verb (stock)
- Algorithmic mode (lighter than convolution)
- Decay: 0.6–1.2s
- HP filter: 250–400 Hz
- Wet: 100% (because it’s a Return)
Return B – Dub Delay
- Sync: 1/8 or 1/4
- Feedback: 25–45%
- Filter: HP around 200–400 Hz, LP around 6–10 kHz
- Mod: subtle
- Wet: 100%
---
Step 2 — Efficient breakbeat workflow (without 12 drum racks) 🔪
Goal: One break that can be chopped + processed cleanly.
1. Drop a break (Amen, Think, etc.) into Break Main.
2. Warp settings (important for CPU + tightness)
- Warp: On
- Mode: Beats
- Preserve: Transients
- Envelope: ~20–40% (adjust to taste)
- Set your tempo: jungle often 160–175 BPM
3. Consolidate for sanity:
- Select the 1–4 bar loop → Cmd/Ctrl + J (Consolidate)
Chopping option A (CPU-friendly): Audio slicing manually
Chopping option B (still efficient): Slice to Drum Rack
Key CPU habit: Once you like the chop pattern, Resample it:
This is very jungle and keeps your session lean. ✅
---
Step 3 — Drum bus processing that doesn’t melt your laptop 🧨
Process drums mostly on the Drum Bus group, not per-hit.
Suggested chain (stock devices):
1. EQ Eight
- HP at 25–35 Hz
- Gentle dip if muddy: 200–350 Hz
- Optional shelf +1–2 dB at 8–12 kHz for air (careful in jungle—break hiss adds up)
2. Drum Buss
- Drive: 5–15%
- Crunch: 0–10 (taste)
- Boom: 0–20% at ~50–60 Hz (only if your sub isn’t already heavy)
3. Glue Compressor
- Attack: 3–10 ms
- Release: Auto
- Ratio: 2:1
- Aim: 1–3 dB gain reduction
4. Saturator (optional)
- Soft Clip: On
- Drive: 1–4 dB
CPU habit: Avoid putting heavy dynamics and saturation on every slice/track. Bus processing is cleaner + cheaper.
---
Step 4 — Rolling bass with minimal devices (Sub + Reese) 🐍
#### Sub track (clean + light)
1. Load Operator
- Osc A: Sine
2. Add EQ Eight
- Low-pass around 120–200 Hz (depends on your reese)
3. Add Compressor sidechained from drums (or kick)
- Sidechain input: Drum Bus (or a dedicated ghost kick)
- Ratio: 4:1
- Attack: 1–5 ms
- Release: 60–120 ms
- GR: 2–6 dB
#### Reese track (classic but CPU-friendly)
1. Wavetable (or Operator)
- Two saws or a richer wavetable
- Unison: keep it modest (high unison = CPU)
2. Auto Filter
- LP24
- Envelope amount small for movement
3. Chorus-Ensemble (light settings)
- Amount low, slow rate
4. Saturator (soft clip) for weight
Commitment habit: When your reese is hitting, Freeze the track.
This locks in the tone and frees CPU for arrangement.
---
Step 5 — Space FX: send, don’t insert 🌫️
Instead of placing Echo + Hybrid Reverb on every drum/bass channel:
Extra CPU trick: Put an EQ Eight after your reverb/delay on the Return:
---
Step 6 — Arrangement habits that save CPU (and finish tracks) 🧭
A CPU-friendly arrangement strategy is also a workflow strategy:
Use “8–16 bar blocks”
Print your “feature moments”
- Resample it to audio
- Reuse it as an arrangement motif
This reduces devices and makes your tune coherent. 🎯
Disable unused tracks
---
Step 7 — Know your CPU villains 👀
These commonly spike CPU in DnB sessions:
Habit: If something is “set,” print it. Jungle was built on committing to audio. 🧡
---
4. Common mistakes
1. Insert reverb everywhere → Use Returns instead.
2. Never freezing/resampling → Your CPU gets worse every hour you work.
3. Warping everything by default → If a one-shot doesn’t need Warp, turn it off.
4. Chopping into 64 tracks → Keep breaks contained (one rack or one audio lane + resample).
5. Too many layers in the low end → Sub + reese is enough. Overlayering increases both CPU and mud.
6. Maxing unison/voices early → Sound design later; arrangement first.
---
5. Pro tips for darker/heavier DnB 🖤
Put Saturator → Resample → then EQ → then mild compression. This gives weight without real-time CPU load.
Auto Filter + subtle LFO modulation (inside Wavetable/Auto Filter) beats stacking 5 modulation plugins.
On Drum Bus group, try Redux very subtly:
- Bit Reduction: tiny amount
- Downsample: low amount
Then resample the drums to print grit.
Use Utility on Sub track:
- Width: 0%
Create Return C “Dirt” with:
- Saturator (Drive 6–10 dB, Soft Clip on)
- EQ Eight (HP 150 Hz, LP 6–8 kHz)
Send snares and breaks lightly for controlled aggression.
---
6. Mini practice exercise (15–25 minutes) ⏱️
1. Load a 2-bar break and get it tight at 170 BPM using Warp Beats mode.
2. Chop it (audio splits or Slice to Drum Rack).
3. Add only one drum processing chain on the Drum Bus group (EQ Eight → Drum Buss → Glue).
4. Build a sub in Operator + a simple reese in Wavetable.
5. Set up two Returns (Short Verb + Dub Delay) and use sends only.
6. Freeze + Flatten either the reese or the chopped break.
7. Arrange a 32-bar sketch: intro → drop → variation → mini-outro.
Deliverable: a 32-bar idea that plays glitch-free and stays under a comfortable CPU level.
---
7. Recap ✅
If you want, tell me your machine specs + Ableton version and I’ll suggest ideal buffer/sample rate settings and a customized DnB template for your workflow.
```

