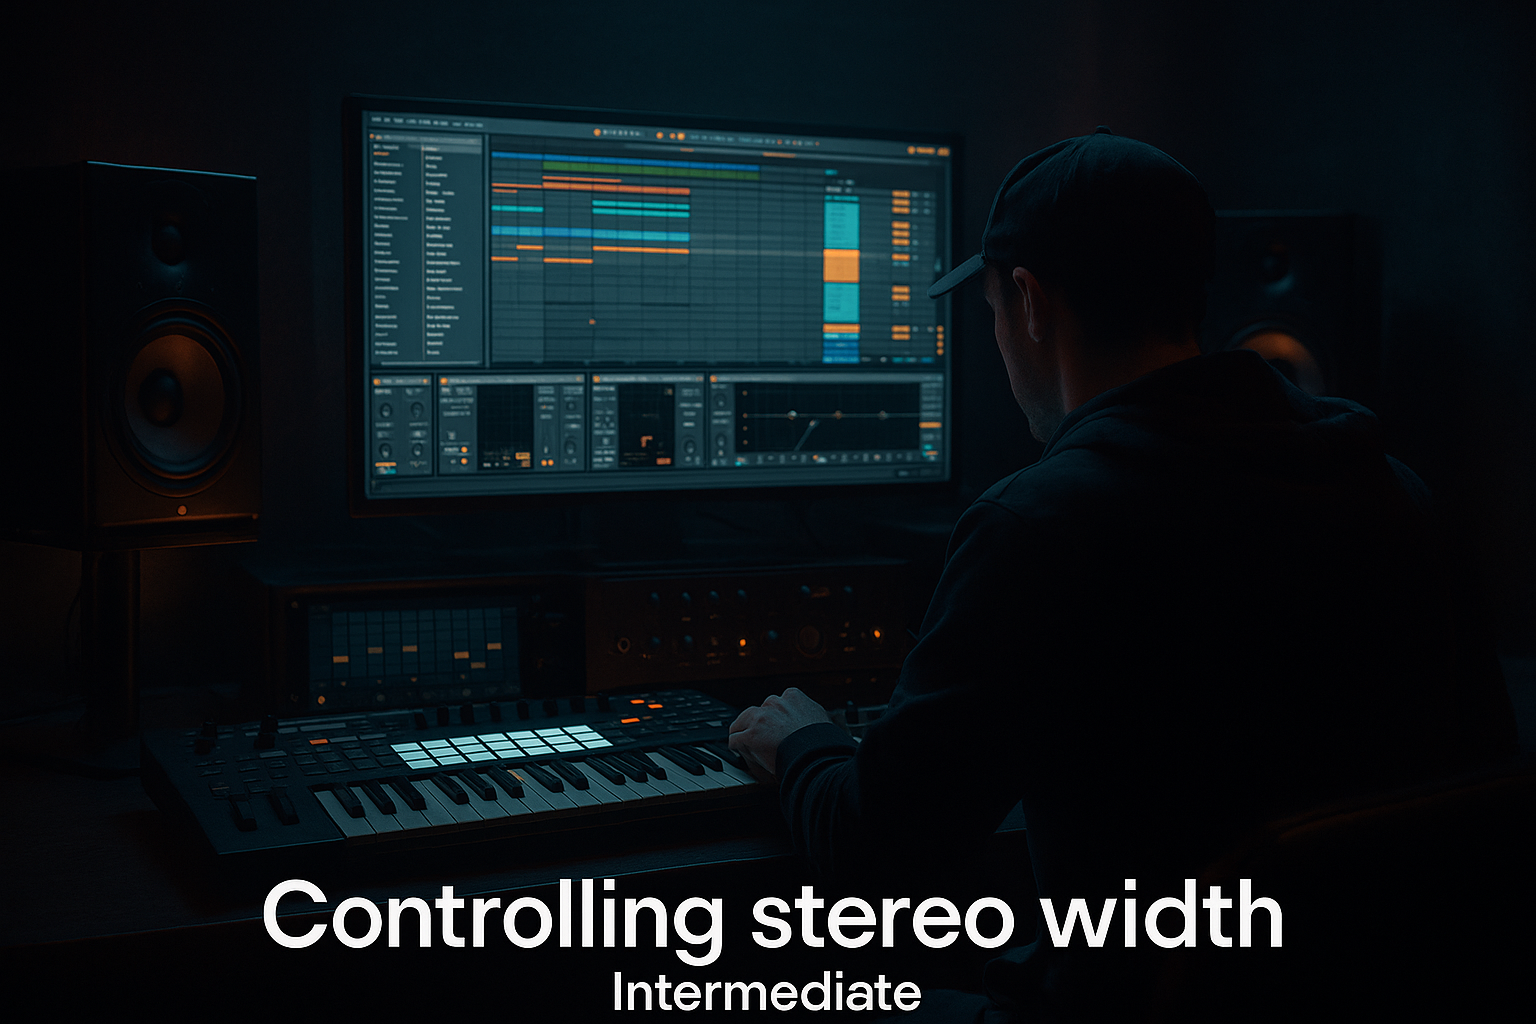
Main tutorial
Lesson Overview
A “rewind moment” is one of the most effective tension tools in Drum & Bass: you stop the groove at a peak point, create a sudden drop in energy, then bring the riff or hook back with more impact. In DJ terms it mimics a crowd-reaction rewind; in production terms it’s a precision arrangement move that can make a drop feel bigger, more dangerous, and more memorable.
In this lesson, you’ll build a rewind moment inside Ableton Live 12 using a sampling-first workflow. The goal is to take a short musical or drum phrase, slice it, manipulate it, then arrange a clean, DJ-friendly rewind that feels natural inside a DnB tune rather than like a random gimmick. This fits best at the end of a 16-bar build, at the end of a second drop phrase, or as a transition into a new section where you want the listener to feel the tune “pull back” before hitting harder.
Why it matters: in jungle, rollers, neuro, and darker bass music, rewinds are not just hype. They help you shape phrase length, reset attention, and create contrast between density and space. They also give you a chance to recycle existing material into a fresh arrangement move without writing a brand-new section. That’s efficient, musical, and very DnB. 🔥
What You Will Build
You will build a short rewind passage built from your own sampled drum and bass material inside Ableton Live 12. Specifically, you’ll create:
- A 4- to 8-bar tension section leading into the rewind
- A chopped drum/bass phrase that gets “pulled back” using sampling and automation
- A reversed or gated pickup into the main phrase
- A brief stop, tape-style moment, or filtered reset
- A clean re-entry into a heavier 16-bar drop or variation
- A 1-bar or 2-bar drum loop with a solid break and supporting kick/snare
- A bass call-and-response phrase with clear rhythmic identity
- A combined drum+bass riff that already works as a hook
- Source loop length: 1 to 2 bars
- Tempo: 170–174 BPM
- Leave at least -6 dB headroom on the source phrase so you can process the result later
- Put Utility before recording if you want to trim gain before the print
- Use Compressor lightly on the source bus if the phrase is too inconsistent, but don’t squash it yet
- If the sound is too flat, add Saturator with Soft Clip enabled and Drive around 1–3 dB before resampling
- Source level into resample: peaking around -6 to -3 dB
- Saturator Drive: 1.5–4 dB
- Utility Gain: trim to avoid clipping the printed audio
- Slice at transients for drum-heavy material
- Slice by 1/8 or 1/16 if the phrase is more rhythmic and synthetic
- Keep the original downbeat, one or two fill notes, and at least one “signature” sound event
- Kick/snare backbone
- Ghost notes
- A tiny fill or pickup
- One reversed or stuttered fragment for the rewind
- EQ Eight on bass copy: low-pass around 120–180 Hz on the low-end layer
- EQ Eight on texture copy: high-pass around 120–180 Hz to keep room for sub
- Fade clipped edges with 5–20 ms fades if needed to avoid clicks
- 1 beat or 1/2 bar of reversed phrase
- A short stop or gap
- The original hit returns with impact
- Echo for a short pre-hit smear
- Reverb for a stretched tail before the stop
- Beat Repeat for a micro-stutter moment
- Auto Filter for a filtered fade into silence
- Echo: 1/8 or 1/16 time, Feedback 10–25%, Filter engaged, Dry/Wet 8–18%
- Auto Filter: low-pass sweep from about 18 kHz down to 300–800 Hz in the build, then snap back open
- Reverb: Decay 1.2–2.8 s, Dry/Wet 5–12% if you want just a tail
- Sub layer: simple sine or low-passed bass under 100–120 Hz
- Mid-bass layer: reese or distorted texture with movement in the 150–500 Hz range
- Optional top layer: noise or grit for definition
- Operator for a clean sub
- Wavetable for a moving bass texture
- Saturator or Roar if you want heavier midrange edge, but keep the low end controlled
- Auto Pan set very subtly on the top layer only, never on the sub
- Sub mono: Utility Width 0% on the sub track
- Mid-bass saturation: Saturator Drive 2–6 dB, Soft Clip on
- Wavetable filter movement: low-pass modulation with 10–30% macro depth
- Compressor sidechain: 2–5 dB gain reduction keyed from the kick if needed
- Add a snare fill on the last 1/2 bar or last 1 beat
- Use ghost snares or lighter break hits leading into the pause
- Remove one kick before the stop to create anticipation
- Add a crash or ride swell if the tune needs more lift
- Bring back the main snare on the 2 and 4, or the DnB backbone equivalent
- Add a short fill after the restart to show the groove has changed
- Layer a clean transient over the break if the original break is too soft after processing
- Drum Bus with Glue Compressor for glue, not obliteration
- Transient shaping via Drum Buss can add smack and tone
- EQ Eight on the drum bus to control harshness around 3–6 kHz if the fill gets aggressive
- Glue Compressor on drum bus: Ratio 2:1, Attack 10 ms, Release Auto, 1–2 dB gain reduction
- Drum Buss Drive: 5–15%, Boom used carefully or off if sub is already strong
- EQ Eight dip: -2 to -4 dB around 4–5.5 kHz if hats bite too hard
- Low-pass filter closing over 1–2 bars
- Echo feedback increasing briefly before the stop
- Reverb dry/wet rising just before the gap
- Volume drop to near-silence for a split moment
- Filter or pitch modulation on the final hit if it suits the tune
- Bar 1: tension build
- Bar 2: phrase intensifies
- Last 1/2 bar: filter closes, delay blooms
- Last 1/4 bar: brief stop or gap
- Next 1/2 bar: rewind phrase returns
- Following bar: full drop resumes with added energy
- End of the first drop’s 8th or 16th bar to restart the main hook
- End of a second drop to transition into a heavier variation
- Between a rolling section and a darker switch-up to reset the room
- As a surprise after a breakdown tease, especially if the bass motif is memorable
- 16 bars intro
- 16 bars build
- 16 bars drop A
- 8 bars development
- 1-bar rewind moment
- 8 bars drop A variation or drop B
- Remove sub-buildup from reversed samples with EQ Eight high-pass on non-sub layers
- Use Utility to keep the bass mono below the crossover area
- Clip gain tiny peaks that poke out after reversal
- Shorten tails so the stop is actually a stop
- Kick and sub should own the 40–100 Hz zone
- Rewind textures should live mostly above 120 Hz unless intentionally layered with bass
- The final phrase should hit with enough headroom that your master isn’t fighting the transition
- Making the rewind too long
- Using too much reverb on the reversed sample
- Letting the sub continue through the stop
- Reversing everything
- Over-editing the break until it loses groove
- Forgetting mono compatibility
- Print a bass phrase, reverse only the top layer, and keep the sub straight. That keeps the rewind dark without wrecking low-end phase.
- Use a filtered noise hit or vinyl-style air burst before the stop, but high-pass it above 300 Hz so it doesn’t cloud the drop.
- For neuro or darker rollers, automate Wavetable’s filter and warp-style motion in the mid-bass, not the sub. The sub should feel inevitable.
- Try Beat Repeat on a send return with short intervals and low chance for a tiny pre-rewind glitch, then blend it subtly.
- Add saturation before the rewind on the bass bus, then reduce drive after the return. That contrast makes the comeback feel louder without increasing peak level too much.
- If the tune is very heavy, use a one-beat silence before the drop return. In DnB, a controlled hole in the groove can hit harder than a fill.
- Keep your drum bus a little drier than you think. The rewind FX can be wet; the returning drums should be crisp and front-facing.
- For extra underground character, sample your own rewind by resampling the whole moment, then re-chop it and layer it under the next section. That gives the arrangement a self-referential, tape-smudged feel.
Musically, the result should feel like a classic DnB crowd-reaction rewind translated into arrangement language: the groove pauses, the hook flashes back, and then the tune slams back in with extra weight. The sound palette can be jungle break energy, rollers groove, neuro bass motion, or darker halftime-style tension, but the workflow stays focused on sampling and arrangement inside Ableton.
Step-by-Step Walkthrough
1. Set up a rewind-friendly phrase to sample
Start by choosing a loop that already feels strong in the groove. For a DnB rewind, the best source material is usually one of these:
In Ableton Live 12, place this phrase on an audio track and make sure it loops tightly to the grid. If it’s a drum break, turn on Warp and use Complex Pro only if you truly need it; for most drum edits, Beats mode with Transient Loop Mode is more punchy and stable. For jungle-derived material, aim for a loop that already has ghost notes and swing. For rollers or neuro, the phrase should be simpler but have enough movement to survive being chopped.
Practical target:
Why this works in DnB: rewind moments depend on recognisable material. If the listener can identify the groove immediately, the “pull back” lands harder when the phrase returns.
2. Resample the phrase into a new audio clip
To make the rewind feel intentional, resample or print the phrase into audio. In Live, create a new audio track set to Resampling or route your source track to it. Record 4 to 8 bars of the phrase and a little extra tail if there’s reverb or delay.
Then consolidate the best section so you have one clean file to work with. This gives you freedom to edit the phrase like a sample, not just as a loop.
Useful stock-device workflow:
Suggested setup:
This step matters because a rewind moment often sounds better when it’s “baked” into audio. Sampling gives you edit control over the transient shape and lets you create the classic stop-start pressure that MIDI alone can struggle to deliver.
3. Slice the resampled clip into playable pieces
Now open the resampled audio and chop it into sections that can be rearranged. In Live 12, use Slice to New MIDI Track if you want pads or drum-rack style control, or cut manually in Arrangement if you prefer precise editing.
For an intermediate DnB workflow, I’d recommend:
If you’re working with a break, preserve:
If the source includes bass, separate the low notes from the upper texture when possible. You can duplicate the clip, then use EQ Eight on one copy to keep only the low end and on the other to keep mid/high character. That lets you design the rewind more cleanly.
Concrete settings:
4. Build the rewind gesture with reversal, delay, and space
This is where the moment starts to feel like a rewind instead of just a cut. Duplicate your strongest phrase fragment and reverse one copy. Use the reversed piece as a lead-in to the original hit or the next drop.
Try this structure:
You can make this more dramatic using stock Ableton FX:
Solid starting points:
For a darker DnB rewind, reverse a snare hit with some room or plate reverb on it. For a jungle rewind, reverse a break slice with a little extra swing and let the ghost notes imply momentum.
5. Design the bass return so the rewind hits the body, not just the ears
A rewind moment is only strong if the bass return feels like a physical event. Create a bass phrase that re-enters after the pause with a clear contour. You can use a resampled reese, a sub+bass layer, or a bass stab that answers the drum phrase.
Keep the bass design focused:
Use stock devices:
Suggested starting values:
Arrange the bass so it doesn’t play constantly through the rewind gap. Let silence work. In DnB, a half-beat of absence before the return can feel bigger than a full bar of extra notes.
6. Shape the drums around the rewind using edits, fills, and ghost motion
The rewind should not feel detached from the drums. Use drum edits to “answer” the rewind and make the transition feel musical.
In the bars before the rewind:
In the return:
Useful stock workflow:
Good starting points:
7. Automate the rewind like a performance move
A rewind moment lives or dies by automation. Use clip envelopes or arrangement automation to make the transition feel like it’s being pulled by hand.
Automate these parameters:
A strong arrangement shape is:
Keep automation exaggerated enough to be felt, but not so dramatic that the mix collapses. If the movement is too obvious, reduce the wetness or narrow the automation curve.
8. Place the rewind in the arrangement with DJ logic
Think like a selector and a dancer. A rewind works best when the listener has had enough information to recognise the hook, but not so much that the section gets stale.
Good placement examples:
A practical DnB arrangement example:
This works because the rewind gives the audience a “wait, bring that back” reaction while also giving you a clean way to pivot into a new section without forcing a long breakdown.
9. Polish the sampling chain so the rewind stays punchy in the mix
After the arrangement feels right, clean up the sampled material. This is where intermediate producers gain a lot of quality.
Check the rewind chain:
If the rewind feels muddy, the problem is usually too much low-mid energy from reverse tails or overlong reverb. Cut that area before adding more FX.
A solid mix target:
Common Mistakes
Fix: keep the actual rewind gesture short. Most effective moments are 1/2 bar to 1 bar.
Fix: reduce wetness and shorten decay. You want tension, not a washed-out breakdown.
Fix: mute or sharply automate the sub before the gap so the return feels bigger.
Fix: keep one clear anchor element, like a snare or bass stab, so the listener stays oriented.
Fix: preserve ghost notes and transient identity. DnB needs motion, even in a rewind.
Fix: check Utility width on bass layers and use a mono check before export.
Pro Tips for Darker / Heavier DnB
Mini Practice Exercise
Set a 15-minute timer and do this:
1. Pick a 2-bar DnB loop you already have: drums, bass, or both.
2. Resample 4 bars of it into a new audio clip.
3. Slice the best 1-bar phrase into 4–8 pieces.
4. Reverse one key fragment and place it before the original hit.
5. Add an Auto Filter sweep and a short Echo trail on a return.
6. Mute the sub for the last half-bar before the rewind.
7. Build one 4-bar arrangement around it: tension, stop, return, continuation.
8. Export or bounce a rough version and listen on headphones and monitors.
Goal: by the end, the rewind should feel like part of the tune’s language, not a random effect.
Recap
A strong rewind moment in DnB comes from three things: recognisable source material, tight sample editing, and disciplined arrangement. Resample your phrase, slice it cleanly, shape the tension with reversal and automation, then let the return land with real low-end and drum impact. Keep the sub controlled, preserve groove in the edits, and place the rewind where it supports the tune’s phrasing. Done well, it’s one of the most effective ways to make a DnB drop feel huge.

