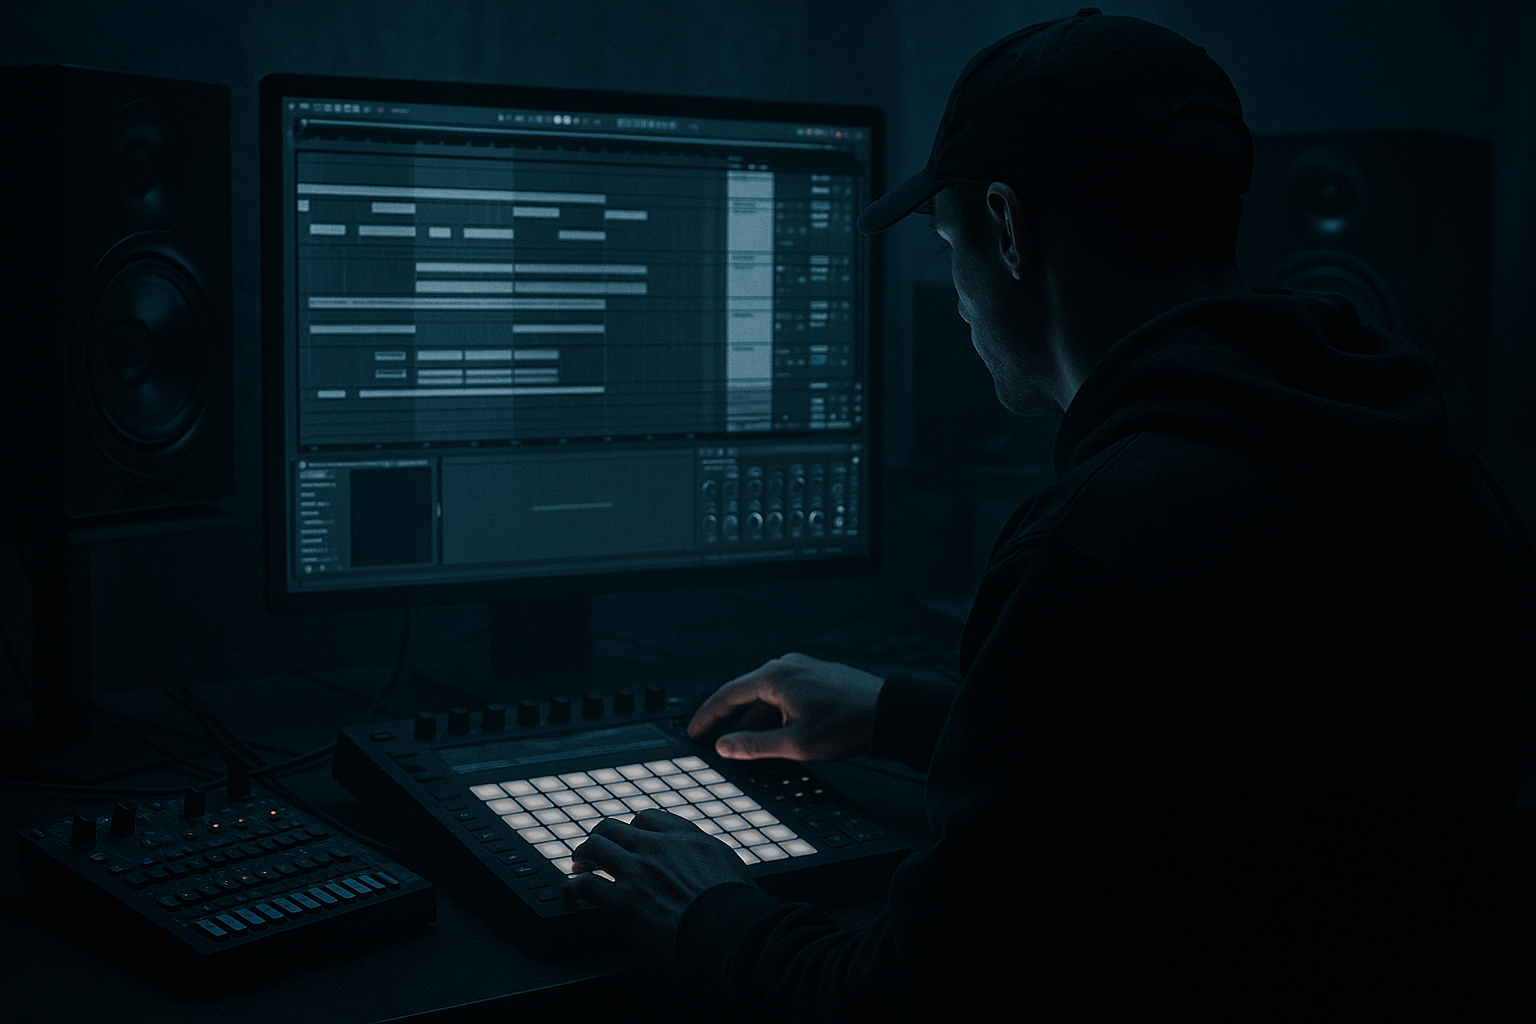
Main tutorial
Lesson Overview
This lesson is about building an Amen-style call-and-response riff in Ableton Live 12 using an automation-first workflow — the kind of approach that keeps your ideas moving fast while still sounding intentional, heavy, and club-ready. In Drum & Bass, especially in jungle, rollers, darker half-time-adjacent passages, and neuro-leaning drops, the groove often lives or dies on interaction: drums answer the bass, bass answers the drums, and automation shapes the energy before you even add extra notes.
The goal here is not to write a busy bassline for the sake of it. It’s to create a tight, looping 2- or 4-bar phrase where an Amen edit, sub pulse, and reese movement trade space in a way that feels alive. The “crate science” part means approaching the riff like a selector digging through records: you’re borrowing the logic of old breaks, chopped bass stabs, and dubwise tension, then rebuilding it in Live with modern precision.
Why this matters: a lot of DnB drops feel flat because every element plays constantly. This technique gives you a clear question-and-answer structure that makes the groove breathe, keeps the low end readable, and gives you obvious places to automate filters, distortion, reverb throws, and drum fills. In other words: more tension, more movement, more replay value 😈
What You Will Build
You’ll build a 4-bar Amen-style drum and bass riff blueprint in Ableton Live 12 with:
- A chopped Amen break driving the core groove
- A tightly controlled sub layer that only answers on selected hits
- A mid-bass/reese layer that “speaks” in phrases instead of constant noise
- Automation-led tension changes using stock Ableton devices
- A clean drum bus and bass bus relationship with mono-safe low end
- A loop that can function as a drop starter, 8-bar phrase, or switch-up section
- Bar 1: drum statement + bass response
- Bar 2: variation in fill or filter motion
- Bar 3: stronger bass answer, slightly denser drums
- Bar 4: a turn, pickup, or short void that resets the loop
- Making the bass too constant
- Over-chopping the Amen until it loses identity
- Too much stereo width in the low end
- Automation that changes everything at once
- Snare and bass fighting in the same frequency zone
- Using too much reverb on the drop
- Use resampled bass movement: print a Wavetable or Operator phrase to audio, then chop it like a break. This can create a more organic, “found” feel.
- Try parallel saturation on the bass bus: duplicate the mid-bass, distort the duplicate harder, and blend it underneath for grit while keeping the main tone clean.
- Automate filter cutoff downward right after a strong answer note to create a sucking, negative-space effect.
- Use tiny pitch modulation on the mid-bass layer, but keep the sub stable. This adds menace without destabilizing the bottom.
- For a more underground rollers feel, leave the drums slightly more open and let the bass breathe. For neuro-leaning tension, tighten the rhythmic grid and add more precise automation moves.
- Add a very low-level noise layer or vinyl-style texture only if it doesn’t compete with the break attack.
- If the Amen feels too bright, use EQ Eight to trim harshness around 6–9 kHz rather than killing all top-end presence.
Musically, the result should feel like:
Think of it as a call-and-response riff blueprint you can expand into a full arrangement, not just a single loop.
Step-by-Step Walkthrough
1. Set up a clean 4-bar framework and lock the tempo
Start at a DnB tempo between 172 and 176 BPM. For a darker, rollers-friendly feel, 174 BPM is a solid default. Create a new MIDI track for bass, an audio track for drums/break edits, and a return track for space if you want later throws.
On your drum track, drop in a well-chosen Amen sample and immediately warp it so the transient feel stays crisp. Use a version with enough headroom and character, not one already crushed to death. In Live, switch Warp mode to Beats for break editing. Set transient preservation carefully:
- Preserve around 1/16 or 1/8 depending on chop density
- Transient envelope around 80–120 for sharper attack
- Avoid over-stretching if it starts smearing the snare crack
Why this works in DnB: the Amen is a rhythmic identity, not just a loop. When you keep its transient contour intact, the groove retains its forward push even after aggressive chopping.
2. Slice the Amen into performance-ready pieces
Use Slice to New MIDI Track or manually chop the break into usable one-shots. For this blueprint, you want a short kit of pieces:
- Kick
- Snare
- Ghost snare/rim
- Hat tick
- A couple of break tail fragments
- One “accent” hit for fills or pickups
Map the slices to a Drum Rack. Put the most important accents on easily playable pads so you can perform the groove. If you’re building from the arrangement view, sequence a 4-bar pattern with intentional gaps rather than filling every sixteenth note.
A strong starting point:
- Bar 1: kick on the downbeat, snare on 2 and 4, ghost hits before the snare
- Bar 2: remove one kick, add a tail fragment before beat 3
- Bar 3: repeat bar 1 with a tiny variation
- Bar 4: strip back the last half-beat for a pickup into the next phrase
Use Velocity and Note Length to shape feel. A good advanced move is to slightly offset ghost notes in the clip editor so the break leans behind the grid without sounding sloppy.
3. Build the sub as a response instrument, not a constant layer
Create a separate bass MIDI track with Operator or Wavetable. For a clean sub, Operator is ideal: choose a sine or very simple waveform. Keep it mostly mono and let it answer only selected drum events.
Suggested settings:
- Oscillator: sine
- Filter: off or very gently low-passed if needed
- Amp envelope: fast attack, medium decay, short release
- Glide/portamento: only if the riff needs legato movement, usually very subtle
Program the sub so it does not play under every Amen hit. Instead, make it answer the spaces:
- If the break accents beat 1 and 3, let the sub answer after the snare or on the offbeat
- Use short notes, often 1/8 to 1/4 length
- Leave holes where the drum phrase is strongest
This is the first core call-and-response principle: the sub should support the groove, not erase the drums’ articulation. If the kick/snare already tells the story, the bass should punctuate the sentence.
4. Design the mid-bass/reese voice with movement built in
Add a second bass layer using Wavetable, Analog, or even a resampled audio clip if you want a rougher edge. For dark DnB, a simple detuned reese works well, but keep it disciplined.
A practical Wavetable starting point:
- Osc 1: saw or square-saw hybrid
- Osc 2: saw detuned slightly against Osc 1
- Filter: low-pass with moderate resonance
- Unison: modest, not huge; avoid stereo mess in the lows
- LFO to filter cutoff with a slow, subtle movement
Place this layer above the sub, but keep the sub separate so you can mix it properly. Now write the MIDI as a response phrase:
- Short notes after the snare
- One or two longer notes in bar 2 or 4
- A descending shape at the end of the 4-bar phrase for tension
- Avoid constant 16th-note motion unless you’re intentionally going neuro
The mid-bass should have a rhythmic identity. If the Amen is busy on the drums, let the bass phrase be more selective. If the drums go sparse, the bass can answer more quickly.
5. Shape the bass with stock Ableton processing before adding complexity
On the bass group, use stock devices to control weight and movement:
- EQ Eight: high-pass the mid-bass layer around 80–120 Hz so it doesn’t fight the sub
- Saturator: Drive around 2–6 dB for harmonic weight; keep Soft Clip on if needed
- Drum Buss or Roar: add character and aggression; use carefully so the tone stays controlled
- Utility: keep the sub mono with Width at 0% on the sub channel
- Auto Filter: automate cutoffs for phrase movement and tension
For the mid-bass, try light modulation:
- Filter cutoff moving between roughly 300 Hz and 2.5 kHz
- Resonance kept moderate so it doesn’t whistle too much
- Saturation enough to make the bass audible on smaller systems, but not so much that it crowds the snare
The key is that the bass should morph across the 4 bars. A static bass patch makes call-and-response feel like a looped sample; automation gives it the sense of a live conversation.
6. Automate the energy first, then refine the notes
This is the automation-first part. Instead of writing a huge amount of MIDI and hoping it feels exciting, create motion with automation lanes:
- Filter cutoff on the bass
- Resonance for short peaks into the turn
- Drive on Saturator or Roar for drop emphasis
- Reverb send for specific tail hits only
- Delay send for one-shot pickups or snare replies
- Volume automation for tiny bass dips under the most important drum accents
In Live 12, use automation in Arrangement View to draw broad gestures:
- Bar 1: slightly darker bass tone
- Bar 2: cutoff opens a little
- Bar 3: more saturation, more bite
- Bar 4: filter closes or drops out briefly before the reset
Useful parameter ranges:
- Auto Filter cutoff sweep: roughly 200 Hz to 4 kHz depending on the patch
- Saturator Drive automation: 0 to +4 dB for lift
- Reverb send: keep low, often just enough for a flicker on one note
Why this works in DnB: the genre thrives on micro-evolution. Small changes every bar create the feeling of momentum without destroying the loop’s identity.
7. Use drum bus shaping to make the break and bass “lock”
Route the break edits to a Drum Bus and apply gentle shaping:
- Glue Compressor: 1–2 dB of gain reduction, slow attack, medium release
- EQ Eight: tame any boxy buildup around 250–500 Hz
- Drum Buss: small amount of Drive, keep Boom subtle or off if it muddies the sub
- Optional Transient shaping by arranging the break edits themselves rather than overprocessing
Your goal is to make the Amen punch without swallowing the bass response. If the snare is dominant, carve a small pocket in the mid-bass around 180–300 Hz or reduce bass gain during snare hits. If the kick lacks authority, try making the bass answer slightly after the kick instead of directly on top of it.
This groove detail matters: DnB feels hard when the kick/snare and bass are interlocked, not when they’re all occupying the same transient moment.
8. Turn the loop into a phrase with clear arrangement logic
Build the 4-bar loop so it could drop into a larger arrangement. Use these phrase ideas:
- Bar 1–2: establish the core call-and-response
- Bar 3: introduce a variation — extra ghost snare, reversed tail, or filter lift
- Bar 4: strip back one element for a reset or fill
A practical arrangement example:
- In the 16-bar drop section, keep the first 8 bars relatively stable
- In bars 9–12, automate more aggressive filter opening and a drum fill every 4 bars
- In bars 13–16, remove the mid-bass for half a bar to create a heavy re-entry
Use duplicate and mutate as your workflow. Make one version of the 4-bar clip, then duplicate and change only one or two things. Advanced DnB writing often feels stronger when the listener recognizes the pattern but senses a new answer every phrase.
9. Add micro-FX only where they support the conversation
Use FX as punctuation, not decoration. A few effective stock moves:
- Delay on a snare ghost or bass stab for a one-shot echo
- Reverb with very short decay on a transitional hit
- Auto Pan subtly on noise layers if you want motion above the low end
- Spectrum and Utility for checking low-end translation and stereo discipline
Keep FX automation tight:
- Reverb send only on the last hit of bar 4
- Delay feedback briefly increased before a drop restart
- Noise riser filtered open into the turn, then cut hard
In darker DnB, the best FX often feel like a side character, not the lead.
10. Finalize with mono checks, low-end discipline, and resampling
Check the full loop in mono using Utility on the master or on your monitor chain. Make sure:
- The sub remains centered and solid
- The mid-bass doesn’t vanish in mono
- The Amen still hits without relying on stereo width
- The low end doesn’t mask the snare body
If the phrase is working, resample it. Bounce the bass-and-drum interaction to audio and listen for where the groove already feels complete. This is a strong advanced workflow because it lets you:
- Edit the audio for tiny timing improvements
- Commit to the performance
- Build further arrangement details around a solid core
Many of the best DnB records feel “finished” because the groove was treated as a performed object, not just a MIDI loop.
Common Mistakes
- Fix: write fewer notes and let the drums speak. Bass should answer, not narrate everything.
- Fix: keep a few recognisable break contours. The groove needs some of the original swing and accent logic.
- Fix: keep sub mono with Utility and make sure the reese’s width lives above the low bass range.
- Fix: automate one or two parameters per section. The best tension often comes from restraint.
- Fix: carve space around the snare’s body and reduce bass notes that land directly on the snare transient if necessary.
- Fix: keep reverbs short and selective. DnB clarity disappears fast when ambience builds up under fast drums.
Pro Tips for Darker / Heavier DnB
Mini Practice Exercise
Spend 10–20 minutes building one 4-bar loop from scratch:
1. Choose one Amen break and chop it into at least 6 playable slices.
2. Program a 4-bar drum phrase with at least 2 ghost hits and 1 variation in bar 4.
3. Create a sine sub using Operator and write only response notes, not constant bass.
4. Add a Wavetable reese layer with filter movement and fewer notes than the sub.
5. Automate filter cutoff, saturation drive, and one FX send across the 4 bars.
6. Toggle mono on the master chain and fix any weak low-end or wide bass issues.
7. Resample the loop and listen back for whether the drums and bass feel like a conversation.
Goal: by the end, the loop should feel like it can already open a drop or anchor an 8-bar phrase without needing extra layers.
Recap
The core idea is simple: in DnB, the groove gets stronger when drums and bass answer each other instead of fighting for space. Build the Amen as a rhythmic statement, keep the sub selective, make the mid-bass phrase in response, and let automation shape the energy bar by bar. Use Ableton Live 12’s stock devices to control tone, motion, and clarity, then check everything in mono and resample when the interaction feels right. That’s the blueprint for a heavy, replayable, Amen-style call-and-response riff that actually works in the mix.

