Main tutorial
Lesson Overview
This lesson is about building an oldskool DnB swing blueprint with jungle swing in Ableton Live 12, using vocals as the rhythmic and emotional glue. The goal is not to make a “vocal chop hook” in a generic sense — it’s to make a crate-digging style vocal element that sits inside a rolling jungle/DnB grid and gives the track that dusty, human, slightly reckless feel oldskool records had.
In a real DnB track, this technique usually lives in one of three places:
- Intro / first 16 bars: to establish character before the drop
- Drop support layer: as a call-and-response with drums and bass
- Second-drop evolution: to add swing, movement, or tension without changing the core groove
- dusty, swung, and danceable
- locked to the break without sounding rigid
- rhythmic enough to function like a top-line percussion layer
- clear enough to survive beside drums and a heavy bassline
- rough-edged in a good way, but still mix-aware and DJ-friendly
- slightly lo-fi, sampled, and human
- crisp transient edges on select chops
- filtered low-mid warmth, with controlled top-end dust
- enough saturation to feel integrated with breaks and bass
- relaxed but driving
- with shuffle and micro-timing pushes/pulls
- some chops acting like ghost notes, others like answer phrases
- a clear relationship to the snare, but not a rigid grid-chant
- a hooky rhythmic vocal layer
- a swing carrier that helps the beat feel older, looser, and more physical
- a structural cue for transitions and drop energy
- should be roughened enough to feel authentic
- but clean enough that the vocal doesn’t obscure the snare crack or bass articulation
- mono-compatible in the low end and mostly center-weighted where it matters
- Darkness comes from restraint, not just filtering down. A vocal that’s slightly under-exposed in the midrange can feel more ominous than one drenched in low-pass. Keep the main phrase readable and use darkness in the arrangement, not only the tone.
- Use a parallel grit layer instead of destroying the main take. Duplicate the vocal, then on the copy use Saturator → Auto Filter → EQ Eight to add dirt and narrowness. Blend it underneath the clean layer very low. This keeps intelligibility while adding menace.
- Keep the center clean for the kick/snare/bass core. If the vocal has stereo treatment, make sure the important consonants and phrase starts still read in mono. A quick Utility check is worth it. If the groove weakens in mono, the width is too dependent on phasey effects.
- Let the vocal act as a tension device in the 8-bar cycle. In darker DnB, a vocal drop-in on bar 5 or bar 7 can feel more dangerous than repeating every bar. It creates an off-balance sensation that works well before a bass switch or drum edit.
- Use a low-pass automation as a fake “distance move”. Instead of adding huge reverb, automate Auto Filter so the vocal feels like it’s emerging from the smoke, then open it only at the phrase peak. This keeps punch intact.
- Resample a damaged version for the second drop. Print a more distorted, band-limited, or chopped-up version for later sections. The first drop can be clearer; the second can be rougher and more unstable without losing structure.
- Use call-and-response with bass movement. A vocal jab can answer a bass stab, or a longer vocal tail can land over a bass gap. That spacing makes both parts feel intentional and avoids the “everything all the time” trap.
- Use only one vocal sample
- Use only Ableton stock devices
- Keep the core vocal mostly mono/centered
- Include at least one chopped ghost syllable and one longer phrase ending
- Make one section with a filter move and one section with no FX at all
- a 4-bar loop with a vocal rhythm that alternates between main hits and small answer chops
- one automation move for transition energy
- one printed audio version of your best pass
- If you mute the drums, does the vocal still make sense rhythmically?
- If you mute the vocal, do the drums still feel stronger without losing the groove?
- In mono, does the vocal still read clearly without the low-end or snare feeling crowded?
- Build the vocal with the drums, not above them.
- Treat the vocal like a rhythmic instrument first and a hook second.
- Keep the core phrase centered, edited, and groove-aware.
- Use EQ Eight, Saturator, Auto Filter, and light compression to make it sit like a sampled DnB element.
- Preserve some imperfection — that’s where the oldskool swing and jungle character lives.
- If it feels too clean, resample and commit; DnB usually gets stronger when you stop over-handling the loop.
Why it matters: oldskool jungle/DnB often feels alive because the groove is slightly ahead in some places, slightly behind in others, and the vocal fragments act like percussion with personality. Technically, it matters because vocals can easily clutter the mids, smear the transient pocket, or fight the snare if they’re not edited with intention. In Ableton, the trick is to shape them like rhythm first, melody second.
By the end, you should be able to hear a vocal loop that feels:
Best fit: oldskool DnB, jungle rollers, vocal-led intro tools, break-heavy halftime-to-170 ideas, darker ravey DnB with heritage flavour.
What You Will Build
You’ll build a 4-bar vocal phrase system made from chopped vocal hits, short held words, and micro-slices that sit over a jungle-style drum groove. The finished result should feel like a crate-found vocal sample reimagined for modern Ableton Live 12, with enough swing and grime to work in a real arrangement.
Sonic character:
Rhythmic feel:
Role in the track:
Mix-readiness:
Success should sound like this: the vocal feels like it belongs to the drums, not sitting on top of them — when it drops in, the groove gets more human, more dangerous, and more locked-in without getting crowded.
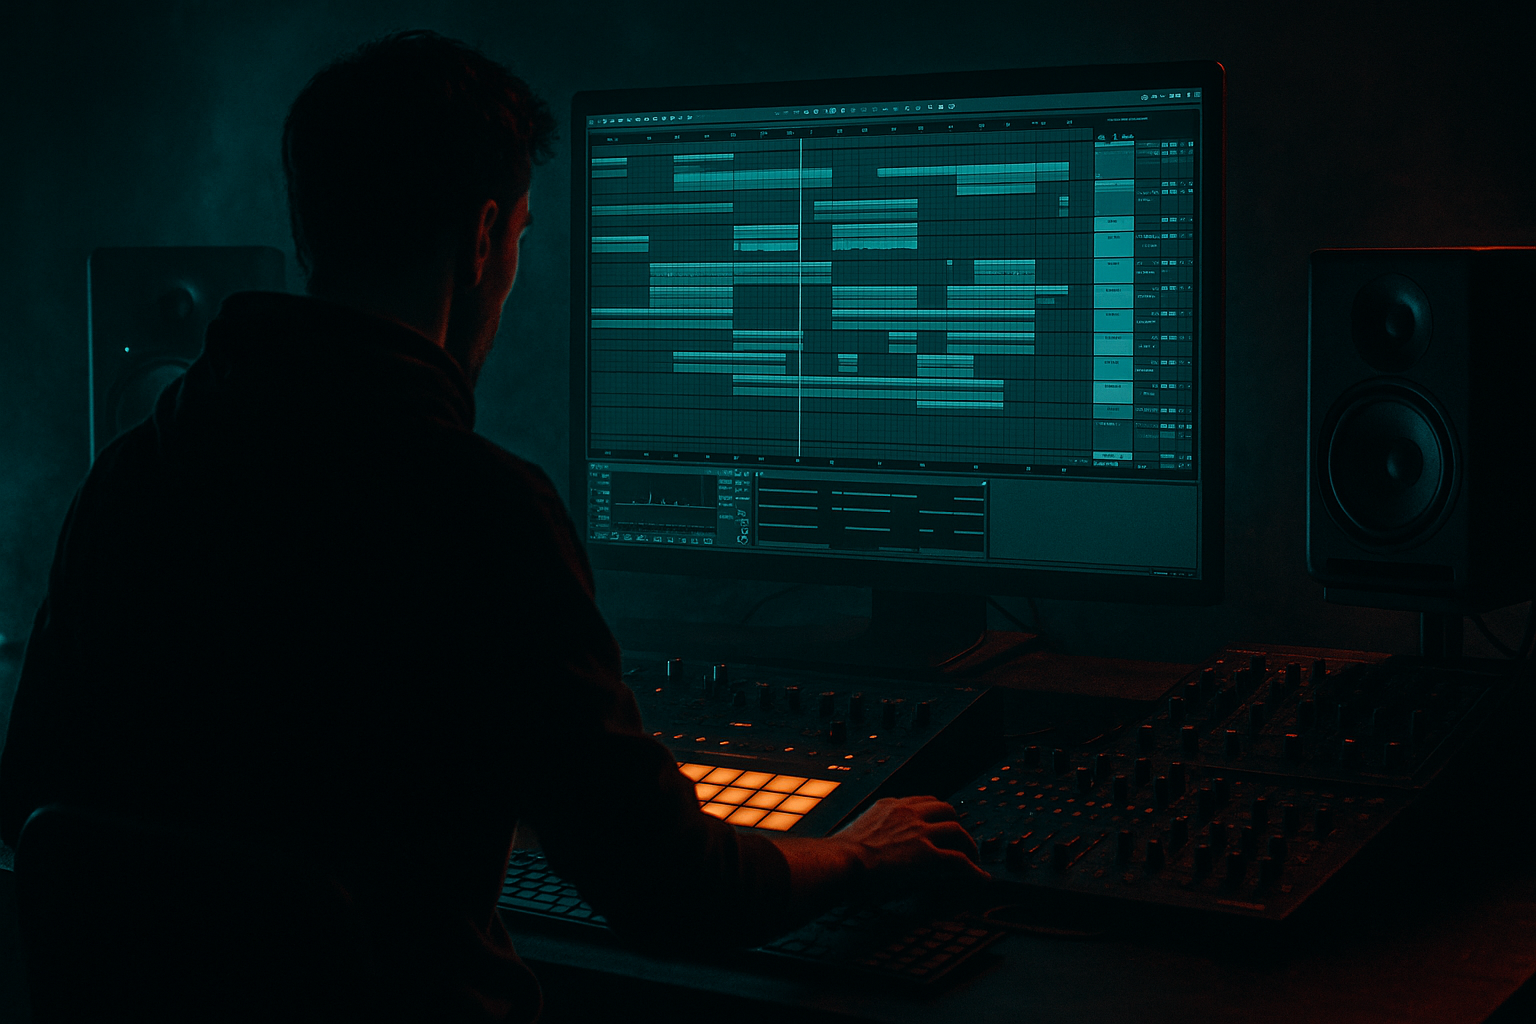
Step-by-Step Walkthrough
1. Start with a drum-first grid so the vocal can inherit the groove
Load a simple jungle-compatible loop: kick, snare, and a break or break layer. Don’t build the vocal in isolation. In Ableton, use your drum group as the timing reference and loop 2 or 4 bars. Keep the break slightly swung if your source already has that feel, but don’t over-process yet.
Why: oldskool swing only reads properly when the vocal is reacting to the drum pocket. If you make the vocal first, you’ll often end up forcing the drums to match a phrase that doesn’t actually groove.
What to listen for:
- Does the snare land with enough authority to anchor vocal responses?
- Is the break already carrying a loose push/pull, or does it feel stiff?
If the drums feel too square, add groove later through MIDI note placement or clip timing, not by randomly warping everything.
2. Choose a vocal with rhythmic attitude, not just a nice tone
Pick a sample that has clear consonants, short syllables, or a memorable phrase. Oldskool swing works best when the vocal has percussive edges: “yeah,” “come on,” “check it,” “move,” “warning,” or sliced phrase endings. You’re looking for material that can behave like a drum hit.
In Ableton Live 12, drag the vocal into an audio track and immediately trim it to the most usable 1-bar or 2-bar phrase. If the sample is long, don’t try to use all of it. Find the words with the strongest transient starts.
A versus B decision:
- A: More chant-like phrase for a ravey, DJ-friendly hook
- B: More conversational phrase for a murkier, crate-digger jungle feel
Both work, but A tends to cut through a denser drop, while B feels more underground and human.
3. Warp it only enough to respect the groove, not flatten it
Enable Warp and choose a warp mode that preserves voice quality without sounding plasticky. For short vocal chops, start with Complex Pro if the sample is tonal and needs natural body; if it’s more percussive and chopped hard, Repitch or Tones can work for a more sample-like edge.
Set the clip so the phrase starts cleanly on the bar, then adjust timing manually. Don’t rely on warp to “fix” the groove. Use it to fit the phrase into the session, then shape the feel with note placement.
Practical timing idea:
- keep the first strong chop on or just before the snare hit
- nudge answer chops slightly late for a lazy swing feel
- place quick pickup syllables slightly early so they pull into the backbeat
What to listen for:
- If the vocal sounds phasey or overly elastic, your warp mode is too aggressive for that material.
- If the phrase loses its attitude, it’s been over-corrected to the grid.
4. Slice the vocal into playable chunks
Use Slice to New MIDI Track if the phrase has multiple strong words or transient starts. Set slicing by transient markers or short note divisions depending on the source. This is the fastest way to turn one vocal into a crate-style rhythmic instrument.
Then play the slices like a drum rack:
- one lane for main phrase hits
- one lane for short ghost syllables
- one lane for throwaway textures or breaths
This is where the jungle swing starts to appear. You’re not building a melody line; you’re building a rhythmic call-and-response system.
Workflow efficiency tip: once the slices feel good, commit the best 1-bar or 2-bar sequence to audio. That lets you resample and arrange faster, and stops you from endlessly auditioning tiny variants.
5. Create the swing blueprint with micro-timing and velocity contrast
Build a 2-bar MIDI pattern for the vocal slices. Don’t quantize everything identically. In oldskool DnB, the charm often comes from contrast:
- one chop landing right on the pocket
- one slightly late
- one short pickup slightly early
- one longer sustain pushed back a touch
Keep the main vocal hits landing around the snare relationship, but let the off-beat fragments breathe. Use velocity differences to make some chops feel like whispers and others like shouts.
Useful ranges:
- short pickup chops: around 50–120 ms in feel, not literally all the same length
- held phrases: 1/8 to 1/4-note lengths, depending on the density
- note nudges: tiny pushes/pulls of 5–20 ms are often enough
What to listen for:
- Does the vocal create forward motion without stepping on the snare?
- Do the short chops feel like groove detail, or like random edits?
6. Shape the vocal with a stock-device chain built for grime and clarity
Use a practical Ableton stock chain like this:
EQ Eight → Saturator → Auto Filter → Compressor
Suggested starting points:
- EQ Eight: high-pass somewhere around 120–180 Hz to clear low-end mud; if needed, dip 250–500 Hz lightly if the sample is boxy
- Saturator: add a moderate drive amount to thicken the midrange; keep Soft Clip on if you want extra safety and density
- Auto Filter: low-pass or band-pass automation for movement in transitions; for a darker DnB vibe, try sweeping between roughly 300 Hz and 8–10 kHz depending on section
- Compressor: light control only, aiming to smooth peaks rather than squash the life out of the phrasing
Why this works in DnB: vocals often fail in dense drum-and-bass arrangements because they occupy the same midrange space as snares, hats, and bass harmonics. This chain lets you trim mud, add presence, and control peaks without sterilizing the chop.
If you want more bite instead of smoothness, swap the order slightly:
EQ Eight → Saturator → Utility → Auto Filter
and use Utility to manage width/level rather than compression.
7. Decide whether the vocal should be a hook or a texture
This is your key arrangement decision point.
- Option A: Hook mode
- keep the phrase recognizable
- use fewer edits
- let the vocal repeat every 2 or 4 bars
- great for rave tension, DJ memory, and stronger drop identity
- Option B: Texture mode
- chop harder
- blur some words with filter and reverb throws
- keep the phrase less literal
- great for darker jungle rollers and deeper, more underground tracks
In both cases, the vocal must still support the drums. If it starts sounding like a pop topline, you’ve drifted away from the intended swing blueprint.
8. Place the vocal against the break, not just against the bar
Now check the idea in context with the drums. Loop 2 bars and listen to how the vocal hits interact with:
- the snare’s tail
- the ghost notes in the break
- the hat pattern
- the kick’s low-mid attack
In a jungle feel, vocal fragments often work best when they answer the space after the snare rather than sitting directly on top of the transient. That small gap gives the groove air and makes the vocal feel embedded rather than pasted on.
If the vocal is masking the snare crack:
- move the chop slightly later
- shorten the release or clip length
- reduce 2–5 kHz in the vocal with EQ Eight if it’s competing too hard
- try a shorter reverb tail or remove it entirely
Stop here if the groove is already carrying the identity. A strong oldskool vocal idea often only needs a few phrases — too many variations can kill the loop’s authority.
9. Add movement with automation, but keep it phrase-based
Use automation to create transitions and section changes:
- automate Auto Filter cutoff for intro buildup or breakdown tension
- automate reverb send or return level only on the last word of a phrase
- automate stereo width carefully if the vocal needs to open up in a transition
A useful oldskool move is to keep the main vocal mostly dry and center-focused, then open a delayed or reverbed tail into the end of every 4th bar. That gives you movement without washing the whole groove.
Arrangement example:
- Bars 1–8: filtered vocal fragments, light and teasing
- Bars 9–24: full rhythmic vocal phrase in the drop
- Bars 25–32: remove the vocal for 4 bars, then bring back a delayed answer phrase into the next section
That kind of phrasing is DJ-friendly because it gives the mix a clear tension/release structure.
10. Resample if the pattern starts feeling too “MIDI perfect”
If the vocal loop is technically correct but emotionally flat, resample your best 2-bar pass to a new audio track and work from the printed version. This is where the sample-era character comes alive.
Commit this to audio if:
- the timing feels right
- the phrase sits with the drums
- the EQ shape is mostly working
- you want faster arrangement decisions
After resampling, you can:
- reverse tiny tail fragments for transitions
- chop out one-word stabs for fills
- layer a filtered duplicate underneath for thickness
- bounce a version with more grit and a version with less
This is especially useful in DnB because audio commits the groove. You stop endlessly micro-adjusting and start thinking like a record arranger.
Common Mistakes
1. Making the vocal too melodic and not rhythmic enough
- Why it hurts: the line starts fighting the drums instead of riding them, and the swing disappears.
- Fix: shorten the phrase, keep only the most percussive words, and reprogram the chops like drum hits in a MIDI clip.
2. Warping every syllable to dead-on grid
- Why it hurts: oldskool jungle swing relies on slight looseness; over-quantized vocals sound modern but sterile.
- Fix: keep the phrase aligned to the bar, then manually nudge individual slices a few milliseconds early or late.
3. Leaving too much low-mid clutter in the sample
- Why it hurts: vocals quickly cloud the snare and bass region, especially in dense DnB.
- Fix: use EQ Eight high-pass around 120–180 Hz, then check 250–500 Hz for mud.
4. Using too much reverb on the whole vocal
- Why it hurts: the vocal loses rhythmic definition and smears over the break.
- Fix: keep the main phrase dry; send only selected words or endings to a short room or plate and automate the send.
5. Making the vocal too wide too early
- Why it hurts: stereo spread can make the groove feel diffuse and can weaken mono translation.
- Fix: keep the core chop centered; if you want width, create it from a delayed duplicate or filtered return, not the main body.
6. Ignoring the snare relationship
- Why it hurts: in DnB, the vocal has to respect the snare like a lead instrument respects the downbeat.
- Fix: move the vocal so the phrase answers the snare, not masks it; listen in the loop with drums only.
7. Over-editing until the loop loses attitude
- Why it hurts: the sample becomes technically neat but no longer feels crate-digged or human.
- Fix: preserve one or two imperfect chops; those tiny irregularities often give the groove its identity.
Pro Tips for Darker / Heavier DnB
Mini Practice Exercise
Goal: Build a 4-bar swung vocal phrase that locks to a jungle drum loop and feels like part of the groove, not a pasted-on sample.
Time box: 15 minutes
Constraints:
Deliverable:
Quick self-check:

