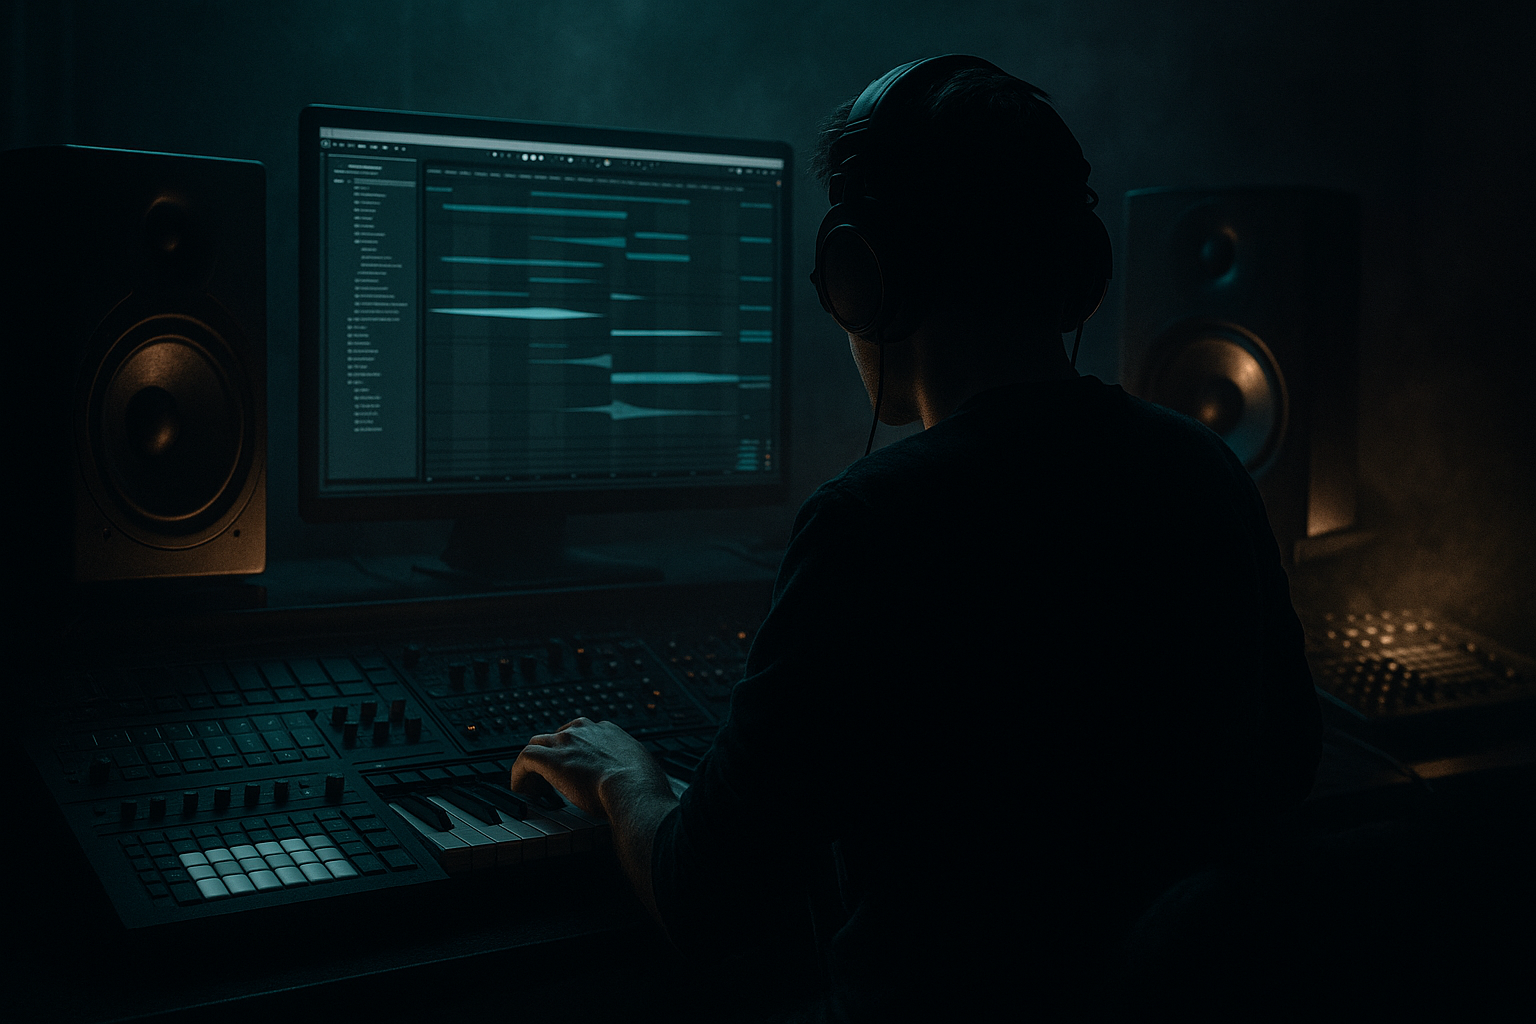
Main tutorial
Creating a Personal Break Library (DnB in Ableton Live) 🥁📚
1. Lesson overview
A great drum & bass producer doesn’t just “have breaks”… they have a curated, searchable, processed break library that loads fast, sounds consistent, and is ready to flip into rollers, jungle smashers, or halftime slammers.
In this lesson you’ll build a personal break workflow inside Ableton Live: how to source, clean, slice, tag, process, and export breaks so every time you start a tune you can grab “crispy Amen hats” or “dark Reese-ready ghost breaks” in seconds.
---
2. What you will build
You’ll end up with:
- A folder structure for breaks: Raw → Cleaned → Sliced → Processed → One-shots
- A template Ableton set for break prep
- A consistent processing chain (stock devices) for:
- Multiple export-ready formats:
- Tempo reference: 170 BPM (DnB standard)
- Loop length: 1 bar + 2 bars + 4 bars variants where possible
- File naming: `BreakName_Source_BPM_Key(if tonal)_Style_Version.wav`
- Always keep:
- Track 1: RAW BREAK (Audio track)
- Track 2: CLEAN PRINT (Audio track; resampling target)
- Track 3: SLICE KIT (MIDI track with Drum Rack)
- Return A: SHORT ROOM (reverb for glue)
- Return B: PARALLEL CRUSH (distortion/compression parallel)
- Tempo: 170 BPM
- Warp mode default for loops: Complex Pro is not ideal for drums; prefer:
- Turn on Create Fades on Clip Edges (helps prevent clicks)
- Place warp markers on:
- Don’t grid-lock every transient—you want swing in jungle/DnB breaks.
- Set Track 2 (CLEAN PRINT) input to Resampling (or route RAW → CLEAN)
- Record 1–4 bars of the cleaned break
- Consolidate (`Cmd/Ctrl + J`) into exact bar lengths
- Rename the clip: `BreakName_CLEAN_170.wav`
- In the MIDI clip created:
- One-Shot mode
- Fade In: 1–5 ms (removes clicks)
- Fade Out: 5–20 ms (tightens tails)
- If slices overlap weirdly, use Choke groups inside Drum Rack:
- Record your processed break into CLEAN PRINT again (or a new PROCESSED PRINT track).
- Consolidate to exact bars.
- Export:
- From the sliced Drum Rack:
- Save naming:
- `Kick+Ghost` or `Snare+Tail` as separate slices—they’re gold in rolling DnB.
- `Breaks/00_RAW`
- `Breaks/01_CLEAN_170`
- `Breaks/02_SLICED_DRUMRACKS`
- `Breaks/03_PROCESSED/RollerGlue`
- `Breaks/03_PROCESSED/JungleCrunch`
- `Breaks/03_PROCESSED/DarkGhost`
- `Breaks/04_ONESHOTS/Kicks`
- `Breaks/04_ONESHOTS/Snares`
- `Breaks/04_ONESHOTS/Hats_Ghosts`
- Add the main `Breaks` folder to Places
- Use Ableton’s Collections (color tags) like:
- Create a habit: every time you render a keeper, tag it immediately.
- Top layer: break hats + ghosts above clean punchy drums
- Ghost groove: low-cut break (HP at 150–300 Hz) to add movement under a main kick/snare
- Drop spice: switch from “Roller Glue” to “Jungle Crunch” on bar 33 for energy lift
- Fills: 1/2 bar stutters using slices, often last 2 beats of a phrase
- Bars 1–16: minimal break ghosts (low in mix)
- Bars 17–32: bring in full break top
- Drop: full break + parallel crush for density
- Mid-drop: mute break for 2 bars → slam it back in (instant impact)
- Warping with the wrong mode: Complex/Complex Pro can smear transients. Use Beats for breaks.
- Over-quantizing slices: kills jungle swing. Use 50–70% quantize or grooves.
- No consistent headroom: if some breaks peak at -0.1 and others at -12, your workflow will feel random. Aim around -6 dB peaks pre-limiter.
- Too much distortion too early: you can’t “un-crunch” a break. Always keep RAW/CLEAN.
- Not exporting multiple versions: loop + slices + one-shots = maximum reuse.
- Messy naming: “audio_127.wav” is how libraries die.
- Make “ghost-only” variants:
- Sidechain breaks to your snare:
- Parallel crush for neuro density:
- Transient focus, not just loudness:
- Layer break tops with synthesized hats:
- You built a repeatable Ableton workflow: warp → clean → slice → process → resample → export → tag.
- You created multiple usable formats (loops, sliced kits, one-shots).
- You standardized sound with stock-device chains (EQ Eight, Utility, Drum Buss, Glue, Saturator).
- You set yourself up for faster starts and stronger drums in real DnB arrangements.
- cleanup + phase control
- punch + glue
- transient shaping
- resampling
1. Full loops (1–4 bars)
2. Sliced kits (Drum Rack + Simpler slices)
3. One-shots (kicks/snares/hats extracted)
All targeted at jungle / DnB / rolling breakbeat workflows.
---
3. Step-by-step walkthrough
Step 0 — Set your intent: “library rules” ✅
Before touching audio, decide your library standards so your collection doesn’t become chaos:
Library standards (recommended):
Example: `Amen_Classic_170_Dark_CrunchV2.wav`
- RAW (untouched, original)
- CLEAN (trimmed, gain staged, fades)
- PROCESSED (your flavor)
- SLICED (Drum Rack / Simpler slices)
---
Step 1 — Create your “Break Prep” Ableton template 🧰
Make a dedicated Ableton Live Set and save it as a template:
File → Save Live Set as Template
Set up:
Project settings:
- Beats mode for breaks (Preserve: Transient, set to 1/16–1/32 depending)
---
Step 2 — Import and warp breaks properly (don’t ruin transients) 🎯
1. Drag a break into RAW BREAK.
2. In Clip View:
- Enable Warp
- Set Seg. BPM if Live guesses wrong
3. Choose Warp mode:
- Beats
- Preserve: Transients
- Transient Loop Mode: Off (often cleaner for breaks)
- Start with 1/16 preserve; if it gets crunchy, try 1/8. If it flams, try 1/32.
Manual warp markers (recommended):
- Bar 1 kick
- Main snare (2 and 4)
- Any obvious flam/off-grid hits
Pro move:
If the break has a strong “push/pull,” warp only the downbeats, then let the groove breathe.
---
Step 3 — Clean & standardize the raw loop (your “CLEAN” version) 🧼
Goal: remove clicks, DC/rumble, consistent headroom, phase sanity.
On RAW BREAK, insert a cleanup chain (stock devices):
1. Utility
- Gain: adjust so peaks hit around -6 dBFS
- If the break is too wide/phasey:
- Width: 80–100%
- Bass Mono: (if using Live 12 Utility with Bass Mono) set around 120 Hz
2. EQ Eight
- HP filter at 25–35 Hz (24 dB/oct)
- Optional: gentle dip 200–400 Hz if boxy (1–3 dB)
- Optional: small dip 3–5 kHz if harsh hats
3. Gate (optional, careful)
- Only if there’s noisy vinyl tails
- Use subtle settings: Threshold just under the noise floor
4. Glue Compressor (light “control”)
- Attack: 10 ms
- Release: Auto
- Ratio: 2:1
- Aim for 1–2 dB gain reduction max
Print CLEAN:
---
Step 4 — Create slices (Simper → Drum Rack) 🔪
Now make it playable like an instrument.
1. Right-click the CLEAN clip → Slice to New MIDI Track
2. Settings:
- Slice by: Transient (good default)
- Slicing preset: Built-in → Sliced Kit (creates a Drum Rack)
Now you have a Drum Rack with each slice in a Simpler.
Fix timing & feel:
- Quantize lightly: 50–70% (not 100%) to keep break funk
- Try Groove Pool:
- Extract groove from the original break (right-click clip → Extract Groove)
- Apply groove to the MIDI clip at 40–70% with a small random timing.
Standardize slice envelopes (important):
For each Simpler (or multi-select in Live 12):
- Put hats and ghost slices into the same choke group (e.g., group 1)
---
Step 5 — Build 3 “signature” processing chains (stock) 🎛️
Instead of one mega-chain, make 3 consistent flavors you can export as processed variants.
#### Chain A: “Roller Glue” (clean, punchy)
On the Drum Rack (post) or on the CLEAN loop:
1. Drum Buss
- Drive: 5–15
- Boom: 0–10 (keep subtle)
- Damp: 5–20
- Transients: +5 to +15
2. EQ Eight
- HP at 30 Hz
- Gentle shelf +1–2 dB at 8–10 kHz for air if needed
3. Glue Compressor
- Attack: 3 ms
- Release: Auto
- Ratio: 4:1
- GR: 2–4 dB
4. Limiter
- Ceiling: -0.8 dB
- Only shaving 1–2 dB
#### Chain B: “Jungle Crunch” (bright, aggressive)
1. Saturator
- Mode: Analog Clip
- Drive: 3–8 dB
- Soft Clip: On
2. Redux (sparingly)
- Downsample: 2–6
- Bit Reduction: 0–2 (tiny amounts)
- Mix: 10–30%
3. Drum Buss
- Transients: +10
- Drive to taste
4. EQ Eight
- Control harshness around 3–6 kHz if it bites too hard
#### Chain C: “Dark Ghost Break” (for heavy/neuro rollers)
1. EQ Eight
- Low-pass around 10–14 kHz (keep it moody)
- Dip 500–900 Hz if honky
2. Overdrive
- Freq: 800–2k
- Drive: 15–35%
- Tone: slightly dark
3. Compressor (not Glue; regular compressor for shape)
- Attack: 15–30 ms
- Release: 60–120 ms
- Ratio: 3:1
4. Reverb (Return A) tiny room
- Decay: 0.3–0.6s
- Pre-delay: 0–10 ms
- Return level subtle (you want “space”, not wash)
---
Step 6 — Resample processed loops AND extract one-shots 🧪
You want both: ready loops + curated hits.
#### Export processed loops:
- File → Export Audio
- Rendered Track: processed track
- Sample Rate: 48 kHz (common in DnB projects)
- Bit Depth: 24-bit
- Dither: off (unless going to 16-bit)
- Normalize: Off (keep your gain staging consistent)
#### Extract one-shots:
- Find the best kick, snare, hat, ghost notes
- Solo each pad and resample a clean hit (or Freeze/Flatten and crop)
- `Amen_SNARE_TightV1.wav`
- `FunkyDrummer_HAT_OpenDark.wav`
Tip: Also export “micro-combos”:
---
Step 7 — Tag, store, and make it searchable fast 🗂️
A library is only useful if you can find things instantly.
Suggested folder structure:
Ableton Browser workflow:
- Red = “Amen family”
- Blue = “Clean rollers”
- Purple = “Dark/techy”
---
Step 8 — Arrangement ideas: where breaks live in DnB 🎚️
Your break library should reflect real DnB arrangements:
Common uses:
DnB arrangement trick (classic):
---
4. Common mistakes ❌
---
5. Pro tips for darker/heavier DnB 🖤🔩
EQ Eight HP at 250–400 Hz, then saturate lightly. This gives movement without muddying sub/bass.
Use Compressor on the break track, sidechain from snare. Tiny duck (1–2 dB) can make the snare crack through dense breaks.
Return B chain idea (stock):
- Saturator (Analog Clip, Drive 6–12 dB)
- Glue Compressor (4:1, fast attack, 4–8 dB GR)
- EQ Eight (HP 120 Hz, slight shelf down at 10 kHz if fizzy)
Blend at -18 to -10 dB return level.
Use Drum Buss Transients before heavy limiting. Dark DnB needs snap to cut through Reeses.
Often the “modern” sound is break groove + clean hat transient. Break provides swing; synth hat provides clarity.
---
6. Mini practice exercise 🎯
Timebox: 30 minutes
1. Pick one classic break (Amen / Think / Funky Drummer / Apache-style).
2. Create:
- 1x CLEAN loop (2 bars at 170)
- 1x Roller Glue processed loop
- 1x Dark Ghost processed loop (HP at 300 Hz)
3. Slice to Drum Rack and make a 4-bar pattern:
- Bars 1–2: original groove (MIDI from slices)
- Bar 3: remove one snare hit, replace with a ghost slice
- Bar 4: add a 1/16 stutter fill on the last beat
4. Export:
- the 2-bar processed loop
- 5–10 one-shots (best snare, kick, hat, ghost)
Deliverable: a neat mini-pack with proper names and stored in your library structure.
---
7. Recap 🔁
If you want, tell me what style you’re aiming for (90s jungle, modern rollers, techstep/neuro, halftime) and I’ll suggest 3 break “flavors” + exact device settings tailored to that sound.

