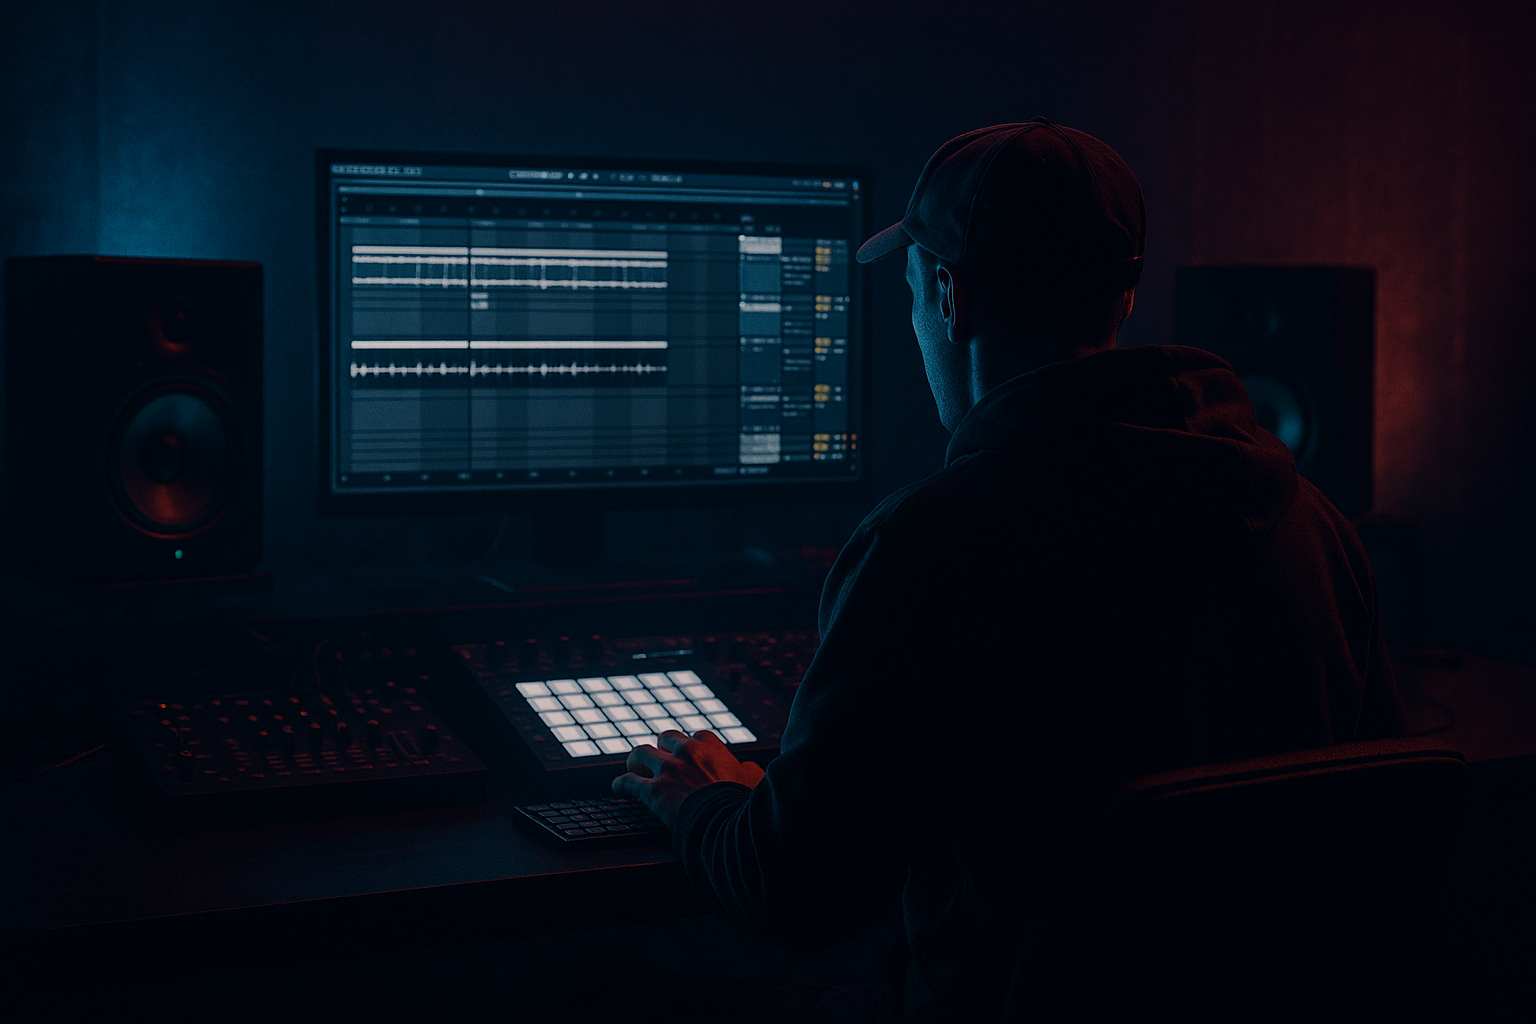
Main tutorial
```markdown
Creating Broken Speaker Textures (DnB in Ableton Live) 🔊💥
1. Lesson overview
“Broken speaker” texture is that crunchy, flapping, almost-dying cone sound you hear in heavier drum & bass, jungle intros, halftime drops, and nasty mid-bass fills. It’s not just distortion—it’s controlled nonlinearity + band-limited movement + transient abuse.
In this lesson you’ll build a few repeatable Ableton Live chains that turn clean sounds (bass, drums, vocals, foley) into authentic blown-cone character, then learn how to arrange it like a proper rolling DnB record.
---
2. What you will build
You’ll create three production-ready “broken speaker” racks:
1. Broken Cone Bass Rack (for reese / mid-bass layers)
2. Blown Drum Bus Texture (for crunchy breaks + hats)
3. Rattle & Flap FX Layer (for fills, drops, transitions)
Each rack uses stock Ableton devices (plus optional extras if you have them), and includes macro ideas for performance + automation.
---
3. Step-by-step walkthrough
A) Choose the right source (this matters!)
Broken speaker works best on:
- Sustained mids (reese, growls, foghorn-ish tones)
- Breakbeats (Amen-style, crunchy tops)
- Vocals/foley (short phrases, impacts, ambience)
- High-pass: 120–180 Hz (24 dB/oct)
- Small bell boost: +2 to +4 dB @ 800 Hz–1.5 kHz (find the “tear” zone)
- Optional notch: -2 to -6 dB @ 3–5 kHz if harsh
- Mode: Distortion
- Drive: 20–40%
- Tone: 30–50%
- Level: match output
- Tip: If it gets fizzy, reduce Tone and push mids with EQ instead.
- Tube: try B or D
- Drive: 3–8
- Bias: 0.2–0.6
- Output: trim to avoid clipping downstream
- This device is key for that “speaker struggling” midrange chew.
- Filter type: Band-Pass or High-Pass
- Freq: 300 Hz – 2.5 kHz (set by ear)
- Resonance: 0.7–1.4
- Envelope: 10–30% (so dynamics “pull” the cone tone)
- LFO: Rate 1/8 or 1/16, Amount small (5–15%)
- Type: Clean or Blues
- Gain: low-to-mid
- Presence: low (avoid fizz)
- Output: compensate
- Attack: 3 ms
- Release: Auto
- Ratio: 2:1
- Threshold: aim 1–3 dB gain reduction
- This helps the “cone flap” feel stable and mixable.
- Low-pass: 8–12 kHz (broken speakers don’t do air)
- If it’s boxy: cut 250–400 Hz slightly
- Macro 1: “Tear” → Dynamic Tube Drive + Pedal Drive
- Macro 2: “Flap” → Auto Filter Env Amount + Resonance
- Macro 3: “Choke” → post EQ low-pass frequency
- Macro 4: “Punch Clamp” → Glue Threshold
- Create a Return Track called DRUM BLOWN
- Send your break, tops, or full drum bus to it (start around -20 to -10 dB send)
- Downsample: 2.0 – 6.0
- Bit Reduction: 0–3 (keep it subtle)
- This adds “digital crunch” like abused playback systems.
- Mode: Analog Clip
- Drive: 4–10 dB
- Soft Clip: On
- Watch output—match level.
- Drive: 5–20%
- Crunch: 10–35%
- Boom: 0–15% (careful: don’t mess your sub)
- Transients: -5 to +5 (often slightly negative for “blown” feel)
- High-pass: 150–250 Hz
- Low-pass: 7–10 kHz
- Small boost around 1–3 kHz if you want more “speaker bark”
- Use to stop long fizz tails:
- Bring up the Return until it’s audible, then back off slightly.
- In DnB, you want texture that reads on small speakers while the main drum transients stay punchy.
- Use resampled bass, a snare hit, or foley (plastic bag, mic taps, paper)
- Keep it short and rhythmic—DnB likes tight chaos.
- Mode: Plate or Beam
- Tune: set to the song key area or a nasty non-key resonance (try 90–220 Hz for thunk, 400–900 Hz for rattle)
- Decay: 0.2–0.8 s
- Mix: 10–40% (don’t wash it)
- Drive: 20–60%
- Tone: adjust for mid focus
- This gives “metal/plastic tearing” energy.
- Amount: 10–30%
- Rate: 1/16–1/8
- Phase: 0–60° (less wide for heavier mixes)
- Shift: +10 to +40 Hz (or negative)
- Fine: tiny movement
- Mix: 10–30%
- Room/Chamber small
- Decay: 0.3–0.8 s
- High Cut: 6–10 kHz
- High-pass: 150–300 Hz
- Notch any painful resonances
- Chop into one-shots
- Use Simpler (Slice mode) for rhythmic re-edits
- Add micro-variation with Warp (Beats mode, transient envelope)
- Destroying the sub: If your low-end gets fuzzy, split sub/mids. Keep sub clean & mono.
- Too much top-end fizz: Broken speakers rarely have “air.” Low-pass earlier (7–12 kHz).
- Over-compressing the life out of it: If everything becomes flat, reduce Glue/limiting and use parallel.
- No movement: The “broken” illusion often needs slight filter/envelope motion.
- Not gain-staging: Distortion chains love to trick you. Level-match before/after each device.
- Key the “flap” to the groove: Use Envelope Follower (if available) to modulate Auto Filter frequency from your kick/snare or bass rhythm.
- Mid/Side control: Put Utility after distortion and reduce Width slightly (70–90%) to keep heaviness centered.
- Pitch-based aggression: Resample your broken mid, then pitch it down 3–7 semitones for darker weight.
- Drum & bass call-and-response: Use broken speaker textures as answers to your clean bass phrase (bar 2/4/8).
- Clip to tempo: If the texture is too smeary, shorten tails with Gate or clip envelopes so it stays “rolling.”
- Broken speaker texture = band-limited distortion + dynamics + movement.
- Keep DnB fundamentals: clean mono sub, dirty mids in parallel.
- Use stock Ableton tools: Pedal, Dynamic Tube, Drum Buss, Redux, Auto Filter, Corpus, Glue, EQ Eight.
- Resample aggressively and treat the best moments like new instruments.
- Automate macros for arrangement impact—DnB lives on tension and release 🔊
DnB tip: Don’t destroy your sub. Keep the sub clean and mono; distort mids/highs in parallel.
---
B) Build Rack 1: “Broken Cone Bass” (mid-bass layer) 🔧
Goal: Flappy, cone-tear crunch that moves with your groove—without wrecking the low-end.
#### 1) Split your bass into Sub + Mid (basic DnB structure)
1. Duplicate your bass track into two tracks:
- SUB (clean)
- MID (Broken) (processed)
2. On SUB:
- Add EQ Eight
- Low-pass around 80–120 Hz
- Make sure it’s Mono (Utility → Width 0%)
- Optional: Saturator (Soft Sine, Drive 1–3 dB) just for density
#### 2) On MID (Broken) build this chain:
Device Chain (in order):
1. EQ Eight (pre-filter)
2. Pedal (or Saturator) for grit
3. Dynamic Tube for “cone” crunch
4. Auto Filter for band movement
5. Amp (optional) for cabinet-style choking
6. Glue Compressor (light clamp)
7. EQ Eight (post-clean)
##### Suggested settings (starting point)
1) EQ Eight (Pre)
2) Pedal (Stock Ableton)
3) Dynamic Tube
4) Auto Filter (Band movement = realism)
This creates subtle shifting like a damaged cone reacting differently each hit.
5) Amp (Optional but spicy)
6) Glue Compressor
7) EQ Eight (Post)
#### 3) Make it performable with an Audio Effect Rack 🎛️
Group the chain into an Audio Effect Rack and map macros:
Arrangement use:
Automate “Tear” up into fills, or slam “Choke” down right before a drop for that speaker-about-to-die moment.
---
C) Build Rack 2: “Blown Drum Bus Texture” (breaks + tops) 🥁
Goal: That crunchy, overloaded bus that still hits like DnB (not a flat mess).
#### 1) Make a Drum Texture Return (parallel is your friend)
#### 2) Add this chain on the Return:
1. Redux
2. Saturator
3. Drum Buss
4. EQ Eight
5. Gate (optional “flutter control”)
##### Suggested settings
1) Redux
2) Saturator
3) Drum Buss
4) EQ Eight
5) Gate (optional)
- Threshold: set so it closes between hits
- Release: 30–80 ms
This keeps your rolling groove clean.
#### 3) Blend it into your main drums
Arrangement use:
Turn up the send in the last 4 bars before the drop, then pull it back when the full mix hits. Instant tension. 😈
---
D) Build Rack 3: “Rattle & Flap FX Layer” (fills/transitions) 🧨
Goal: Create the illusion of physical speaker damage: rattles, cone slap, weird resonances.
#### 1) Create an FX audio track and feed it
#### 2) Device chain for “mechanical rattle”
1. Corpus
2. Overdrive
3. Auto Pan (for jitter)
4. Frequency Shifter (subtle)
5. Reverb (tiny room)
6. EQ Eight
##### Suggested settings
1) Corpus
2) Overdrive
3) Auto Pan
4) Frequency Shifter
This introduces “misalignment” like broken playback.
5) Reverb
Just enough to place it in space.
6) EQ Eight
Arrangement use:
Drop these as 1-beat stabs at the end of phrases, or tuck them under snare fills. Great in jungle-style edits.
---
E) Resampling workflow (the secret weapon) 🎚️
Once you like a texture:
1. Freeze + Flatten the processed MID track, or
2. Record into a new audio track via Resampling (Audio From: Master/Track)
Then:
This is how you build your own broken-speaker sample library fast.
---
4. Common mistakes
---
5. Pro tips for darker/heavier DnB 😈
---
6. Mini practice exercise (15 minutes) ⏱️
1. Take a reese mid (or any bass mid layer).
2. Build Rack 1 and map 4 macros (Tear/Flap/Choke/Punch Clamp).
3. Write an 8-bar loop:
- Bars 1–4: normal rolling bass
- Bars 5–8: automate Tear up + Choke down on bar 8
4. Add DRUM BLOWN Return and automate the send:
- Low in bars 1–6
- Rising in bars 7–8
5. Resample 10 seconds, then chop 3 one-shots from the best moments.
Deliverable: one 8-bar idea that sounds like the system is barely surviving, but the groove stays clean.
---
7. Recap
If you tell me what you’re trying to destroy (reese, foghorn, Amen, vocals), I can suggest a tuned chain and macro ranges for that exact sound.
```

