Main tutorial
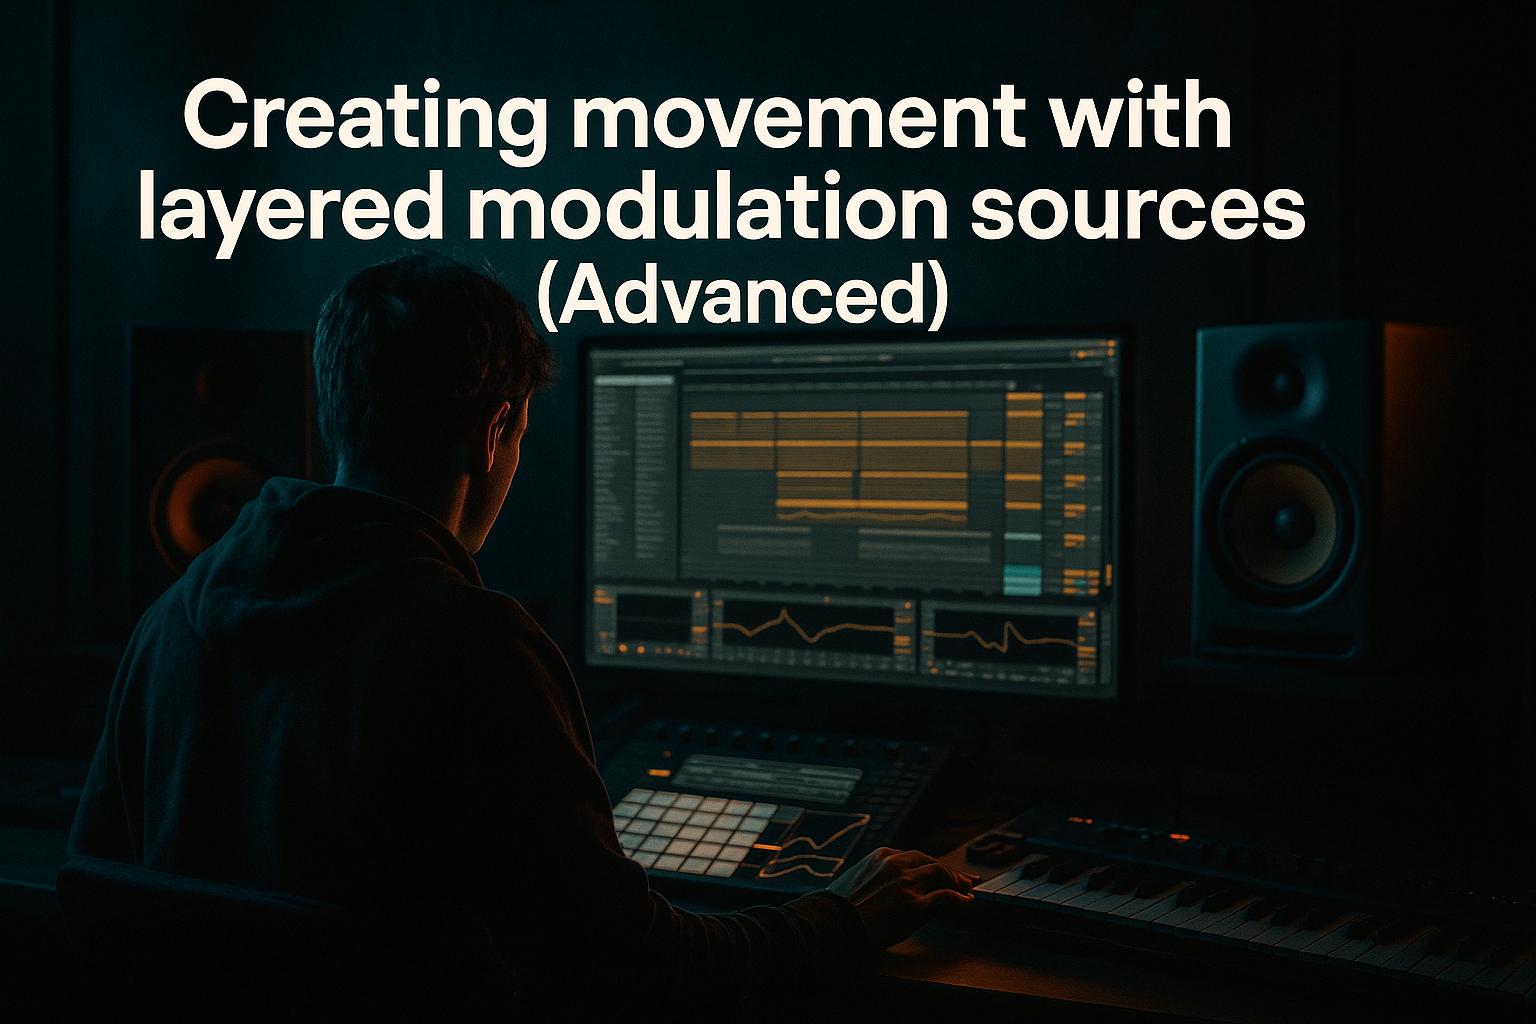
Creating movement with layered modulation sources — Advanced DnB sound design in Ableton Live
Energetic teacher voice: You already know the fundamentals — good samples, tight drums, and a fat low end. This lesson shows how to take your Drum & Bass tracks to the next level by layering multiple modulation sources so sounds constantly evolve: slow morphs, rhythmic gating, micro-timing jitter, and audio-reactive responses. I’ll show concrete device chains, exact settings, routing, and arrangement strategies you can drop directly into a 170–176 BPM DnB project. Let’s make your basses, pads, and drums move like a living system. 🚀
---
1) Lesson overview
Goal: Learn to create deep, interesting movement in DnB elements by layering modulation sources — LFOs (slow & fast), step-sequencers, envelopes, envelope followers, audio-rate modulation (FM/AM), and macro-driven automation — and combine them in Instrument/Audio Racks for performance-friendly control.
Tools focused on: Ableton Live stock devices (Wavetable, Operator, Simpler/Sampler, Drum Rack, Instrument/Audio Racks, Auto Filter, EQ Eight, Saturator, Utility, Multiband Dynamics, Grain Delay, Beat Repeat), plus Max for Live devices where noted (LFO, Envelope Follower, Shaper). I'll provide alternatives when Max for Live isn't available.
Target sound/style: Rolling DnB basses (reese, sub-layer + mid/upper harmonics), jungle textures, moving pads, and percussive micro-variations for a more alive groove.
---
2) What you will build
A modular bass synth and performance Rack that combines:
- Layered oscillators: sub sine + modulated wavetable/reese layer
- Three simultaneous modulation layers:
- Envelope follower reacting to the drum bus for rhythmic emphasis
- Chain-selector or crossfader for swapping timbres per section
- Quick macros for live tweaks (Drive, Filter, Movement amount, Rate)
- Over-modulation: stacking large depths from many LFOs causes phasey, smeared sound. Fix: reduce individual depths and rely on complementary frequency ranges.
- Letting modulation mess up low-end: never modulate the sub layer’s cutoff or width drastically. Keep sub mono and stable; only modulate upper layers.
- Using many unsynced/free-rate LFOs that drift: for DnB, most rhythmic modulation should be synced (1/4–1/32). Use free-rate for micro-randomness only.
- Too much reverb on bass: kills punch. Use short, gated reverb or send reverb only on mid/high layers.
- Heavy CPU usage from multiple Wavetables & Grain Delays: freeze/render stems and resample moving parts to audio, then add audio-rate textures (grain delay, corpus).
- Modulating the same parameter from multiple sources without a clear hierarchy — set one primary source and use others to add subtle variation.
- Multiband Movement: duplicate the bass track; low band (sub) static, mid band (200–1500Hz) heavy modulation, high band (1.5k+) granular or FM chaos. Use Multiband Dynamics or EQ Eight -> Utility split.
- Distortion per-band: saturate or bit-crush only the mids/upper harmonics for aggression; keep subs clean. Use Parallel processing: send to a distortion bus and blend.
- Use side-chain compression not just to duck, but to rhythmically pump your mod layer — set sidechain to the kick + snare with fast attack, medium release (30–90 ms) for punch.
- Modulate stereo width via macro mapped to Auto Pan or Utility. Narrow subs on drops for impact, widen mids in builds.
- Add spectral movement: modulate a Resonator Bank or Corpus with envelopes tied to snare hits for metallic snare-bass interplay — it adds spine-chilling metallic motion.
- Resampling trick: bounce a moving synth to audio, then layer 1–2 transient-diced slices back with different time-stretched granular processing to create ghosted textures.
- Use negative/phase offsets when layering reeses to create comb-filtering movement (tiny detune + phase shift). Great for neuro DnB.
- Layer modulation: use slow LFOs for long morphs, rhythmic sources (step/LFO/clip automation) for groove, and audio-rate or FM for high-frequency grit.
- Keep the sub stable — modulate the mids and highs.
- Use Instrument/Audio Racks and macros to control complexity and performance.
- Map an envelope follower to let drums breathe the synths — essential for tight DnB interplay.
- Freeze/resample when CPU bound and to create new textures as audio.
- Arrange modulation density across sections: subtle in intros, aggressive in drops, sparse in breakdowns.
- Give you a downloadable Rack preset (.adg) with the exact chain described (I’ll outline the devices for you to assemble), or
- Walk through building the Rack live in video timestamps or an Ableton Project template tailored to 174 BPM DnB. 🎚️🔥
- Slow macro LFO for long morphs (bars to measures)
- Rhythmic step/LFO for groove (1/8–1/32 sync)
- Fast micro/LFO or audio-rate operator for gritty texture (FM/AM)
You’ll also add modulation to drum layers for subtle pitch/jitter and to pads for wide, evolving atmospheres.
---
3) Step-by-step walkthrough
Prereq: set your project tempo to 170–176 BPM (typical DnB). I’ll mark Max for Live options with [M4L]. Each step includes concrete settings and routing.
A — Basic Instrument Rack: two-layer bass (sub + mod layer)
1. Create a MIDI track. Drop an Instrument Rack.
2. Chain A: Sub layer
- Device: Operator (or Wavetable/Osc for stock). Use a pure sine or triangle.
- Settings: Osc A = Sine, Octave = -2, Fine tune = 0.0
- Low-pass filter: none (we’ll keep it clean).
- Add Utility after Operator, set Width = 0% (mono), Gain -3 dB.
3. Chain B: Mod layer (the gritty part)
- Device: Wavetable (or Sampler/Simpler with a wavetable sample)
- Initial Wavetable Position: 30–40% (we’ll modulate this)
- Unison: 2–3 voices, Detune = 6–12 cents for stereo movement
- Filter: High-pass at ~60–80 Hz to protect the sub
- After Wavetable, add Saturator (Drive 2–4) and Utility Width 60–100% for stereo width.
4. Set chain volumes so sub sits -6–10 dB below the mod layer; use EQ Eight to carve space (dip 150–300 Hz in mod layer to avoid clashing with sub).
Why: Two layers let you mod the mid/upper harmonics aggressively while keeping the sub stable.
---
B — Add slow morph LFO (section-long movement)
1. In the Instrument Rack’s Chain, click the Rack Macro Map and map:
- Macro 1 = Wavetable Position (Chain B)
- Macro 2 = Filter Cutoff (master filter after both chains)
- Macro 3 = Global Drive (Saturator Drive in Chain B)
2. Add a filter after the Instrument Rack: Auto Filter (Low Pass) on the audio track. Set Resonance 0.15–0.30.
3. Add a Max for Live LFO (or use Wavetable's internal LFO mapped to macros). Set:
- Rate = 1/4 to 1/2 (sync). For 170 BPM, 1/4 = ~0.35 Hz — good for section morph.
- Shape = Triangle or Sine for smooth morph.
- Amount = map to Macro 1 (Wavetable Pos) with depth ±60–100 (adjust mapping range).
- Also map the same LFO, at smaller depth, to Macro 2 (Filter Cutoff) for correlated movement.
- If no M4L: create an Envelope (Automation lane) that slowly moves the Macro across bars (manual but effective).
4. Mapping tip: In Macro Map mode, set the min/max values manually — e.g., Macro1 min = 20, max = 80 — then use the LFO to oscillate between them. Invert mapping if you want opposite movement.
Why: Slow morph LFO gives evolving timbral shifts across a breakdown or build.
---
C — Add rhythmic gating / step modulation (groove)
1. Add a second modulation source: use an LFO set to sync 1/8, 1/16 or a Step Sequencer.
- Option 1 [M4L]: Add LFO device, Rate = 1/8, Shape = Sample & Hold or square, Amount = moderate.
- Option 2 (stock): Use an Audio Effect Rack + Auto Pan set to square wave with Phase 0°, and map its Amount to a macro to simulate gating (use utility or auto-pan on audio chain).
- Option 3: Create MIDI clip automation controlling Macro 2 (filter) with a step-like envelope using Draw mode.
2. Route this rhythmic LFO to:
- Filter Cutoff (Auto Filter) for per-step opening.
- Amp Gain on the mod layer: map to Simpler/Sampler volume or the chain volume in the Instrument Rack for a gate-on/off effect.
3. Set depth:
- For filtering: cutoff swing about 200–1200 Hz depending on patch.
- For volume gating: depth about -6 dB to -inf (for tight chops); keep transient tails if desired by reducing depth.
4. Add slight randomness: Add a second small-rate LFO (Rate = 1/32 or 16–32 Hz) to pitch or wavetable pos, depth 1–5% to avoid robotic repetition.
Why: Layering slow morph + rhythmic gating results in grooves that both evolve and lock to the beat — essential in rolling DnB.
---
D — Micro / audio-rate modulation (grit & texture)
1. Use Operator or Wavetable’s FM:
- In Operator: set Osc B to a sine, route B -> A at low FM index. Play with ratio: 0.5 to 2.5. FM amount small (0.05–2.0) for subtle metallic texture or higher for aggressive harshness.
- In Wavetable: use the FM knob, or automate Oscillator Pitch in small cents (5–50 cents) with a fast LFO (6–30 Hz) for vibrato/diode-esque motion.
2. Alternatively, create an audio-rate LFO using another Operator at high freq and map it to wavetable position or filter cutoff for audio-rate sidebands (results in inharmonic grime — great for neuro / dark DnB).
3. Place a Frequency Shifter (stock) after the instrument with small freq offset (0.1–2 Hz) and map a fast LFO to it to create phasing/chorus-like motion.
Why: Micro-modulation adds the “growl” or “sizzle” that distinguishes geometric synth movement vs. organic turbulence.
---
E — Audio-reactive modulation (Envelope Follower)
1. Create a send/return: route your full drum bus output to a sidechain or separate audio track.
2. Add an Envelope Follower [M4L] on the bass track:
- Source = Drum Bus audio.
- Smoothing (attack/release): Attack = 0–10 ms, Release = 60–180 ms for snappy yet musical response.
- Map Envelope Follower to:
- Auto Filter cutoff (to “duck” or “open” with kick/snare)
- Wavetable position (for snare-driven harmonic flares)
- Amount: set so typical snare transient causes a noticeable but not overwhelming change.
3. If no M4L: use sidechain compressor to duck and automate macro offsets triggered by drum velocity/clip-based envelopes.
Why: Having the bass react to percussion gives the mix that locked-in energy DnB needs — it feels like the kit is breathing the synth.
---
F — Drum movement: micro pitch, transients, and rhythmic variance
1. In Drum Rack, for snares/hats:
- Load multiple layers into a Simpler per pad (or use chain per drum).
- Map an LFO (Fast rate 1/16 or higher) to Transposition in Simpler for tiny pitch modulation (±3–15 cents).
- Use Drum Rack macros to control the amount per group (e.g., Macro for “Snare Jitter”).
2. Use Beat Repeat on a send track, set Interval = 1/8, Grid = 1/16, Chance 30–60%, and automate Gate to add glitchy fills and micro variations.
3. For rolling amen-style breaks: slice the loop, place each slice in Drum Rack, and slightly randomize sample start and pitch with LFOs or a small amount of transpose per hit to recreate alive jungle breaks.
---
G — Put it together: Rack layout and macros
1. Instrument Rack Macros:
- Macro 1: Movement (global amount) — maps to slow LFO amount to Wavetable pos + Filter depth
- Macro 2: Rhythm (step gating depth)
- Macro 3: Grit (FM amount / Saturation)
- Macro 4: Width (chain B Utility width)
- Macro 5: Sub level (chain volume)
2. Save this Rack as “DnB_MovingBass_Rack” and load into Arrangement or Session.
---
H — Arrangement ideas & automation
1. Intro (bars 1–16):
- Slow LFO on low rate, Movement macro ~20–30% — sub steady, mod layer subtle.
2. Build (bars 17–32):
- Increase Rhythm macro gradually, add a small Rise automation to Macro 3 (grit).
- Use Chain Selector to fade in alternate harmonic layer (more metallic reese).
3. Drop:
- Movement macro full range; step gating deeper (tight chops).
- Envelope follower reacts more strongly (increase send from drums).
4. Breakdown:
- Reduce gating, return to slow LFO only; automate Wavetable position to reveal new harmonic content.
5. Small fills:
- Automate Beat Repeat on drum bus or on the bass send to create jittery micro-fills.
---
4) Common mistakes
---
5) Pro tips for darker/heavier DnB
---
6) Mini practice exercise (20–40 minutes)
Create an 8-bar rolling bass loop at 174 BPM that demonstrates three-layered modulation:
1. Build the Instrument Rack:
- Chain A: Sub (Operator, sine, -2 oct)
- Chain B: Wavetable mod layer
- Chain C: Sampled noise/texture layer (Simpler with distorted vinyl/noise)
2. Map these macros:
- Macro 1 = Wavetable Position (Chain B)
- Macro 2 = Global Filter Cutoff (Auto Filter)
- Macro 3 = Rhythmic Gate Depth (Chain B volume)
- Macro 4 = Texture Send Level (Chain C)
3. Add two LFOs:
- Slow LFO (1/2) -> Macro 1 (depth medium)
- Rhythmic LFO (1/8 square) -> Macro 2 and Macro 3 (sync to clip)
4. Add micro-FM (Operator) for Chain B pitch jitter: FM amount small (0.2–1.0)
5. Add Envelope Follower [M4L] listening to your drum loop and map it to Macro 2 with soft attack, 80–120 ms release.
6. Make a 8-bar loop, tweak:
- Bars 1–4: Movement low
- Bars 5–6: Increase Rhythm macro to gate stronger
- Bars 7–8: Add Texture (Macro 4) and raise Grit macro to taste.
7. Freeze and resample the loop; try adding Grain Delay to the resampled audio for an eerie tail.
Goal: end with a loop that breathes with the drums, has a rolling gated groove, and a micro-gritty sheen that sits aggressively in the midrange.
---
7) Recap
If you want, I can:
Ready to build the Rack step-by-step in your Live set?

