Main tutorial
1. Lesson overview
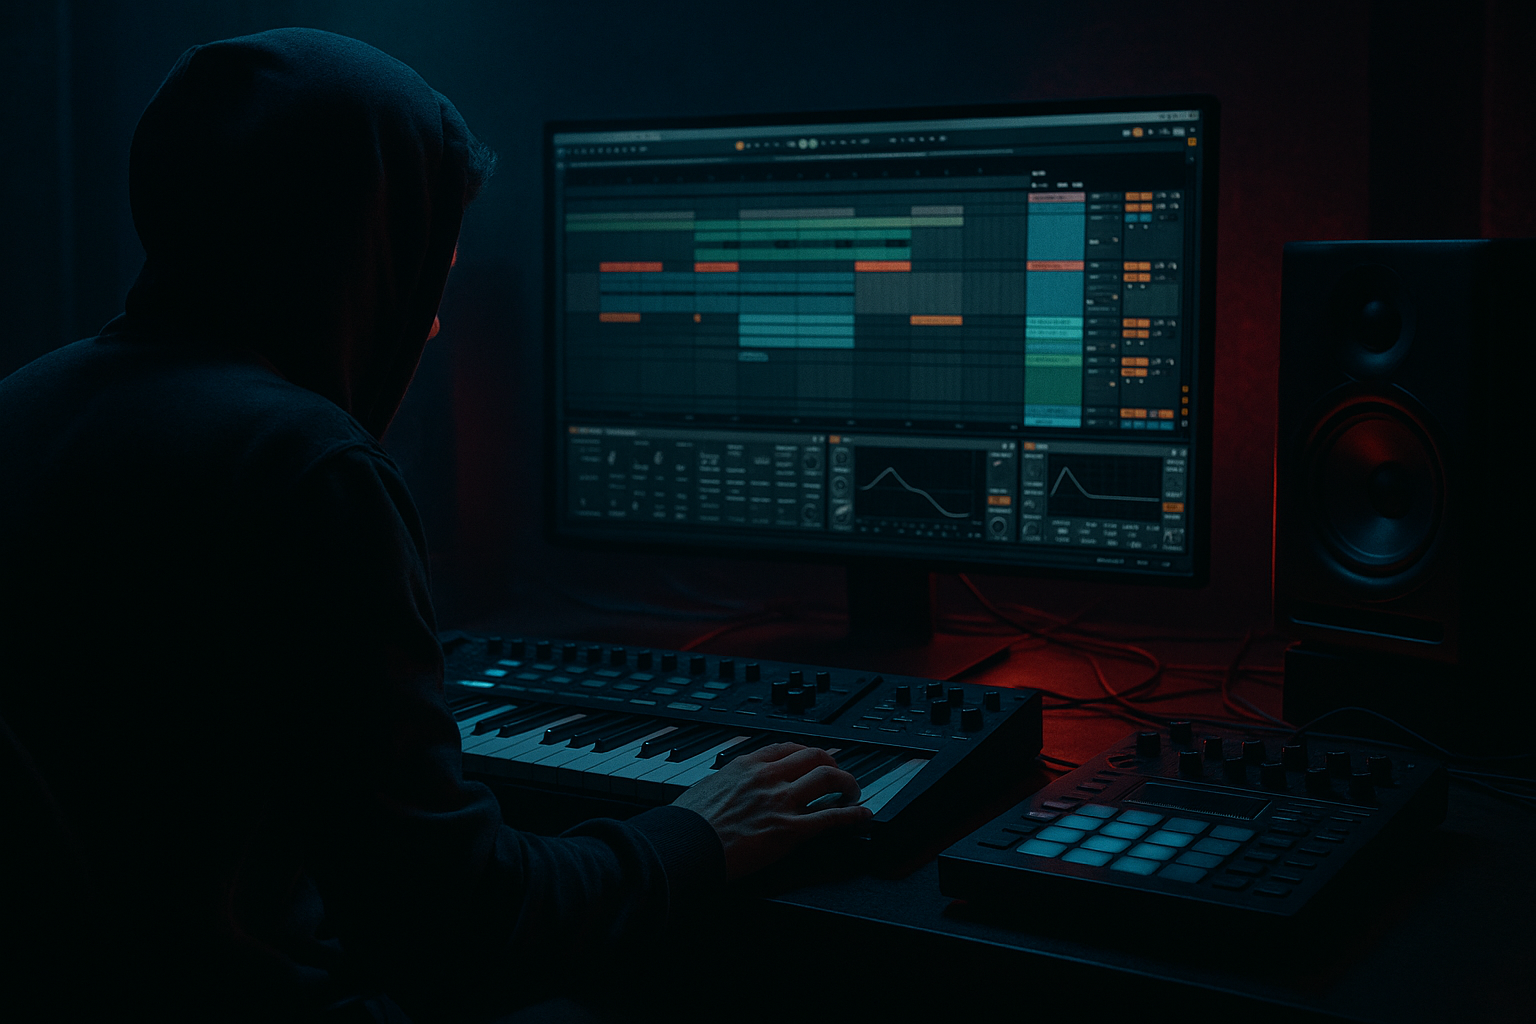
Get ready to design gritty, old-school hardcore stabs for rolling drum & bass in Ableton Live. This lesson walks you through building punchy, short stabs that cut through the mix — the kind of stabs you hear accenting breaks, driving rollers, and hyping drops in jungle/DnB sets. We'll use stock Ableton devices (Wavetable/Analog/Operator, Simpler/Sampler, Saturator, EQ Eight, Compressor/Glue, Drum Buss, Auto Filter, Utility, Reverb/Hybrid Reverb, Delay) and practical workflows to make stabs that are punchy, dark, and club-ready. ⚡️
Target: intermediate producers — you should already be comfortable with Live’s instruments and basic routing. Tempo examples assume 170–175 BPM.
2. What you will build
A layered, playable stab instrument (Instrument Rack) you can trigger with single MIDI notes or chord MIDI. It will include:
- A transient/attack layer (noise or click) for snap
- A body layer (synth stab made in Wavetable or Analog) for tone and character
- A sampled top layer (piano/organ stab in Simpler or Sampler) for old-school flavor
- An FX chain: short gated reverb/delay, saturation and compression, EQ and stereo control
- Macros for Decay, Filter Cutoff, Drive, and Stab Variation (chain selector or macros)
- Set project tempo to 174 BPM (typical DnB).
- Create a MIDI track and name it “Hardcore Stab Rack”.
- Load an empty Instrument Rack (Instrument Rack > Drop an instrument inside later).
- Osc A: Saw, Unison 4, Detune 0.09
- Osc B: Square, Mix 20%
- Filter: LP24, Cutoff 700 Hz, Resonance 0.15, Drive 3
- Envelope (Amp): A 0 ms, D 220 ms, S 0, R 80 ms
- Envelope (Filter): Amount 42%, D 240 ms
- Saturator: Drive 4, Dry/Wet 70%
- EQ: High-pass 150 Hz, slight bell +2.5 dB at 2.3 kHz
- Too much low end in stabs: stabs should not fight the sub bass. Always HPF below 120–200 Hz.
- Over-reverbing: long reverb smears stabs. Use short decay or gated reverb for a staccato feel.
- Too slow decay/release: make sure decay fits the DnB tempo — too much sustain makes the mix muddy at 174 BPM.
- Over-widening low mids: stereo low energy causes phase and mono-collapse on systems. Keep low frequencies mono (Utility or M/S EQ).
- Neglecting velocity/modulation: static stabs sound robotic. Map velocity to cutoff/volume for expressive variation.
- Crushing dynamics with excessive compression: glue compressors are great, but overcompressing kills transient snap. Use parallel compression for thickness.
- Layer a detuned sub-pulse under the stab (sine or low saw one octave below) but keep it super low and low-passed so it fills without clashing with your bassline. Use a sidechain gate so it only plays under stabs.
- Parallel saturation chain: duplicate the entire stab rack, heavily saturate/distort the duplicate, low-pass it around 3–5 kHz, then blend under the original for grit without harshness.
- Use Multiband Dynamics: compress the mid/high bands more aggressively to bring out attack while keeping low band dynamic for sub energy.
- Add a tiny amount of frequency modulation (Operator or Wavetable FM) on the attack only — use an envelope to modulate pitch by a few cents for a growl.
- Automate filter resonance and cutoff in patterns: small bursts of resonance on the off-beats add menace.
- Use short, distorted reverse pre-stabs: take your stab, reverse a short slice, pitch down a semitone, and place it before the stab to create eerie tension.
- Tighten transients with Drum Buss: use Transient slider to the left for punch, Drive slightly up for warmth.
- Stereo unison: put one body layer slightly left, another slightly right, detune small amounts to create a wide but not washy effect. Use Utility to center low frequencies.
- For live or DJ friendly setups, map chain selector to a macro and assign to a MIDI knob for instant vibe switches.
- Old-school hardcore stabs for DnB are short, punchy, and characterful. Layer a transient, a synth body (Wavetable/Analog), and a sampled top for classic flavor.
- Use tight envelopes (Decay ~160–320 ms, short release), HPF to clear bass space, and saturation/parallel distortion to add grit.
- Employ gated reverb, filtered automation, and velocity modulation to create movement and variation.
- Keep low end mono, avoid over-reverb, and use macros and chain selectors for live variation/control.
- Practice building the patch, program an 8-bar loop at 174 BPM, and experiment with distortion and gated reverb to match your darker/heavier DnB vision. 🔥
You’ll then create patterns and arrangement ideas for classic jungle/DnB use: stabs on off-beats, call-and-response fills, and pre-drop tension. 🎚️
3. Step-by-step walkthrough
Preparation
Layer 1 — Transient (Attack) Layer: quick snap
1. Create a new Instrument Rack chain; label it “Transient”.
2. Drop Simpler (Classic) into the chain.
3. Load or drag a short noise sample (white noise hit, snare top, or a sampled click). If you don’t have a sample, use Operator with a short, high-pass filtered sine/square burst:
- Operator: Osc A = Sine; Envelope: Attack 0 ms, Decay 60–120 ms, Sustain 0, Release 20–50 ms; Pitch Envelope small +12–36 cents for click.
4. In Simpler, set the filter: Low Cut at 500–800 Hz (we want highs only).
5. Add Glue Compressor after Simpler: Threshold around -10 to -18 dB, Ratio 4:1, Attack 1–3 ms, Release 80–150 ms — tighten the transient.
6. Add Utility (post-compressor) and set Width to ~110–140% for a slightly wider snap.
Layer 2 — Body (Synth Stab) — Wavetable example
1. Create another chain in the Instrument Rack; label it “Body”.
2. Load Wavetable (or Analog if you prefer a warmer sound).
3. Wavetable settings:
- Osc A: Saw-based wavetable (e.g., “Classic-Saws”), Unison 4 voices, Detune 0.06–0.12, Spread 25–40%
- Osc B: Add a square or thick pulse one octave above or at same octave, mix ~15–30%
- Filter: Low-pass 24 dB (LP24), Drive: 2–6, Cutoff initially ~700 Hz (tweak to taste)
- Envelope 1 = amp envelope: Attack 0 ms, Decay 200–320 ms, Sustain 0, Release 60–120 ms (short, stabby)
- Envelope 2 modulates filter: Amount ~30–55%, Decay similar to amp envelope (so filter closes as note decays).
- LFO: Use a subtle LFO (triangle) mapped to pitch or wavetable position with very small amount for movement (sync rate 1/8 or off).
4. Post Wavetable effects chain (in the Instrument Rack chain):
- EQ Eight: High-pass at 120–180 Hz (leave low end for bass), narrow cut at 300–400 Hz if muddy.
- Saturator: Drive around 2–5 dB, Soft Clip or Analog Clip mode.
- Multiband option: If you have Multiband Dynamics, lightly compress mids to glue tone.
- Glue Compressor: Threshold -6 to -12 dB, Ratio 3–4:1, Attack 6–10 ms, Release 150–300 ms to add punch.
Layer 3 — Sampled Top Layer (Piano/Organ stab)
1. Create third chain; label “Top Sample”.
2. Put Simpler in Classic mode or use Sampler (if you have Suite) for more control.
3. Load a short piano/organ stab sample — old hardcore/piano stab samples or loop-library single hits work great. If you don’t have one, sample a single chord from a VST or use a short chord from Wavetable and resample.
4. In Simpler:
- Warp OFF (we want sample to change pitch naturally when transposed).
- Set Start and End so the sample plays the transient and body (trim silence).
- Filter: Lowpass ~3k–5k, High-pass at 200–300 Hz.
- Envelope: Attack 0–10 ms, Decay 160–320 ms, Sustain 0, Release ~70–130 ms.
5. Add these FX (after Simpler):
- EQ Eight: Cut low below 200 Hz, slight bump 1.5–3 kHz for presence
- Reverb (Hybrid Reverb or Reverb): Short plate style 10–20% wet, Decay 0.3–0.8 s, Pre-Delay 10–30 ms. Alternatively, use a short gated reverb technique (see below).
- Delay (Echo or Simple Delay): Ping Pong off, Dry/Wet 5–12%, Sync 1/8 or dotted 1/16 for stereo movement.
Combine & Glue
1. Macro mapping:
- Map Body Envelope Decay, Filter Cutoff, Saturator Drive, and an overall Dry/Wet of a Convolution or Hybrid Reverb to macros 1–4 (Decay, Cutoff, Drive, Reverb).
2. After Instrument Rack, create an FX chain:
- EQ Eight: High-pass at ~110 Hz to ensure no bass mud.
- Saturator: Drive 2–6 dB, choose Analog Clip for grit.
- Drum Buss (optional): Transient shaping — add a bit of Boom for body or Distortion for growl.
- Glue Compressor on the return: Threshold -8 to -14 dB, Attack ~10 ms, Release ~200 ms — glue two main synth layers.
- Utility: Make sure width is controlled — set to 100% for full stab, but if you use heavy stereo effects, you may want to reduce low-mid width (see pro tips).
3. Gated Reverb trick (classic hardcore vibe):
- Create a Return track set up as “Gated Reverb”.
- Put Reverb with Decay ~0.5–1.2 s, Dry/Wet = 100% (because it’s a return).
- After Reverb, put Gate (Audio Effect Rack > Gate) with sidechain off but set Threshold high so reverb rings only on strong hits. Alternatively use Compressor sidechain with an LFO to mimic gating. Tweak Attack 0–10 ms, Hold 40–120 ms for that chopped reverb tail.
- Send Top Sample (and some Body) to this return at low levels for that classic chopped reverb tail.
Playable & Variation Controls
1. Use Chain Selector to have multiple “body” variations (e.g., dry, distorted, metalized). Create 2–3 chains with different saturation and filter settings and map Chain Selector to a Macro.
2. Map macros:
- Macro 1: Decay (map to each chain’s envelope decay)
- Macro 2: Filter Cutoff (map to Wavetable filter and Simpler filter)
- Macro 3: Drive/Saturation
- Macro 4: Gated Reverb Send
3. Map Velocity:
- Map velocity to sample volume and filter cutoff so harder notes sound more aggressive.
Programming patterns & arrangement ideas (DnB context)
1. Groove placement:
- In a typical 1-bar loop at 174 BPM, place stabs:
- On the “and” of beat 1 and beat 3 (i.e., 1.5 and 3.5) for off-beat energy.
- Or on the “2e” (16th note grid) to accent amen breaks.
- Use shorter stabs (decay 160–260 ms) for rapid patterns and longer for fills.
2. Variation techniques:
- Pre-drop: automate Macro 1 (Decay) to increase slightly and Macro 2 (Cutoff) to close, creating tension.
- Build: add more distorted chain as you approach the drop with Chain Selector.
- Call-and-response: use one stab voicing for the first half-bar, another for the second half. Automate chain selector every bar.
3. Interaction with drums:
- Duck stabs subtly with sidechain compression triggered by the snare or main kick — on returns or parallel compression rather than killing attack.
- Keep low frequencies of stabs out of the bass path: HPF at 120–200 Hz, or use Multiband Dynamics to lightly compress lower band.
Quick preset example — Wavetable numbers
4. Common mistakes
5. Pro tips for darker/heavier DnB
6. Mini practice exercise (30–45 minutes)
Goal: Build one stab patch and create an 8-bar loop at 174 BPM that uses the stab for variation and drop hype.
1. Build:
- Create an Instrument Rack with three chains: Transient, Body (Wavetable), Top Sample (Simpler).
- Implement the FX chain described above (Saturator, EQ, Glue).
- Map four macros: Decay, Cutoff, Drive, GatedReverb Send.
2. Program:
- Make an 8-bar MIDI clip, 174 BPM.
- Create a drum loop with an amen/snare break or 2-step DnB groove.
- Place stabs:
- Bars 1–2: sparse off-beat stabs (1.5 and 3.5).
- Bars 3–4: double up on the stab decay and add distorted chain.
- Bars 5–6: reverse pre-stab into stab on bar 6.
- Bars 7–8: increase Macro 1 (Decay) and Macro 3 (Drive) to build to a drop or a snare roll.
3. Export:
- Duplicate the 8-bar section and render to audio (resample) with some FX automation to use as a filler loop in your arrangement.
7. Recap
If you want, I can export a ready-to-use Ableton Rack preset (XML/ALP instructions) or walk through making the Wavetable patch step-by-step in your Live version. Want that? 🎛️

