Main tutorial
```markdown
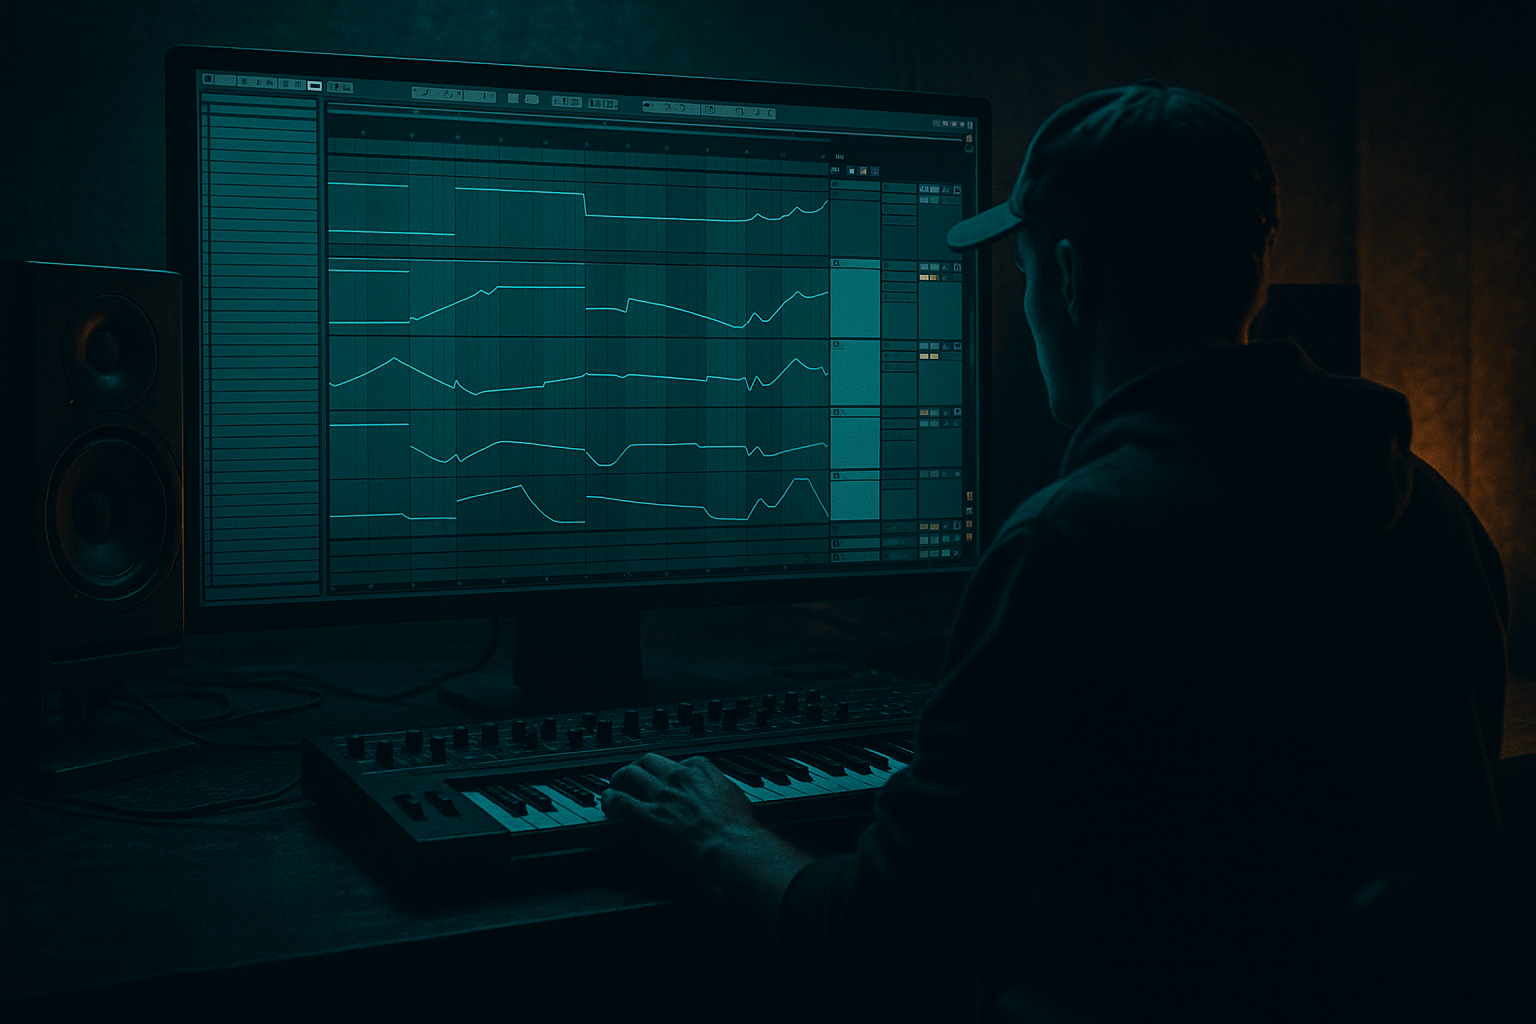
Creative Warping of Breaks from Scratch (Arrangement View) — DnB in Ableton Live 🎛️🥁
1. Lesson overview
In drum & bass, the break is sacred — but the magic is in how you warp it. In this lesson you’ll learn a beginner-friendly, Arrangement View workflow to take a raw break (Amen, Think, Hot Pants, any drum loop) and turn it into tight, rolling, aggressive DnB drums using Ableton Live’s Warp modes, transient control, and creative time-stretching.
You’ll learn:
- How to set up warping correctly from scratch (no guessing)
- How to “DnB-tighten” a break while keeping its vibe
- How to create variation, swing, stutters, half-time drops, and fills in Arrangement
- A practical processing chain using stock Ableton devices
- A 16–32 bar DnB drum arrangement based on one break
- A break that is:
- A go-to break processing rack/chain for heavier music
- Rolling minimal DnB (tight ghost notes, controlled low-end)
- Jungle-revival (wilder warp, pitch tricks, edits)
- Dark/heavy (crunch + controlled transient smack)
- Return A (Short Room): Reverb
- Start with Beats mode for breaks.
- If the break has lots of tonal material (cymbals/room), test Complex at low CPU moments, but Beats is usually the punchiest for DnB.
- Warp kicks and snares only across 2–4 bars.
- Then listen looped.
- If hats feel late/early in a cool way — keep it.
- Move a ghost/snare flam earlier for aggression
- Move a hat later for swing
- Tighten only the snare transient, leave tail loose (don’t over-pin the decay)
- At the end of bar 8, slice a snare hit
- Duplicate it as 1/8 notes for one beat
- In a fill region, add a warp marker and drag a transient slightly to create a sudden slow-down feel.
- Keep it short (1/2 bar max) so it reads as an effect, not bad timing.
- Transient shaping with Drum Buss (already helps)
- Gate (great for tighter room/hat decay if the break is washy)
- Bars 1–9 (Intro groove): break filtered (EQ Eight lowpass automation)
- Bars 9–17 (Main): full break, tight + punchy
- Bars 17–25 (Variation): add stutters, micro-warp tension, extra ghost push
- Bars 25–33 (Fill + drop cue): halftime stretch + snare roll → back to main
- EQ Eight lowpass opening into the drop
- Drum Buss Drive increasing slightly in fills
- Reverb send (Short Room) up on the last snare of a phrase
- Warping every transient: makes it rigid and lifeless. Anchor kicks/snares first.
- Wrong “1.1.1”: if the downbeat is off, everything fights you. Fix this early.
- Using Complex for everything: it can smear transients; Beats mode usually hits harder.
- No fades after chopping: clicks will ruin edits. Use Arrangement fades (press A).
- Overdoing saturation/compression: breaks get crispy fast. Gain-match and A/B often.
- Parallel crush (Return track):
- Cymbal control for dark rollers:
- Make space for the sub:
- Texture warp for horror vibes:
- Phrase endings:
- You learned a reliable warp setup: Set 1.1.1 and Warp From Here (Straight).
- For DnB breaks, Beats mode is your punchy default.
- Warp anchors first (kick/snare), then add micro-warping for roll and groove.
- Arrangement View edits (split, duplicate, fades) are powerful for jungle-style chopping.
- Stock devices (EQ Eight, Drum Buss, Saturator, Glue) can take a raw break into dark, loud, modern DnB fast.
---
2. What you will build
By the end, you’ll have:
- Quantized and clean (where you want it)
- Groovy and human (where it matters)
- Chopped + re-arranged into classic jungle/DnB patterns
Target vibe examples:
---
3. Step-by-step walkthrough
Step 0 — Session prep (fast but important)
1. Set tempo to 172–176 BPM (classic DnB zone).
2. Turn on the grid:
- Right-click Arrangement grid → set to 1/16 to start.
3. Create tracks:
- 1 audio track: BREAK
- 1 return track: SHORT ROOM (reverb)
- 1 return track: DRUM VERB/FX (optional for vibes)
Suggested return settings:
- Decay: 0.4–0.8s
- Predelay: 5–15ms
- Low Cut: 250–400 Hz
- Dry/Wet: 100% (because it’s a return)
---
Step 1 — Import a break and set Warp correctly
1. Drag your break sample into Arrangement View on the BREAK track.
2. Click the clip to open Clip View.
3. Enable Warp (if it isn’t already).
4. Set the correct downbeat:
- Find the first true “1” (usually the first kick transient).
- Right-click that transient → “Set 1.1.1 Here”
5. Now right-click again → “Warp From Here (Straight)”
✅ This is the cleanest way to force Ableton to align the break musically.
Warp Mode choice (DnB-focused):
- Preserve: Transients
- Envelope: 20–40 ms (tighter = smaller; more natural = larger)
---
Step 2 — Tighten the timing without killing the groove
Goal: lock the break to DnB tempo while keeping the “human rush”.
1. In Clip View, turn on Warp Markers view (you’ll see grey markers and yellow warp markers).
2. Zoom in to a bar.
3. Find key hits:
- Kick on 1
- Snare on 2 and 4 (or where it lands in the break)
4. Only correct the important anchors first:
- Double-click to create warp markers on key hits (kick/snare).
- Drag them gently to the nearest grid line.
DnB tip:
Don’t warp every hat/ghost note yet. Over-warping makes breaks sound stiff and “cheap”.
Quick workflow suggestion:
---
Step 3 — Create “rolling” energy using micro-warping
This is where DnB break warping becomes creative.
1. Find a ghost note before the snare (a little pre-snare tick).
2. Put a warp marker on the ghost note and one on the snare.
3. Slightly pull the ghost note earlier (a few milliseconds).
4. Leave the snare on-grid.
Result: forward momentum = rolling feel 🔥
Try these micro moves:
---
Step 4 — Convert one break into multiple variations (Arrangement workflow)
Now we’ll create edits using Arrangement tools (super DnB-friendly).
#### 4A) Duplicate and label sections
1. Select 4 bars of your break → Cmd/Ctrl + D (duplicate) until you have 16 bars.
2. Rename locators:
- Bar 1–5: A (Main Roll)
- Bar 9: B (Variation)
- Bar 13: C (Fill + Drop)
#### 4B) Slice by editing the audio directly (no Simpler required)
1. Highlight a small region around a snare or kick.
2. Cmd/Ctrl + E to split.
3. Move the slice slightly earlier/later.
4. Add tiny gaps for stutters:
- Split two times around a hat/snare
- Delete a tiny middle slice (or move it)
- Turn on Fades (press A in Arrangement) and add micro-fades to avoid clicks.
Classic jungle trick:
Make a 1-beat stutter right before a drop:
---
Step 5 — Half-time and “time-stretch drama” (Warp as an effect)
DnB loves switching perceived speed.
#### 5A) Half-time breakdown from the same break
1. Pick a 2-bar section (e.g., bars 9–11).
2. In Clip View, increase the loop length or stretch the region:
- Drag the clip end to make it longer (warp will time-stretch)
3. Switch Warp Mode:
- Try Texture for gritty stretched cymbals
- Grain Size: 80–200
- Flux: 10–25
- Or keep Beats for choppy machine-gun style
Result: instant halftime “breather” without changing project tempo.
#### 5B) “Stop-start” tape feel (quick)
---
Step 6 — DnB break processing chain (stock devices)
On the BREAK track, try this starting chain:
1. EQ Eight
- HPF (low cut): 25–35 Hz (remove rumble)
- Small dip: 250–450 Hz if boxy (1–3 dB)
- Gentle lift: 3–8 kHz if it needs snap (careful with harshness)
2. Drum Buss 🧱
- Drive: 5–15%
- Crunch: 0–20% (taste)
- Boom: Off or very low (often conflicts with DnB sub)
- Transients: +5 to +20 for snap
3. Saturator
- Mode: Analog Clip
- Drive: 2–6 dB
- Turn on Soft Clip
This helps the break feel louder and more “printed”.
4. Glue Compressor
- Attack: 3–10 ms
- Release: Auto
- Ratio: 2:1
- Aim for 1–3 dB gain reduction
5. Utility
- Mono the low end if needed:
- Width: 80–100% (or automate)
- Gain match after processing (don’t trick your ears)
Optional:
---
Step 7 — Arrange like a real DnB tune (simple template)
Here’s an easy 32-bar drum structure using your warped break:
Automation ideas 🎚️:
---
4. Common mistakes
---
5. Pro tips for darker/heavier DnB 😈
- Create Return B: add Saturator → Drum Buss → EQ Eight
- High-pass at 150–250 Hz
- Send break to it subtly for aggression without muddying subs.
- Use EQ Eight to tame harsh bands around 6–10 kHz
- Consider a gentle dip at 12 kHz if it’s too “shimmery” for dark DnB.
- Keep the break’s low end disciplined (HPF 25–35 Hz, sometimes higher depending on the sample)
- If the break has a big low kick, consider splitting duties: layer your own kick/sub later.
- Duplicate the break track.
- Warp duplicate in Texture mode and filter it heavily.
- Blend quietly under the main break for a gritty aura.
- Classic dark DnB move: last snare of 8 bars gets reverb throw + a tiny time-stretch wobble.
---
6. Mini practice exercise (15–20 minutes)
1. Import a break and warp it properly using:
- Set 1.1.1 → Warp From Here (Straight) → Beats mode.
2. Make a 16-bar loop in Arrangement:
- Bars 1–9: main groove
- Bars 9–13: variation (micro-warp ghost notes)
- Bars 13–17: fill (1-beat stutter + reverb throw)
3. Add the processing chain:
- EQ Eight → Drum Buss → Saturator → Glue
4. Bounce a quick demo:
- File → Export Audio/Video (or resample to audio)
- Listen on headphones and speakers: check harsh hats + snare punch.
Goal: one break, three vibes: tight, rolling, and fill/drop-ready.
---
7. Recap ✅
If you want, tell me what break you’re using (Amen/Think/etc.) and what subgenre (rollers, neuro, jump-up, jungle), and I’ll suggest a warp/edit plan that fits it.
```

