Main tutorial
```markdown
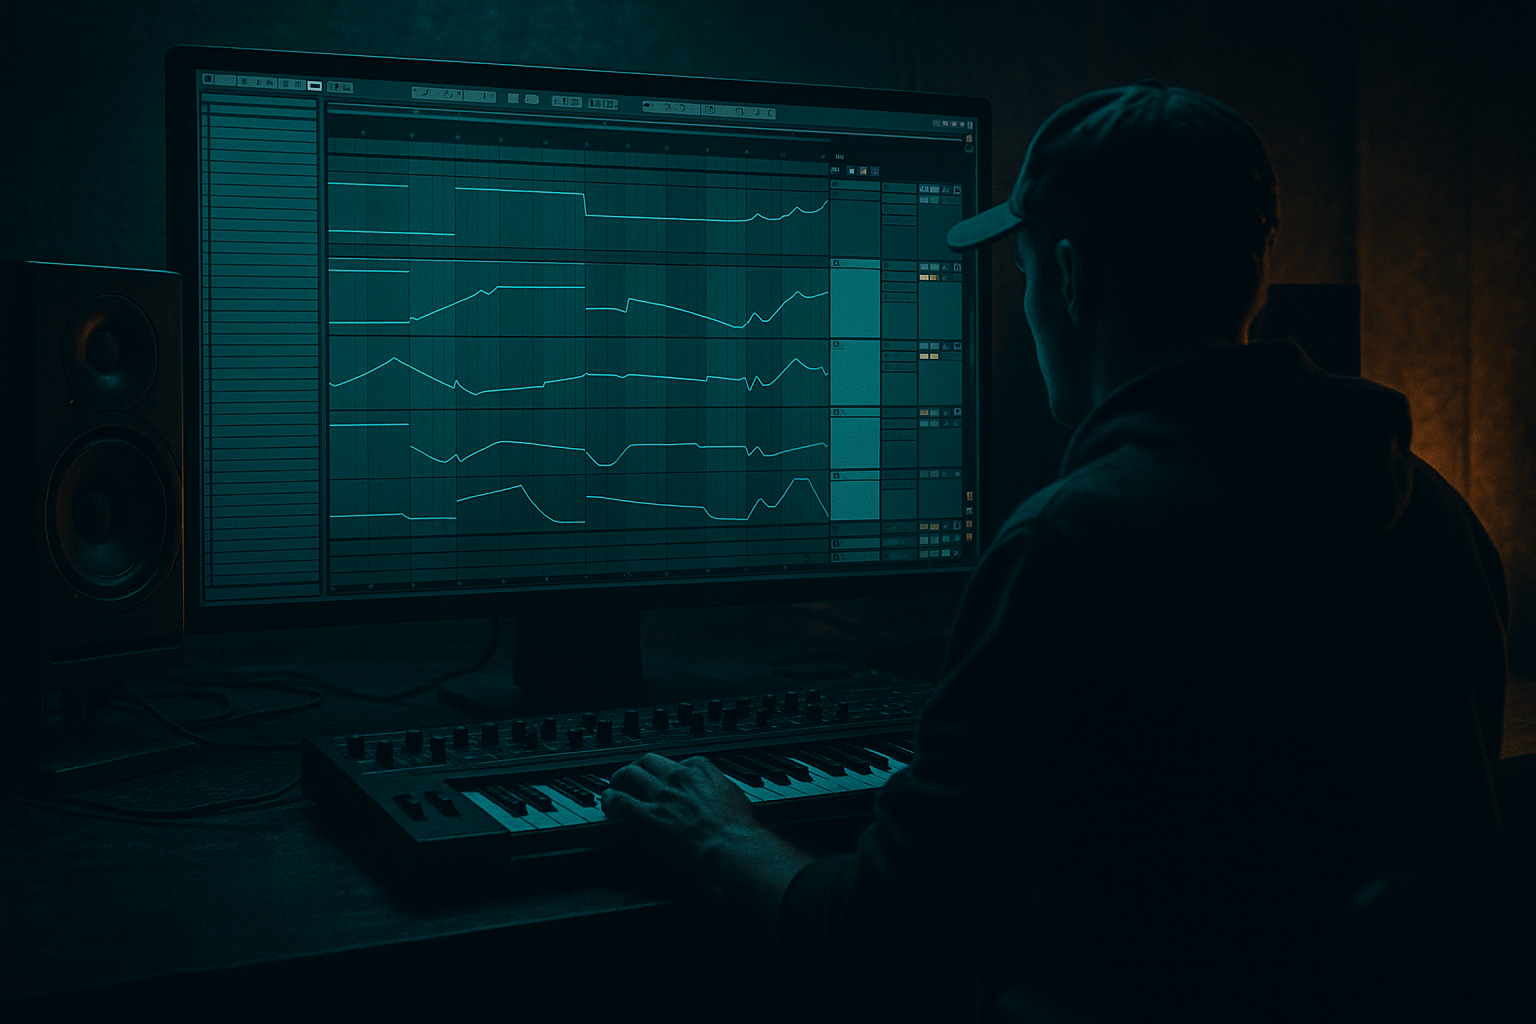
Dark mix translation on small speakers for jungle rollers (Ableton Live) 🥁🔊🌑
1. Lesson overview
Getting a dark, weighty jungle roller to translate on small speakers (phone, laptop, cheap Bluetooth) is all about midrange clarity, controlled low end, and smart distortion—without killing the vibe. In DnB, the sub often disappears on tiny speakers, so your track needs audible bass harmonics, a punchy kick presence, and breaks that stay crisp even at low volume.
In this lesson, you’ll learn a beginner-friendly workflow in Ableton Live to make your mix sound dark + heavy, but still readable on small playback systems.
---
2. What you will build
By the end, you’ll have:
- A simple “small speaker translation” monitoring chain you can toggle on/off 🎛️
- A bass chain that keeps the sub deep but adds mid harmonics so it’s audible anywhere
- A break + drums balance that stays punchy on tiny speakers
- A dark mix that doesn’t turn into a muddy blob
- Leave empty (or just keep it identical to your normal monitoring).
- Can you still hear the bass line rhythm (not sub, the notes/groove)?
- Does the snare crack and lead the groove?
- Do the break transients stay present or vanish?
- Is the mix midrange-dense but not harsh?
- Snare body + crack
- Kick beater / knock
- Break presence in 2–6 kHz
- Controlled low-mid (150–400 Hz) so it doesn’t cloud everything
- Clean sub (30–80 Hz)
- Dirty harmonics (120 Hz–2 kHz) that carry on small speakers
- BASS SUB
- BASS MID
- In SMALL SPEAKER mode, turn off SUB: can you still follow the bassline?
- Add Compressor
- Enable Sidechain
- Input: Kick
- Settings:
- Controlled peaks
- Midrange density
- Transient clarity
- Design darkness with tone, not lack of clarity:
- Make “audible bass rhythm” the goal:
- Use subtle filtered noise layers for presence:
- Automate break filtering for movement:
- Reference like a producer:
- Small speakers can’t reproduce sub, so you must build bass harmonics (MID layer) while keeping SUB clean.
- Translation lives in midrange management, especially 150 Hz–6 kHz.
- Use a Small Speaker monitoring rack (EQ + Mono + Saturation) to spot problems fast.
- Keep jungle rollers dark by controlling low-mid mud and shaping highs—not by deleting them.
- Sidechain and transient control make the groove hit consistently everywhere.
---
3. Step-by-step walkthrough
Step 0 — Set up your session like a DnB producer
1. Tempo: 160–174 BPM (try 170 BPM for a classic roller).
2. Arrangement markers (basic roller layout):
- 0:00 Intro (16 bars)
- 0:30 Drop (32 bars)
- 1:15 Breakdown (16 bars)
- 1:45 Second drop (32 bars)
3. Group your channels (right-click → Group Tracks):
- DRUMS (kick, snare, breaks, hats)
- BASS
- MUSIC/ATMOS
- FX/VOX
4. Put Utility at the end of each group (for quick gain trim and mono checks).
> Goal: keep your project organized so translation fixes are fast.
---
Step 1 — Build a “Small Speaker Check” monitoring chain (Ableton stock)
This is the secret weapon: you’ll mix normally, then quickly flip into “crappy speaker mode” to see what disappears.
On your Master, add this chain after your mix bus processing (or keep your master clean and use it as your final insert). Use an Audio Effect Rack so you can toggle it:
#### Create the rack
1. Add Audio Effect Rack to Master.
2. Create 2 chains:
- Chain A: `NORMAL`
- Chain B: `SMALL SPEAKER`
#### NORMAL chain
#### SMALL SPEAKER chain (stock devices)
Add:
1. EQ Eight
- Enable HP filter at 150 Hz, 24 dB/oct
- Add a gentle bell boost: +2 to +4 dB at 1.5–2.5 kHz (Q ~ 0.7–1.2)
- Optional: tiny shelf down above 10 kHz (-1 to -2 dB) to mimic dull speakers
2. Utility
- Mono ON (small speakers often act effectively mono)
- Gain: adjust so the volume matches NORMAL (avoid louder = “better” bias)
3. Saturator
- Mode: Soft Clip
- Drive: 2–5 dB
- Output: trim to match level
Now map the Chain Selector (Macro 1) so you can flip between NORMAL and SMALL SPEAKER.
✅ What you’re listening for in SMALL SPEAKER mode:
---
Step 2 — Get the drum foundation translating (kick/snare + breaks)
In jungle rollers, the “translation anchor” is usually:
#### 2A) Kick (simple but effective)
Kick track chain (stock):
1. EQ Eight
- HP at 25–35 Hz (remove useless rumble)
- Gentle dip if muddy: 200–300 Hz (-2 to -4 dB, Q ~1)
- Presence if needed: 2–4 kHz (+1 to +3 dB)
2. Saturator
- Drive 1–3 dB, Soft Clip ON
3. Glue Compressor
- Attack: 10 ms
- Release: Auto
- Ratio: 2:1
- Aim for 1–2 dB of GR on peaks
> On small speakers, you’re mostly hearing the kick’s upper knock, not the sub.
#### 2B) Snare (make it the lighthouse 🧭)
Snare chain:
1. EQ Eight
- HP at 90–120 Hz
- Add 180–220 Hz if it needs body (+1 to +3 dB)
- Add 3–5 kHz for crack (+2 to +4 dB)
2. Drum Buss
- Drive: 5–15%
- Crunch: 0–10%
- Boom: 0–10% (careful—can get boxy)
3. Optional Reverb (very short, dark)
- Decay: 0.4–0.8 s
- Low Cut: 250–400 Hz
- High Cut: 6–9 kHz
- Dry/Wet: 5–12%
#### 2C) Breaks (classic jungle roll without harshness)
For an amen/think-style loop, small speakers need transient + presence, but darkness means you’ll manage the top end carefully.
Break loop chain:
1. EQ Eight
- HP at 80–120 Hz (don’t fight kick/sub)
- Dip mud: 250–450 Hz (-2 to -5 dB)
- Presence: 2–6 kHz (+1 to +3 dB)
- If too fizzy: gentle shelf -1 to -3 dB above 9–12 kHz
2. Drum Buss
- Drive 5–20%
- Transients: +5 to +20 (helps small speakers)
3. Glue Compressor
- Attack: 3 ms (faster = more control)
- Release: 0.1–0.3 s
- Ratio 2:1
- GR: 1–3 dB
4. Optional Auto Filter for movement (dark roller vibe)
- LP cutoff around 8–14 kHz
- Very subtle LFO for evolving darkness (tiny amount)
Balance tip: In SMALL SPEAKER mode, your snare and break should still drive the groove even if the sub disappears.
---
Step 3 — Make the bass audible without ruining the sub (the key to translation)
A dark roller bass usually has:
#### 3A) Split bass into SUB and MID (recommended beginner method)
Duplicate your bass track (or create two instruments):
##### SUB track
Chain:
1. EQ Eight
- LP around 90–120 Hz (steep if possible)
2. Utility
- Mono ON
3. Optional Compressor
- Gentle control, aim 1–2 dB GR
Keep the SUB clean. No wide chorus, no heavy distortion.
##### MID track (this is what small speakers hear)
Chain:
1. EQ Eight
- HP at 90–120 Hz
- Shape presence around 200 Hz–1.5 kHz
2. Saturator
- Drive: 4–10 dB
- Soft Clip ON
3. Amp (stock) or Overdrive
- Amp preset idea: Bass or Clean style
- Keep it controlled—DnB mid-bass can get spiky fast
4. Multiband Dynamics (gentle)
- Use to tame harsh mids; don’t over-compress
5. Utility
- If it feels too wide/weird: reduce Width to 70–100%
- (Small speakers + mono = you want solid center info)
✅ Translation check:
If not: add more MID harmonics (Saturator/Amp) or raise MID fader slightly.
---
Step 4 — Control the “darkness”: avoid low-mid mud (the #1 killer)
Dark doesn’t mean “no highs”—it means focused highs and clean low-mids.
#### Quick mud audit (fast workflow)
1. Put Spectrum on DRUMS group and BASS group.
2. In NORMAL mode, sweep EQ Eight (temporary) on MUSIC/ATMOS:
- Find buildup around 200–500 Hz
- Cut gently -2 to -4 dB if it’s masking snare/bass harmonics
Rule of thumb for rollers:
If the mix feels “heavy” but small speakers sound like a blanket is on them, you likely have too much 200–400 Hz across multiple channels.
---
Step 5 — Use sidechain for groove and clarity (beginner-friendly)
Sidechain helps translation because it prevents the bass from smearing the kick and low mids.
On BASS SUB and/or BASS MID:
- Ratio: 4:1
- Attack: 1–5 ms
- Release: 80–150 ms (sync to groove—DnB often likes a musical release)
- Aim for 2–5 dB gain reduction on kick hits
Then check in SMALL SPEAKER mode: kick should poke through consistently.
---
Step 6 — Make the mix feel loud on small speakers without crushing it
Instead of slamming a limiter early, build perceived loudness with:
Basic “safe” master chain for beginners (optional):
1. EQ Eight (tiny corrections only)
2. Glue Compressor
- Ratio 2:1, Attack 10 ms, Release Auto, GR 1–2 dB
3. Limiter
- Ceiling: -1.0 dB
- Don’t chase huge loudness yet—focus on translation
> If you push the limiter too hard, small speakers will sound flat and crunchy in the wrong way.
---
4. Common mistakes 🚫
1. All sub, no harmonics
Sounds massive on headphones, disappears on phone.
2. Too much 200–400 Hz (“dark = muddy”)
Turns into cardboard and masks snare + bass definition.
3. Over-widening bass
Chorus/wideners on sub = weak mono playback.
4. Over-saturating the whole drum bus
You lose transient snap; small speakers need transients.
5. Mixing too loud
If monitoring is loud, you’ll under-mix mids and overdo sub.
---
5. Pro tips for darker/heavier DnB 🌑⚙️
Keep controlled top end, but don’t remove it entirely. A dark roller still needs 2–6 kHz information.
Your MID bass should carry the pattern even if the SUB is muted.
A tiny hat/noise layer around 6–10 kHz can keep the groove alive at low volumes.
Low-pass breaks slightly in verses, open them at drops. Classic jungle energy without brightness fatigue.
Drop in a jungle roller you love, level-match it, and A/B in SMALL SPEAKER mode.
---
6. Mini practice exercise 🎯
Goal: Make a 16-bar loop translate on phone speakers.
1. Build a loop with:
- Kick
- Snare
- Break loop
- Sub bass (simple sine)
- Mid bass layer (distorted)
2. Set up the SMALL SPEAKER rack on the master.
3. Do this test:
- Mute SUB bass → does the bassline still feel present?
If not, add harmonics to MID (Saturator/Amp) or raise MID level.
- Switch to MONO → does the snare still dominate the groove?
If not, adjust snare EQ (3–5 kHz) or reduce masking in breaks.
- Turn volume down very low → can you still nod your head?
If not, you likely need more midrange balance and/or transient clarity.
Deliverable: export a quick WAV and listen on your phone/Bluetooth. Write down one thing that disappears and fix it.
---
7. Recap ✅
If you want, tell me what you’re using for bass (Wavetable? Operator? resampled reese?) and I’ll give you a ready-to-drop Ableton device chain tailored to your sound.
```

