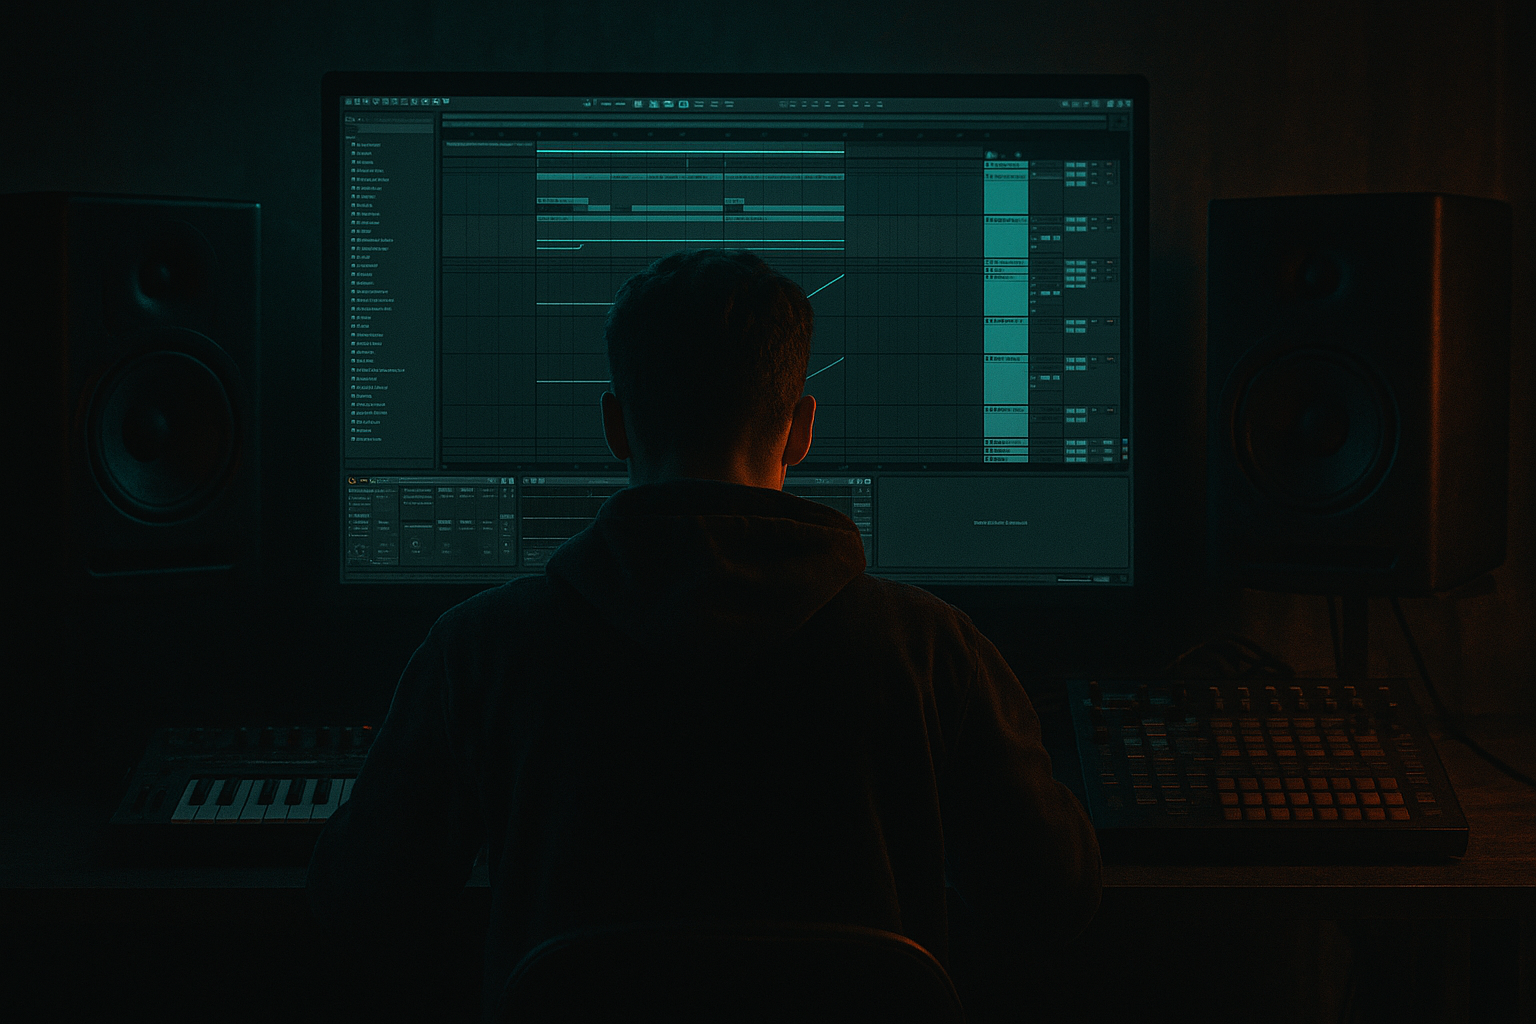
Main tutorial
Lesson Overview
The Darkside swing push method is a workflow for making your jungle and oldskool DnB drums feel like they’re constantly leaning forward, slightly unstable, and dangerously alive — without losing the tightness needed for a club mix. The idea is to build a groove where the breakbeat swing pulls back, while selected drum ghosts, ghost bass nudges, and edited fills push ahead of the grid. Then you resample the movement so the groove becomes part of the sound itself, not just a MIDI pattern.
This matters most in the 16- and 32-bar zones of a DnB track: pre-drop tension, first-drop statement, and switch-up sections after the main loop is established. In darker jungle and neuro-leaning roller contexts, the energy often comes from micro-timing contrast: one layer lags behind the pocket, another snaps slightly early, and the bass answer phrases land with just enough urgency to make the whole section feel aggressive.
In Ableton Live 12, this method is powerful because you can combine:
- Groove Pool swing for break feel
- Clip-level nudging for push/pull detail
- Resampling to commit the groove into audio
- Warping and slicing to mutate the result into new edits
- Stock devices like Drum Buss, Saturator, Echo, Auto Filter, EQ Eight, Glue Compressor, and Utility to shape the final weight
- A jungle-style break edit with ghost hits and swing offsets
- A resampled drum bus print you can chop into fills, resets, and drop variations
- A low reese / sub answer layer that interacts with the break rather than sitting under it
- A push-pull arrangement loop that works in intros, drops, and switch-up bars
- A workflow template for rapidly creating new variations without rebuilding the groove from scratch
- Kick/snare structure remains clear
- Hats and break ghosts create lopsided momentum
- Bass phrases answer the drums in call-and-response
- Resampled transitions add grit and tension between 8-bar phrases
- Over-quantizing the break
- Making every layer swing the same way
- Too much low end in the resample
- Using resampled audio without editing it
- Bass phrases filling every gap
- Processing the drum bus too hard
- Ignoring mono compatibility
- Use resampled break reversals as tension triggers
- Layer a distorted mid bass under a clean sub
- Automate tiny filter movements
- Accent the “wrong” part of the bar
- Use clipping as a character choice, not an accident
- Build 8-bar call-and-response
- Keep one “untouched” drum copy
- Build the groove from timing contrast, not just swing amount.
- Use resampling to commit the movement and turn it into editable material.
- Keep the sub mono and clean, while letting the mid bass and drums get more character.
- Slice prints into fills, reverses, and switch-ups for arrangement energy.
- In dark DnB, the magic is in the push-pull between human break feel and machine-like forward drive.
Why this works in DnB: the genre thrives on controlled rhythmic instability. If everything is perfectly quantized, the loop can feel sterile. If the swing is too loose, it loses the physical drive. This technique creates that sweet spot where the break feels human, but the arrangement still punches like a machine. 🔥
What You Will Build
By the end of this lesson, you’ll have a dark, forward-leaning 174 BPM groove built from:
Musically, the result should feel like a rolling oldskool DnB drop with darker weight:
Step-by-Step Walkthrough
1. Set up a dedicated swing-push session skeleton
Start at 174 BPM and build a simple session with three main groups:
- DRUMS: break, kick support, ghost percussion
- BASS: sub, reese, mid texture
- FX/PRINTS: resampled versions, fills, noise, atmospheres
For the drum group, load a break into an Audio Track or use Simpler in Slice mode if you want immediate chopping. Keep a second audio track ready for resampling the drum bus later. This is important: the method relies on printing movement to audio so you can edit it like a sample, not just a MIDI loop.
In the DRUMS group, add:
- Drum Buss on the group with Drive around 5–15%
- EQ Eight before or after to remove unwanted sub buildup below 25–30 Hz
- Utility with Width at 0–30% on low-frequency layers if needed
Save this as a template. Advanced workflow starts with speed and repeatability.
2. Build the core break with deliberate push/pull timing
Choose a break that already has character: think Amen, Think, Hot Pants, Funky Drummer, or a darker chopped derivative. Warp it in Beats mode and keep transients crisp. Avoid over-stretching: if the break is too mangled, the swing method loses definition.
Make a 2-bar loop. Then create timing contrast:
- Keep the main snare hits relatively grounded, often slightly behind the grid by a few milliseconds
- Push select ghost hats or snare pickups ahead of the beat
- Leave some break fragments slightly late to create drag
In Ableton Live, you can do this by:
- Dragging specific slice hits a tiny amount earlier/later on the timeline
- Using clip groove subtly in the Groove Pool with a swing feel around 54–58%
- Avoiding full quantize on every transient
Concrete setting suggestion:
- Groove amount: 20–45%
- Swing feel: 55–57%
- Velocity variation: reduce repeated hits to around 65–90 depending on emphasis
The goal is not obvious swing. It’s a hidden lean that makes the beat breathe like old sound system jungle.
3. Create the “push” layer with ghost percussion and micro-accents
Now add a second layer that pushes against the break. This is where the darkside swing method becomes special.
Add a percussion rack or a Simple loop of:
- Closed hats
- Rim clicks
- Tiny snare ghosts
- Short metallic ticks
Program them so they land:
- Slightly early before the snare to create anticipation
- Just after the kick to keep momentum
- In off-grid clusters before fills
Useful device chain:
- Auto Filter with a mild high-pass around 200–400 Hz
- Saturator with Drive around 2–6 dB
- Echo very lightly, sync set to 1/16 or 1/8 dotted, Feedback low (10–20%) for spatial pressure
Keep these accents quieter than the break. They’re not the main event; they’re the engine that makes the loop feel like it’s trying to escape the grid. This is a classic DnB trick: the eye hears the break, but the body feels the micro-accents pushing forward.
4. Program the bass so it answers the drums, not fights them
Build a bass pattern with a sub layer and a mid/reese layer. The sub should be simple and disciplined. The mid layer can be more animated and sinister.
For the sub:
- Use Operator or a clean Wavetable sine-style patch
- Keep it mono with Utility
- Sidechain lightly to the kick/snare groove if needed, but don’t over-pump
For the reese/mid:
- Use Wavetable, Analog, or resampled audio
- Add Saturator or Drum Buss for harmonics
- Automate filter movement with Auto Filter or device macros
Phrase the bass with call-and-response:
- Let the bass hit after a snare answer
- Leave space during break flurries
- Use short slides or note overlaps for movement
Concrete starting points:
- Sub note lengths: 80–140 ms for stabs, longer for rollers
- Reese cutoff movement: sweep between 250 Hz and 1.5 kHz
- Saturation on mid layer: 3–8 dB depending on density
Why this works in DnB: the break provides rhythmic identity, while the bass provides emotional weight. If both layers fill every gap, the mix becomes mush. If they trade space intelligently, the groove feels huge and urgent.
5. Resample the drum-and-bass interaction as a print
Route the DRUMS group, or DRUMS + selected bass layers, to a new Audio Track set to Resampling. Record a full 8-bar pass of the groove.
This is the heart of the workflow. Don’t just keep the MIDI. Commit a print because:
- You capture tiny timing quirks between layers
- You can slice the result into fills and resets
- You can process the audio as a single musical object
Once recorded:
- Consolidate the best 2- or 4-bar segments
- Warp only if necessary; if the timing is already good, leave it alone
- Duplicate the print and create alternate versions with different edits
Try three print types:
- Dry print: raw groove
- Processed print: Drum Buss + Saturator + EQ
- Transition print: with Echo throws or filter automation
Concrete chain for a processed print:
- EQ Eight: trim mud around 200–350 Hz
- Drum Buss: Drive 10–25%, Crunch light, Boom subtle or off
- Saturator: Soft Clip on, Drive 1–4 dB
- Utility: Mono the low end if needed
This lets you “own” the groove. Instead of repeating the same MIDI loop, you now have audio material that can be cut into new shapes.
6. Slice the resample into fills, stutters, and switch-up bars
Drag your resampled audio into Simpler in Slice mode or keep it as audio and chop it manually. Advanced jungle and oldskool DnB arrangement lives on these edits.
Create:
- A 1-bar fill
- A 2-beat turnaround
- A half-bar snare roll
- A stuttered pre-drop pickup
Use slices to make the groove “push” into the next phrase:
- Cut a final kick or ghost snare slightly early
- Insert a 1/16 gap before the downbeat for tension
- Repeat a tiny hat slice 2–3 times to accelerate the feel
Arrangement example:
- Bars 1–8: original groove
- Bars 9–16: add bass answer phrases and one extra ghost percussion layer
- Bars 17–24: resampled fill introduces chopped break reversals and a filtered bass mute
- Bar 25: full drop reset with a clipped reverse slice into the snare
Use Warp Markers carefully if you need to align a specific chopped hit. Keep the edits musical, not surgical for its own sake. The listener should feel momentum, not editing.
7. Shape the tension with automation and transition FX
This method becomes fully effective when the swing-push groove is framed by automation. Use Auto Filter, Echo, and Reverb sparingly and with purpose.
Automation ideas:
- Filter bass mid layer down in the last 2 beats before a drop
- Automate Echo feedback up to 25–35% for a single hit on a transition
- Automate Drum Buss Drive higher for the final bar of a phrase
- Pull down the DRUMS group slightly in the breakdown, then slam it back in
Useful musical context:
- In a 32-bar intro, let the swing-push drums establish without full bass pressure until bar 17 or 25
- In a 16-bar drop, introduce the resampled fill on bars 8 and 16 so the section breathes like a DJ-friendly statement
Keep transitions dirty but controlled. A small filtered noise riser, reversed break slice, or short tape-style delay throw can make the whole section feel more dangerous without cluttering the mix.
8. Print variations and make the workflow modular
The advanced advantage here is not just making one loop — it’s making a system. Once you have one good swing-push print:
- Duplicate the track
- Resample again with different processing
- Create three contrast versions: cleaner, heavier, and more broken
Label them clearly:
- GROOVE_A
- GROOVE_A_PRINT
- GROOVE_A_FILL
- BASS_MID_1
- BASS_REESE_DIST
Workflow choice: treat each resample like a sample pack from your own track. This speeds up finishing because you can drag in a finished groove component instead of redesigning it every time.
Bonus stock-device tactic:
- Put Instrument Rack macros on bass filter cutoff, saturation, and unison detune
- Put Audio Effect Rack macros on drum print reverb send, transient shaping via Drum Buss, and high-cut filtering
This keeps your session performance-ready and easy to revise later.
Common Mistakes
- Fix: leave selected hits a little late or early. Use groove amount subtly instead of snapping everything rigidly.
- Fix: let the break, ghost percussion, and bass accents differ in timing. Contrast is the point.
- Fix: use EQ Eight and Utility. Keep one clear mono sub source and avoid stacking sub-heavy prints.
- Fix: slice, mute, reverse, and restitch the print. The print is raw material, not a final loop.
- Fix: create space for the drum swing to speak. In DnB, silence between bass answers is part of the groove.
- Fix: Drum Buss and Saturator should add density, not destroy transient punch. If the snare loses its crack, back off.
- Fix: keep the sub mono, check phase on layered bass, and collapse low end with Utility if the groove feels wide but weak.
Pro Tips for Darker / Heavier DnB
- Reverse just a tiny slice before a snare or drop. It adds a haunted, underground feel without needing big risers.
- Keep the sub pure, but let the mid layer go ugly with Saturator, Amp, or Drum Buss. That contrast is what reads as heavy.
- A movement of even 200–400 Hz on the bass cutoff can make a loop feel alive. Small moves often hit harder than dramatic sweeps.
- Put ghost hits just before the 1, or slightly after the 3, to create pressure. Darkside drums often feel like they’re leaning into the next bar.
- A controlled Drum Buss or Saturator print can make the break feel denser and more aggressive. Keep it intentional and compare against bypass.
- Let bars 1–4 establish, bars 5–6 answer, bar 7 filter or strip, bar 8 fill. That’s classic DnB phrasing that stays DJ-friendly.
- Always preserve a clean version of the groove before heavy printing. You’ll want a reference when the resampled version gets too cooked.
Mini Practice Exercise
Spend 10–20 minutes making one 8-bar darkside swing-push loop:
1. Choose a break and build a 2-bar groove at 174 BPM.
2. Add ghost hats and rim clicks that occasionally hit slightly early.
3. Create a mono sub line with three short notes and one held answer note.
4. Add a reese or mid-bass layer that only plays on the last 2 beats of bars 2 and 4.
5. Resample the DRUMS + BASS interaction for 8 bars.
6. Slice the resample into one fill, one reverse pickup, and one stuttered turnaround.
7. Automate a filter close-down in the last bar and bring it back wide on the drop.
Goal: by the end, you should have one original loop, one resampled print, and two usable variations. Don’t try to perfect it — focus on making the groove feel like it’s pushing forward while still dragging that dark jungle weight.

